Creating a new Windows Server with the Cloud Portal
Last updated on
The following steps describe the way how to create a Windows Server in the STACKIT Portal, including all the optional features and services available for your server.
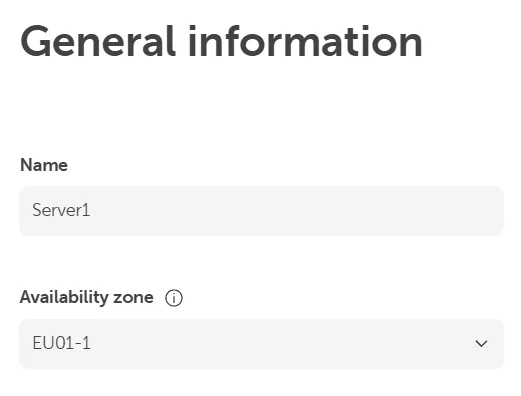
Under General Information, choose the server name and Availability Zone:
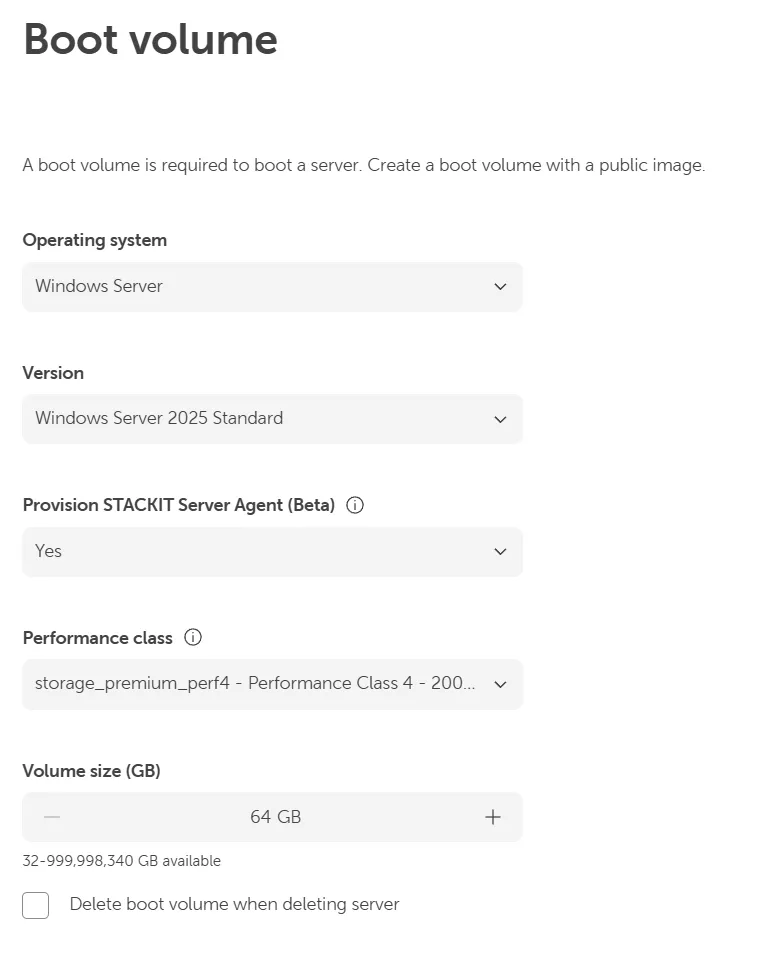
In Boot volume, select the boot volume with a public Windows Server image to create a server. You can also configure the operating system and version, provision the STACKIT Server Agent and select the performance class and size of the boot volume:‚
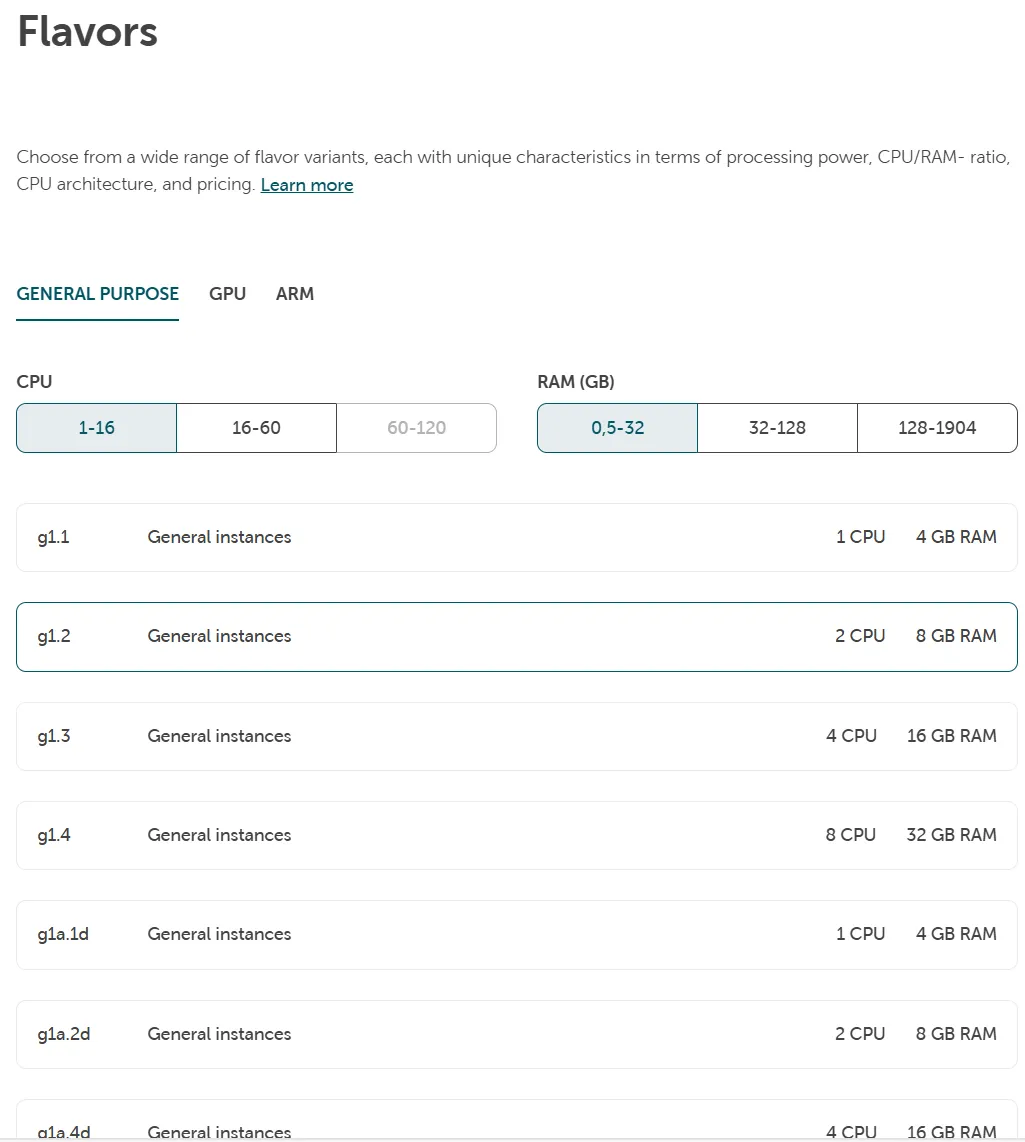
Under Flavors you can pick a flavor from the available presets, which meets your performance requirements:
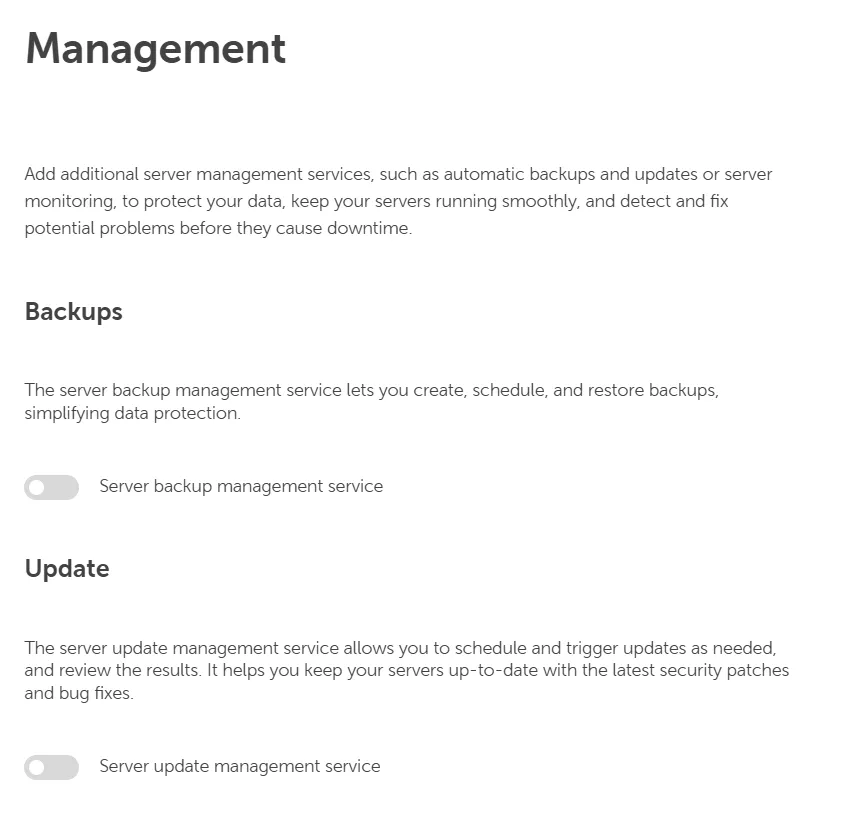
In the Management section, we provide various management services for your system that you can enable.
Below are the currently available services that you can activate for your server. New services are continuously being developed and will be deployed for you as they become available:
- Server Backup Management Service (see also Server Backup)
- Server Update Management Service (see also Server Update Management Service)
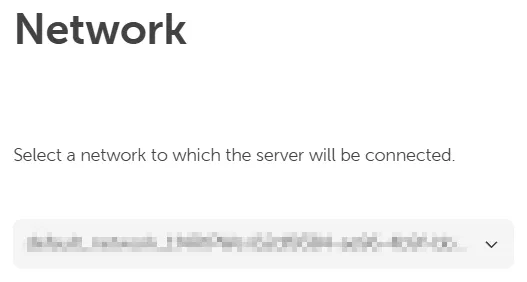
Under Network select a network from the drop down menu (the default network will be chosen automatically):
In the Initial credentials section, you can find the relevant step for Windows Servers under User authentication:
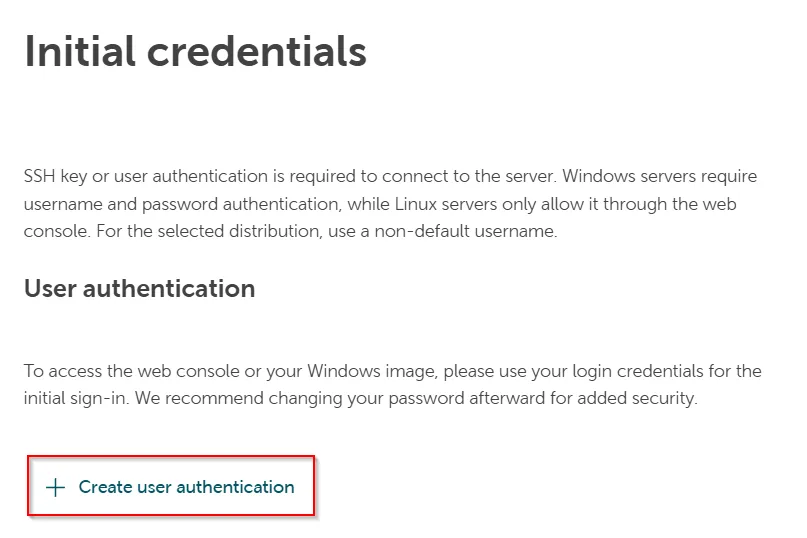
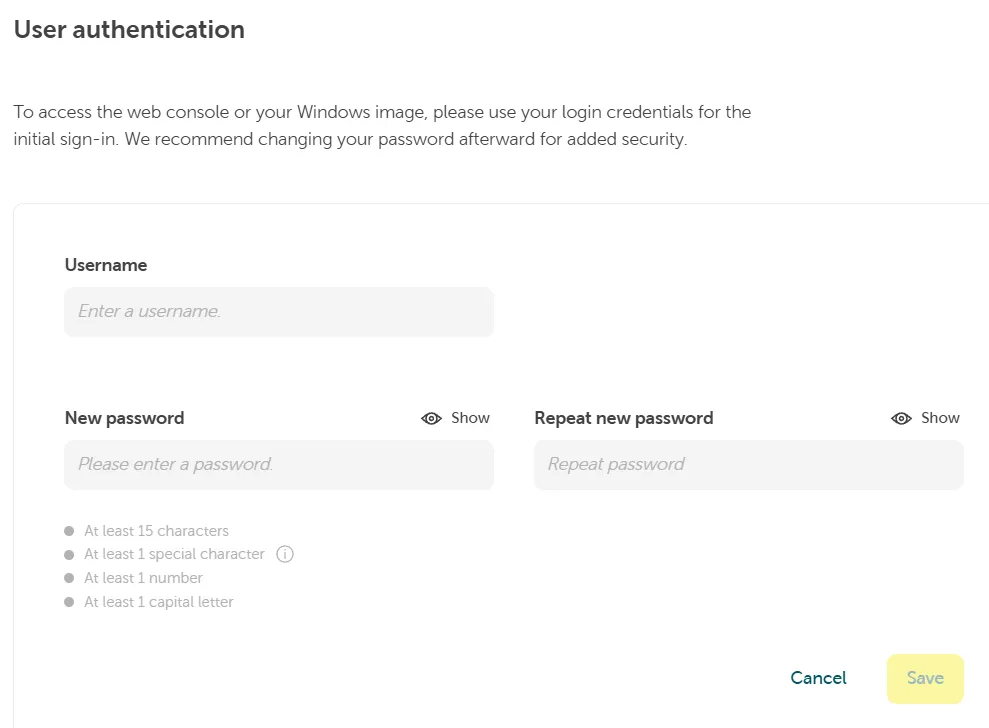
Click on Create user authentication to open a new input field and provide a username and password that meet the displayed complexity and length requirements. This user will serve as primary administrator for local login access to your server:
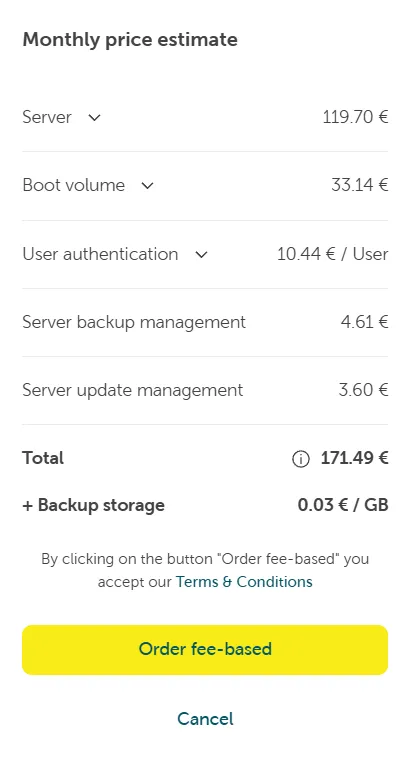
In the top right corner you have a summary of the ordered items in your shopping cart. After reviewing and confirming your shopping cart, click the Order fee-based button to complete the ordering a new server: