Organizing artifacts with labels
Zuletzt aktualisiert am
Labels are a powerful metadata feature that helps you organize, filter, and manage the container images and other artifacts within your project. They are colored tags visible in the UI that can be used to categorize resources in a flexible way.
Managing and using labels
Section titled “Managing and using labels”1. Managing project labels
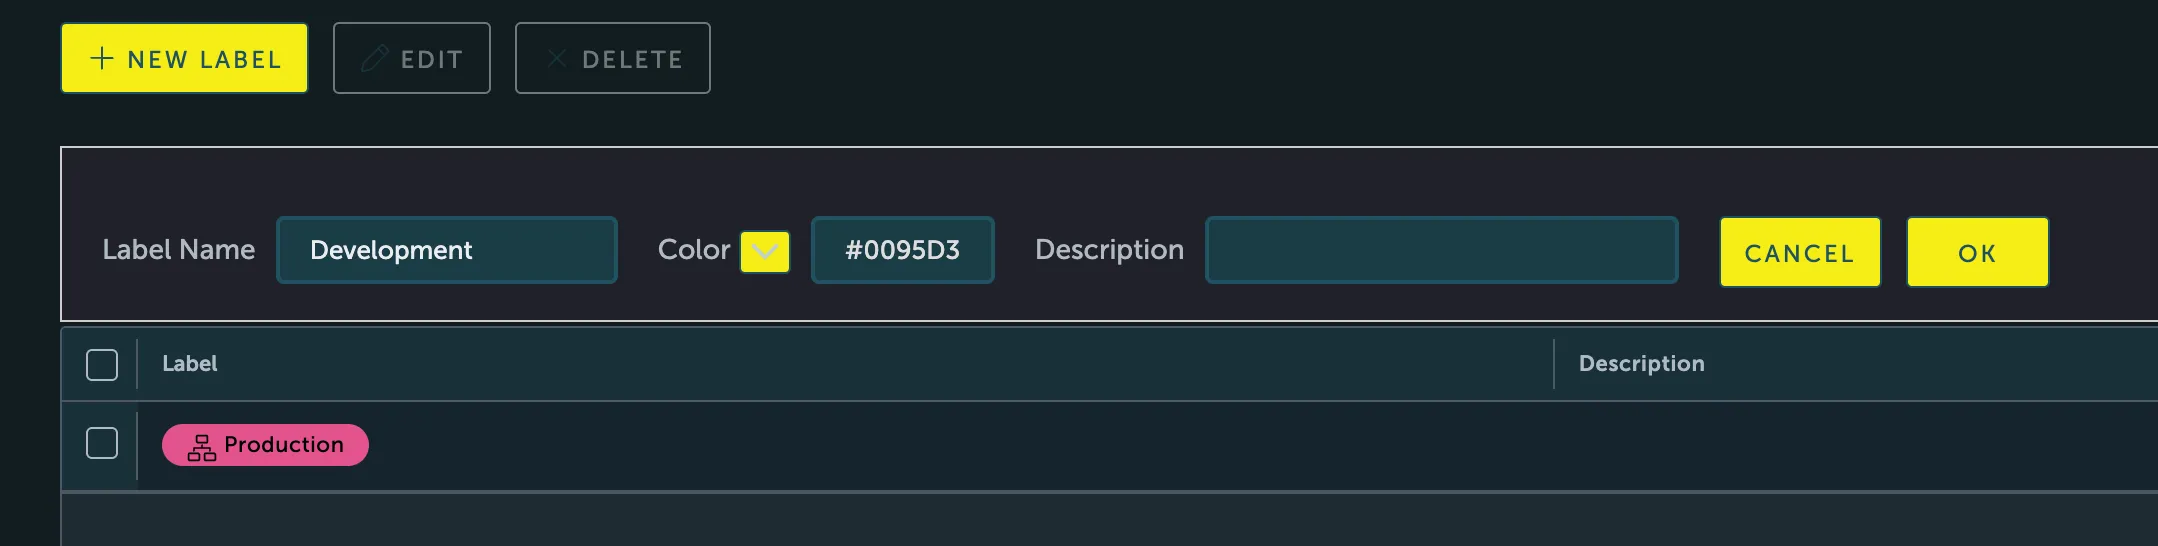
Section titled “1. Managing project labels”As a Project Admin, you can manage your project-specific labels from the Labels tab within your project’s detail page. Here, you can create new labels, assign them a color, and provide a description.
2. Applying labels to artifacts
Section titled “2. Applying labels to artifacts”Users with project Admin or developer roles can apply labels to images.
- Navigate to the Repositories tab in your project.
- Select a repository and find the specific artifact (image) you want to label.
- Click the Add Labels button. A dialog will appear showing all available global and project-level labels.
- Select the labels you wish to apply to the artifact.
3. Filtering and automation with labels
Section titled “3. Filtering and automation with labels”The primary power of labels comes from their use in filtering and automation:
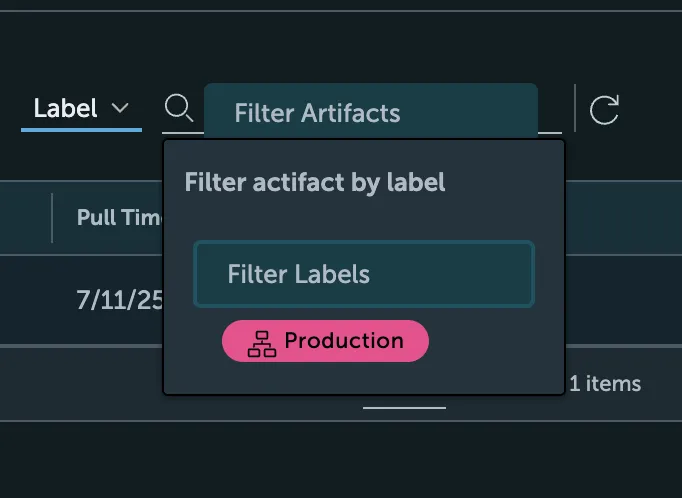
- Filtering: In the repository view, you can filter the displayed artifacts by one or more labels, making it easy to find all images related to a specific environment (e.g.,
production), team, or status.
- Automation: Labels are a key component for automating other registry features. For example, you can use labels as a filter when creating replication rules or tag retention policies, allowing for highly specific and automated management of your artifacts