Create an NLB via Portal
Diese Seite ist noch nicht in deiner Sprache verfügbar. Englische Seite aufrufen
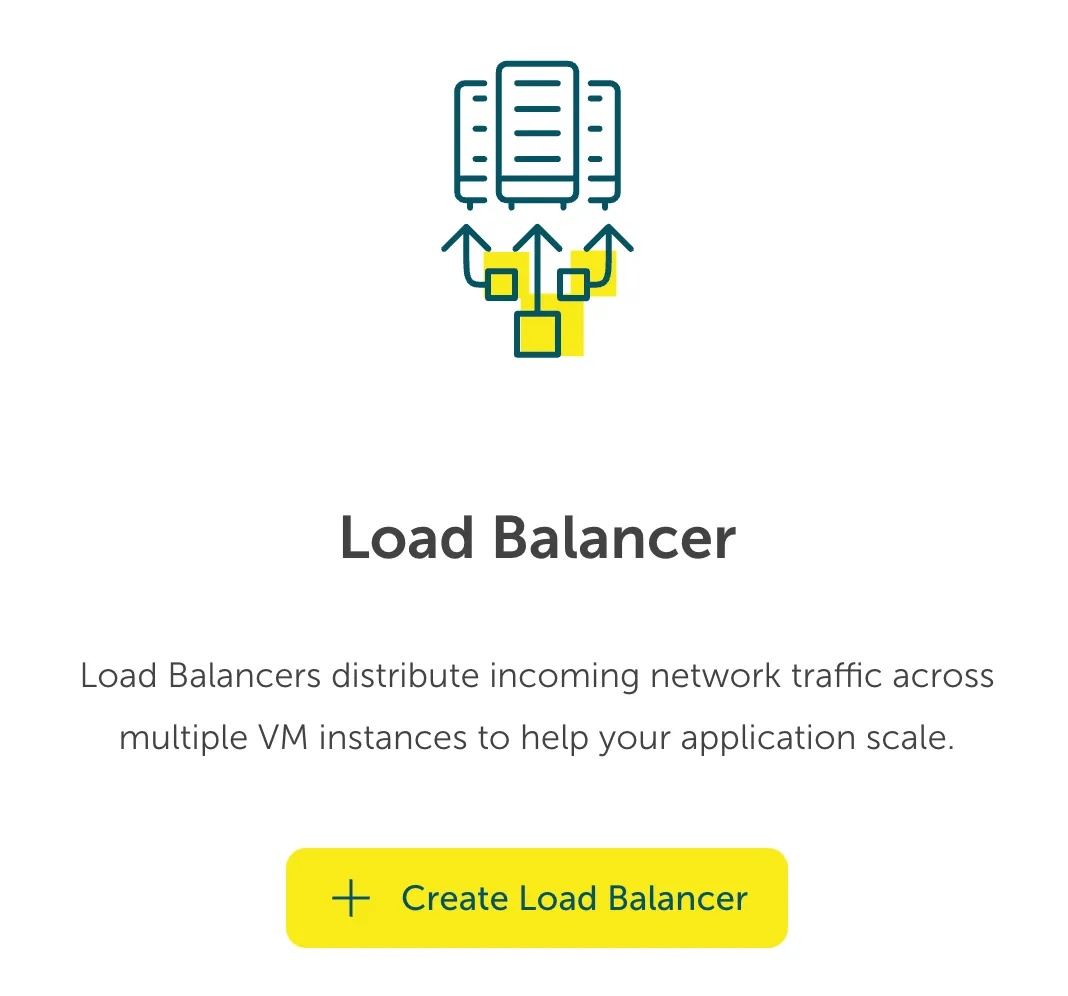
Creating a STACKIT Network Load Balancer is made very easy with our wizard. You can create a Network Load Balancer by clicking the Create Load Balancer button.
Naming and visibility
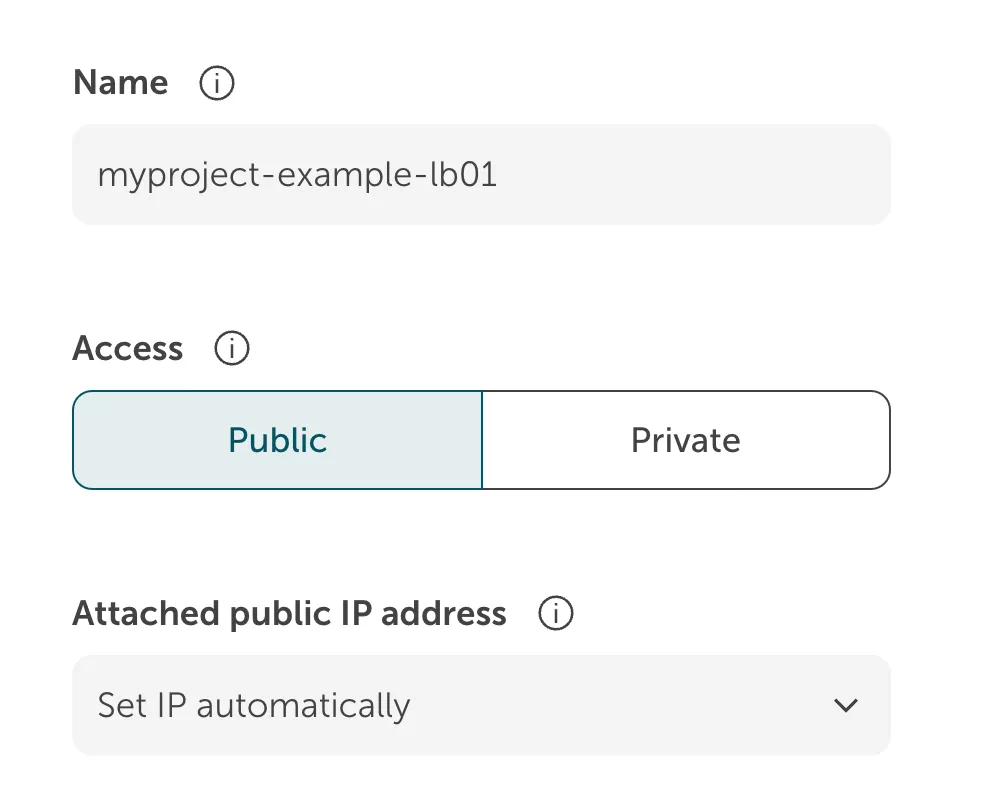
Section titled “Naming and visibility”On the following screen give your Network Load Balancer a name. The name must adhere to a DNS naming scheme, i.e. lower case, hyphens and numbers are allowed (check the info button for further information and examples).
You can have a public facing Network Load Balancer using a Public IP Address that you can attach from your previously allocated IPs or assign automatically. Or you might choose for your project that you need an internal Network Load Balancer with an automatically assigned private IP.
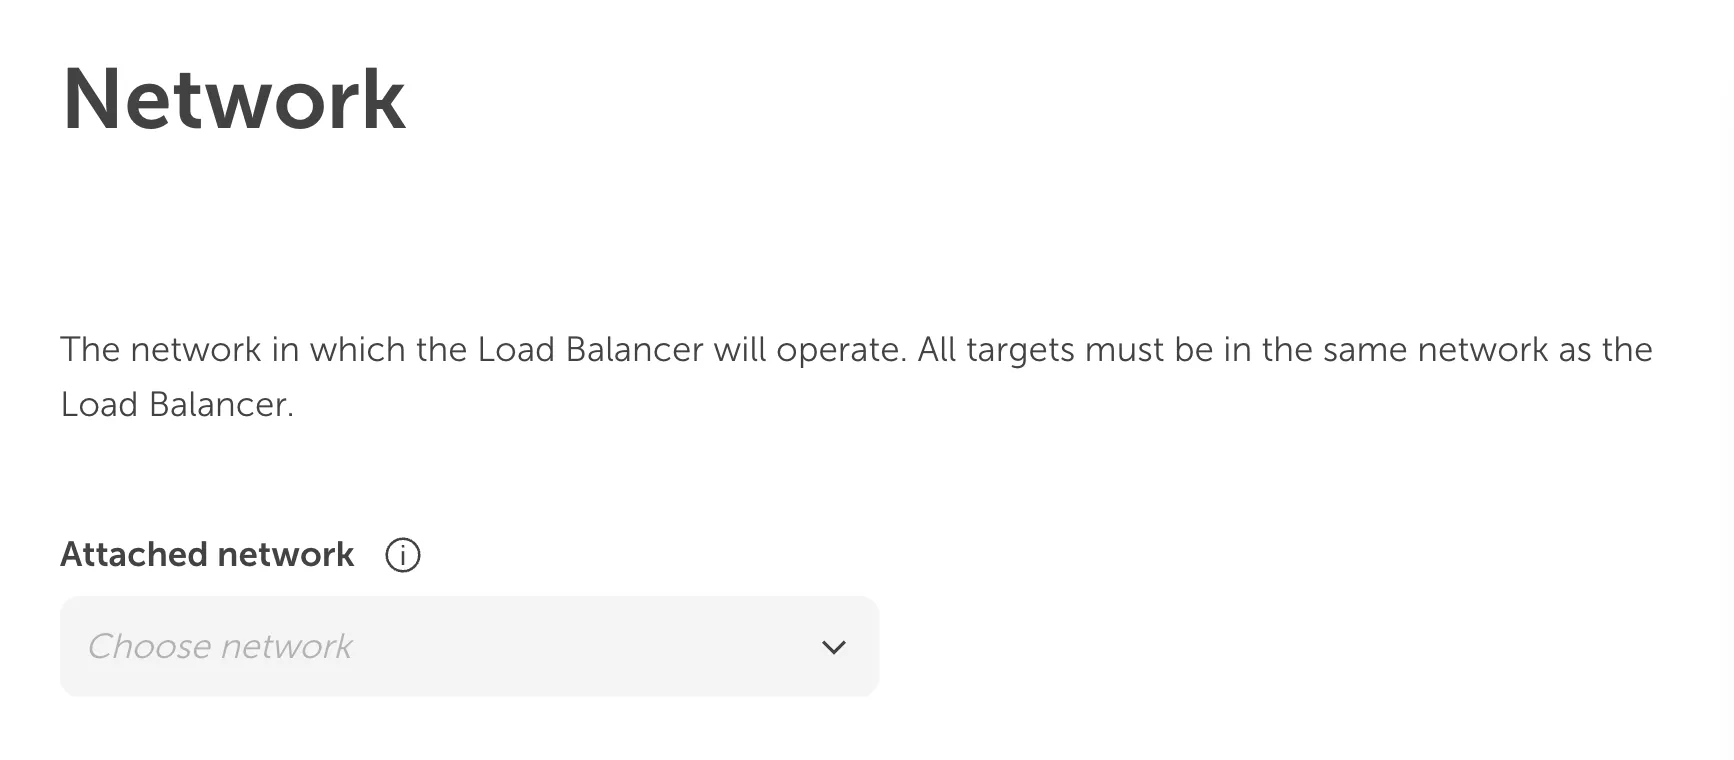
Choose your STACKIT Network where this new Network Load Balancer is going to be placed.
Adding a listener
Section titled “Adding a listener”Afterwards you can decide on the listener ports you want to expose, the protocol you want to use for the listener, and of course a descriptive name.
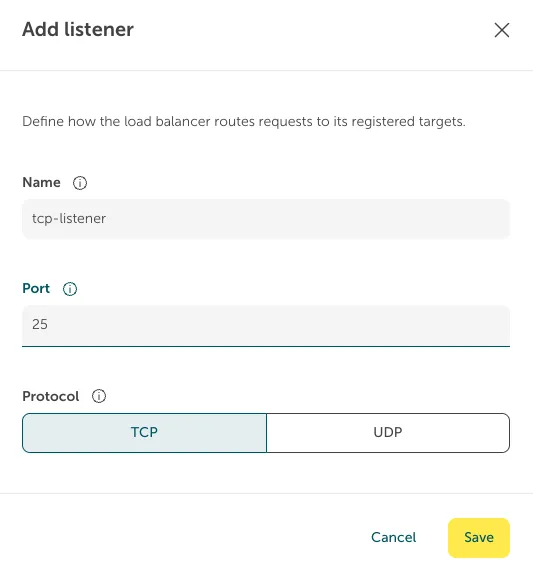
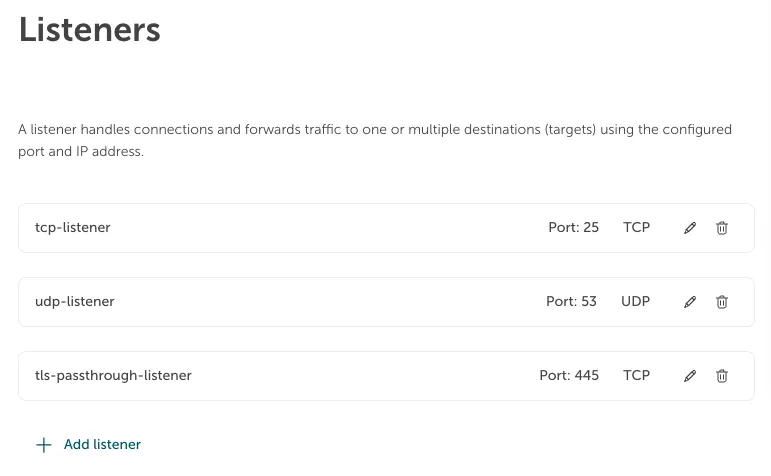
You can repeat this for every listener you want to add. See the example below for a setup with a typical configuration.
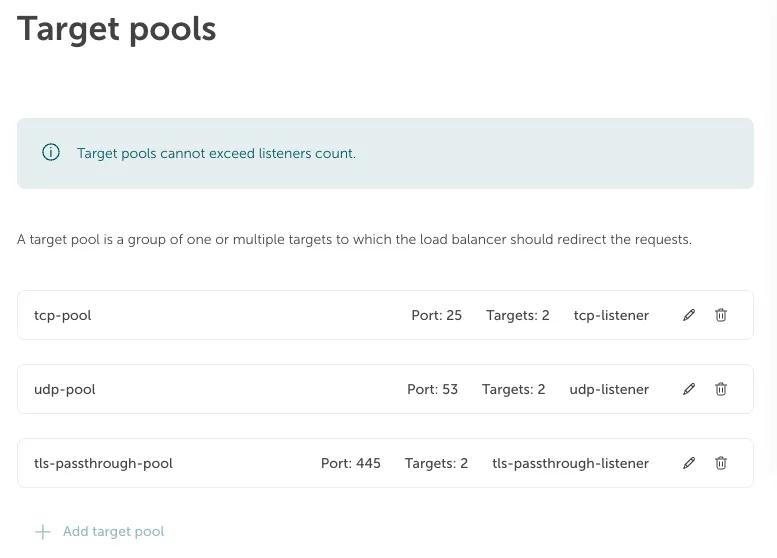
Target pools
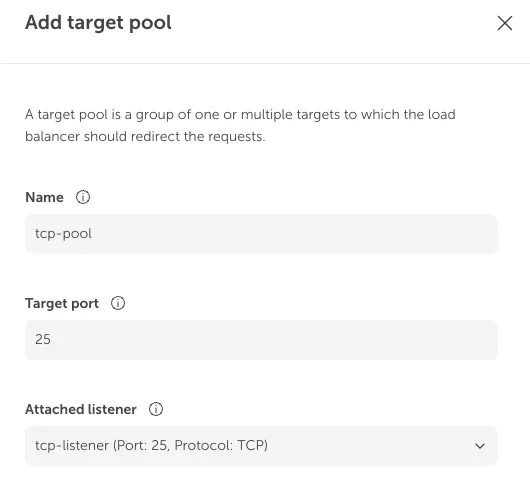
Section titled “Target pools”Your Network Load Balancer also needs a group of servers it can redirect the request to. We call this a target group where we attach a listener to a group of backend servers on a specific port.
Target pool configuration
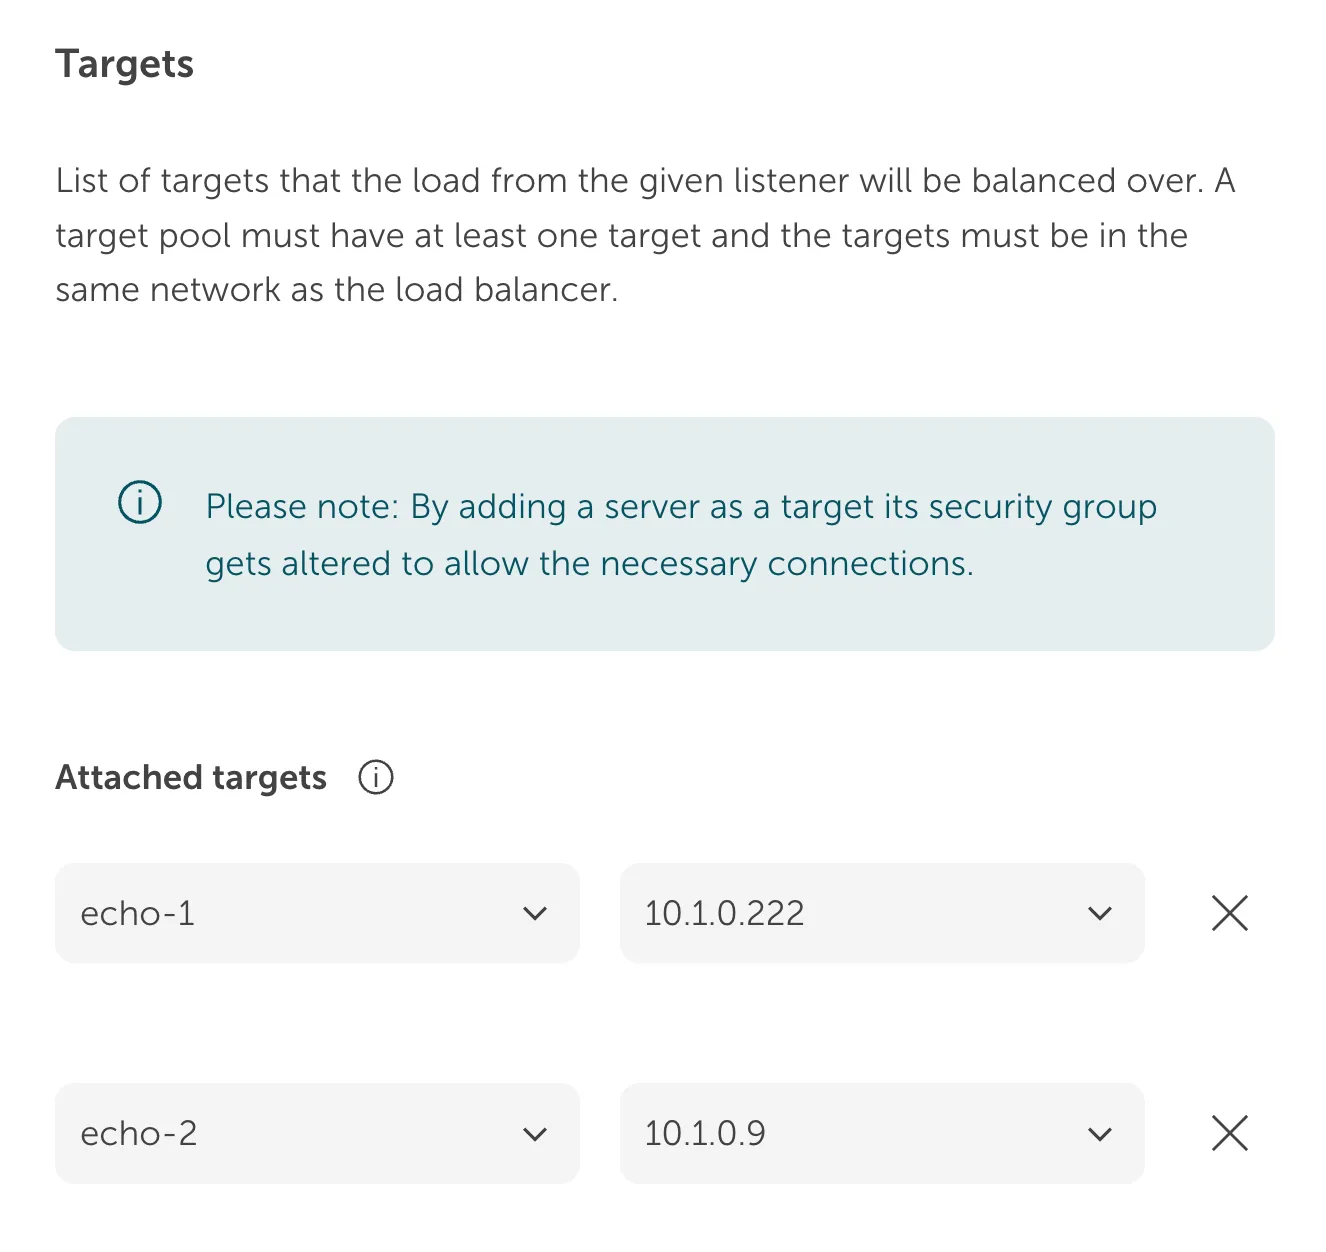
Section titled “Target pool configuration”After creating the target pool you can add your servers to the pool.
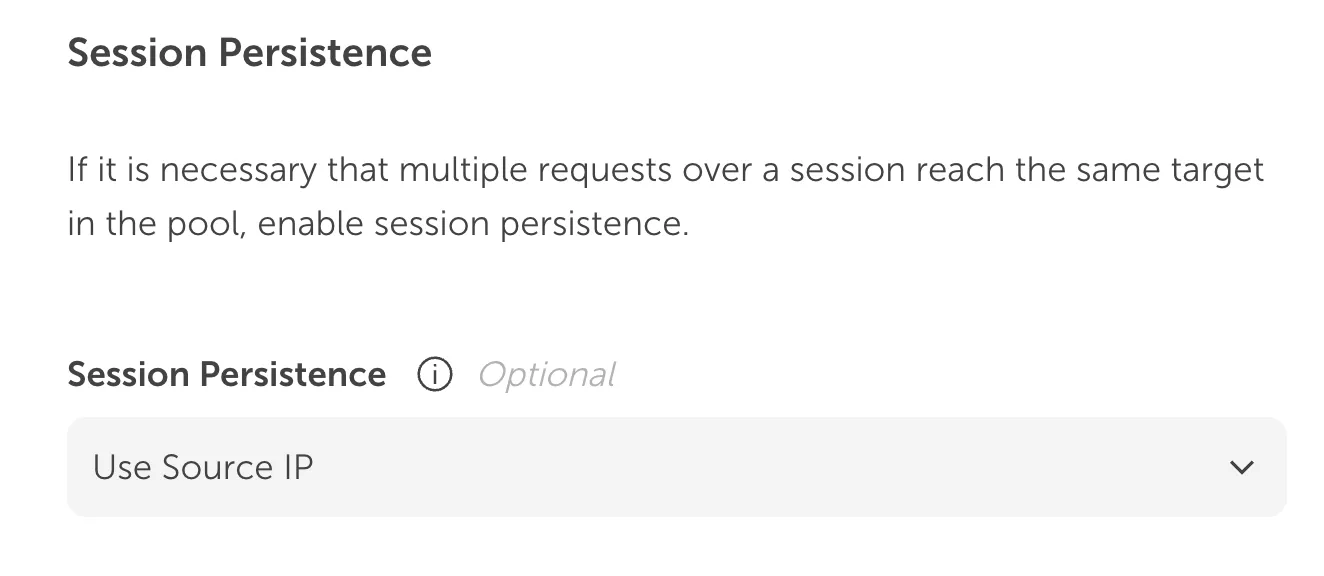
Session persistence
Section titled “Session persistence”Distributing requests across the targets in a target pool happens in a Round Robin policy. That means requests are distributed evenly between the targets. If your application needs to have their user’s requests coming to the same backend server, you might consider using session persistence which will use the Maglev policy.
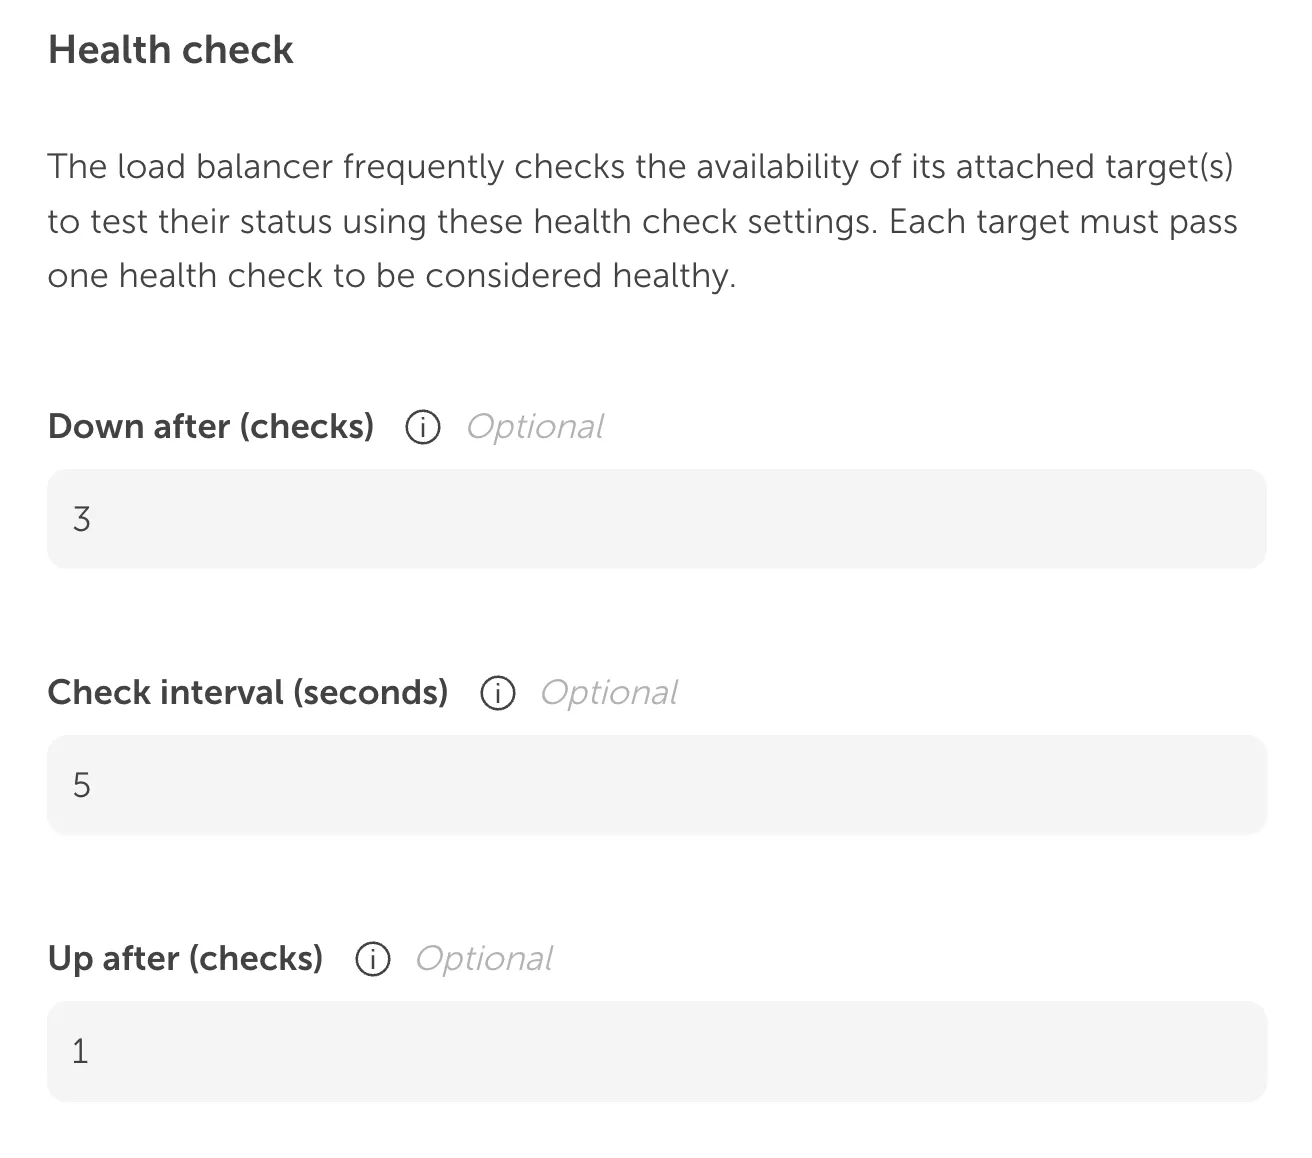
Health check
Section titled “Health check”You can tweak how often a backend should be checked by the Network Load Balancer for its availability. We provided some sensible defaults for you.
After adding multiple target pools and their targets our example configuration might look like this:
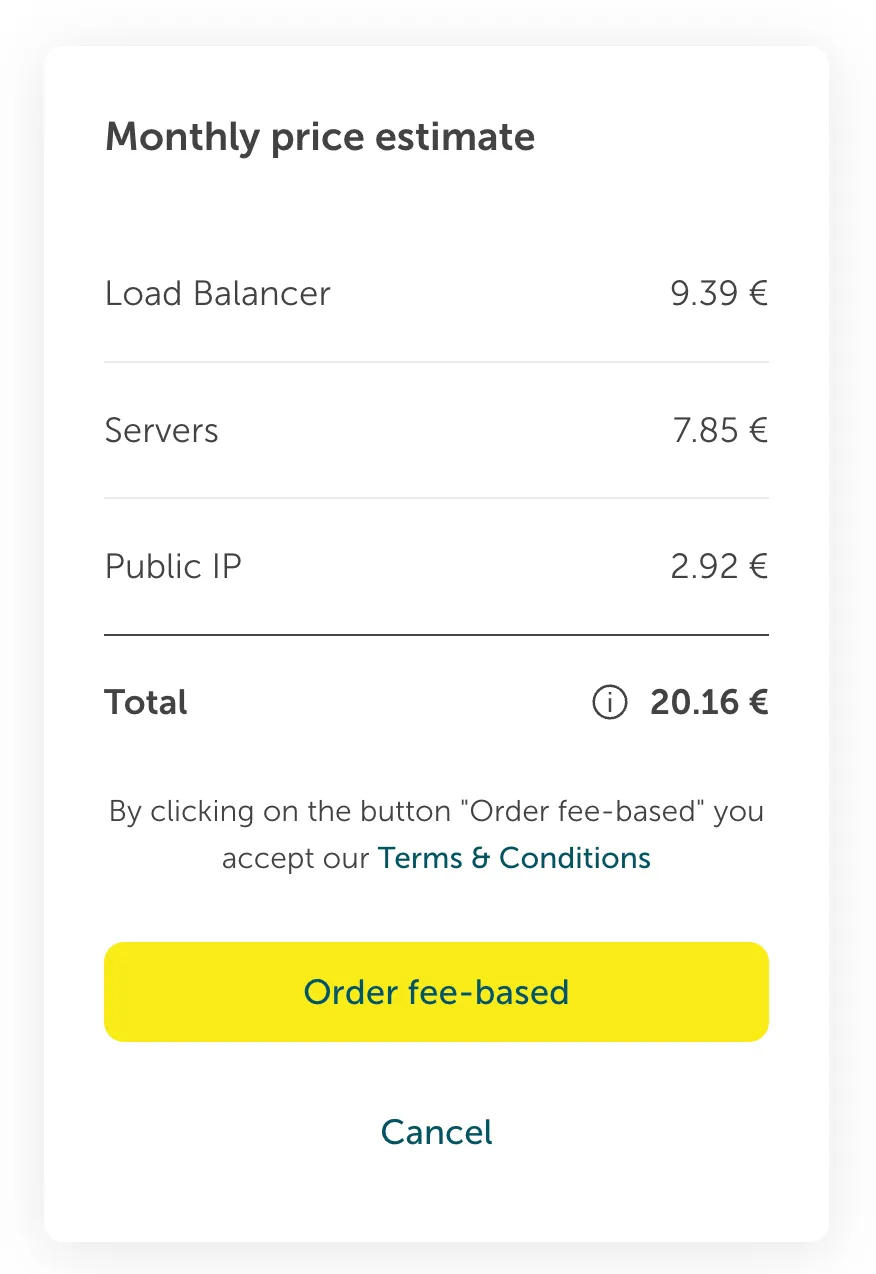
Place order
Section titled “Place order”When you are happy with your configuration you can place your order and your Network Load Balancer will be provisioned. This could take a couple of moments. You can watch the status in the overview. From there you can also change your listeners and target pools using a similar interface like from above.
As a suggested step from here on, you could check the security groups which will be generated for you and will open up your public Network Load Balancer to the internet. If for example you have configured an admin port, you might want to choose to limit traffic to this port to your IP range.