Recover access to your VM
Last updated on
In case you lose your SSH key and your password, you still have the option to recover your VM.
Prerequisites
Section titled “Prerequisites”Linux operating system: The steps in this guide apply to the CentOS operating system and should work on any other Red Hat Enterprise Linux-based system. For other Linux derivatives, the description should work too, but some steps need to be adjusted. Examples: every Linux distribution uses another default user name and the SSH daemon name differs for EL- and Debian-derivatives.
Recover access to your Linux VM
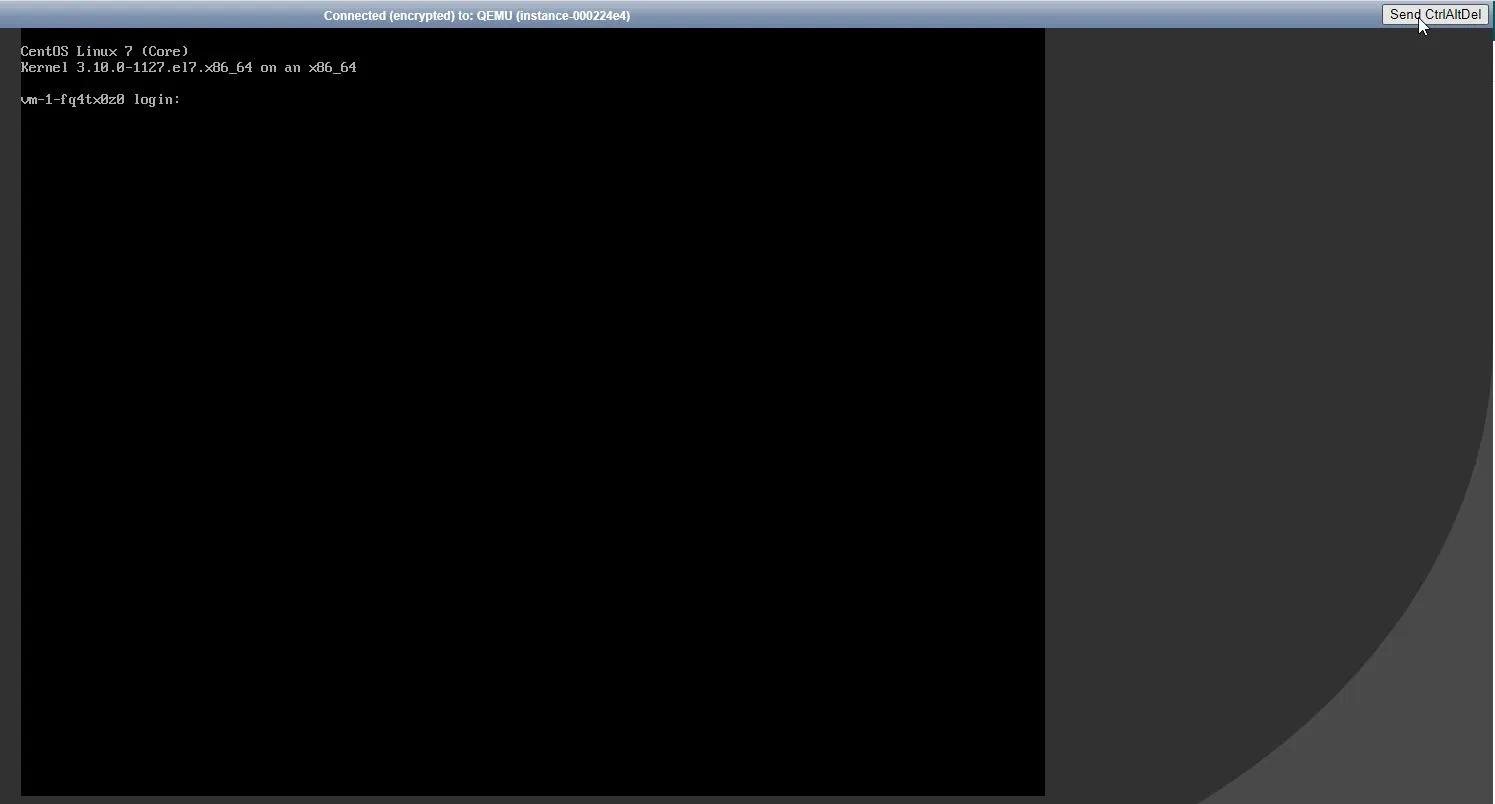
Section titled “Recover access to your Linux VM”Reboot your VM from the web console.

Reach the Portal and access the web console.

You will see your VM booting, press the Send CtrlAltDel Button in the upper right corner.
Press the arrow keys to stop grub’s menu timeout - it is quite short. If you miss the moment, just press Send CtrlAltDel again. You should see something like this:
Press up and down.
Select the latest (uppermost) menu entry.
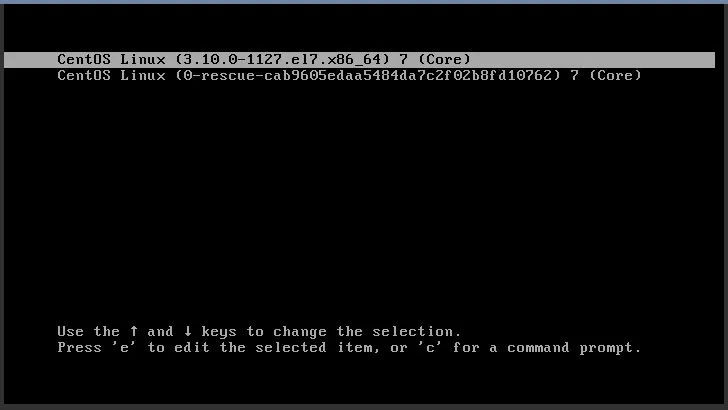
Now edit your menu (press the letter e on the keyboard) that will allow you to edit the menu.
You will see something like this:
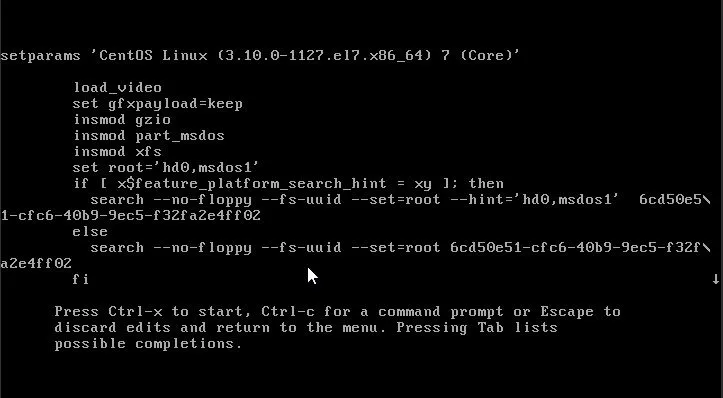
Now scroll down (use the arrow keys) to the line that starts with initrd16.
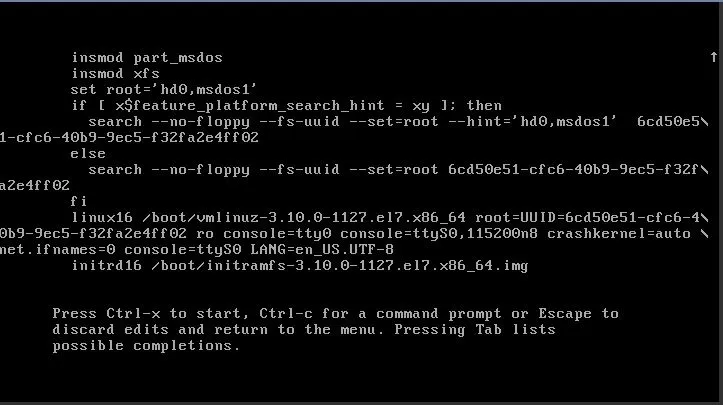
Press the left arrow key to “jump” on the previous line to edit it. You will need to make some changes:
- Remove
console=ttyS0,console=tty0,console=ttyS0,115200n8. - Now add the following at the end of the line:
rd.break enforcing=0.

Now hold the Ctrl button on the keyboard and press x. The system will start to boot and
reach something similar to:
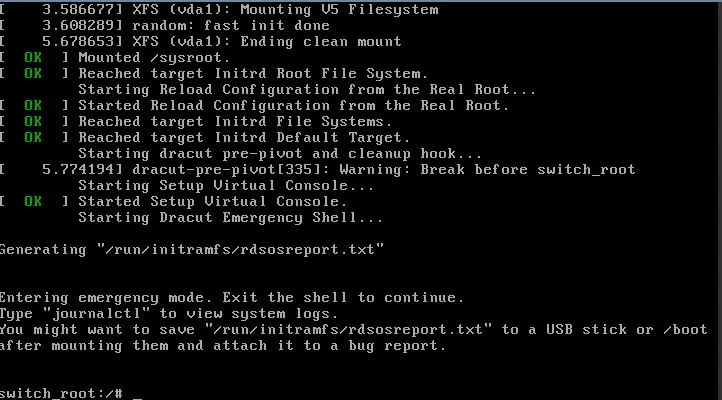
Now type the following in your console (copy and paste doesn’t work):
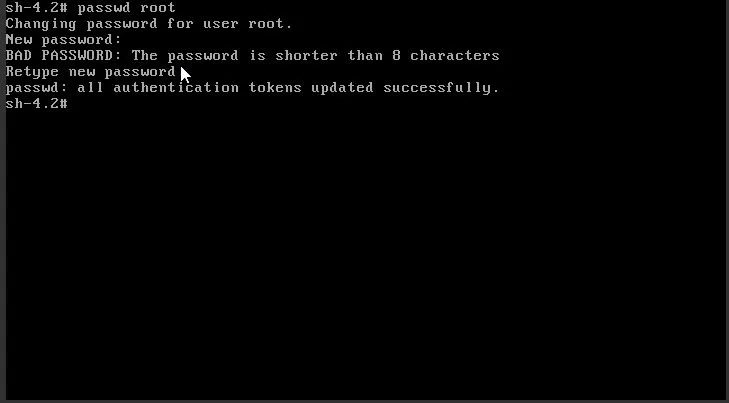
mount -o remount,rw /sysrootchroot /sysrootpasswd rootChange the root password, which we will use to login.
We will change the root password later for security reasons!
Now type “exit” two times. This will allow the system to complete the power up cycle and you will
receive a login prompt:
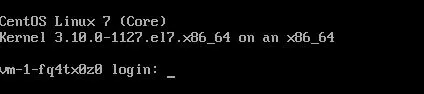
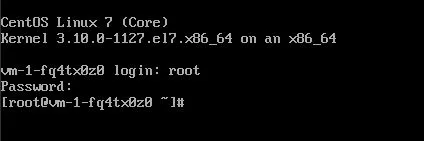
Type “root” for user, and the password you used in step 10.
Now change the password for the default distribution/login user. For CentOS distro, the default user is centos.
Type the password twice:
passwd centos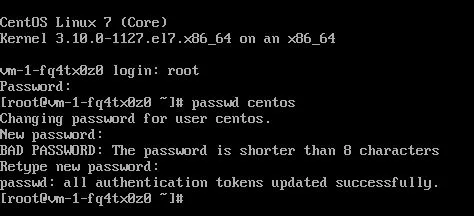
Now you need to temporarily allow logging in via password. We will change that at a later stage.
Open /etc/ssh/sshd_config.
vi /etc/ssh/sshd\_configFind the line that looks like:
#PasswordAuthentication yesOnce the indicator is on top of the # sign, press x to delete that character.
Then press the following sequence of keys: Esc, :, w, q and Enter.
This sequence will save your modifications.
Verify your changes
Section titled “Verify your changes”sshd -t
Good output should be:
![]()
Restart the sshd daemon.
This daemon controls remote access to the Linux server.
systemctl restart sshdOn EL-based systems (like CentOS), the daemon is called “sshd”, while on Debian and derivatives it’s called “ssh”.
Now you should be able to ssh with your password. Use the password you created:
ssh centos@4.159.97.5 Warning: Permanently added '4.159.97.5' (ECDSA) to the list of known hosts. centos@4.159.97.5's password: X11 forwarding request failed on channel 0 Last login: Thu May 21 09:15:14 2020 from 4.159.97.30 [centos@VM-1-fq4tx0z0 \~]$Edit your authorized_keys file to allow your new ssh key.
echo 'ssh-rsa AAAAB3NzaC1yc2EAAAADAQABAAACAQDMbC29mO0j9NnjTt/eSNQuwX0XPcFT77Fg20wUKCHFyJrC+yldMja8EEEo+LY2HRgu5mzDHdKG9nHW2yGtPt1kUfz6Icck/Of5uT5G9139IKdDd1VxdqDOKKQq6e+3cbtLe0JvAdEG/B7M0nIkpguVX2T2Lojsi7xF3sHjrg7vjYeFWmoBjWl7tilgu0eXTHFdmKvCJ05qjgU5OwXitE8YtxKd/iifs0YACan3PCFX4P4vAe/oBjmaIW2qCLaBTEI2COMl6/EVaIhiudplTFJV4ebbbidwhXkGWj8o0mMEv7umgIsU3Fv4UoUQ0fU7ZxqReApIBGLtKL6rG7NntTD6r6ROrh5VXfJfWRXQgBh+S/Ei9gvRBeu0qzqEiSIyIWT14+RsXjDuGBRch2GZmGjres7XEqtCRvpnDJ6A1gS8NFeHr9GcATUbBhS45iFCuDTvFfNgI7ydyOfWlB+/D8fvrfgXH7k1r5291oiNonVTmYkF3sDVWGmRvFoyZcSqBxftok4TCD9vEmqg7Uqa0eAkYIxyxffNmzUgY3UrxRLD+IyUFAoaXKMtkuxE5KrrBYSweIOa5pCvbJOjX/yP7R5SumvEOEJMSiu0bdd5UsP6ed8omax6FWcp3g+P4PMRMbaM/aMowAE+02TizdJ+PDfWD1+f6W4XMZHHyfwsfTeLKw== someuser@MYPC' >> \~/.ssh/authorized\_keysVerify access via key. It should login you without password.
Undo your changes in sshd config file.
As we are now able to copy / paste in the shell (not the web console), you can run:
sudo sed -i 's/PasswordAuthentication yes/#PasswordAuthentication no/' /etc/ssh/sshd\_configAgain, verify your changes and restart sshd if no errors are detected:
sshd -t systemctl restart sshdFix SELinux (CentOS and derivatives):
touch /.autorelabel restorecon -RFvv /etc/shadow restorecon -RFvv /etc/ssh/sshd\_config setenforce 1Now set the user’s passwords to something random:
cat /dev/urandom | tr -dc 'A-Za-z0-9!"#$%&'\\''()*+,-./:\;<=>?@[\\]^\_\`{\|}\~' | head -c 25 | passwd --stdin root cat /dev/urandom | tr -dc 'A-Za-z0-9!"#$%&'\\''()*+,-./:;<=>?@[\\]^\_\`{|}\~' | head -c 25 | passwd --stdin centosReboot (optional).
reboot