Update your server
Last updated on
This page describes the patch management process of managed STACKIT servers. You will learn how to manage the updates for your VM, how to configure them individually via API and learn about details on the internal monthly image release cycle.
Automated installation of updates
Section titled “Automated installation of updates”When the default management settings are applied to your server, the latest updates will be downloaded and installed automatically at random start times during the weekends by a default update schedule. These management settings are provided to you as part of the standard configuration for every managed server in STACKIT.
Please be aware that unmanaged servers do not have this feature of recurring automated update installations available! In this case, the customer is responsible for the patch management of his unmanaged server to keep the operating system updated and secure!
Manage your updates in the STACKIT Portal
Section titled “Manage your updates in the STACKIT Portal”In the details view of the servers in your STACKIT project, you find the service feature Updates, which is currently provided to you in a BETA stage. Here you can create and configure updates and update schedules for each of your managed servers individually, as shown below.
Update history
Section titled “Update history”In the History pane, you find all recently triggered updates, their start and finish time, status and results:
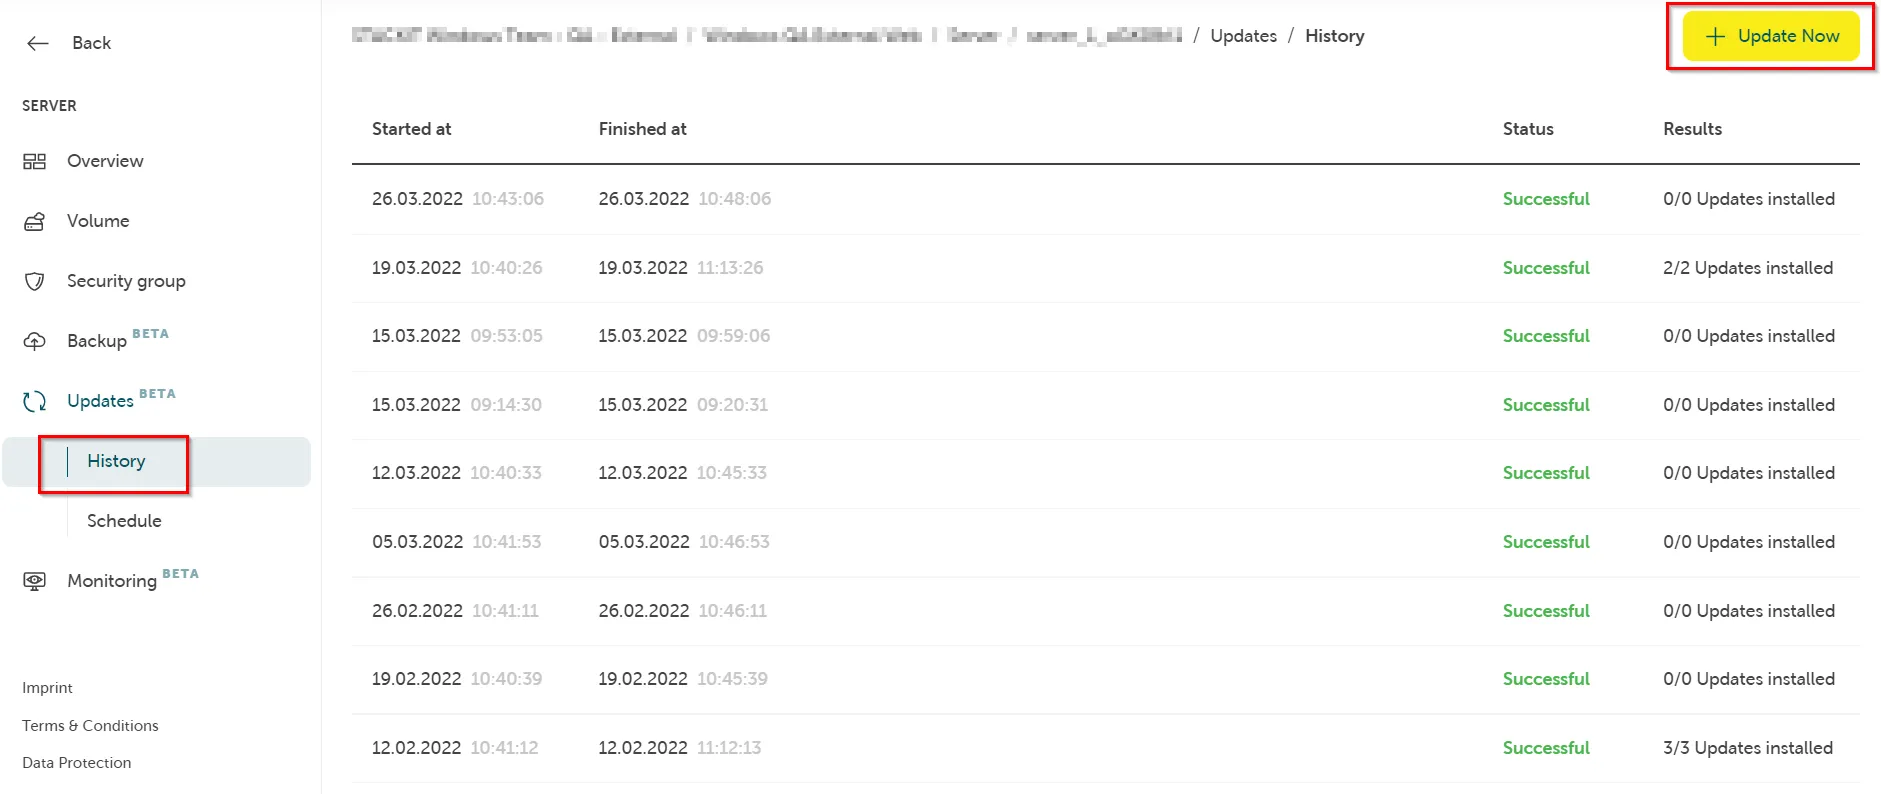
By clicking on Update, you can trigger a new update job for your specific server:
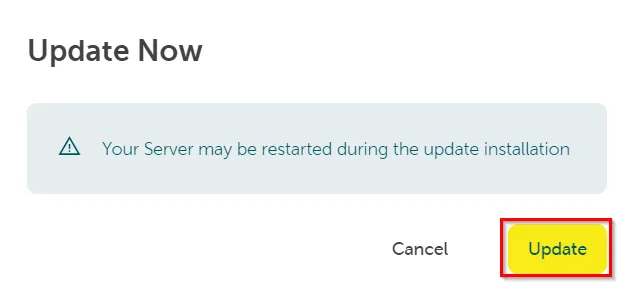
The update process will start. This can take a while, depending on the size of the server’s flavor, the amount of updates to be installed and how often the machine requires a reboot:

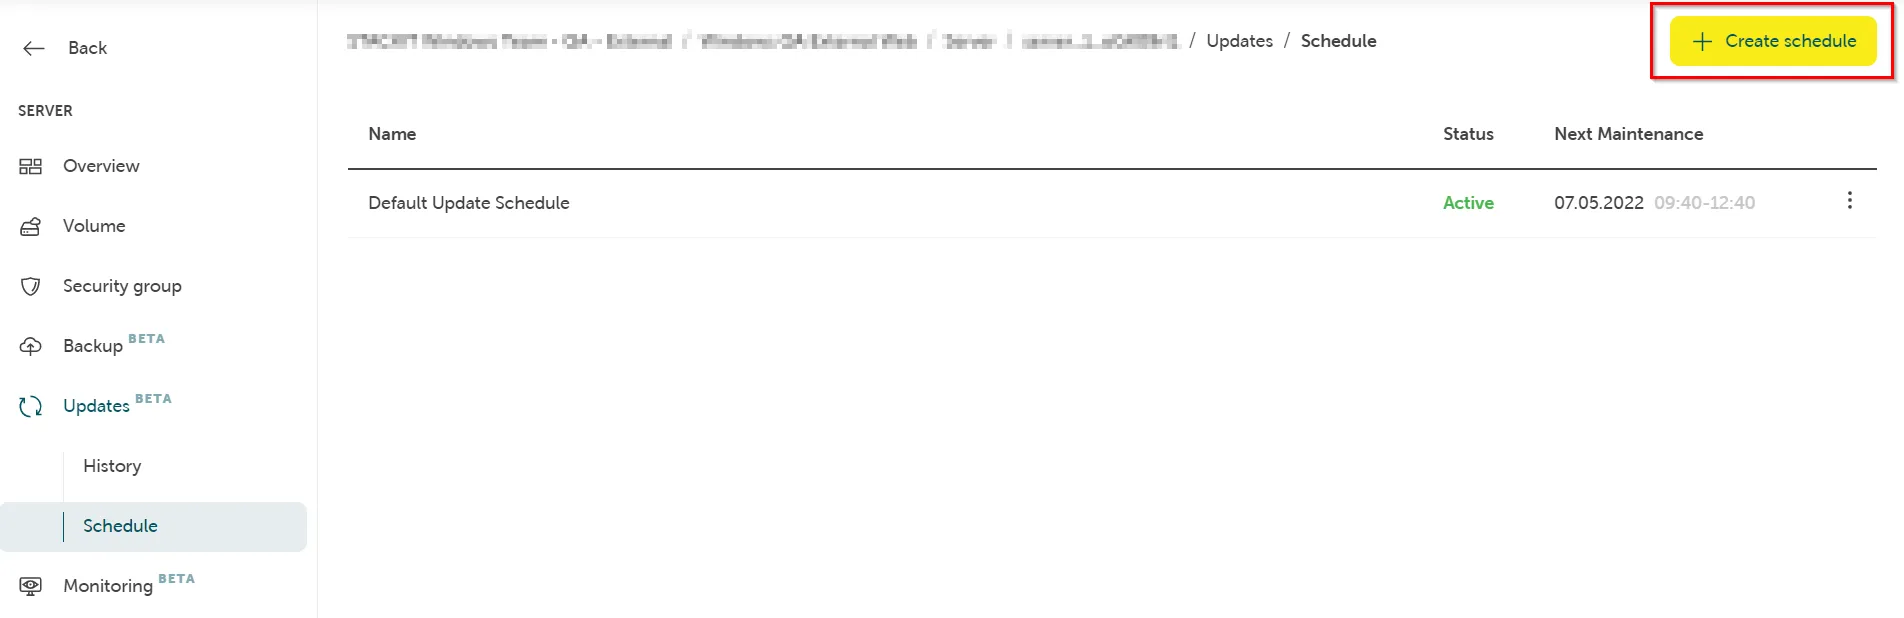
Update schedule
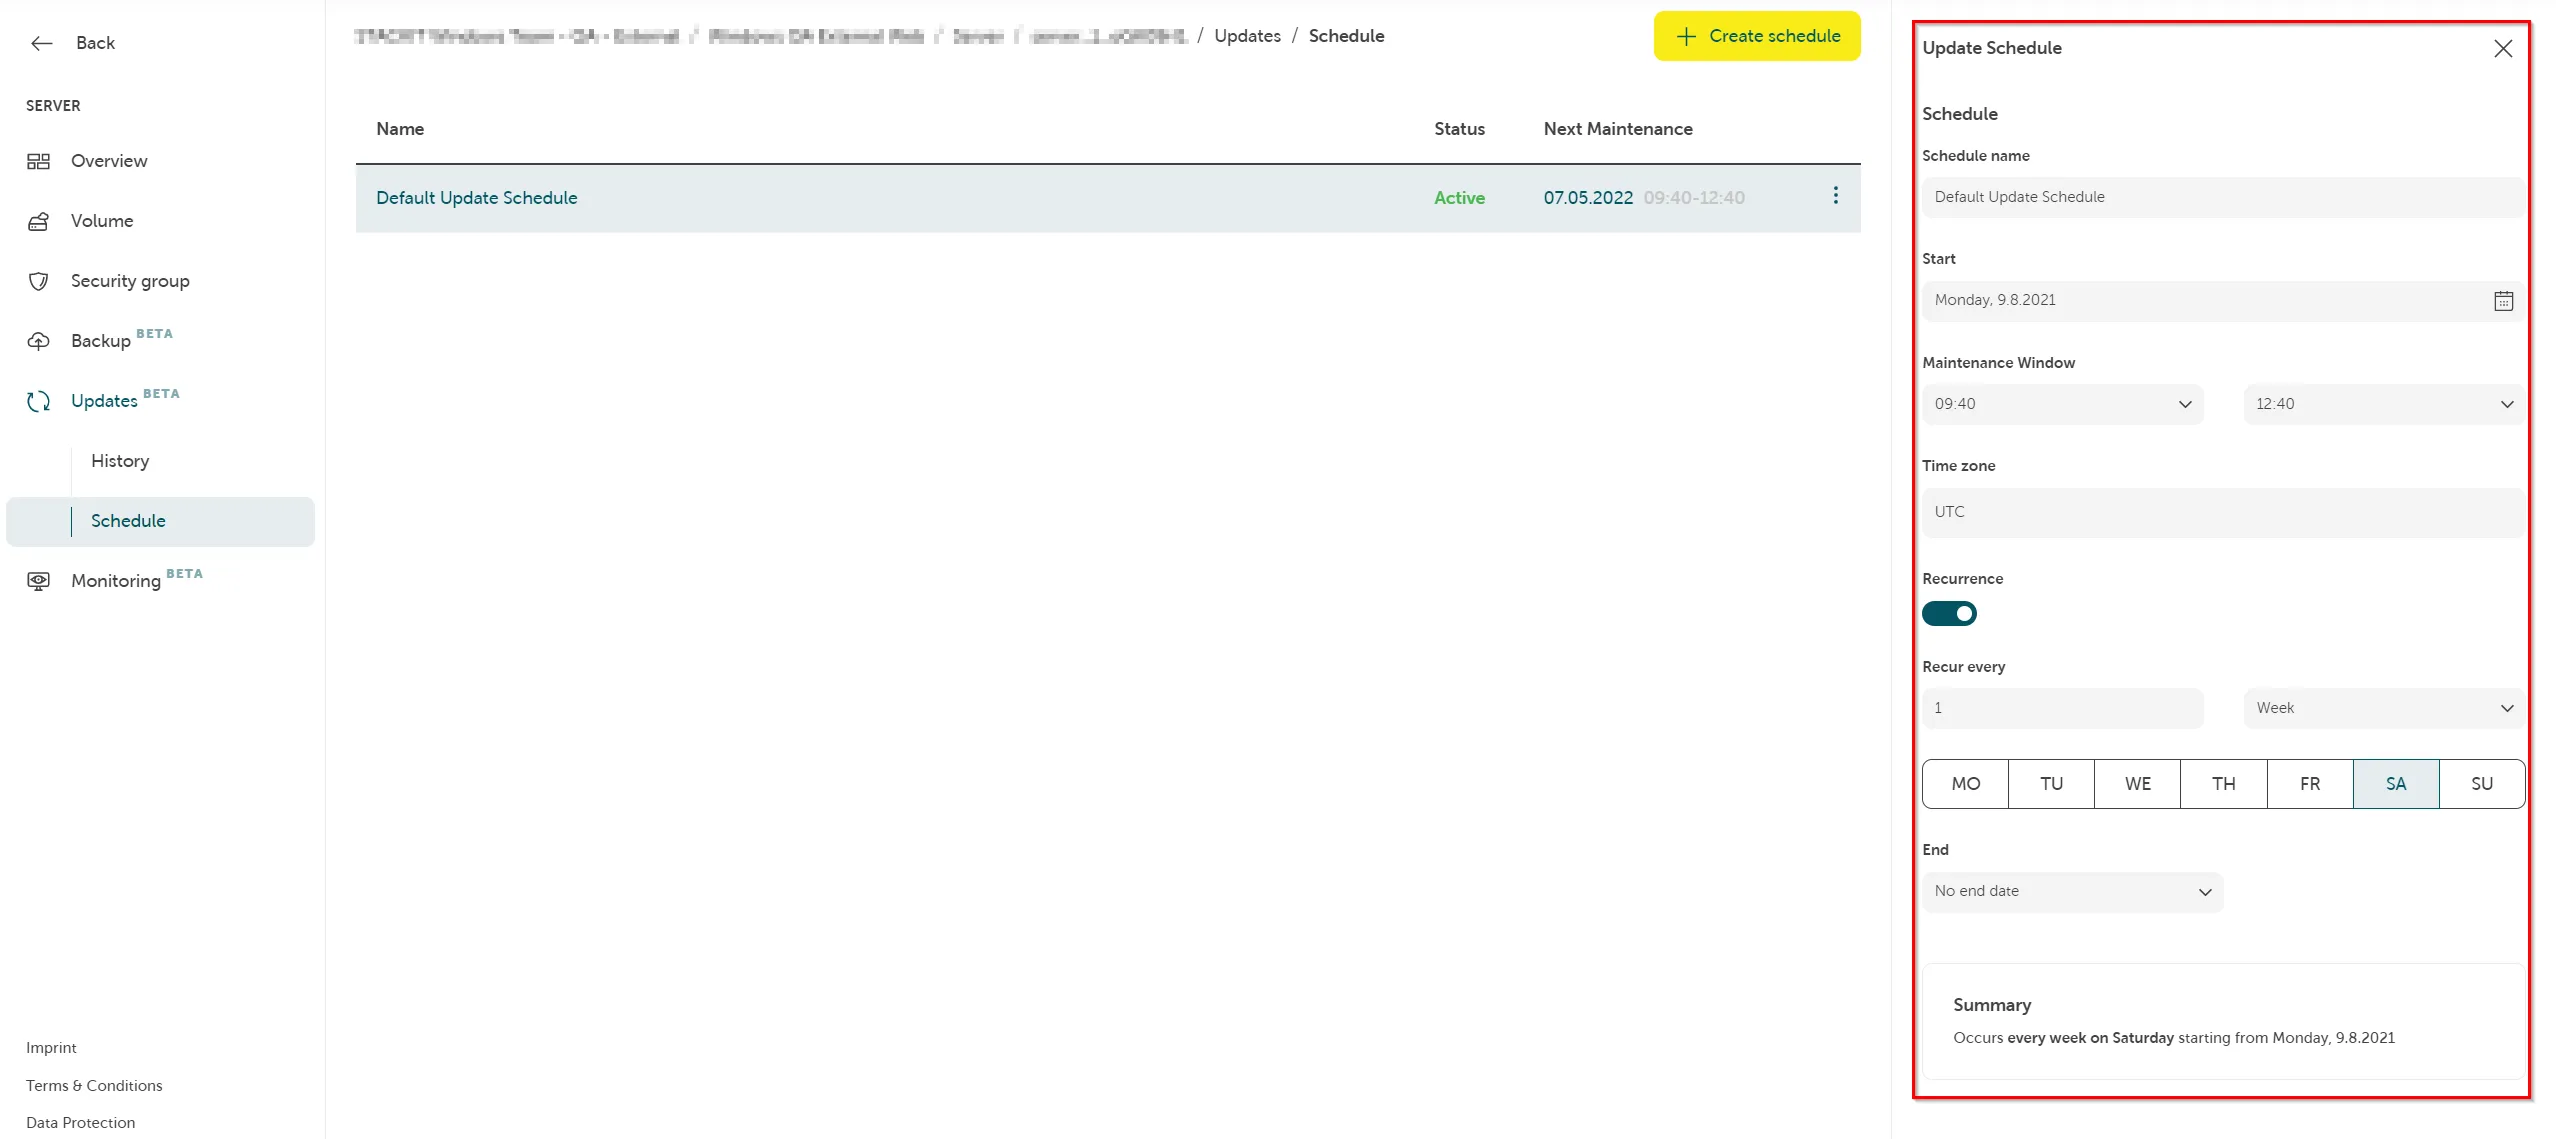
Section titled “Update schedule”In the Schedule pane, you have all defined update schedules listed at a glance. On a managed server, the Default Update Schedule is always created automatically for you.
You can click on Create schedule to create a new update schedule as you desire:
Configure your schedule and click on Create:
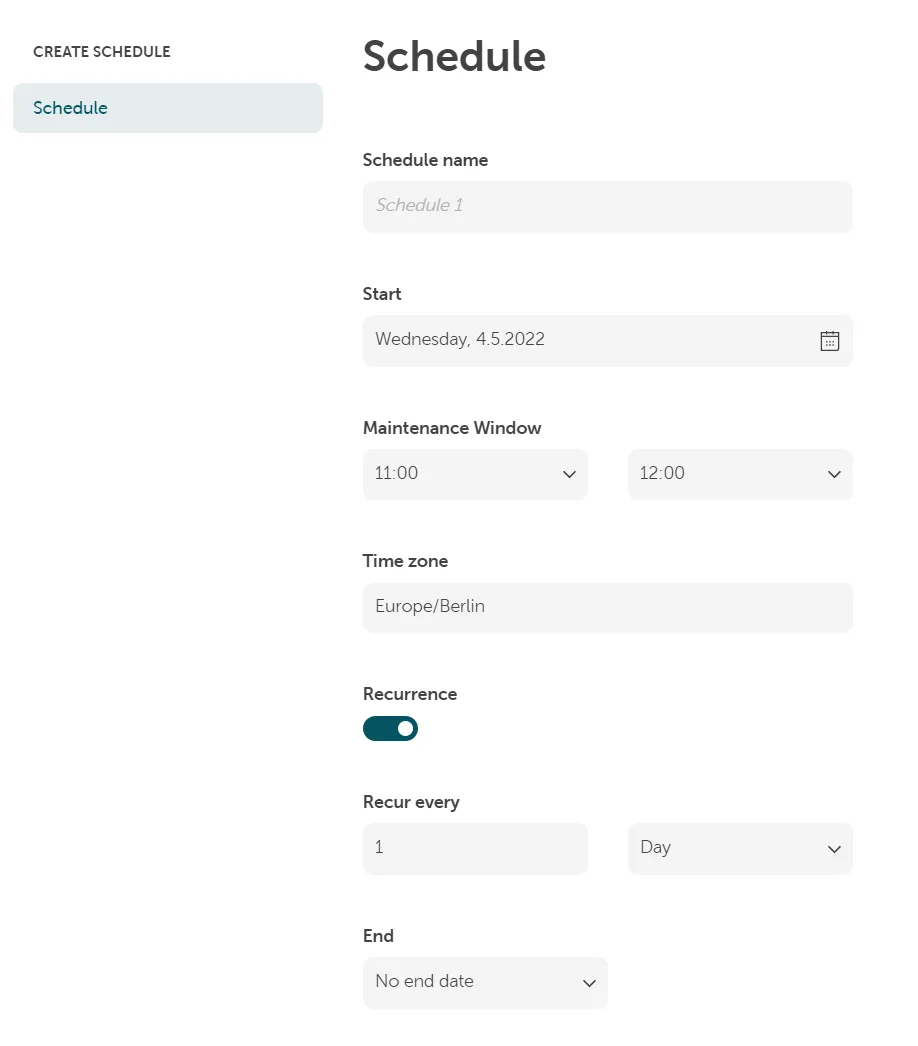
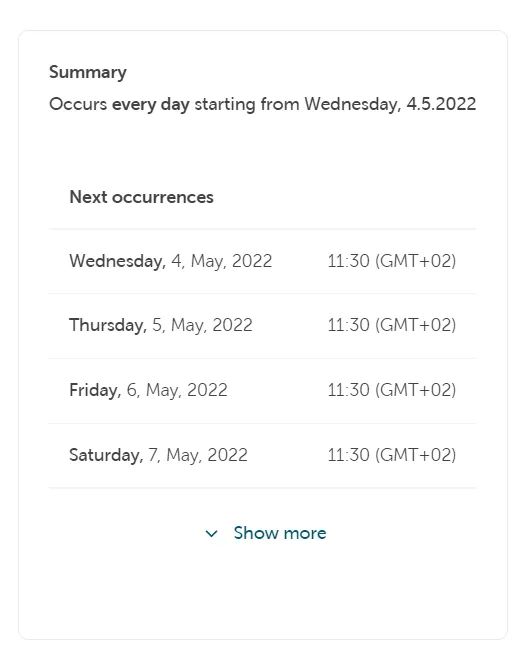
You can also quickly change your configuration of already existing update schedules on the right pane:
Managing your updates via API
Section titled “Managing your updates via API”If you want to change the default configuration of your updates, you can do so by using our MOSS API (Managed Operations on STACKIT Servers API).
If you want to change the default configuration of your Updates, you can do so by using our MOSS API (Managed Operations on STACKIT Servers API).
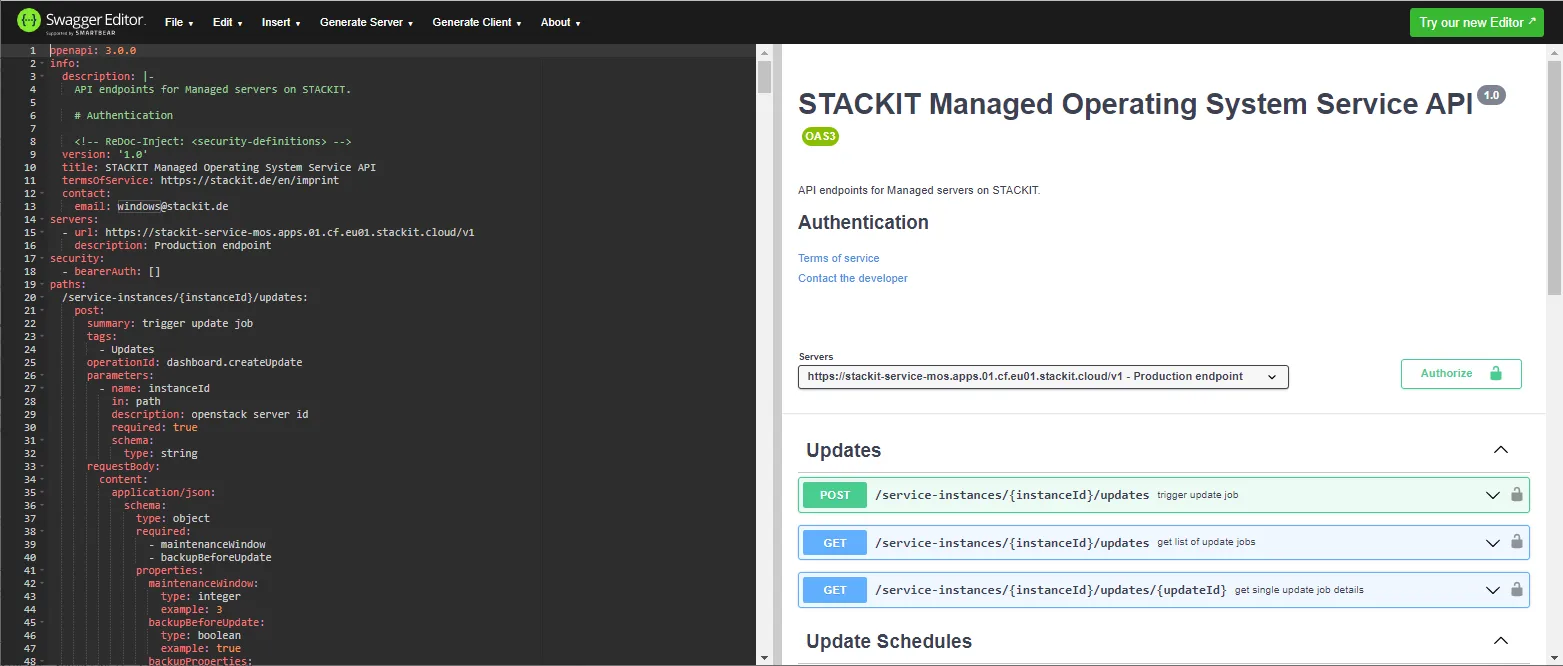
A detailed documentation of all available API endpoints and requests including examples can be found using the swagger.json and a tool like the Swagger Editor to read the file.
Examples for useful API requests
Section titled “Examples for useful API requests”Updates
Section titled “Updates”Trigger a new update job.
POST https://stackit-service-mos.apps.01.cf.eu01.stackit.cloud/v1/service-instances/{instanceId}/updatesBody (in JSON format):
{ "maintenanceWindow": 2 }The maintenance window number defines the downtime of your server in hours.
POST https://stackit-service-mos.apps.01.cf.eu01.stackit.cloud/v1/service-instances/{instanceId}/update-schedulesGet the status and results of the update job.
GET https://stackit-service-mos.apps.01.cf.eu01.stackit.cloud/v1/service-instances/{instanceId}/updates/{updateId}Update schedules
Section titled “Update schedules”Create a new update schedule.
POST https://stackit-service-mos.apps.01.cf.eu01.stackit.cloud/v1/service-instances/{instanceId}/update-schedulesBody (in JSON format):
{ "name": "Default Update Schedule", "rrule": "DTSTART;TZID=Europe/Sofia:20200803T134000 RRULE:FREQ=WEEKLY;INTERVAL=1;BYDAY=SA", "enabled": true, "maintenanceWindow": 2 }When creating an update schedule, you need to provide the settings in RRULE format via the API. More information about that standard can be found in the RFC5545. An application for testing and demonstration is available here.
More examples of API requests can be found in the swagger documentation.
Recurring image release process
Section titled “Recurring image release process”As a customer, please always make sure to use the latest active image when creating servers via API. See Find old versions of an image.