Installation and deployment guide
Last updated on
Credentials to access the system
Section titled “Credentials to access the system”There are a number of different credentials for accessing the iCAS system after deployment.
Windows login
Section titled “Windows login”To log in to the Windows server, the local user admin should be used. The associated password is generated randomly and displayed in the Terraform output.
iCAS iAdmin login
Section titled “iCAS iAdmin login”The default credentials can be used to log in to the iCAS administration tool iAdmin. These can be changed afterwards.
| Username | user |
|---|---|
| Password | password |
| Pin | 0000 |
SMB access for business applications
Section titled “SMB access for business applications”The credentials for the created SMB shares can be found in the log directory (default: C:\iCASDeployment).
Installation process
Section titled “Installation process”Please do not carry out any manual configurations, changes or server restarts until the deployment process has been completed. This would lead to an uncontrolled interruption, leaving the system in an unusable state.
Once the deployment has been started, the iCAS Server is provided, installed and configured completely automatically. As soon as the Terraform output reports successful deployment, you can connect to the server via the web console in the STACKIT portal, for example. In the first step, the server is deployed and some downstream settings are made. The completion of this step is indicated by a message box in the web console.
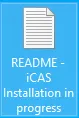
The Windows login can then take place. The local user admin is used by default. The associated password is generated randomly and displayed in the Terraform output. After the Windows server is ready, the iCAS installation and configuration is started automatically in the background. This process is indicated by a README file on the desktop. As long as this file exists, the iCAS installation and configuration is not yet complete. No manual changes may be made to the system during this time. The current progress can be viewed in the log file mentioned in the README.
To complete the entire deployment, the server is restarted. The iCAS server can then be used. As soon as the server has been restarted, you can use the system.
Deployment
Section titled “Deployment”-
Open a command line prompt.
For this example we assume a bash shell (e.g. git bash) and that all files (
terraform.exe,.env, terraform files and deployment files from GitHub) are located in the same directory.
If you are not using a bash shell, but another tool, the variables from the.envmust be adjusted or set directly in the Terraform files.
If you have named the.envfile differently, replace the file accordingly hereinafter.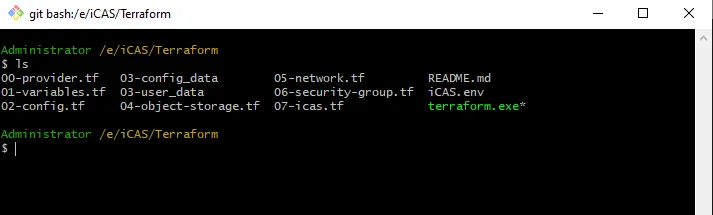
-
Ensure that all values in the
.envfile are set.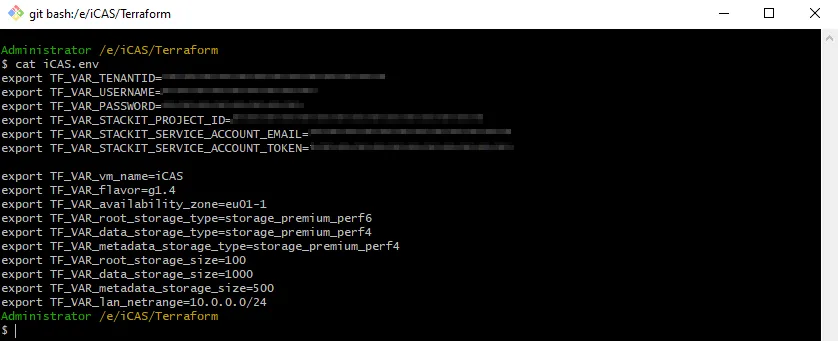
-
Ensure that all values in the iCAS configuration file 03-config_data are set.
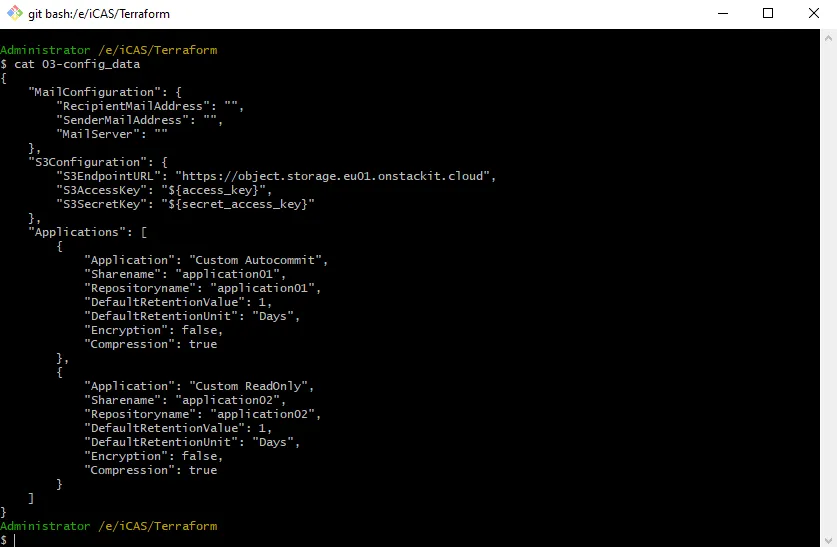
-
Initialize the.env variables.
Terminal window source.env
-
Initialize the environment (only required during the first execution).
Terminal window terraform init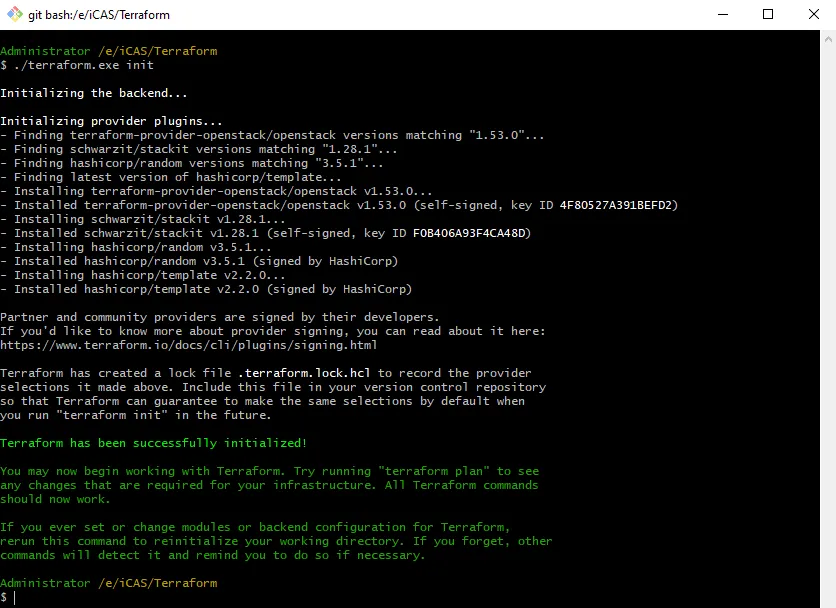
-
Plan the deployment (optional).
Terminal window terraform plan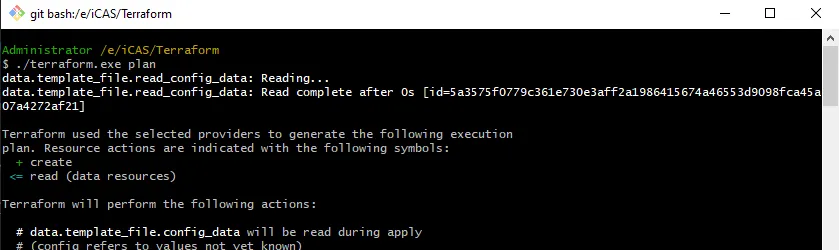
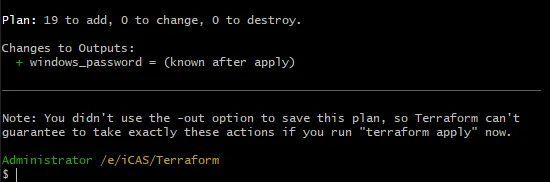
-
Run the deployment.
Terminal window terraform apply
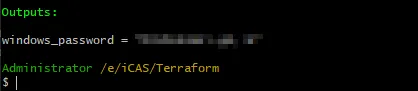
-
Wait until the first deployment step is finished and displayed by a message box.
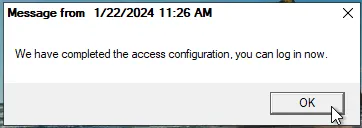
-
Now it is possible to log in. The still running iCAS installation is displayed by a text file on the desktop.
-
Wait until the server restarts automatically. This could take some time. After the restart and a log in the iCAS installation is finished.
Additional information
Section titled “Additional information”If the iCAS VM is to be used productively, please contact the iTernity Sales Team to discuss the next steps.
If you have any questions or problems with the deployment, please contact STACKIT Support or iTernity Support, depending on the area of your request.
For requests regarding Terraform deployment and virtual infrastructure, please contact STACKIT.
For requests regarding the iCAS installation, please contact iTernity.