Create a cluster
Last updated on
This tutorial guides you through the steps required to create a Kubernetes Cluster in the STACKIT Portal.
Enable Kubernetes for your project
Section titled “Enable Kubernetes for your project”After creating a STACKIT project, you need to enable the Kubernetes service. To do so:
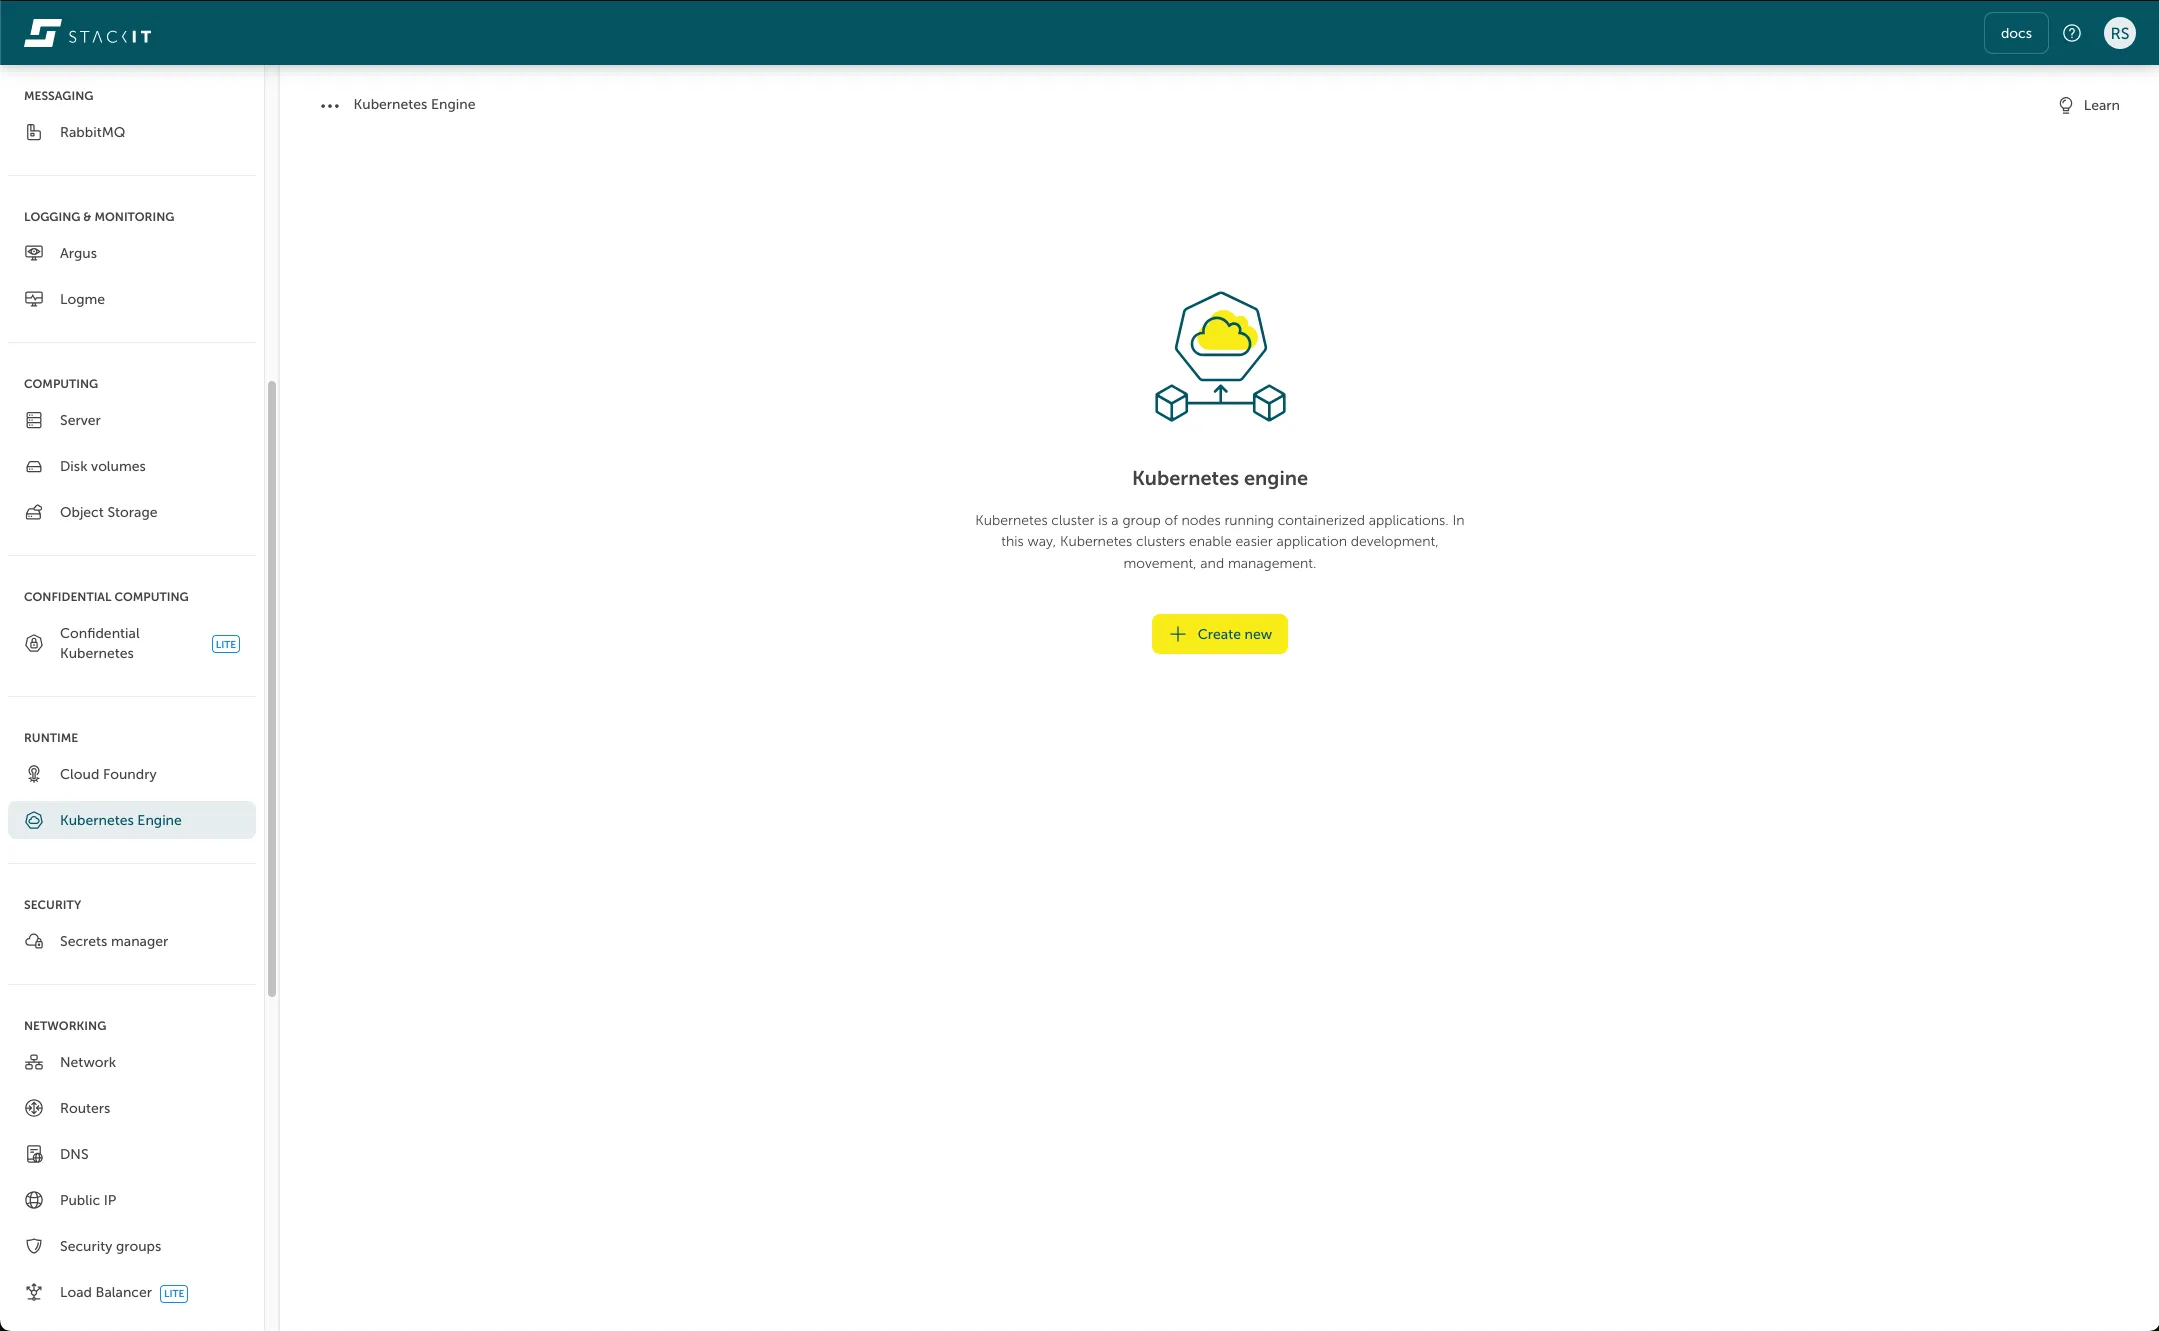
- Click on Runtime > Kubernetes Engine
- Click on Enable.
- Wait a few seconds until Kubernetes is enabled.
Create a Kubernetes cluster
Section titled “Create a Kubernetes cluster”To create a SKE cluster
- Click on Runtime > Kubernetes Engine.
- Click on Create cluster.
- Define a cluster name if you want or accept the generated one. The name is immutable, so it can not be changed after the creation of the cluster.
- Define the Kubernetes version for your cluster. The latest supported version is selected by default. It is only recommended changing it if you have specific version requirements.
- Click on Create node pool to add a node pool to your cluster. A node pool defines a set of virtual machines, that will join your cluster (For further information on what options are available for node pools, please take a look at node pool).
- Click on save to add the node pool to your cluster.
- Add another node pool, monitoring, or access control. (Optional)
- Click on Order fee-based
Network Area clusters
Section titled “Network Area clusters”Clusters created in SNA-projects (STACKIT Network Area) must be assigned to a pre-existing network, which needs to be set up in advance.
The provided network will be used for all Nodes/VMs and ports throughout the cluster’s lifecycle.
Since the size of the IPv4 network cannot be changed after the network has been created, it is essential to select a network size that allows future scalability.
Each Node/VM occupies one IP address. Each STACKIT Load Balancer requires 5 IP addresses.
Additionally, the network itself requires at least one IP address for the router interface.
During rolling updates, additional IPs will be temporarily required. The amount depends on the number of node-pools, zones and the maxSurge value. Additionally, every Load balancer requires two extra IP addresses during a rolling update.