Add a custom domain to your distribution
Before adding a Custom Domain for a Distribution, please head to your DNS Settings and add a CNAME Record pointing to your Distribution’s STACKIT branded domain.
You can add your custom domain with the help of the “Add domain” button.
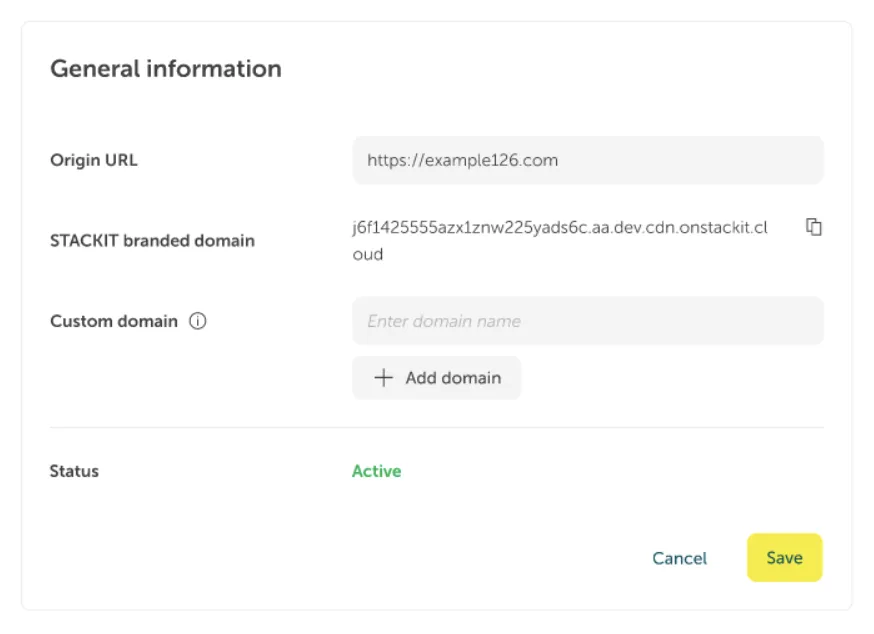
You can add multiple custom domains to your distribution.
When you create all your custom domains you can save your changes by clicking the “Save” button.
Description on how to add a custom domain to your distribution via API.
| Request | |
|---|---|
| PUT | /v1/projects/{projectId}/distributions/{distributionId}/customDomains/{domain} |
Required parameter
Section titled “Required parameter”| Name | Datentyp | Required |
|---|---|---|
| projectId | String | yes |
| distributionId | String | yes |
| domain | String | yes |
Response
Section titled “Response”Example value
Section titled “Example value”{ "domain": "example.com"} SDK functions are not available yet.
Terraform functions are not available yet.