Eine neue Instanz erstellen
Zuletzt aktualisiert am
Instanziierung eines neuen Servers
Abschnitt betitelt „Instanziierung eines neuen Servers“Erstellen Sie innerhalb eines angelegten Projekts einen neuen Server, indem Sie auf Server erstellen klicken. Dadurch wird der Konfigurationsassistent geöffnet.

Konfigurationsoptionen
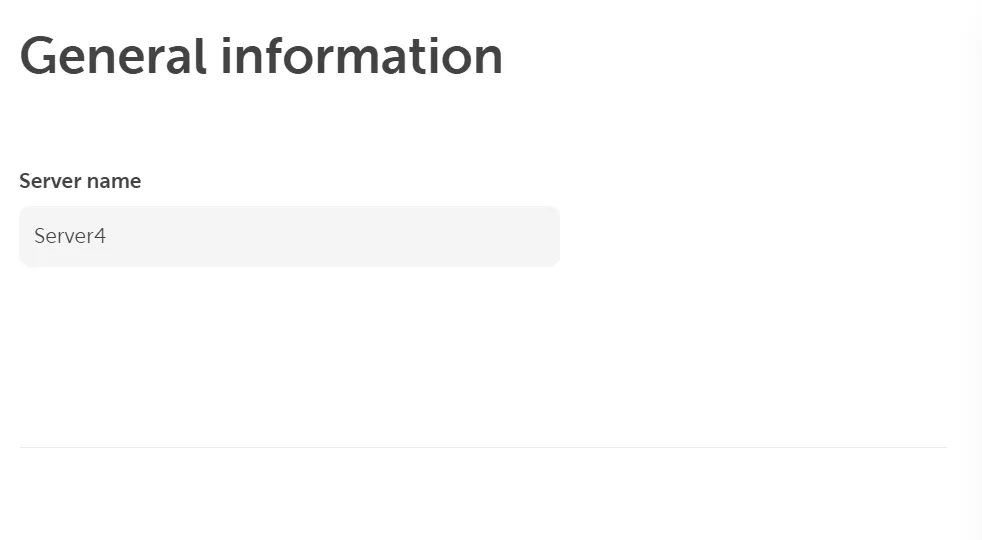
Abschnitt betitelt „Konfigurationsoptionen“- Geben Sie unter Allgemeine Informationen einen Namen für Ihren Server ein.
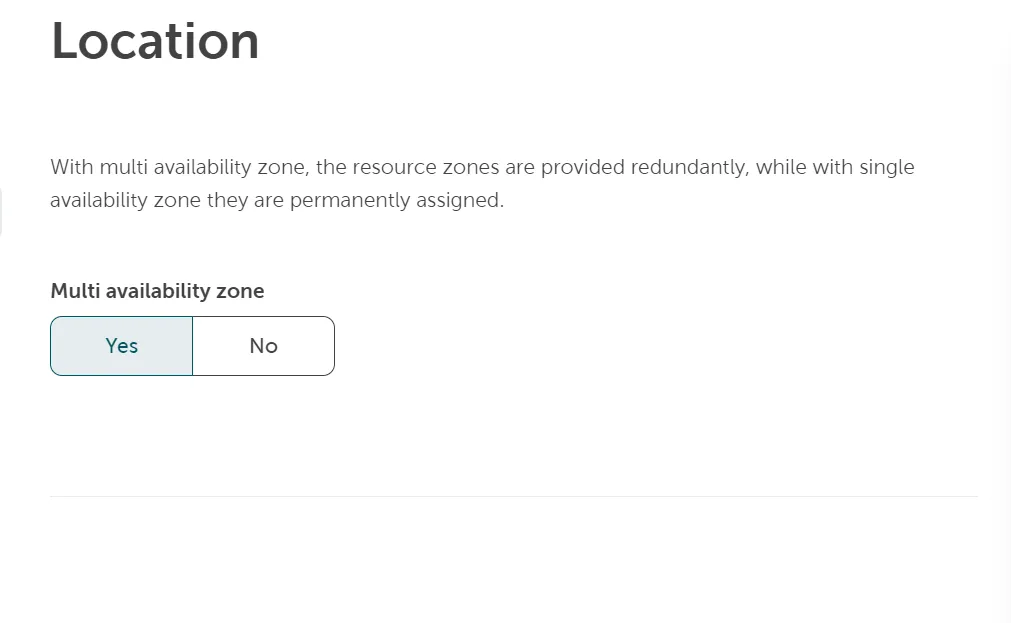
- Legen Sie den Standort Ihres neuen Servers fest. Wenn Sie Redundanz nach Standort wünschen, finden Sie weitere Informationen zu den Regionen und Verfügbarkeitszonen.
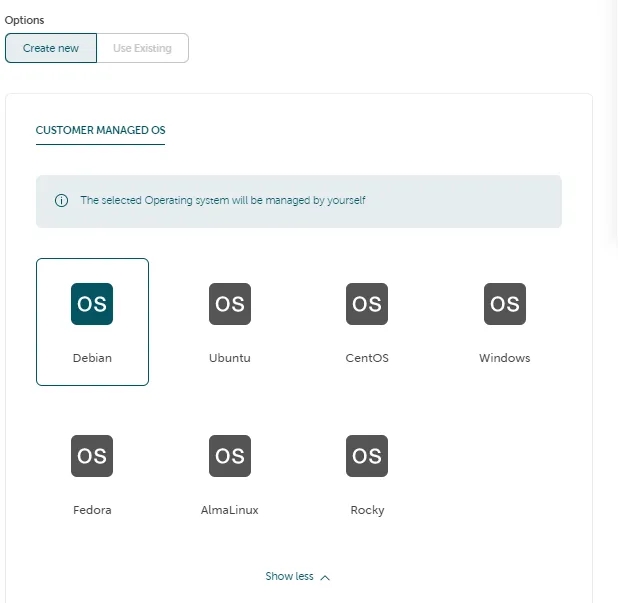
- Wählen Sie das gewünschte Betriebssystem und die Version aus der Liste aus.
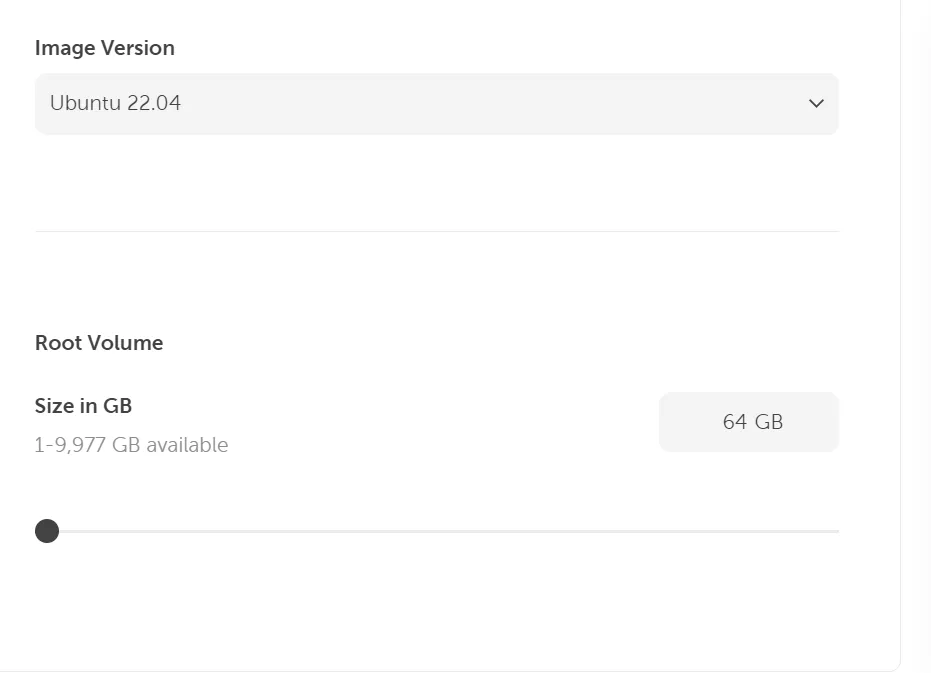
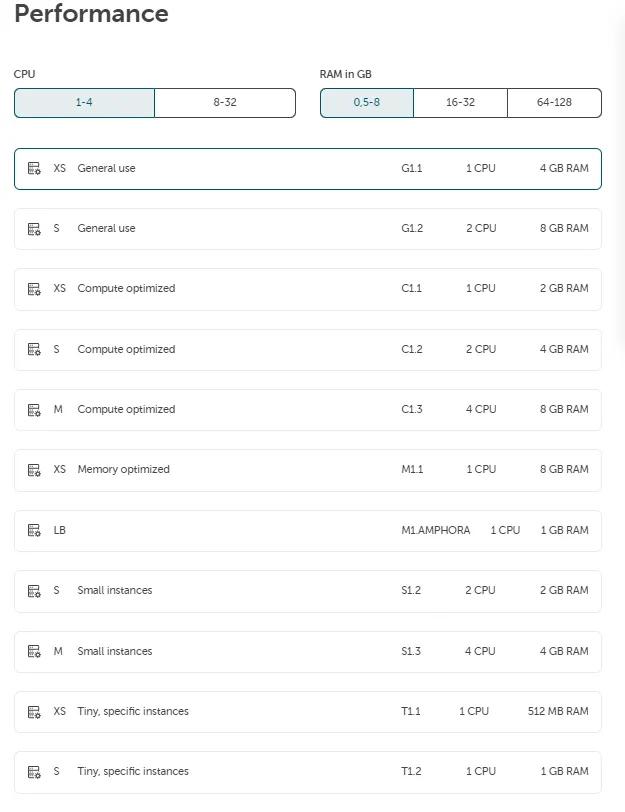
- Wählen Sie unten den gewünschten Flavor abhängig von der benötigten Leistung aus. Dies beinhaltet die Anzahl der virtuellen CPUs, den maximal nutzbaren Arbeitsspeicher (Memory) und die Festplattenkapazität. Die Flavors sind nach verschiedenen Anwendungsfällen gruppiert (General use, Processor Optimized, RAM optimized und Small packages). Wählen Sie innerhalb der Gruppierungen die gewünschte Größe (XS bis XL). Siehe: Maschinentypen
- Zusätzliche Speicher-Volumes können dem Festplattenspeicher über Disk-Volumes hinzugefügt werden, die einfach an den Server angehängt werden können. Siehe: STACKIT Block Storage.
Netzwerk konfigurieren
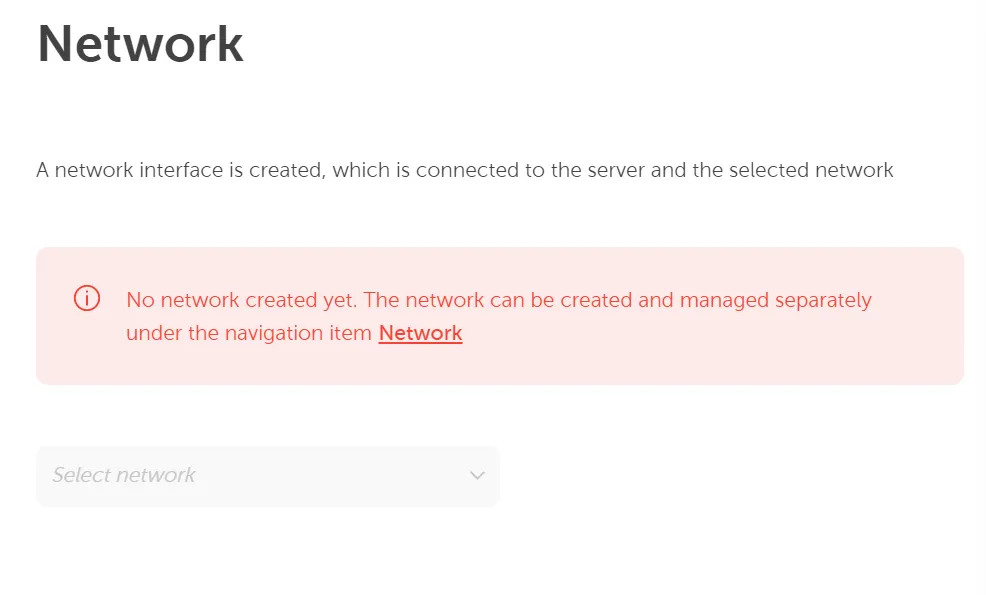
Abschnitt betitelt „Netzwerk konfigurieren“Der nächste Schritt ist die Konfiguration des Netzwerks.
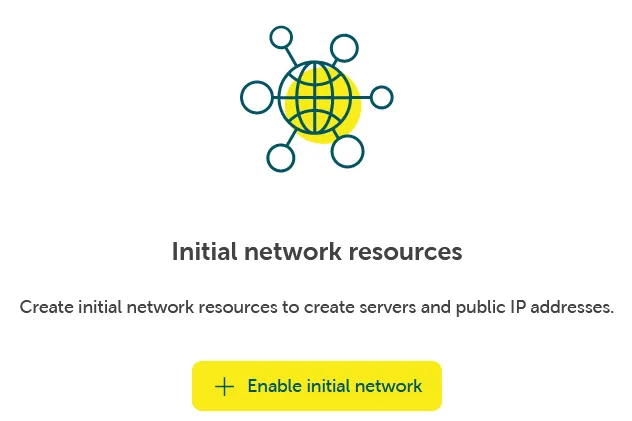
Falls noch kein Netzwerk zur Bereitstellung des Servers vorhanden ist, kann eine Netzwerkumgebung über Networking → Network → Initiales Netzwerk aktivieren erstellt werden.
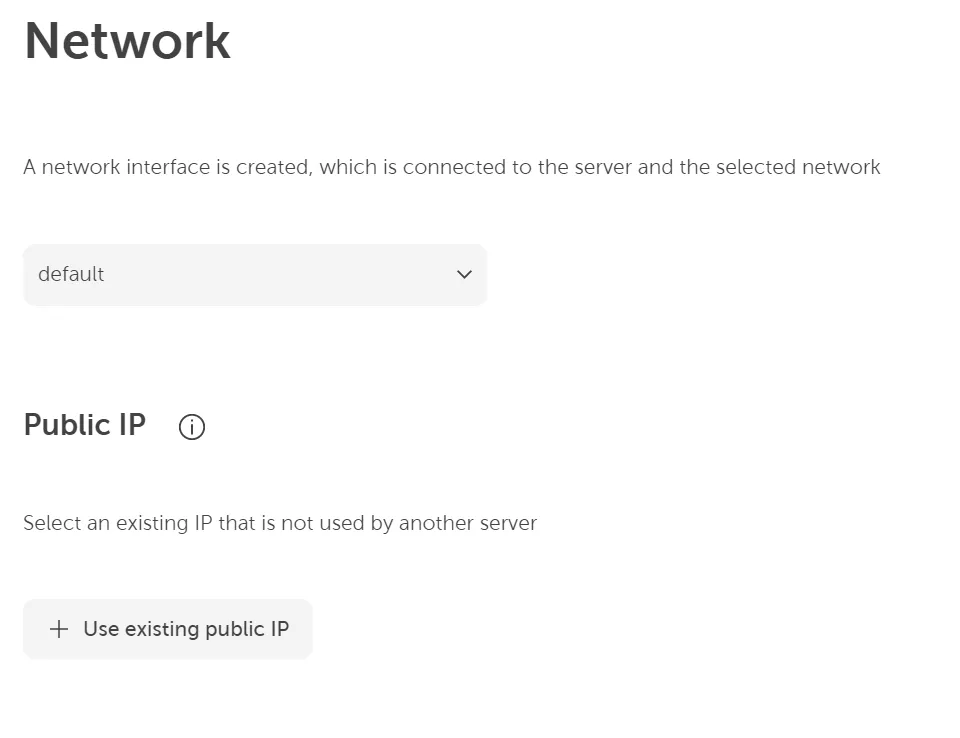
Wenn in diesem Projekt bereits ein Netzwerk erstellt wurde, können Sie es aus der Liste auswählen.
Eine öffentliche IP-Adresse kann einfach hinzugefügt werden, wenn Sie bereits über vorhandene verfügen, indem Sie auf Vorhandene öffentliche IP verwenden klicken. Oder Sie können solche Adressen über Networking → Network → Öffentliche IP → Öffentliche IP erstellen auf Projektebene erstellen und zuweisen. Über diese Adresse ist der Server von außen erreichbar. Dies ist hier im Detail beschrieben: Öffentliche IP-Adresse erstellen.
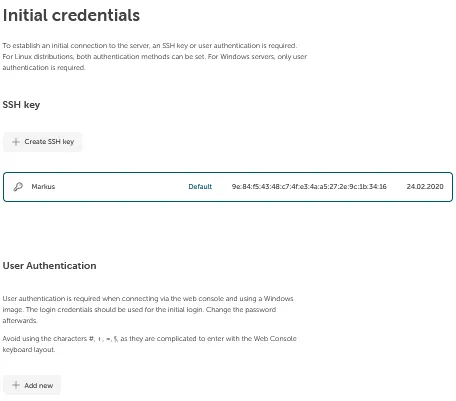
Zugangsdaten
Abschnitt betitelt „Zugangsdaten“Abschließend können Sie dem Server initiale Zugangsdaten geben, damit Sie sich anschließend am Server authentifizieren und anmelden (z. B. via SSH) können. Hier stehen zwei Optionen zur Verfügung:
SSH-Key: Durch Klicken auf Neu hinzufügen können Sie einen öffentlichen SSH-Key hinterlegen, damit Sie sich über das private Gegenstück via SSH am Server anmelden können.
Benutzerauthentifizierung: Wenn Sie sich über die Web-Konsole mit dem Server verbinden möchten, benötigen Sie initiale Benutzerpasswort-Zugangsdaten, da hier kein SSH-Key verwendet werden kann. Erstellen Sie Zugangsdaten durch Klicken auf Hinzufügen. Diese Zugangsdaten können Sie z. B. für die Web-Konsole verwenden (siehe Zugriff auf Ihren Server über die Web-Konsole).
Wenn der Server wie gewünscht konfiguriert ist, kann er durch Klicken auf Kostenpflichtig bestellen erstellt werden. Nach einigen Sekunden sollte die neue Instanz unter dem Reiter Server mit dem Status Running erscheinen. Die VM ist dann bereits gestartet.