Eine Instanz verwalten
Zuletzt aktualisiert am
Service-Konfiguration
Abschnitt betitelt „Service-Konfiguration“Sobald Ihr Server verfügbar ist, ändert sich sein Status von … Build zu Active.

An dieser Stelle können Sie einige zusätzliche Eigenschaften wie folgt überprüfen oder ändern:
Identifikation
Abschnitt betitelt „Identifikation“Zeigt die eindeutige Server-ID an, mit der die Instanz identifiziert werden kann:

Allgemeine Informationen
Abschnitt betitelt „Allgemeine Informationen“Hier finden Sie eine Übersicht über die Basiskonfiguration des Servers:

Hier können Sie den Namen der Server-Instanz ändern.
Spezifische Availability Zone
Abschnitt betitelt „Spezifische Availability Zone“Performance
Abschnitt betitelt „Performance“Hier sehen Sie den gewählten Flavor. Die konfigurierten Performance-Werte können nicht über das Portal geändert werden. Sie haben jedoch die Möglichkeit, diese entsprechend über die CLI/API anzupassen.
Weitere Informationen finden Sie unten:
Private IP
Abschnitt betitelt „Private IP“Sobald die Instanz erstellt wurde, wird ihr über DHCP eine dynamische IP-Adresse im internen Netzwerk zugewiesen. Diese wird jedoch als feste IP/Lease-Adresse verwendet, bis der Netzwerkadapter der Instanz oder die Instanz selbst gelöscht/neu erstellt wird oder andere Änderungen über API/CLI vorgenommen werden.
Die private IP kann in die Zwischenablage kopiert werden.
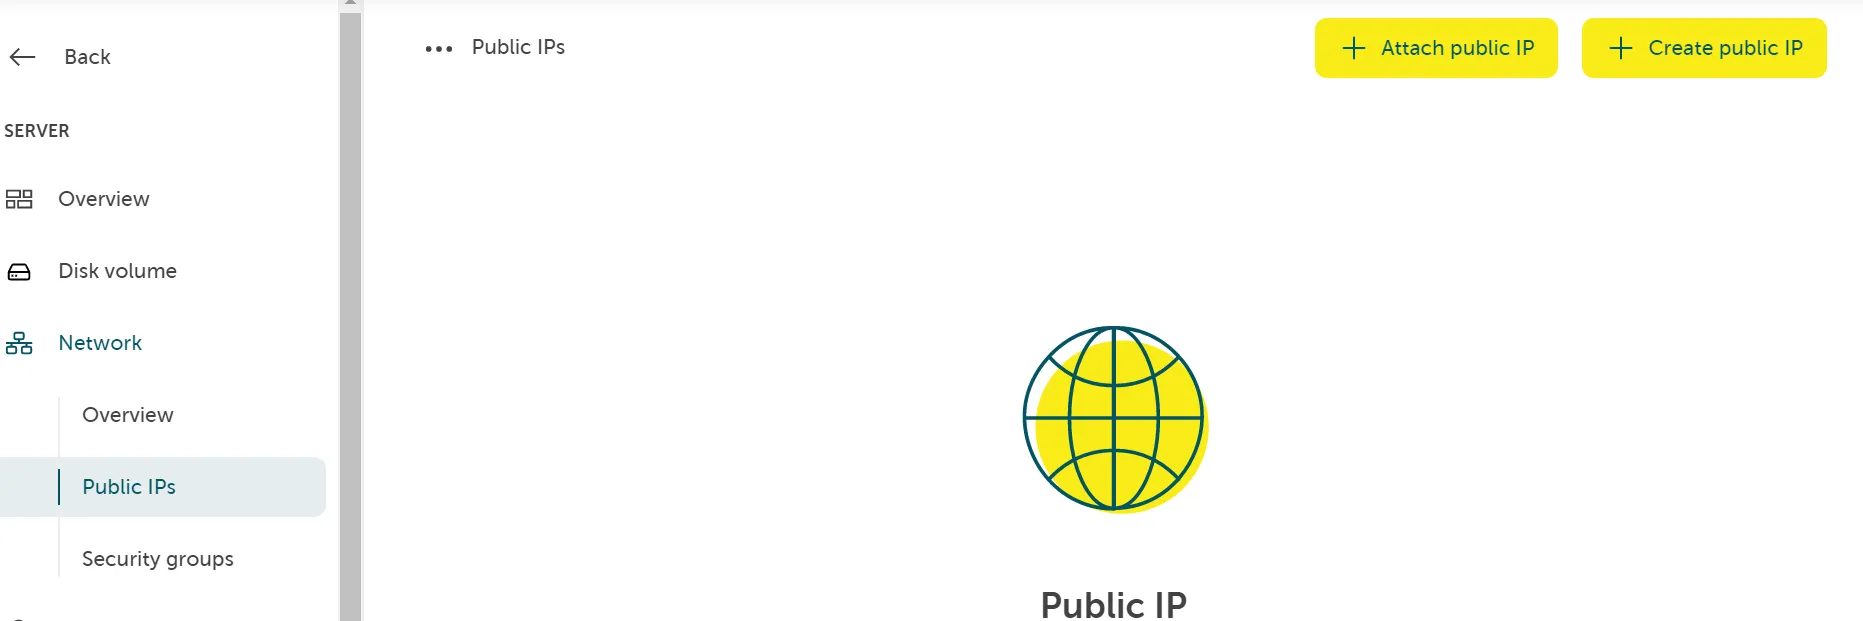
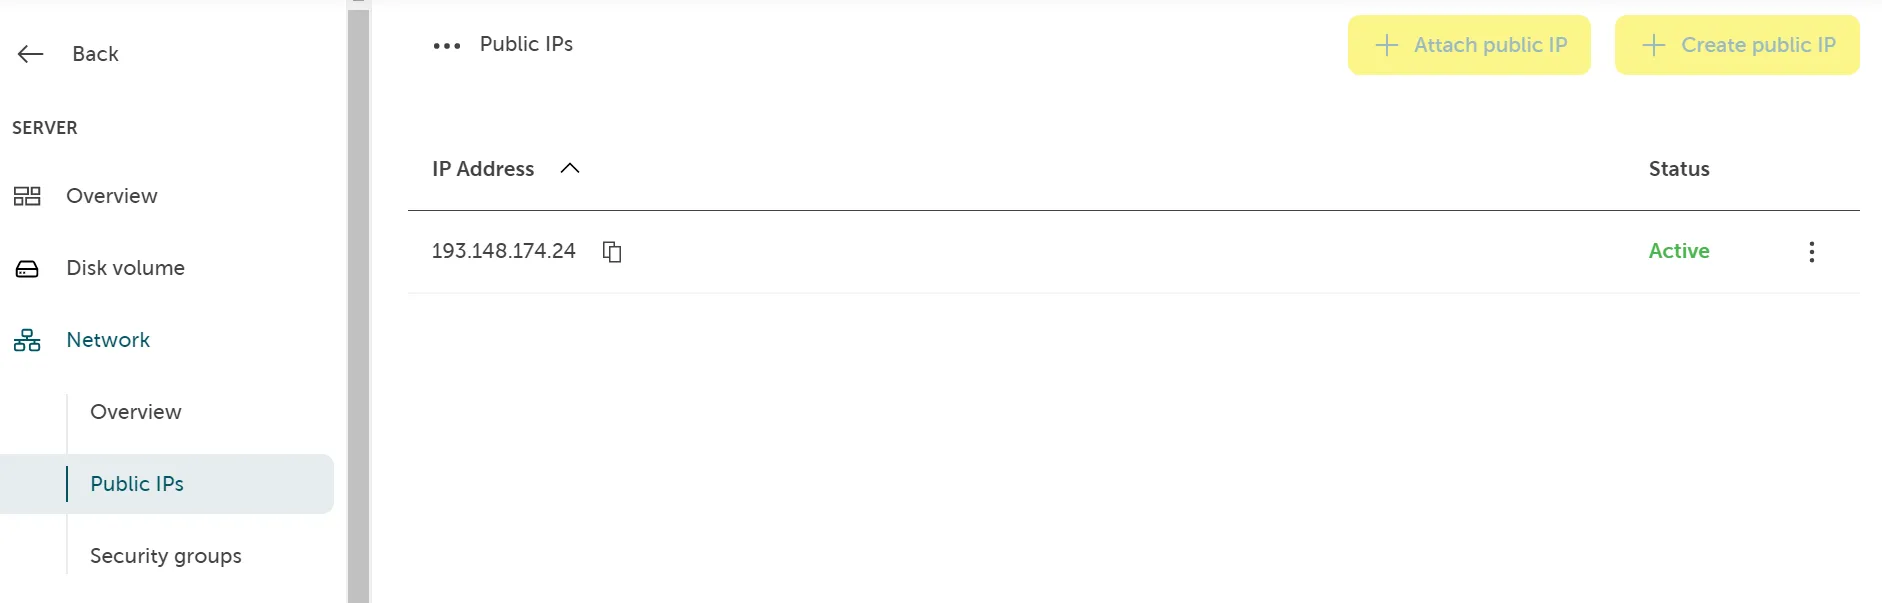
Public IP
Abschnitt betitelt „Public IP“Sie können Ihrem Server eine öffentliche IP-Adresse hinzufügen und/oder entfernen. Gehen Sie zum Abschnitt Network und fügen Sie eine bestehende hinzu oder erstellen Sie eine neue:
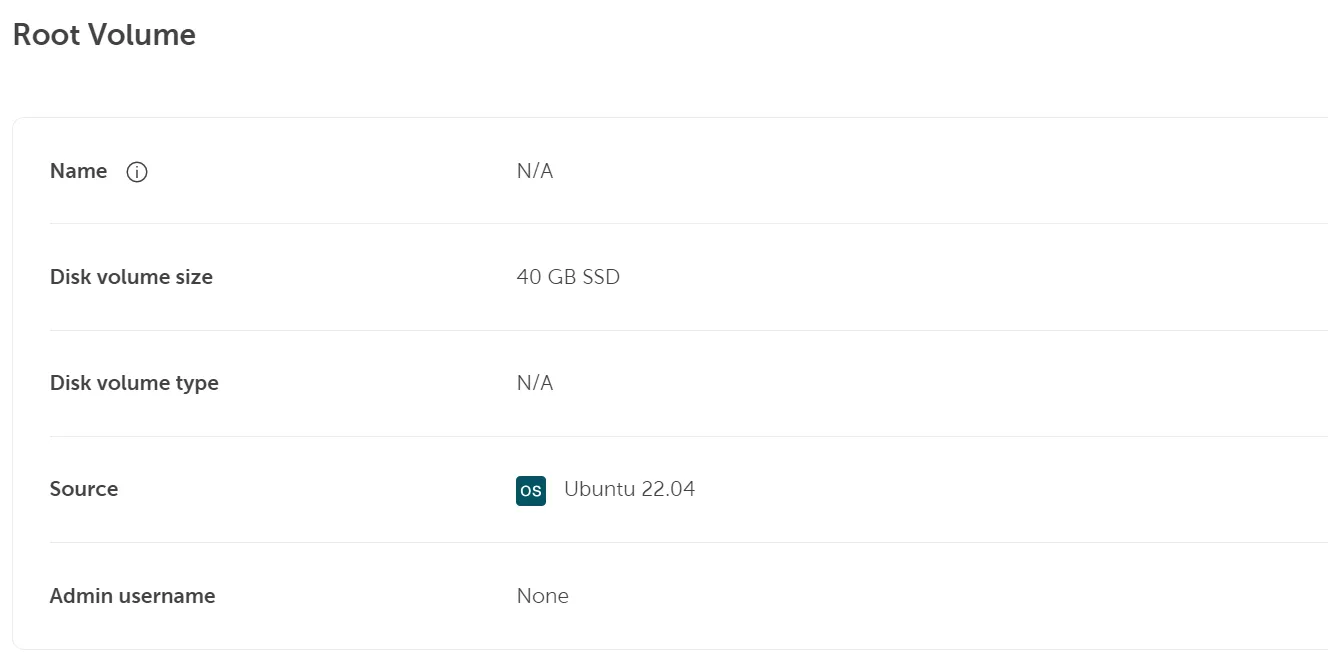
Root-Volume
Abschnitt betitelt „Root-Volume“Hier finden Sie detaillierte Informationen über das Boot-Volume, einschließlich der Volume-Größe und der Betriebssystemversion.
Weitere Optionen
Abschnitt betitelt „Weitere Optionen“Zusätzlicher Datenspeicher, Ändern der Sicherheitsgruppe, Erzeugen eines Benutzer-Zugriffstokens
Abschnitt betitelt „Zusätzlicher Datenspeicher, Ändern der Sicherheitsgruppe, Erzeugen eines Benutzer-Zugriffstokens“- Erstellen zusätzlicher Datenspeicher
- Sicherheitsgruppen erstellen und verwalten
- Erzeugen eines Benutzer-Zugriffstokens
Bei der VM selbst können Sie auch Funktionen nutzen, die das Verhalten der VM direkt beeinflussen. Diese Funktionen werden im Folgenden beschrieben.
Die Verwaltung der Datenträger finden Sie im Portal unter Komponenten → Server.
Start- / Stopp- / Neustart-Funktionen
Abschnitt betitelt „Start- / Stopp- / Neustart-Funktionen“Über das Funktionsmenü können Sie Ihre VM(s) auswählen:
- Start (wenn sie ausgeschaltet sind)
- Stopp (wenn sie eingeschaltet sind)
- Neustart (wenn sie eingeschaltet sind)
Funktionen der Web-Konsole
Abschnitt betitelt „Funktionen der Web-Konsole“- (Optional) Über die Web-Konsole auf Ihren Server zugreifen
- (Optional) Eine bestehende Linux-Instanz löschen