Create a new instance
Zuletzt aktualisiert am
Prerequisites
Section titled “Prerequisites”Before getting started, contact the support team to set up a customer account.
Instantiation of a new STACKIT Server instance
Section titled “Instantiation of a new STACKIT Server instance”Within a created project, create a new server by clicking on Add server. This opens the configuration wizard.
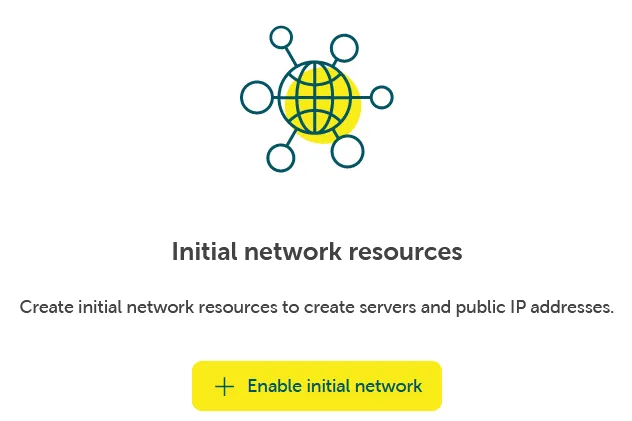
If a network isn’t already available to provide the server, a network environment can be provided using Networking → Network → Enable initial network.
Configuration options
Section titled “Configuration options”Enter a name for your server under General and select the desired operating system from the list:
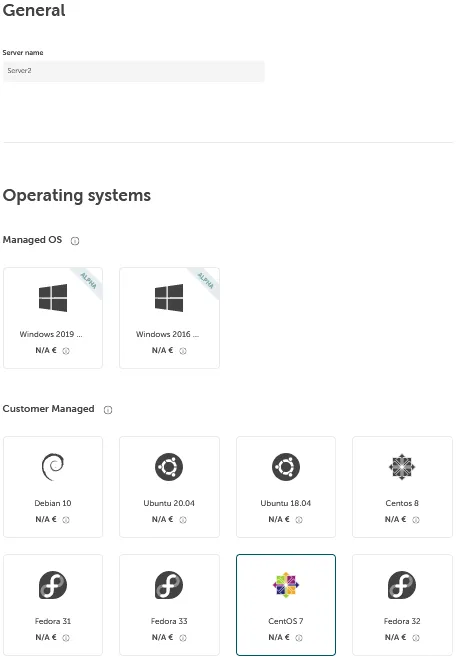
- Depending on the required performance, select a desired flavor below. This includes the number of virtual CPUs and maximum usable RAM and hard disk storage capacity. The flavors are grouped by different use cases (General Use, Processor Optimized, RAM Optimized and Small Packages). Within the groupings, the desired size (XS to XL) can be selected.
- Additional data carriers can be added to the hard disk storage via Additional storage, which can be attached to the server.
Configure the network
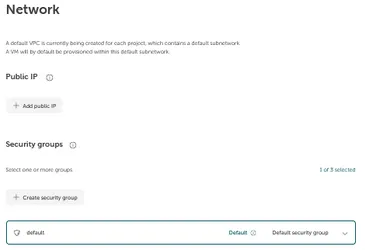
Section titled “Configure the network”The next step is to configure the network:
First, a public IP address can be added by clicking on Add public IP. The server can be reached from outside via this address. This is described in detail here: Manage public addresses
The security groups are then configured. Desired access rights (firewall rules) can be granted. This can also be done at a later time. Further information can be found at: Create and manage Security Groups
Credentials
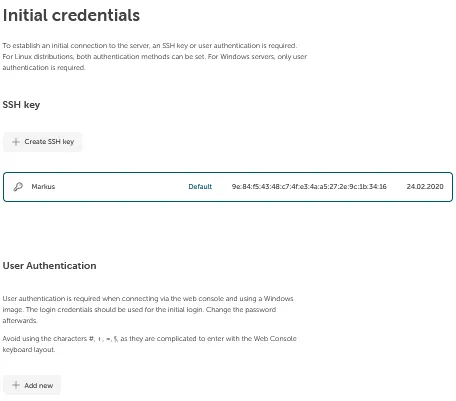
Section titled “Credentials”Finally, you can give initial credentials to the server so that you can authenticate and log in to the server afterwards (for example., via SSH). Two options are available here:
- SSH key: Clicking on Add new allows you to store a public SSH key so that you can log in to the server via SSH using the private counterpart.
- User authentication: If you use a Windows image or want to connect to the server via web console, you need initial user password credentials. SSH keys can’t be used here. This can be created by clicking on Add. You may use these credentials for the web console (see Access your server using the web console).
If the server is configured as desired, it can be created by clicking on Order fee-based. After a few seconds, the new instance should appear under the Server tab with the status Running. The VM is then started.