Authentication
Zuletzt aktualisiert am
Introduction
Section titled “Introduction”This guide provides instructions on how to authenticate with your STACKIT Edge Cloud (STEC) instances. You can authenticate as a user through the command-line interface (CLI) and the web UI, or set up machine-to-machine authentication for automated processes.
For a high-level introduction on authentication and the different authentication layers please refer to the advanced authentication documentation. This guide only outlines the steps required to get you started.
User authentication
Section titled “User authentication”Use this method when you need to interact directly with your STACKIT Edge Cloud (STEC) instance as a human user.
The kubeconfig you get for your STEC instance contains a permanent, secret access token that you cannot revoke. Anyone with this token can perform actions based on its assigned permissions. You must protect the kubeconfig file from unauthorized access.
In this workflow you authenticate via the web UI using an access token retrieved from the STACKIT CLI.
Prerequisites
Before you begin, you need the following:
- A user account with access to the STACKIT project where your STEC instance is running.
- The edge.admin role.
Steps
-
Login with the STACKIT Portal.
-
Navigate to the Edge Cloud product in the Runtime section of the Portal.
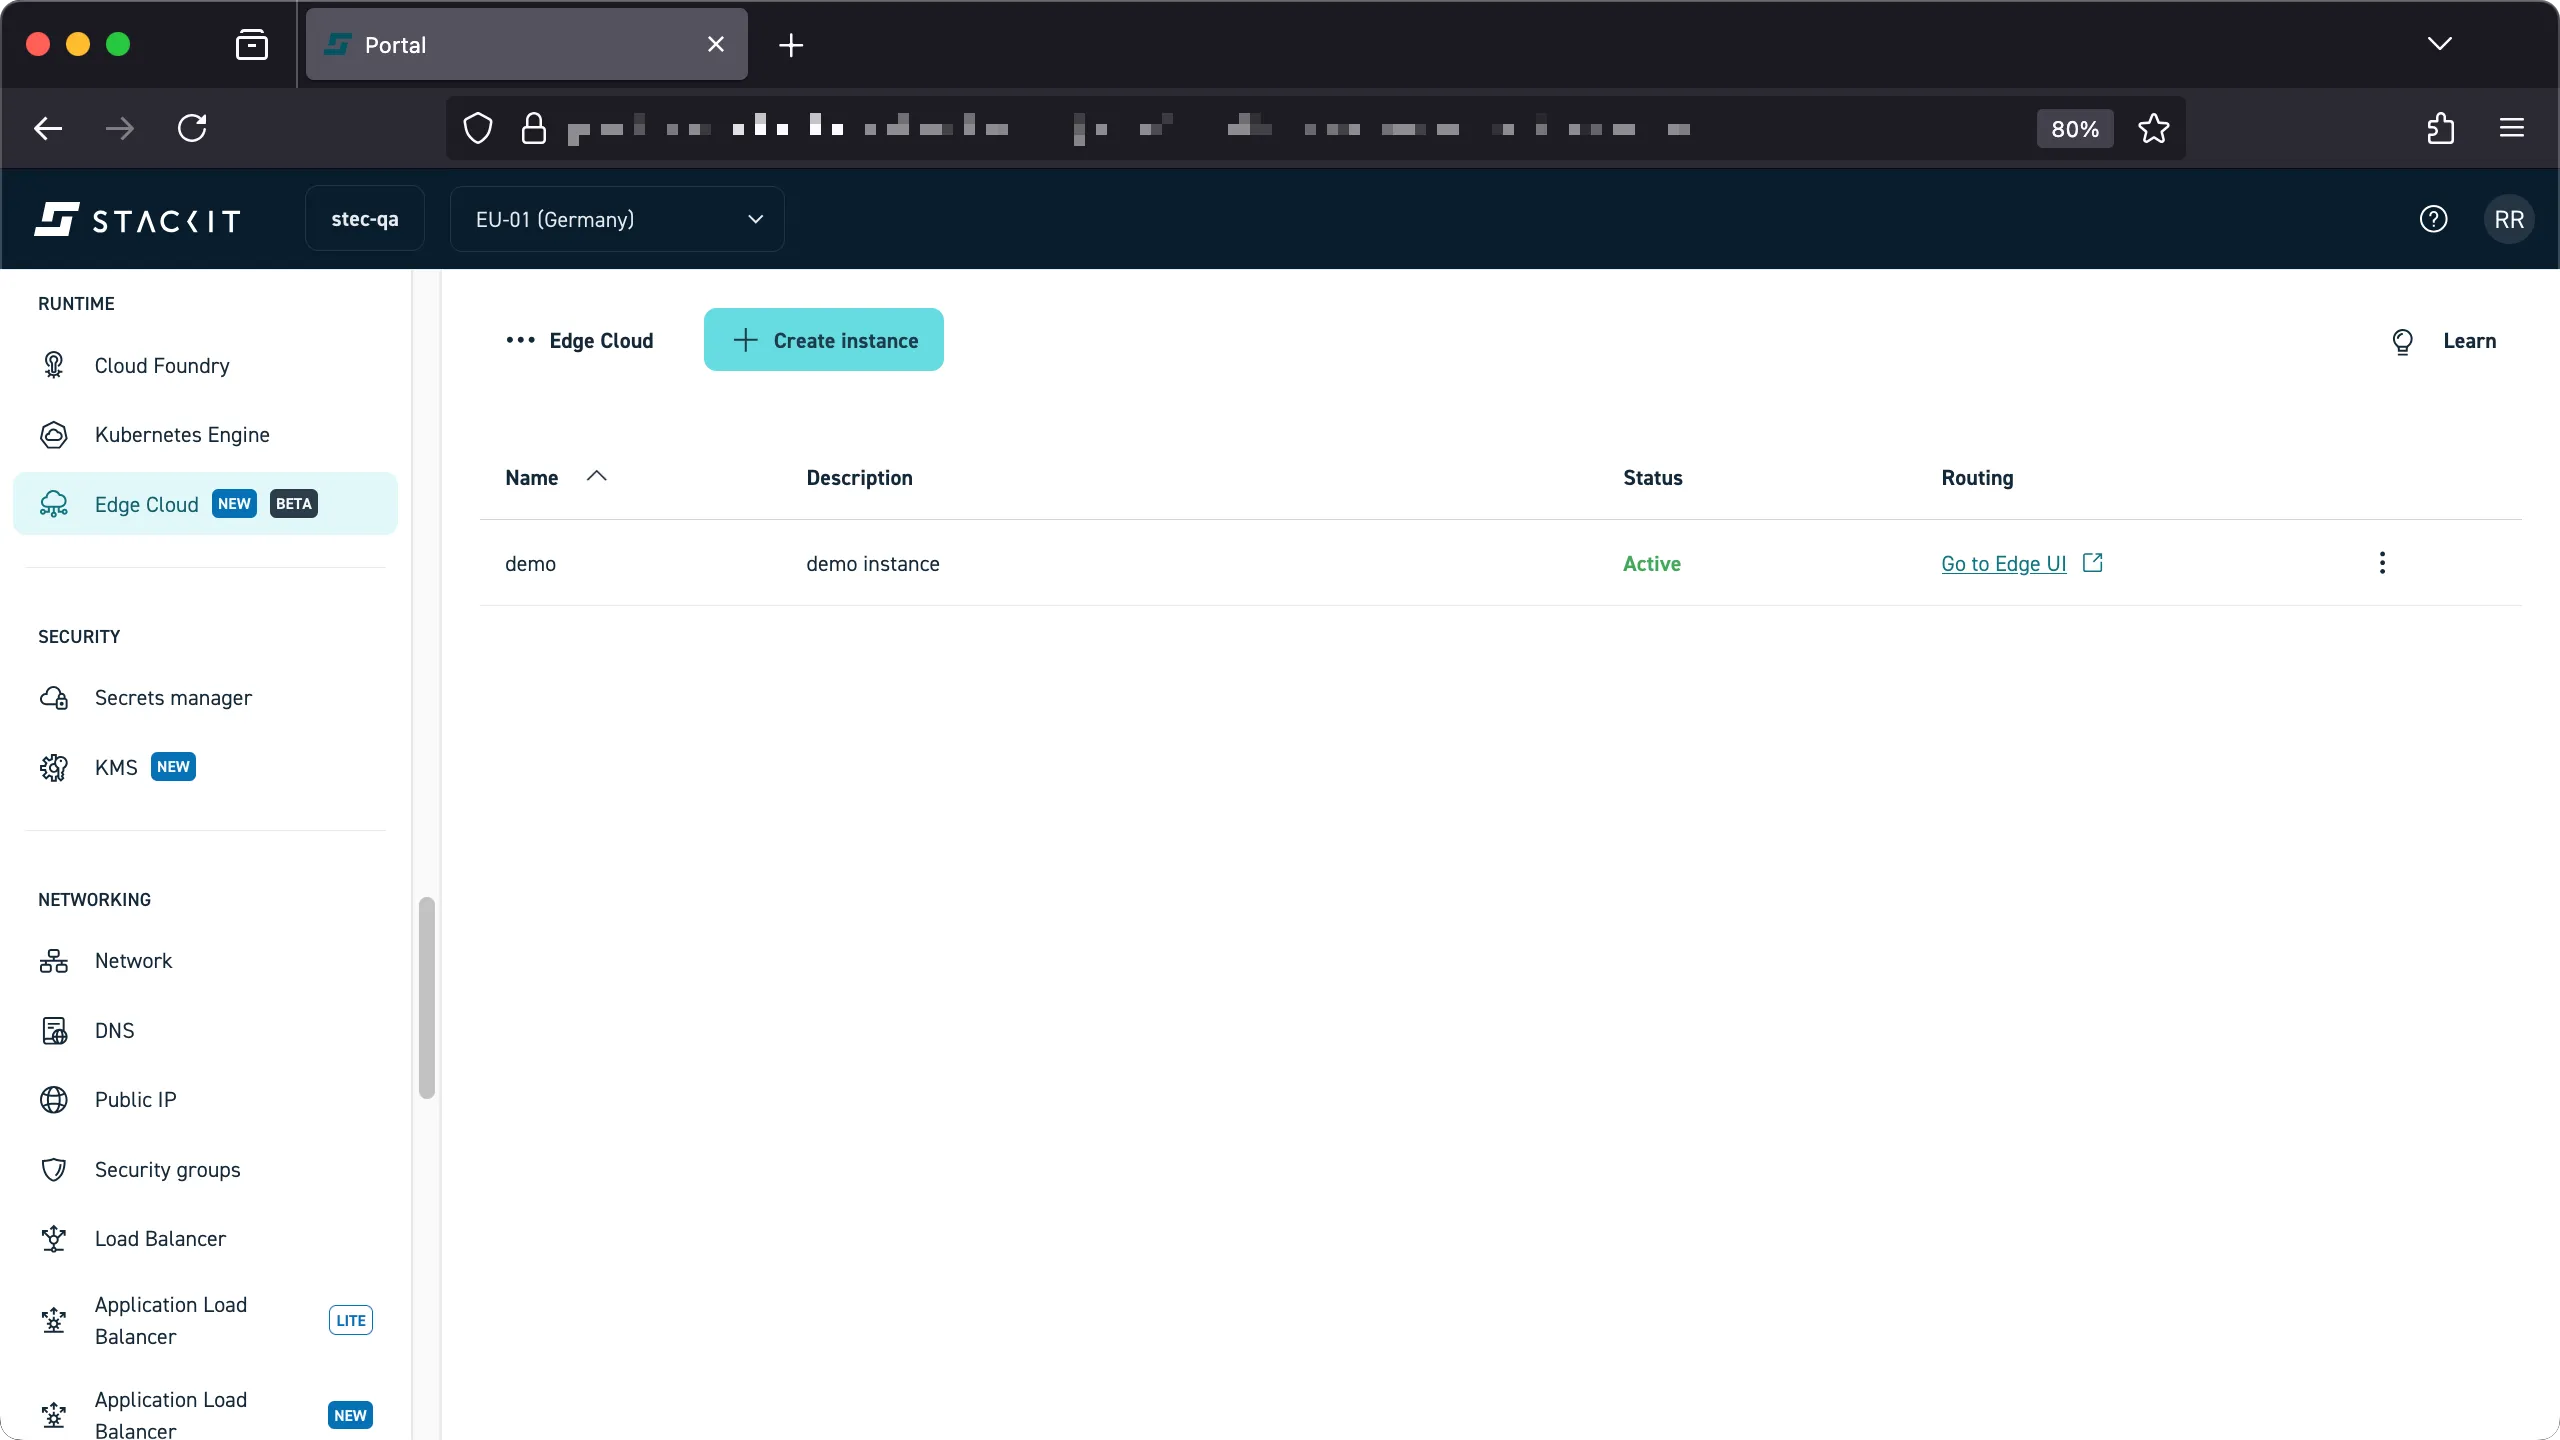
-
Click on the three dots next to the instance you want to authenticate with, then click on “credentials”
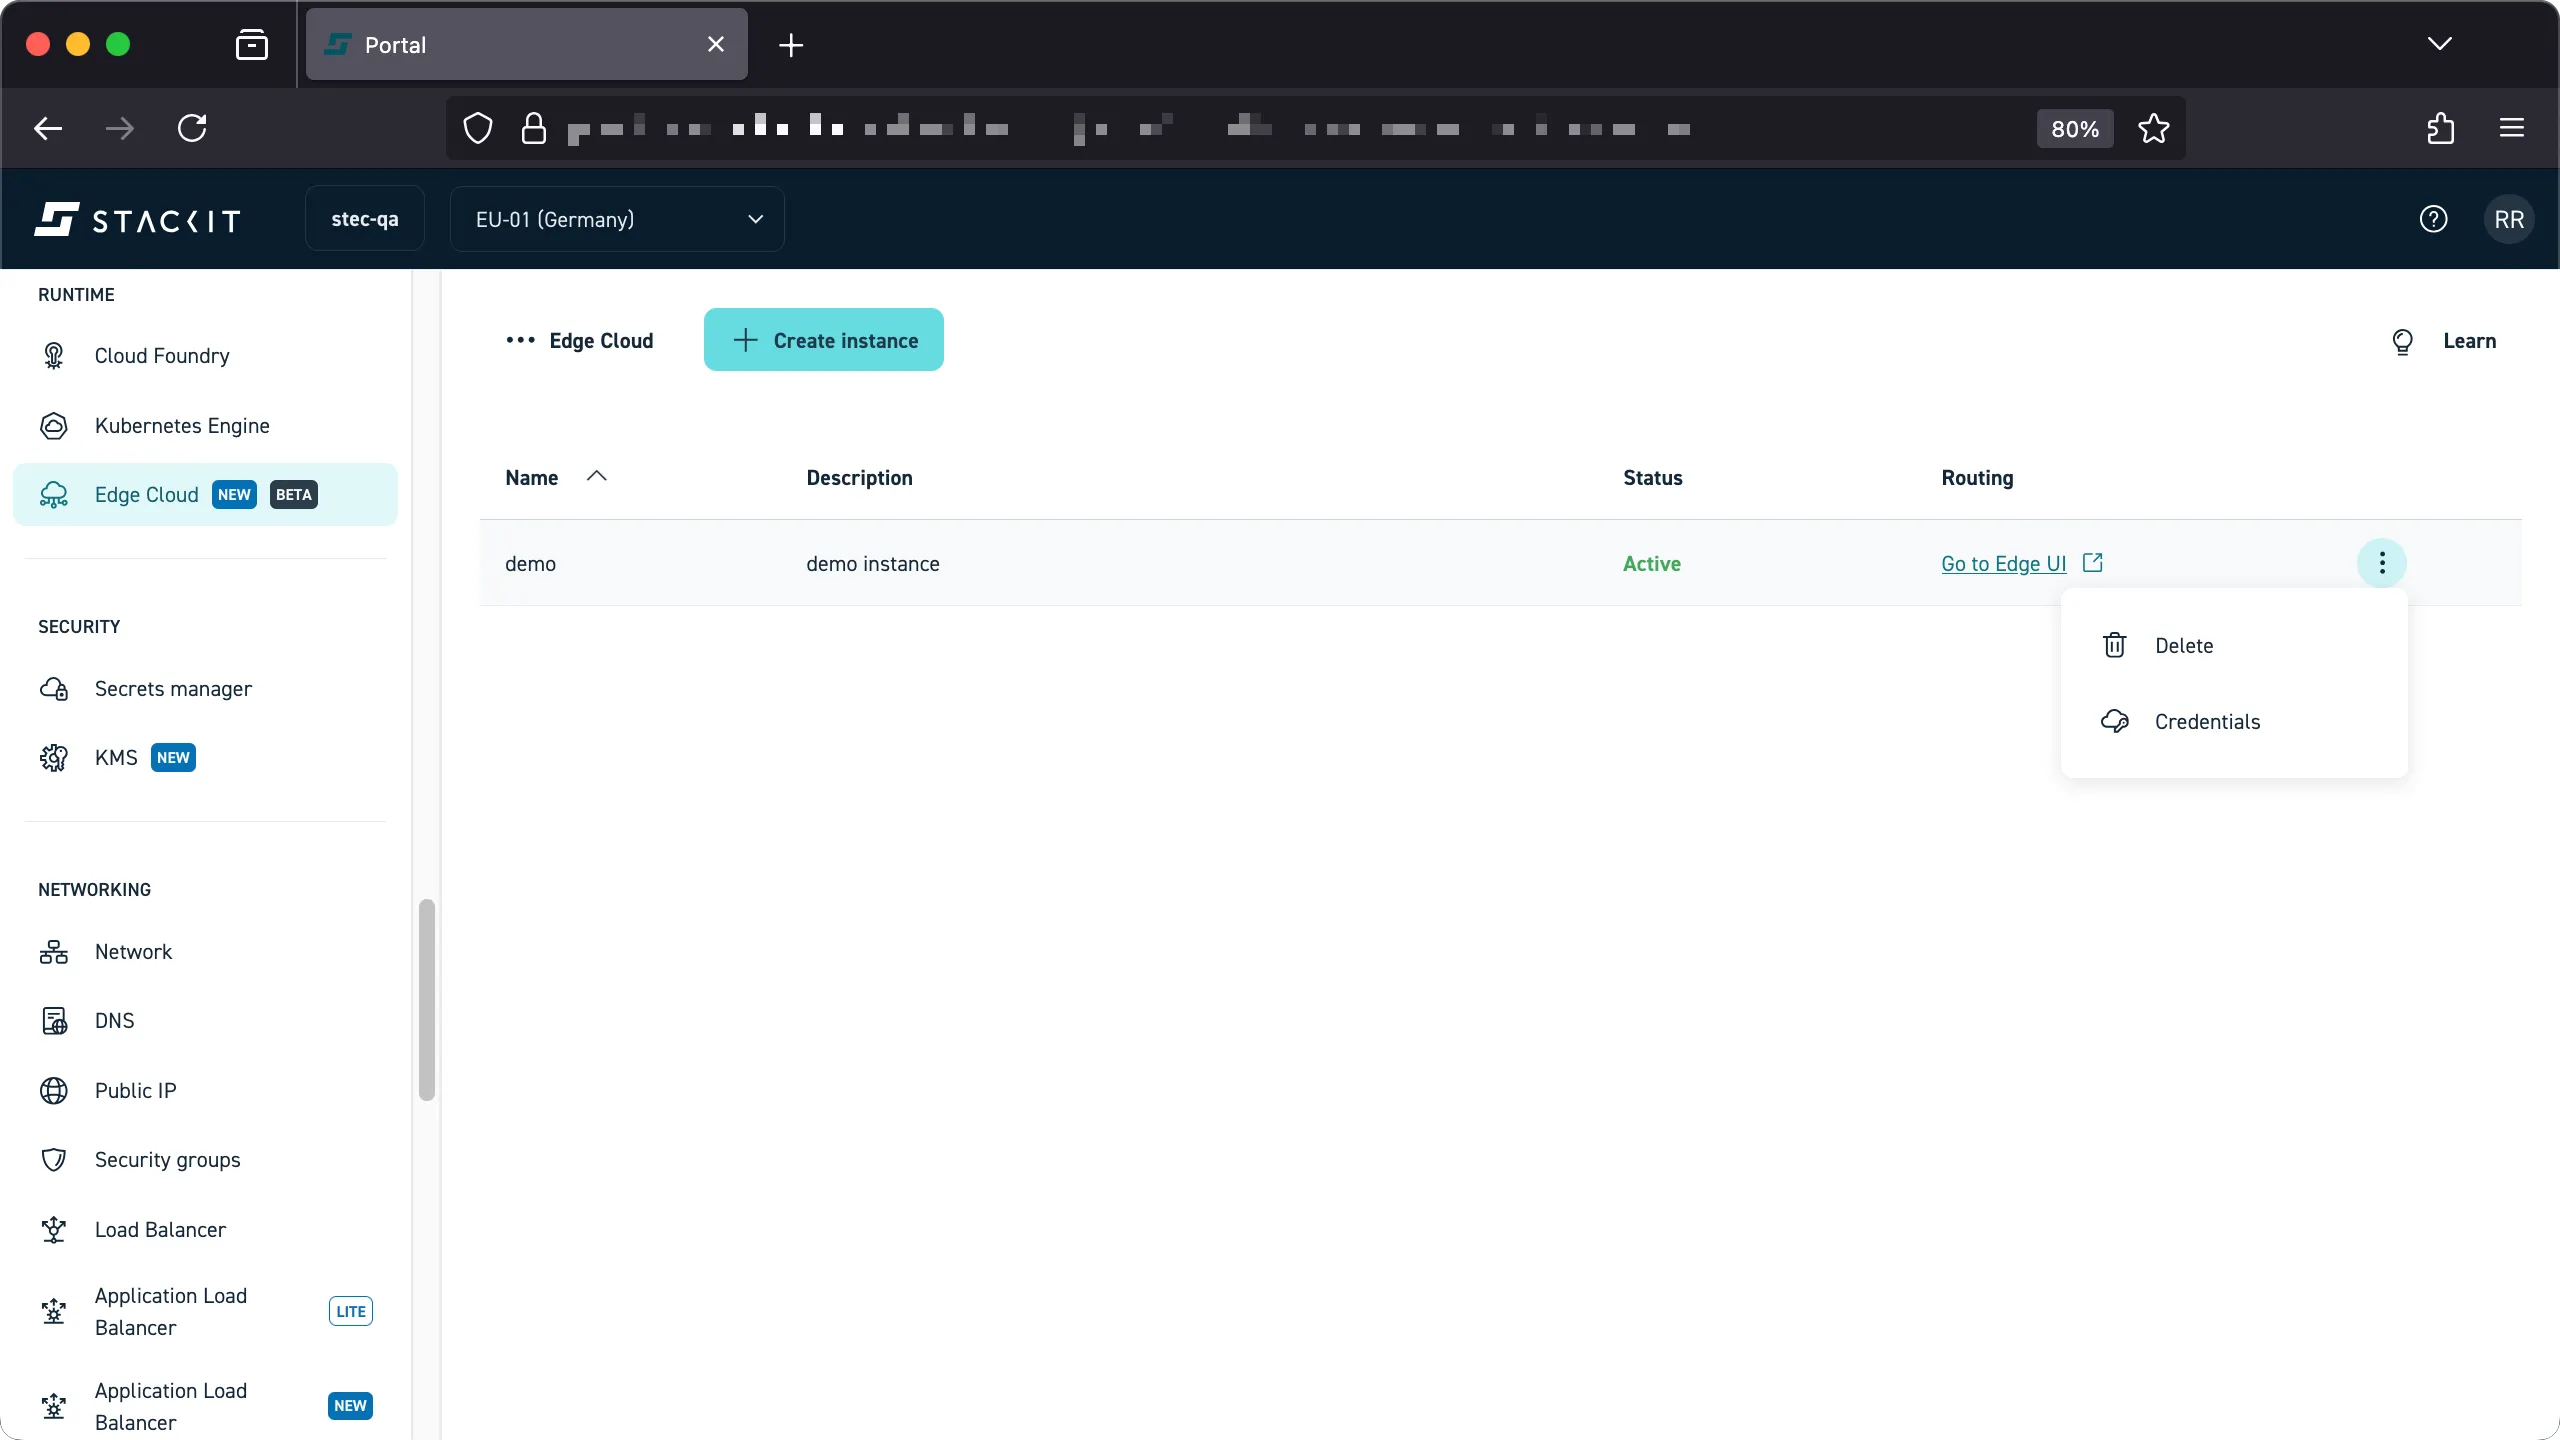
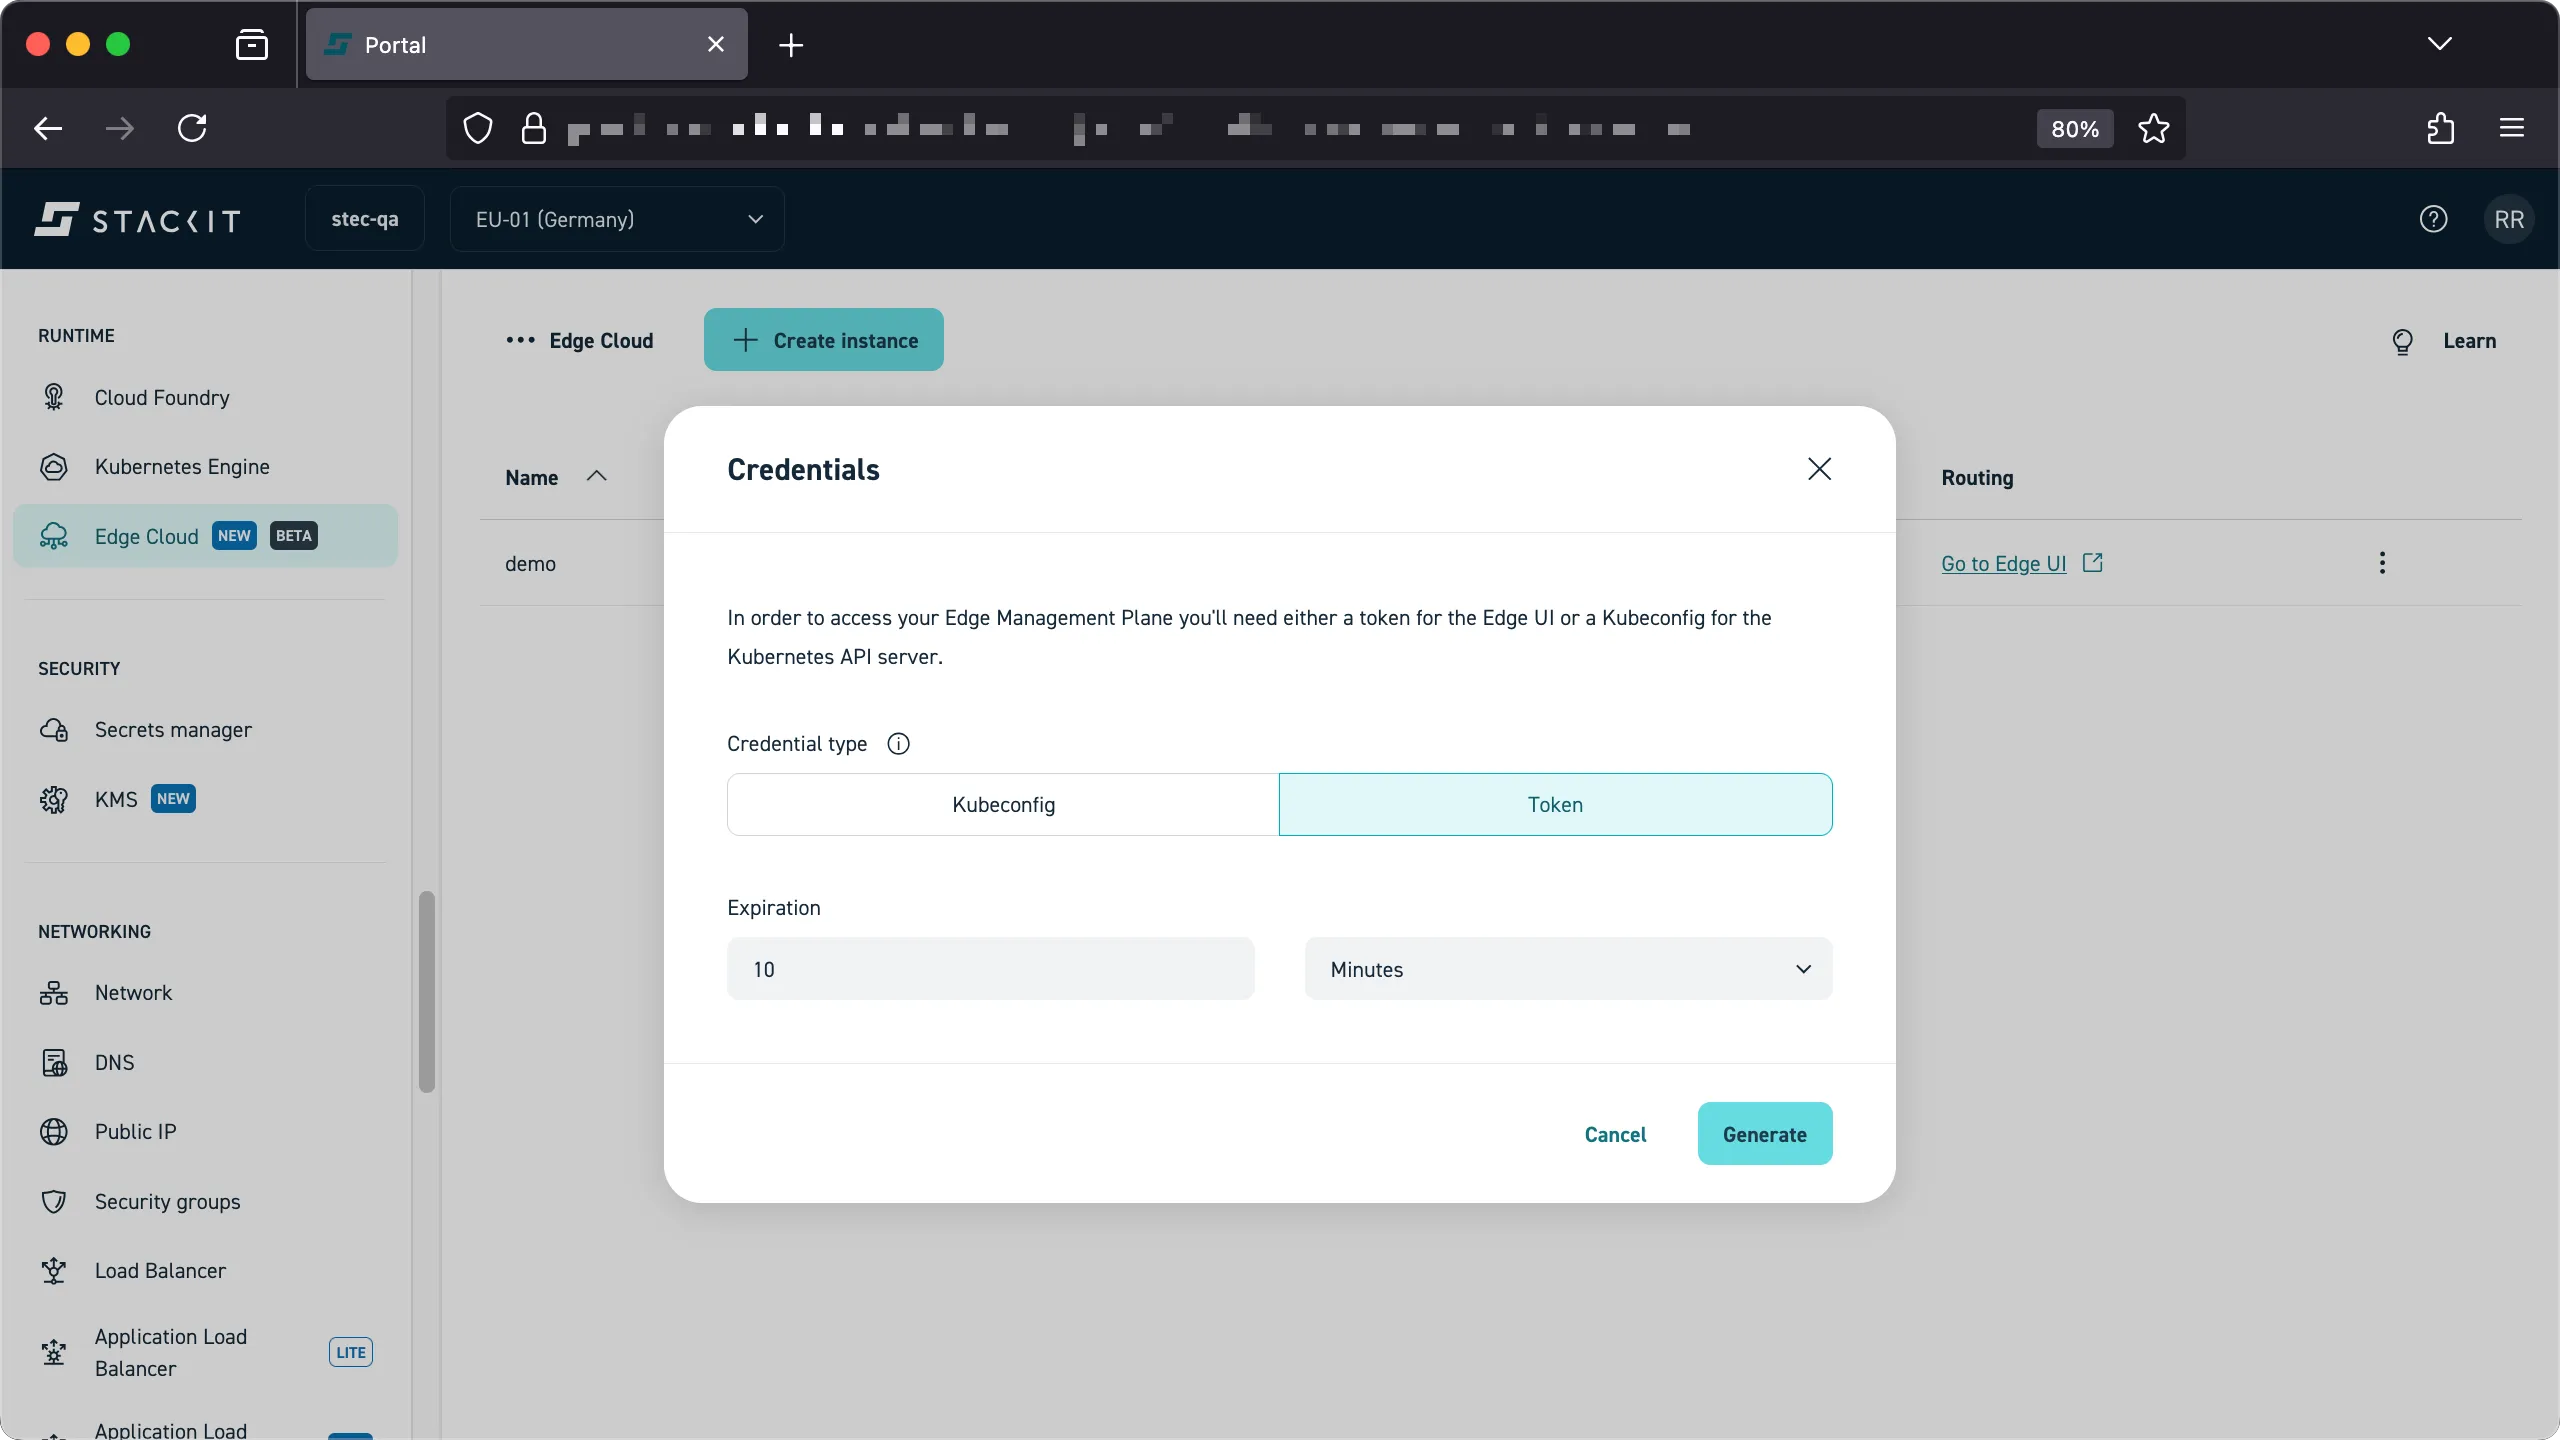
-
You’ll be presented with a credentials UI that allows you to download the kubeconfig file, which you need to interact with your instance using the Kubernetes client of your choice, or a access-token, which you’ll need for machine-to-machine authentication as well as the STEC web UI. For now, click on ‘token’ and ‘generate’. Copy the token into your clipboard, you’ll need it in the next step.
-
Open the web UI of your STEC instance by clicking the “Go to Edge UI” link from the STACKIT Portal. Alternatively, you can fetch the URL via the CLI, as described in the ordering documentation.
-
Paste the access token into the “Cluster Token” field and click the “Login” button.
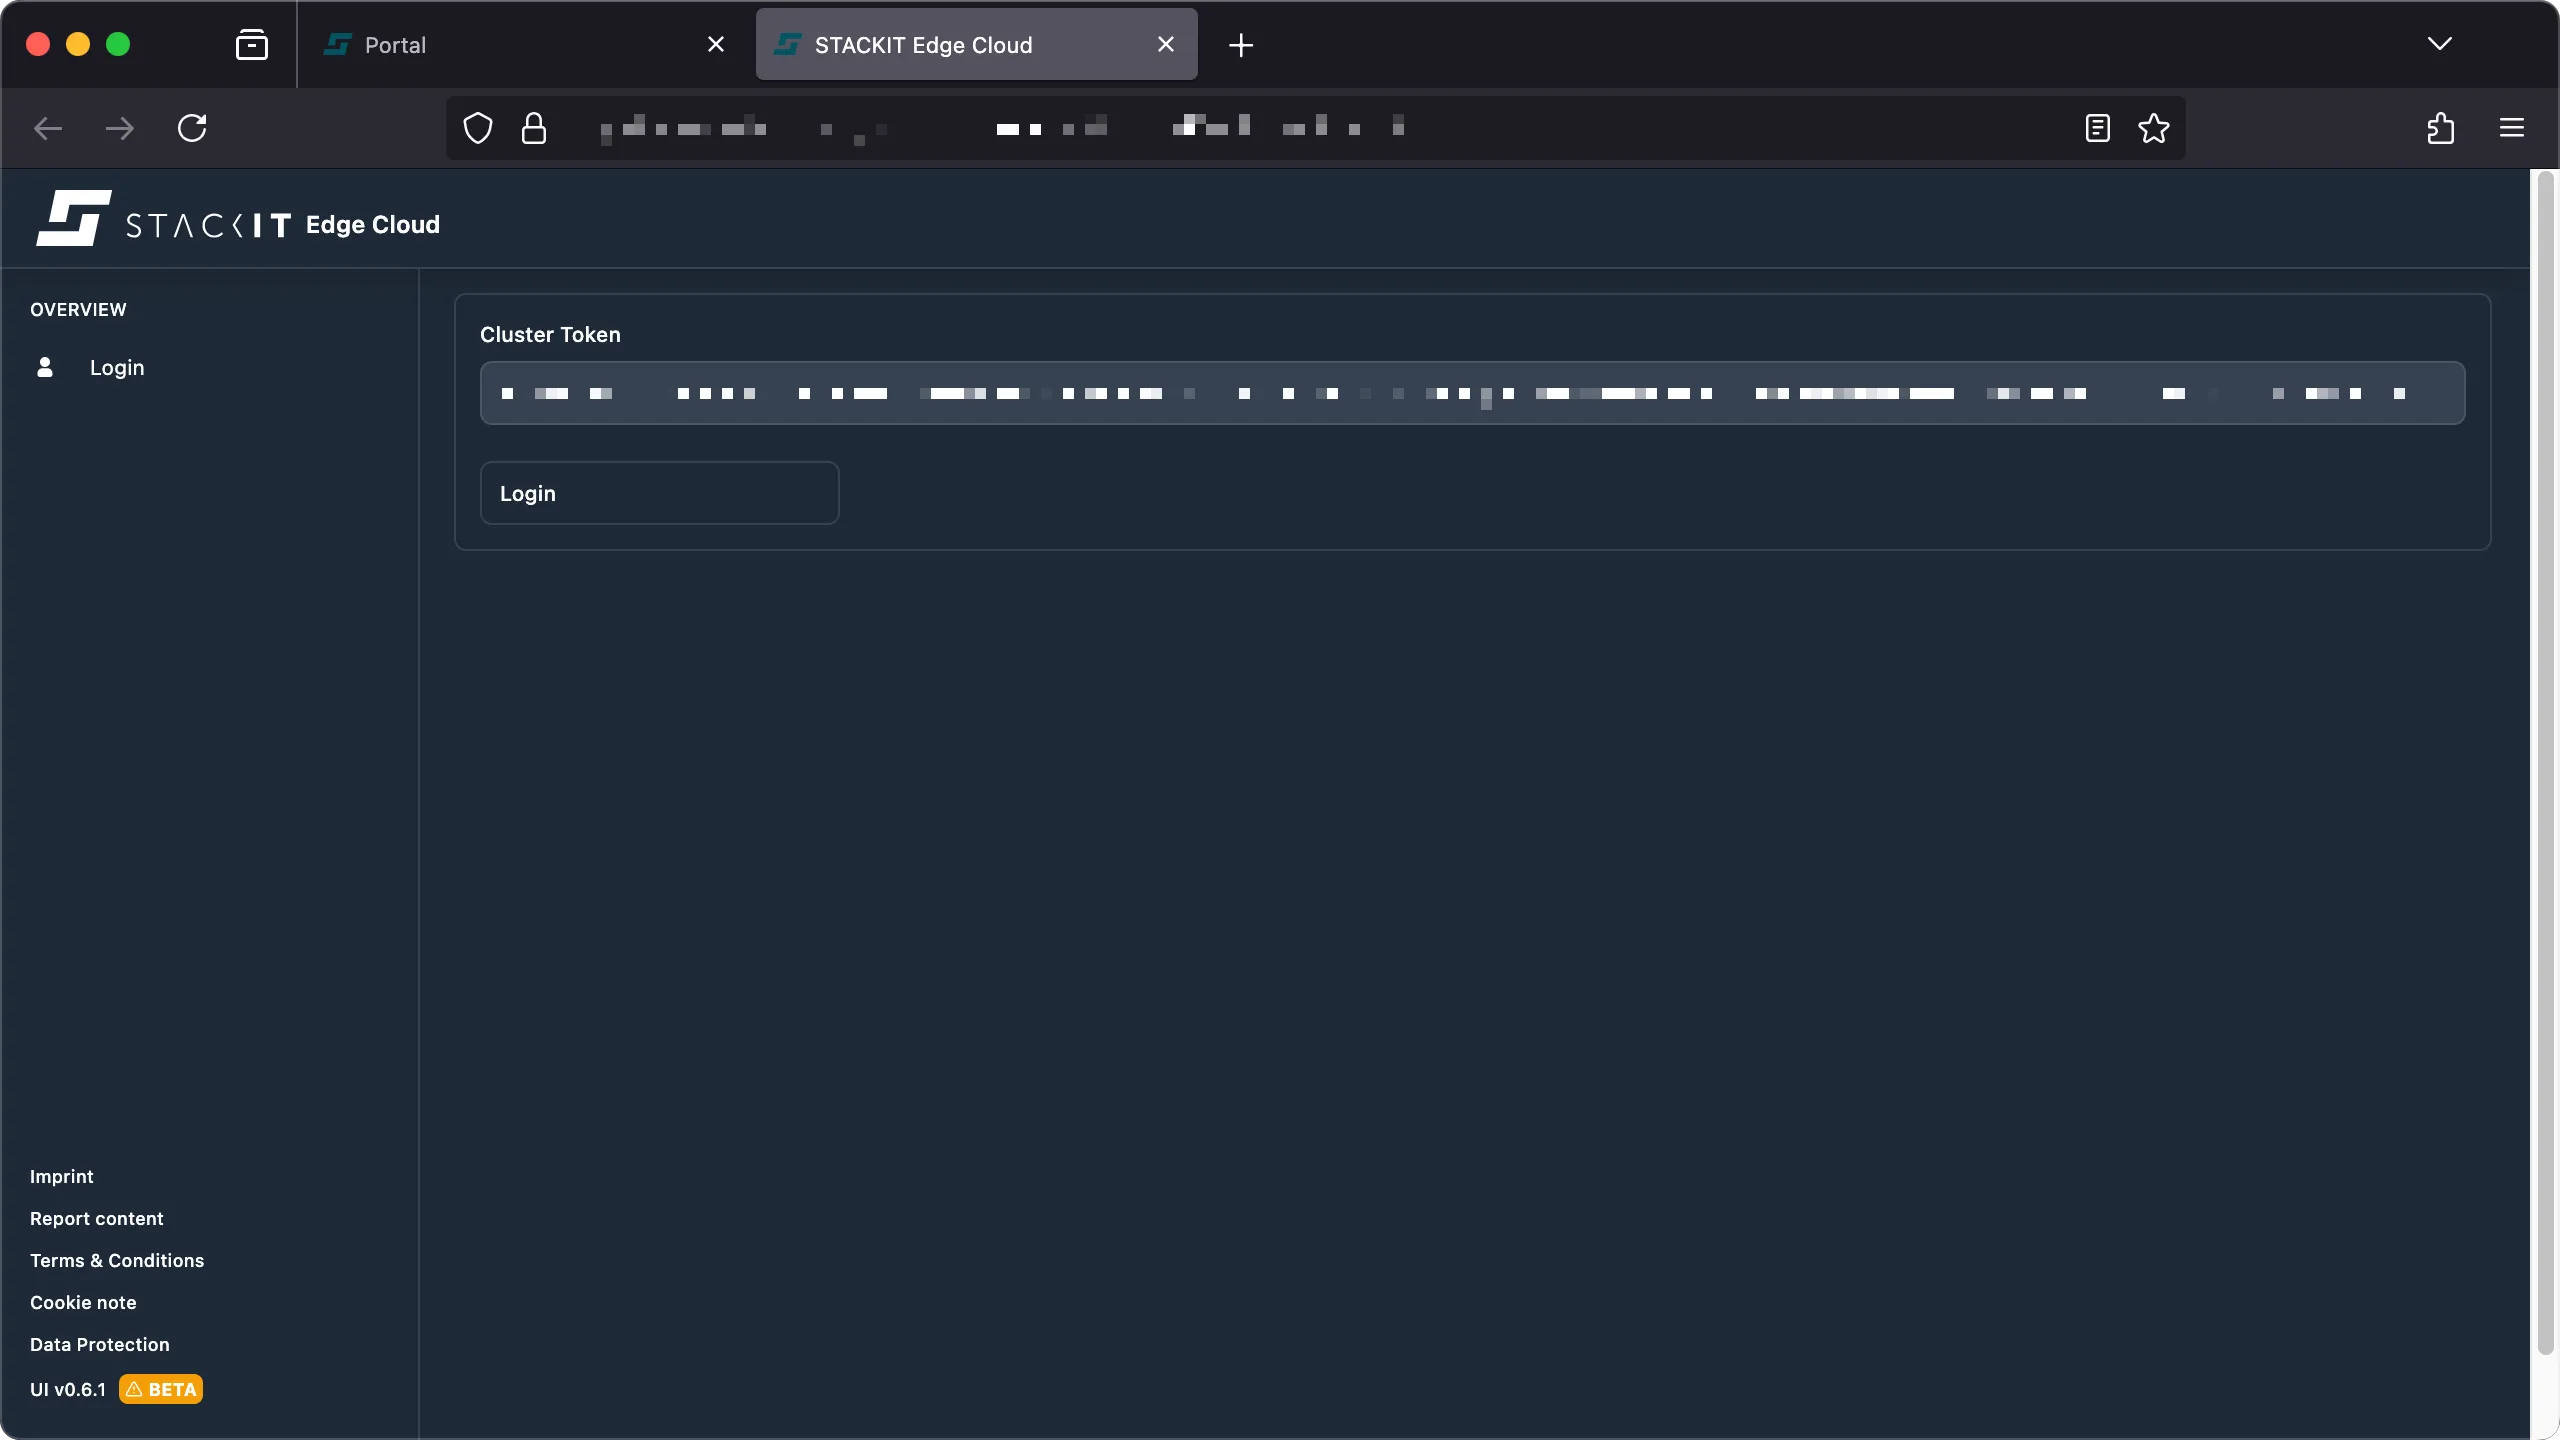
-
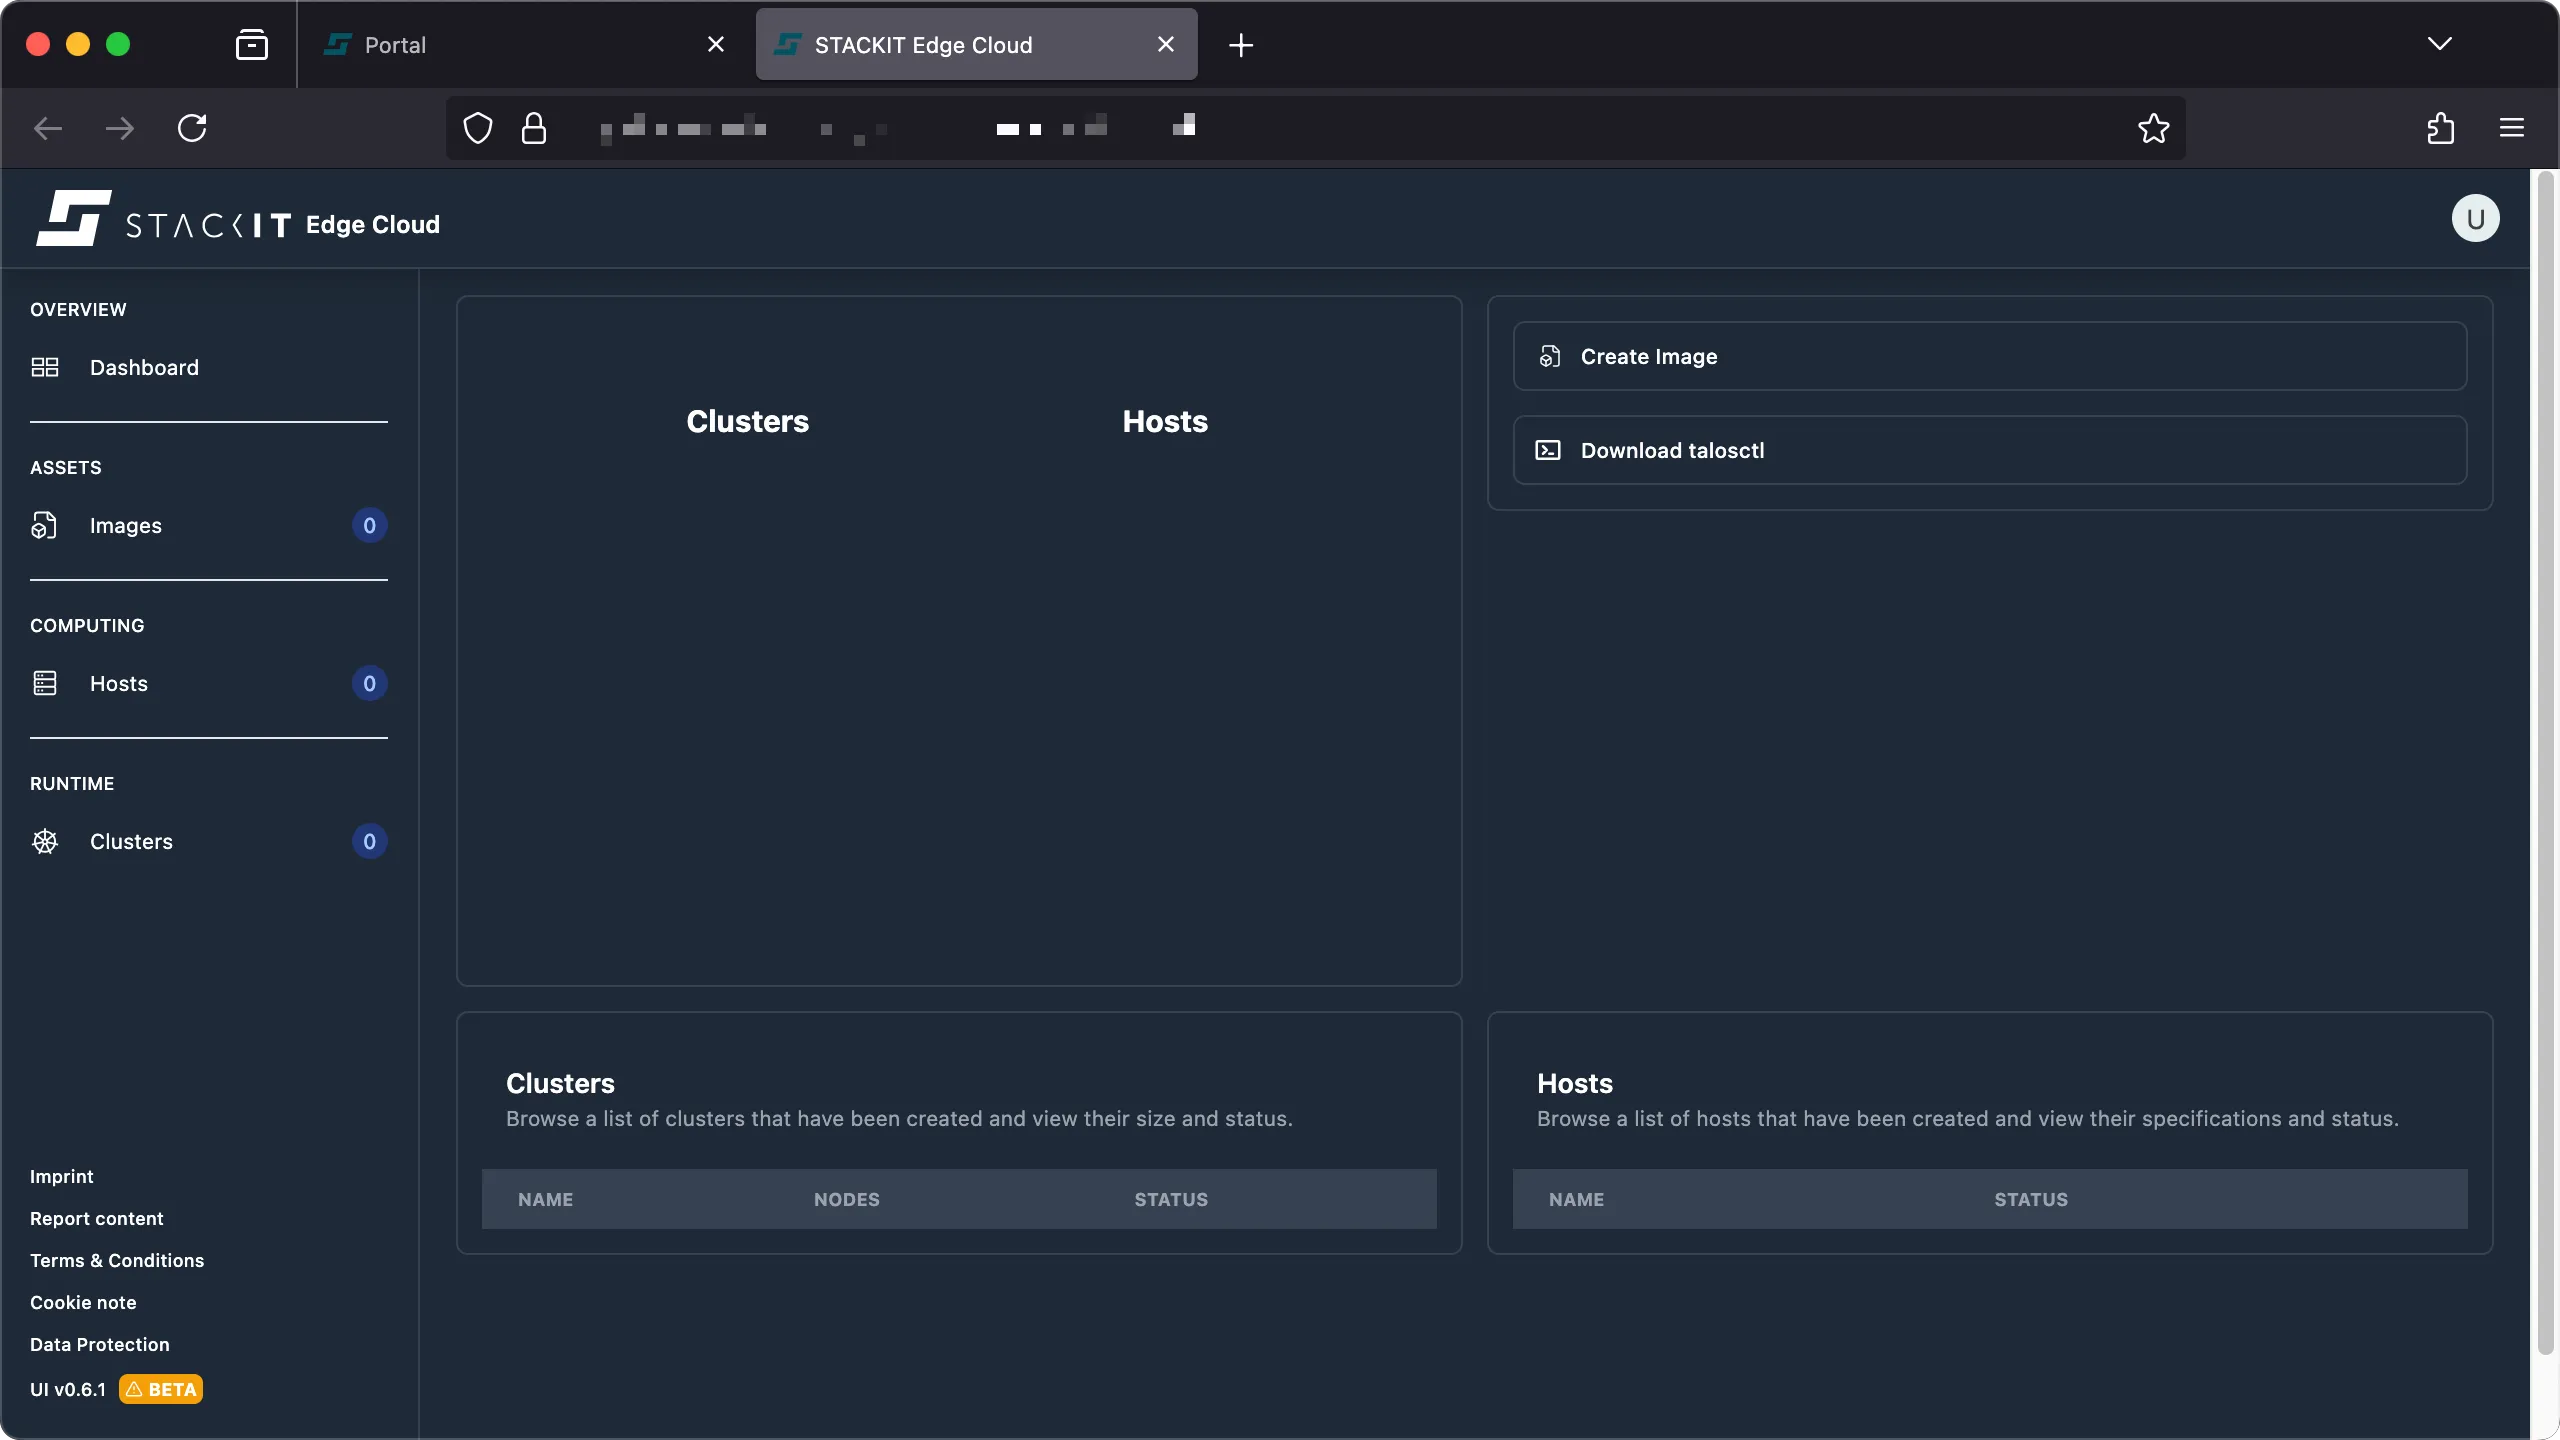
You’re now logged into the web UI of your STEC instance.
In this workflow you authenticate exclusively via the STACKIT CLI.
Prerequisites
Before you begin, you need the following:
- A user account with access to the STACKIT project where your STEC instance is running.
- The edge.admin role.
- Tools: A generic Linux bash terminal with the STACKIT CLI and
kubectl, as well asyqandjq.
Steps
-
Login with the STACKIT CLI.
Terminal window > stackit auth loginSuccessfully logged into STACKIT CLI. -
Set the STACKIT project to use and configure a STACKIT CLI profile.
Terminal window ## Parent folder / organization you belong to> PARENT_FOLDER="12345678-abcd-abcd-abcd-12345678"### Name of the project to create your STEC instance in> PROJECT_NAME="YOUR-PROJECT"### Find the project ID> PROJECT_ID=$(stackit project list --parent-id $PARENT_FOLDER -o json | jq -r --arg NAME "$PROJECT_NAME" 'map(select(.name == $NAME)) | if length > 1 then error("Expected exactly one element, but found (length) elements.") else.[0] end |.projectId')> echo $PROJECT_ID12345678-ffff-abcd-ffff-12345678### Configure the CLI profile to use the selected project> stackit config profile create $PROJECT_NAME> stackit config set --project-id $PROJECT_ID> stackit config profile set $PROJECT_NAME -
Fetch your STACKIT Edge Cloud instance ID.
Terminal window > stackit beta edge-cloud instance listID │ NAME │ UI │ STATE──────────────────┼──────────┼───────────────────────────────────────────────────────┼────────demo-3714d85 │ demo │ https://app.demo-3714d85.edge.eu01.onstackit.cloud │ active -
Fetch the kubeconfig for your instance.
Terminal window > stackit beta edge-cloud kubeconfig create --name demo --expiration 1dWrote kubeconfig for instance "demo" to "~/.kube/config.yaml". -
Test the login.
Terminal window > export KUBECONFIG=~/.kube/demo.yaml> kubectl auth whoamiATTRIBUTE VALUEUsername system:serviceaccount:emp-operator-system:edge-adminGroups [system:serviceaccounts system:serviceaccounts:emp-operator-system system:authenticated]Extra: authentication.kubernetes.io/credential-id [JTI=YOUR_CREDENTIAL_ID]> kubectl get EdgeHost...
Machine-to-machine authentication
Section titled “Machine-to-machine authentication”Use machine-to-machine authentication for automated workflows, such as CI/CD pipelines with tools like Argo CD. This ensures your tools can communicate securely with one or more STACKIT Edge Cloud (STEC) instances. Such systems use access tokens to authenticate with STACKIT Edge-Cloud.
The token you get for your STEC instance contains a permanent, secret access token that you cannot revoke. Anyone with this token can perform actions based on its assigned permissions. You must protect the token file from unauthorized access.
Prerequisites
Before you begin, you need the following:
- A user account with access to the STACKIT project where your STEC instance is running.
- The edge.admin role.
- Tools: A generic Linux bash terminal with the STACKIT CLI and
yq.
Steps
-
Login with the STACKIT CLI.
Terminal window > stackit auth loginSuccessfully logged into STACKIT CLI. -
Set the STACKIT project to use and configure a STACKIT CLI profile.
Terminal window ## Parent folder / organization you belong to> PARENT_FOLDER="12345678-abcd-abcd-abcd-12345678"### Name of the project to create your STEC instance in> PROJECT_NAME="YOUR-PROJECT"### Find the project ID> PROJECT_ID=$(stackit project list --parent-id $PARENT_FOLDER -o json | jq -r --arg NAME "$PROJECT_NAME" 'map(select(.name == $NAME)) | if length > 1 then error("Expected exactly one element, but found (length) elements.") else.[0] end |.projectId')> echo $PROJECT_ID12345678-ffff-abcd-ffff-12345678### Configure the CLI profile to use the selected project> stackit config profile create $PROJECT_NAME> stackit config set --project-id $PROJECT_ID> stackit config profile set $PROJECT_NAME -
Fetch an access token for your instance and copy it.
Terminal window > stackit beta edge-cloud token create --name demo --expiration 1deyJhbGciOiJSUzI1NiIsInR5cCI6IkpXVCJ9.eyJzdWIiOiIxMjM0NTY3ODkwIiwibmFtZSI6IkpvaG4gRG9lIiwiYWRtaW4iOnRydWU...pvaG4gRG9lIiwiYW -
You can use this token for machine-to-machine authentication.