Creating clusters
Zuletzt aktualisiert am
Introduction
Section titled “Introduction”After you booted and registered your first host(s) for STACKIT Edge Cloud (STEC) the next step is to create a cluster. This guide leads you through those steps by example.
Creating a cluster
Section titled “Creating a cluster”Creating a cluster will result in two things:
- Every host that you select to be part of the cluster will get a machine configuration applied. This effectively results in the host exiting it’s
maintenancestage and entering thebootingstage while the new configuration is being applied. - Kubernetes will be configured as defined by the machine configuration applied. If this is successful the host should switch into the
runningstage.
Cluster creation can be done using the STACKIT Edge Cloud UI or API and you will need to have at least one host registered with your STEC instance before you can create a cluster.
Prerequisites:
- Successfully authenticated in the UI of a STEC instance.
Steps:
-
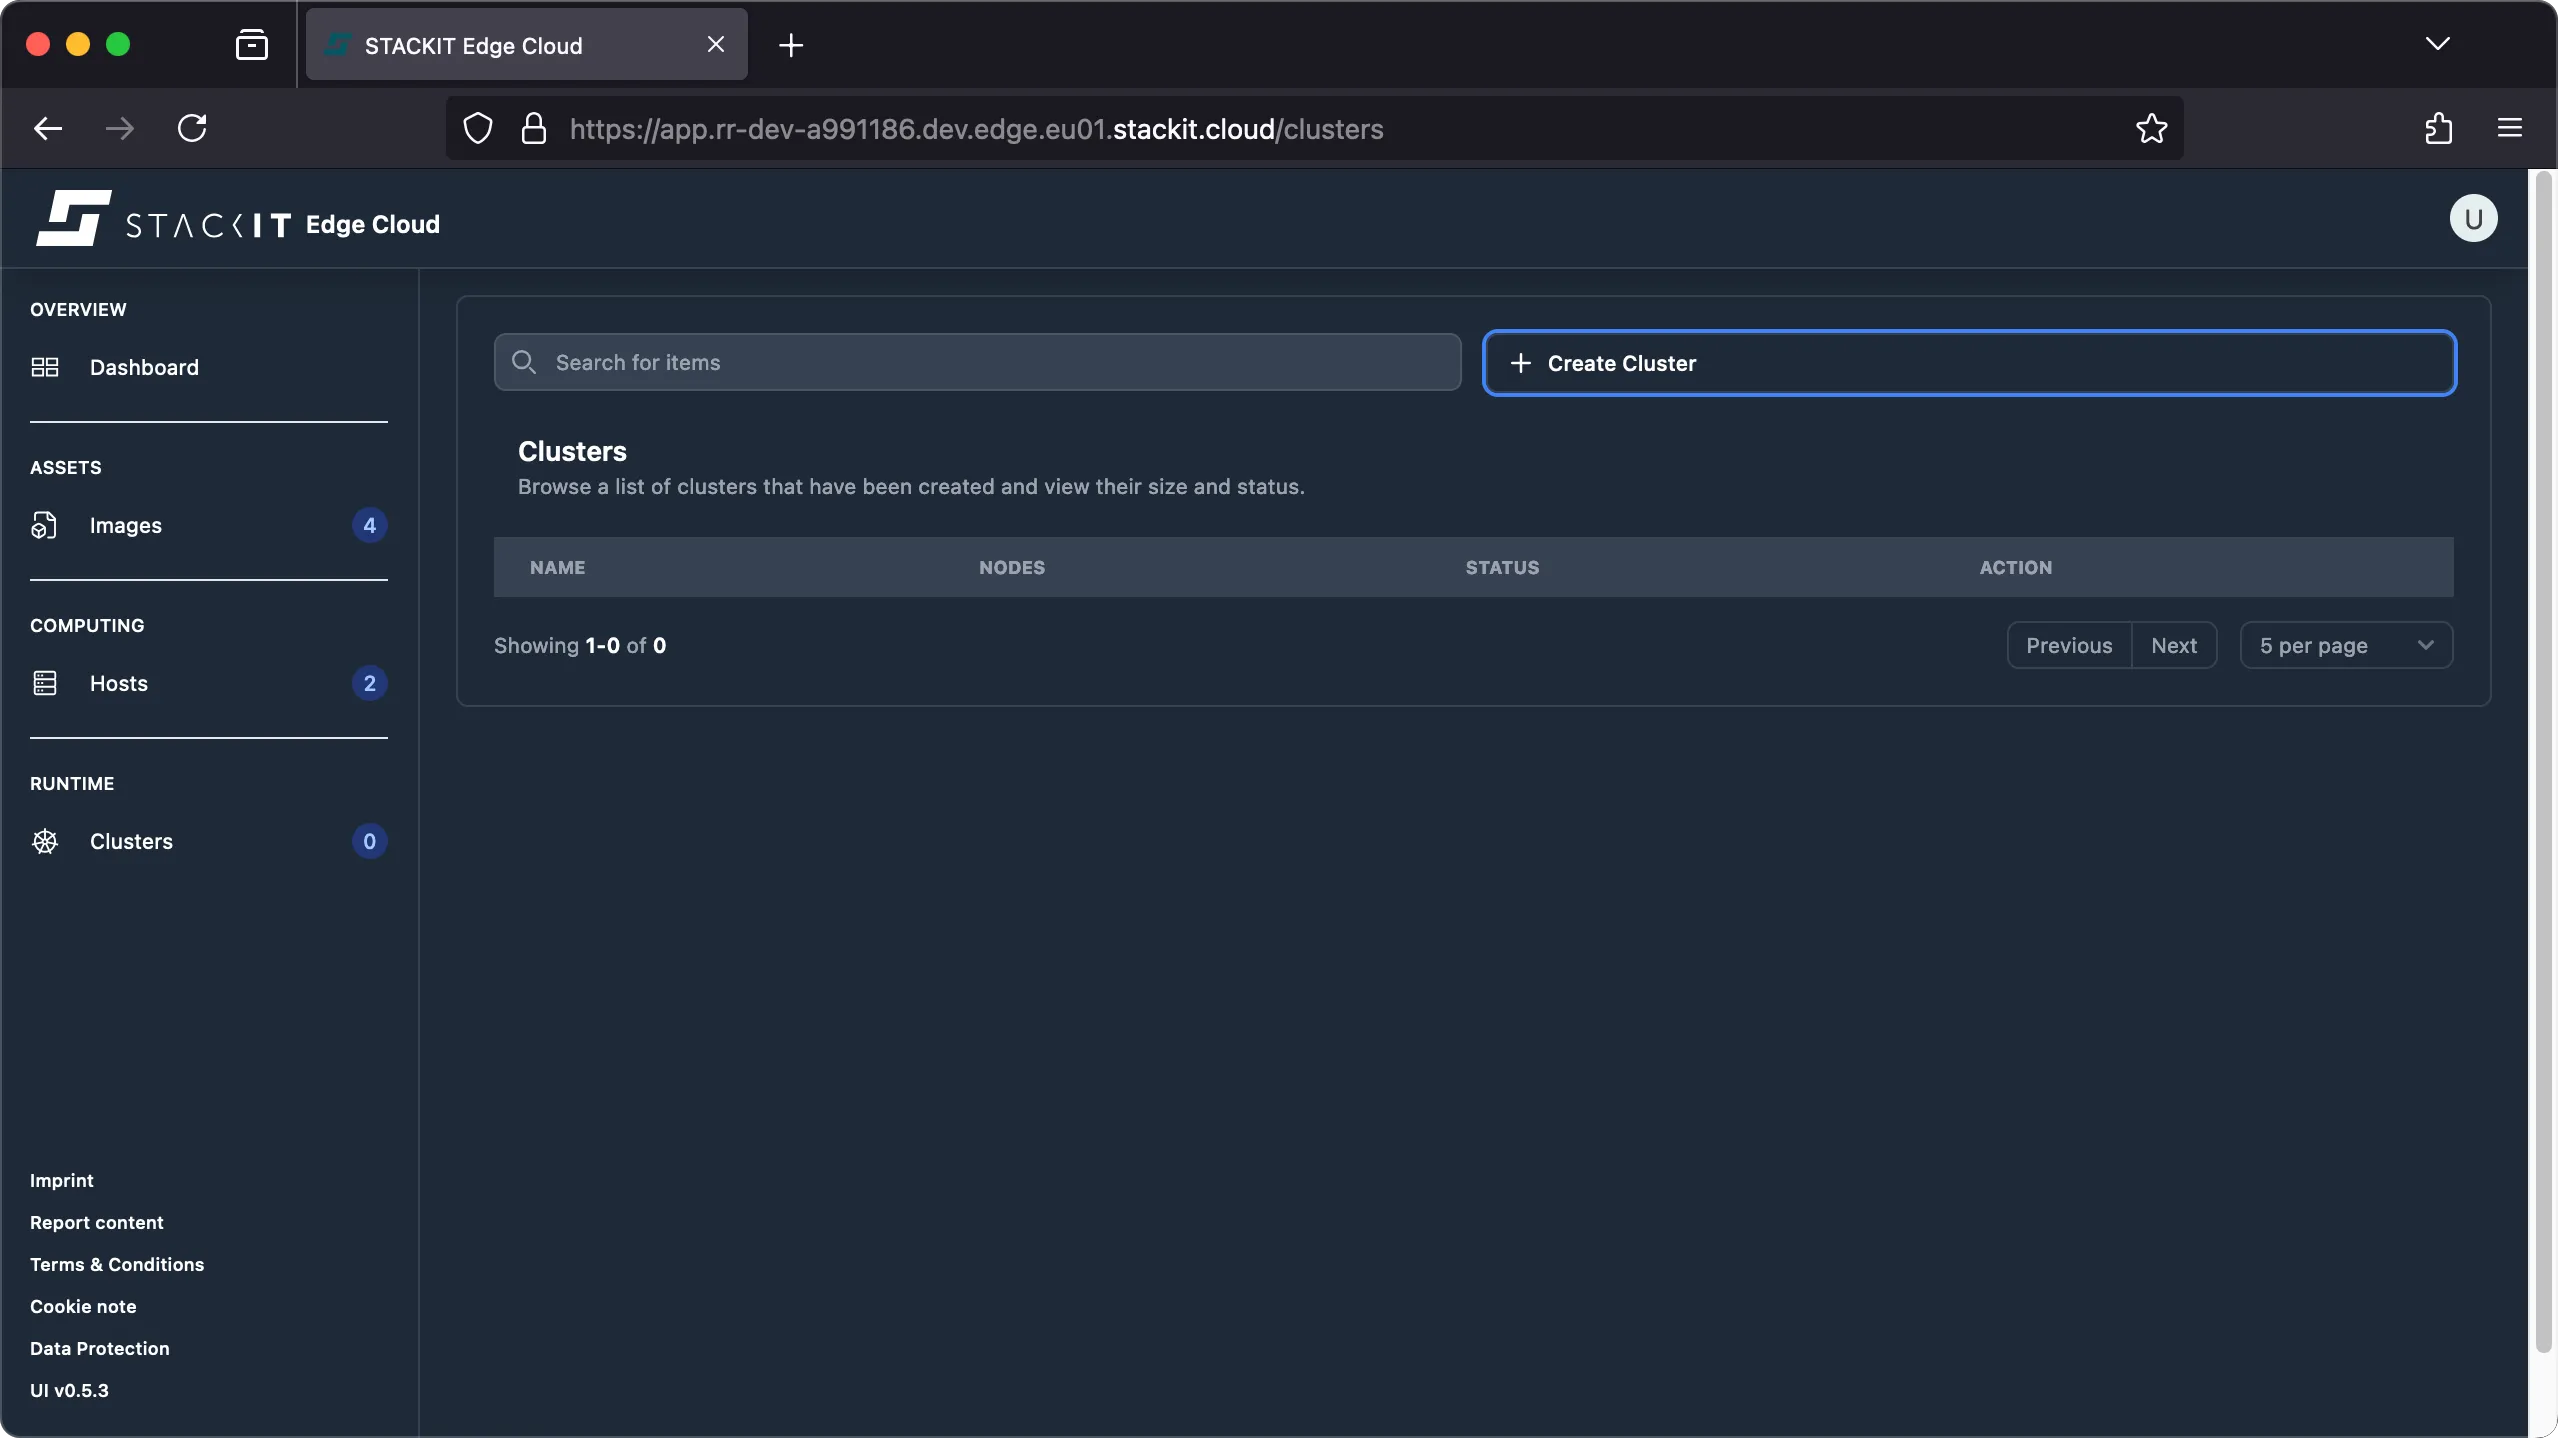
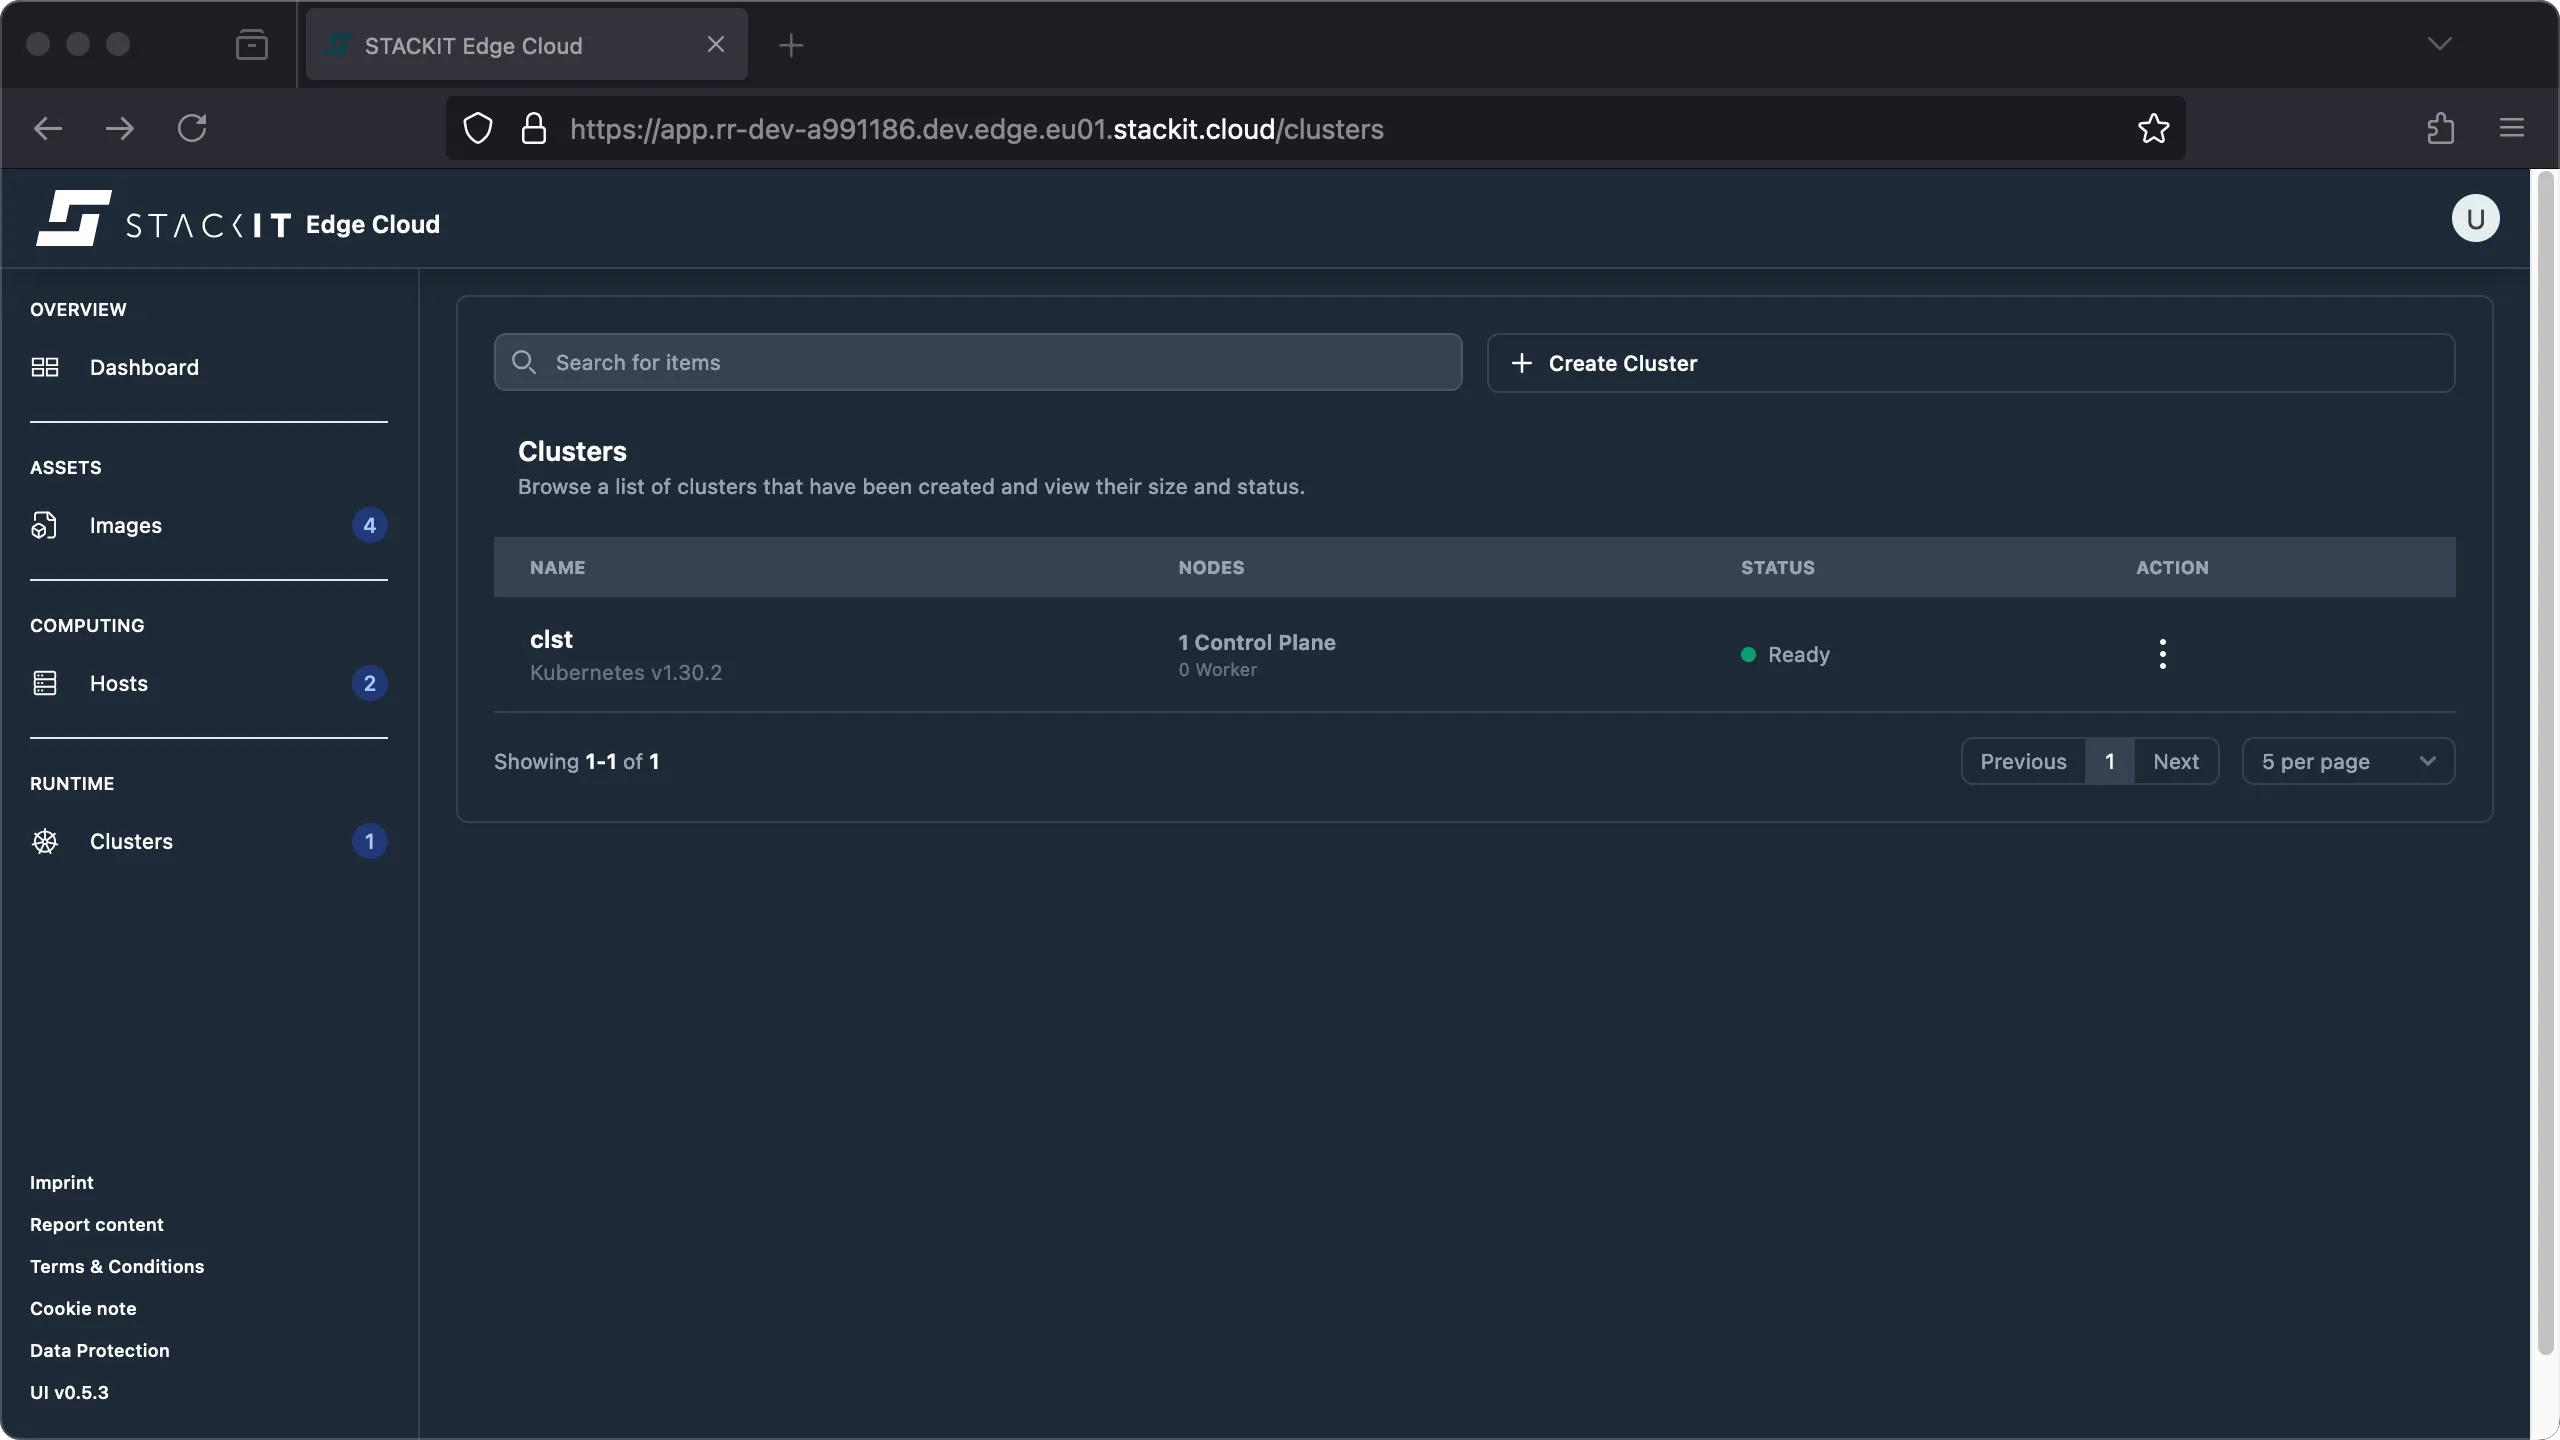
Navigate to the Cluster section. You’ll get to the Clusters overview. Click on the top right button ‘Create Cluster’ to get to the respective dialog.
-
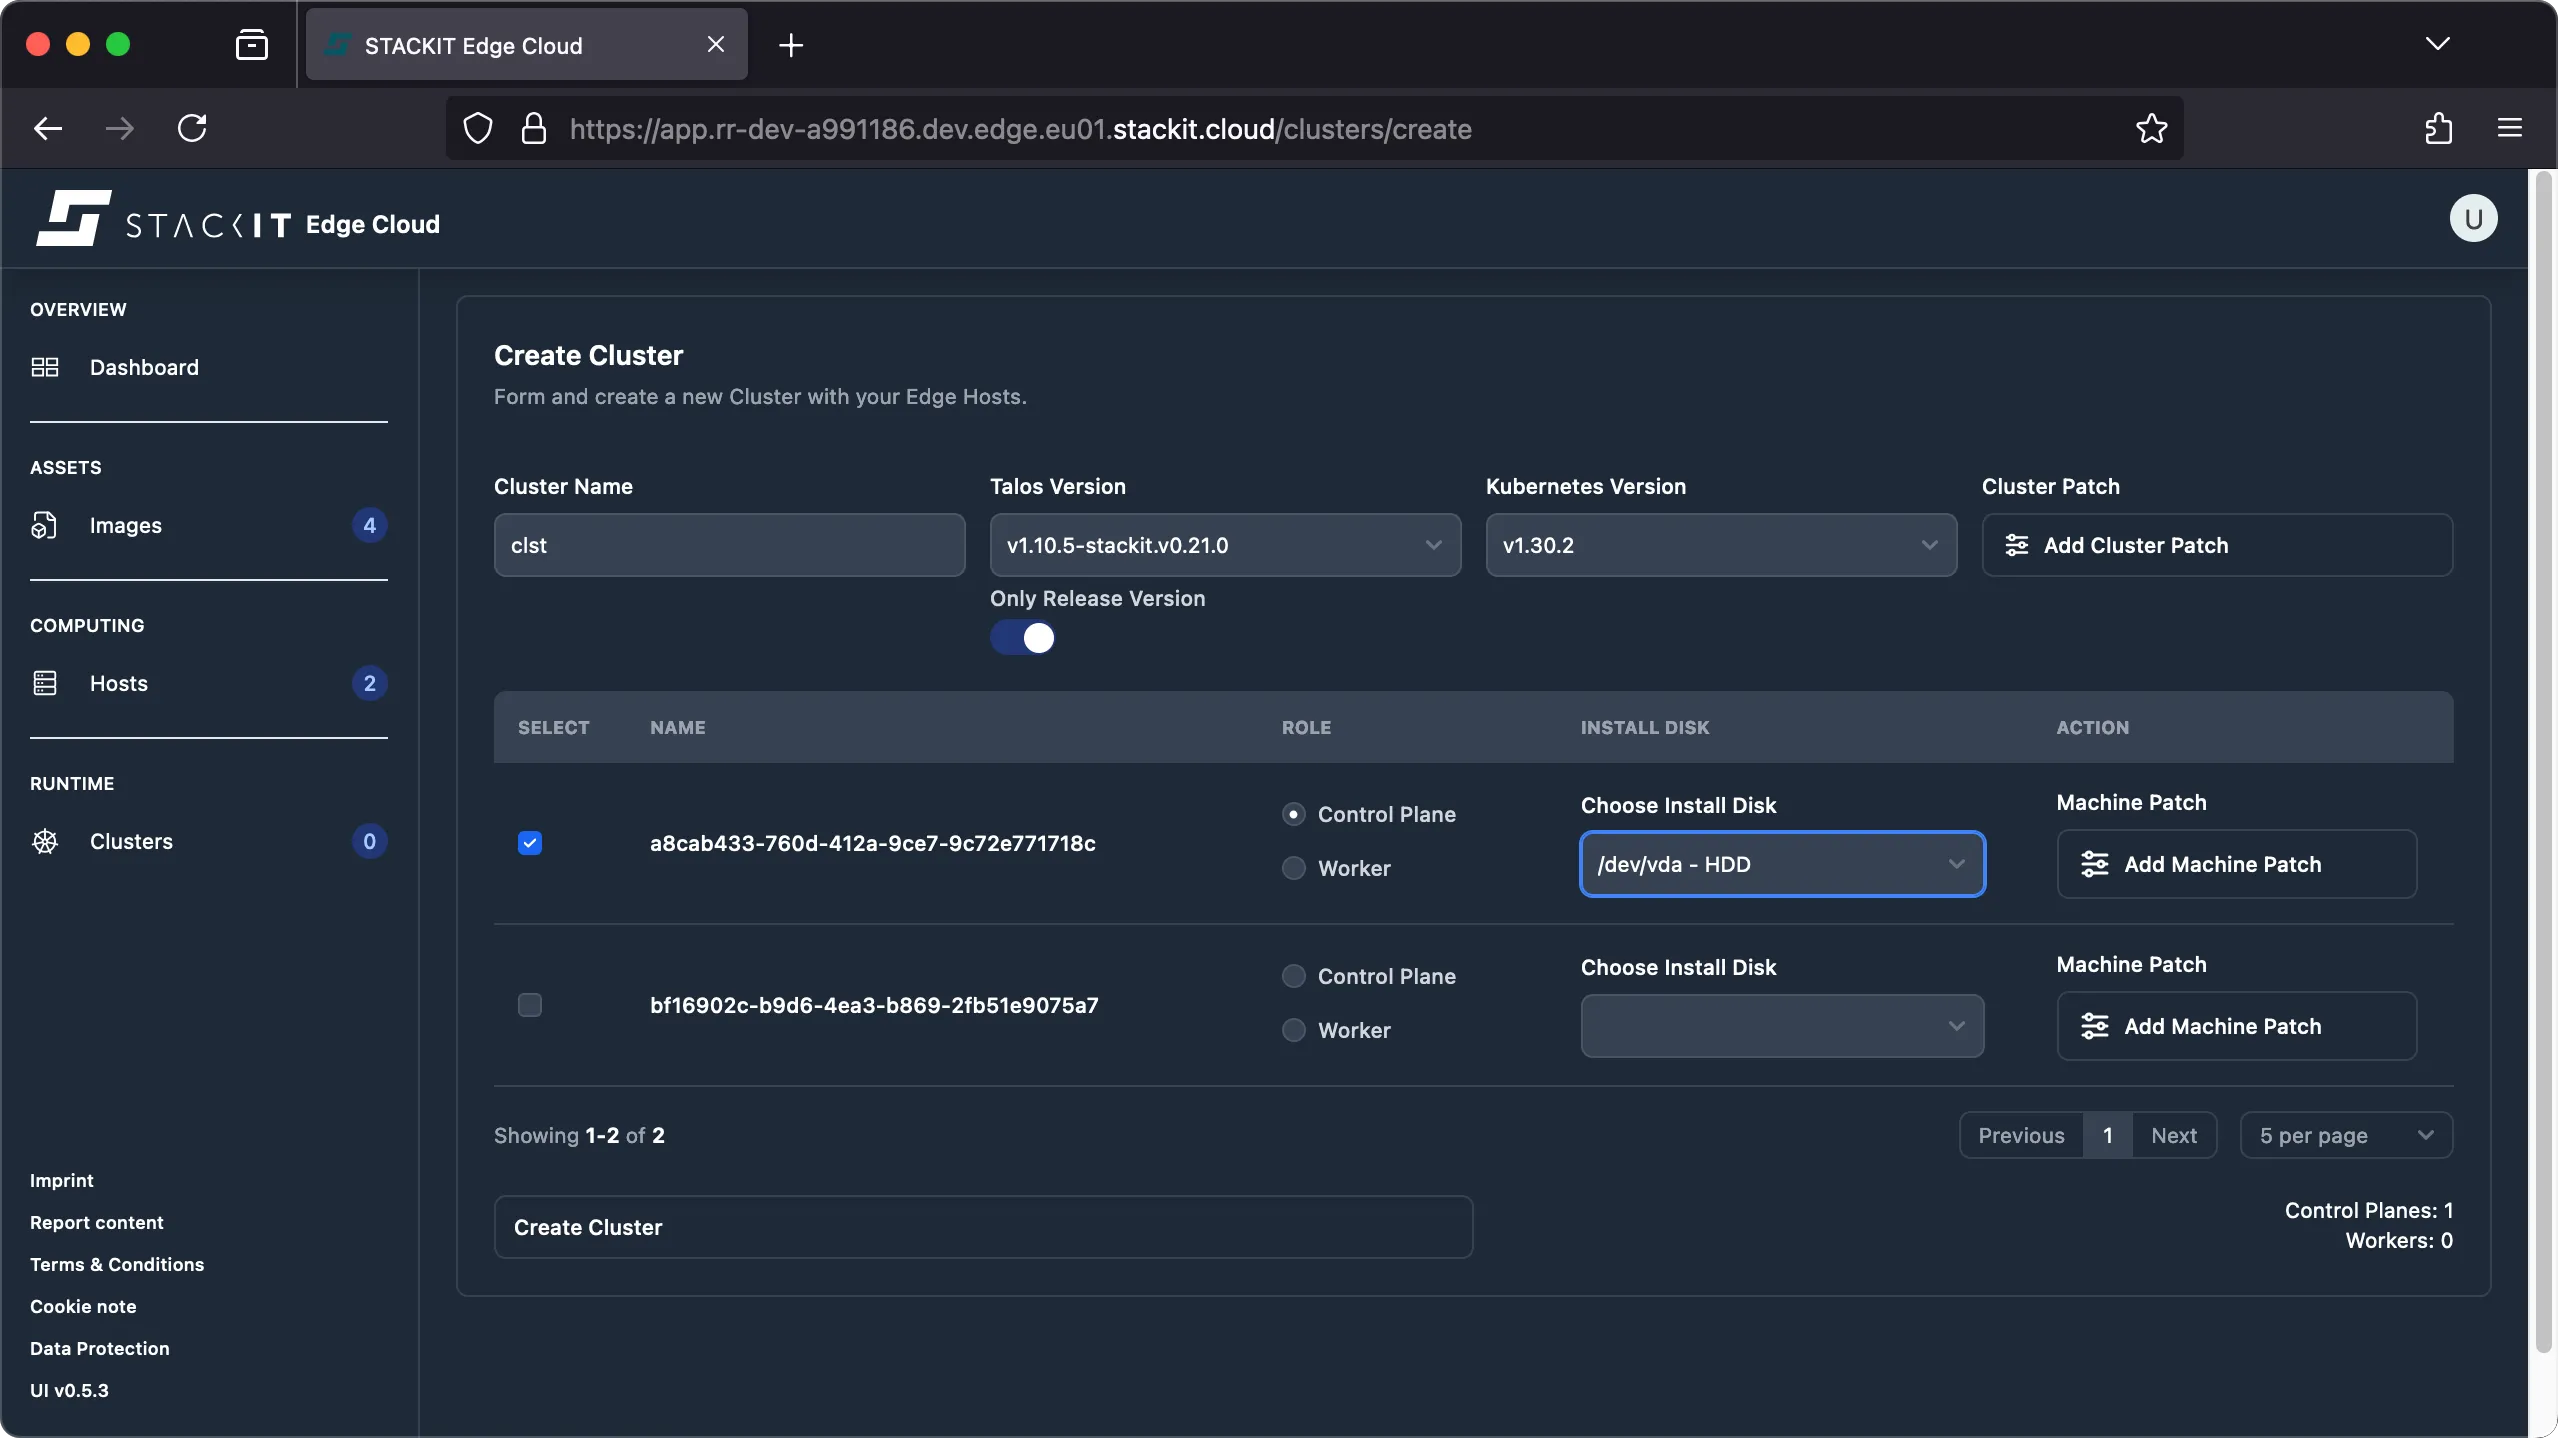
Enter a cluster name, compliant with RFC 1034. This means: it has to start and end with a letter and may contain only letters, numbers, and hyphens. Then select the desired Talos and Kubernetes versions.
The Talos version you choose during cluster creation may differ from the Talos version you used when creating the image you booted your host(s) from. If it differs, Talos will automatically perform a downgrade / upgrade of the Talos version when creating the cluster to make sure all nodes of the cluster are running using the same Talos release. A check will make sure the selected Kubernetes version is supported by the chosen Talos version.
-
Select at least one host to become a Kubernetes node and specify it’s intended role. At least one control plane is required to setup a cluster. From the dropdown select the disk to install Talos on. The resulting cluster configuration should look similar to the one shown next.
-
(Optional) you may provide config patches for the machine configuration on the cluster level and/or at the machine level. The resulting machine configuration will be merged with the configuration applied on the machine level having precedence over the configuration defined at the cluster level.
Talos is completely managed through a so called machine config. STEC generates this machine config on the fly based on the information you provide in this dialog.
-
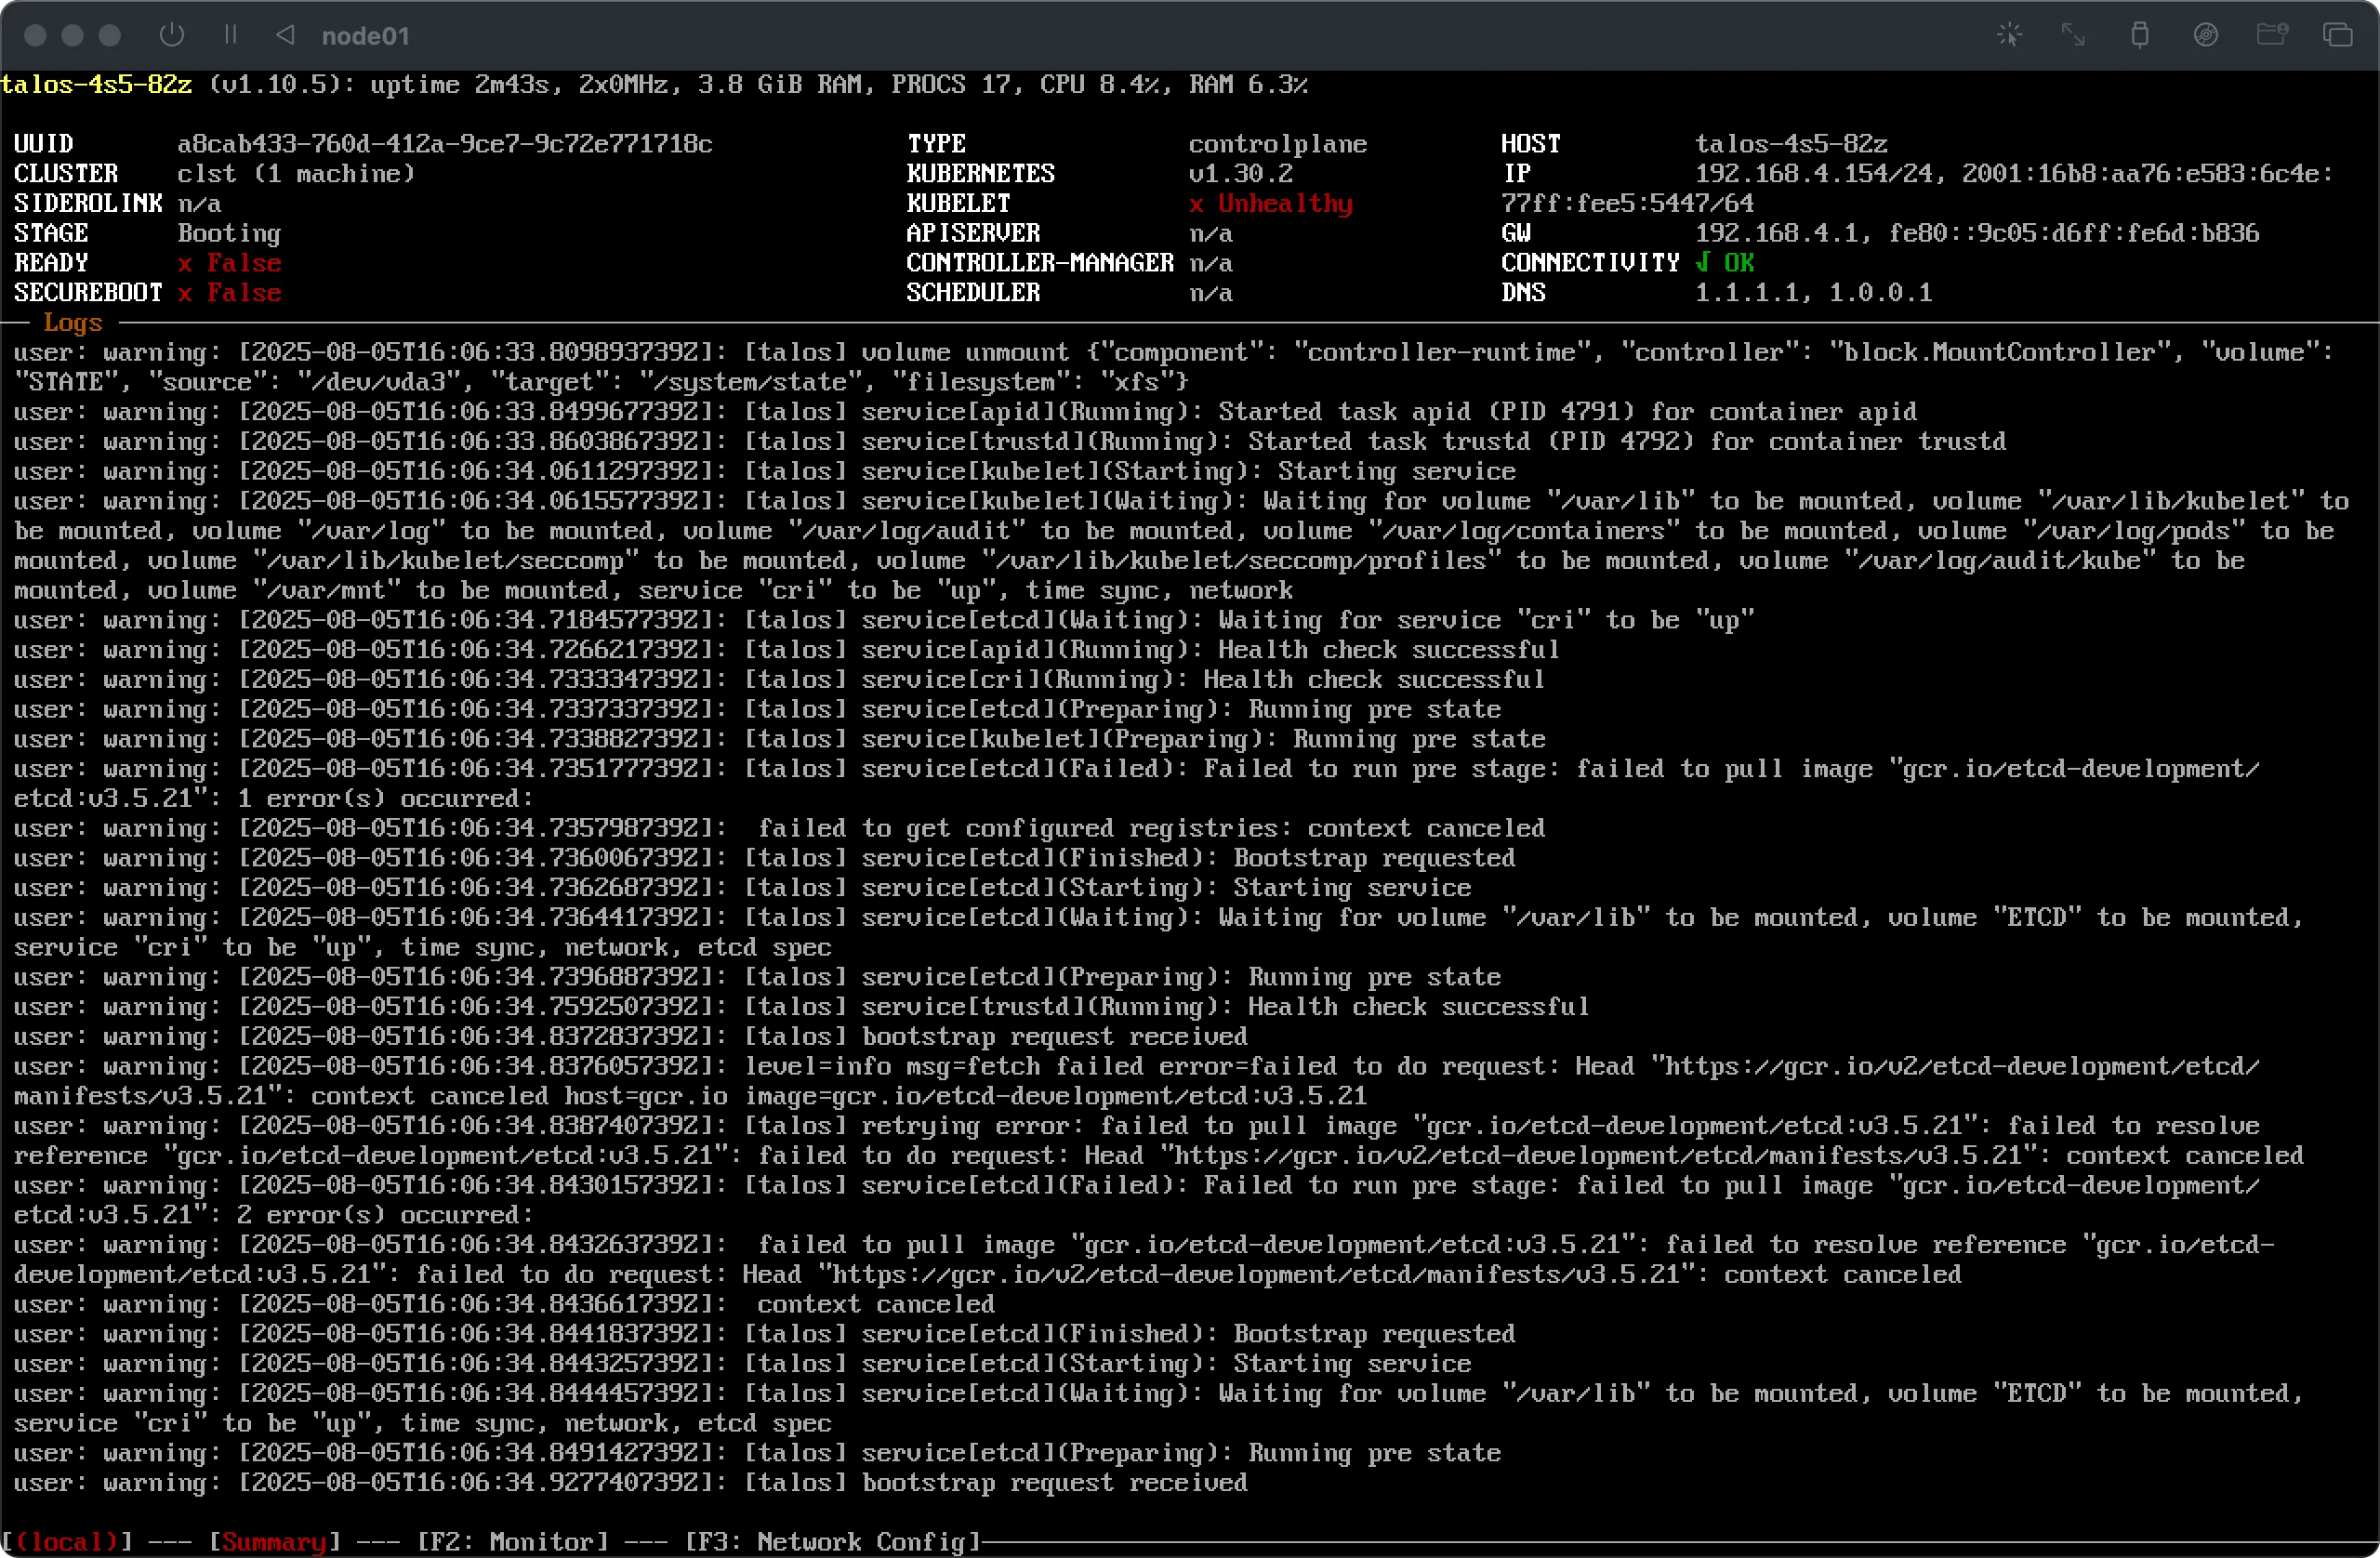
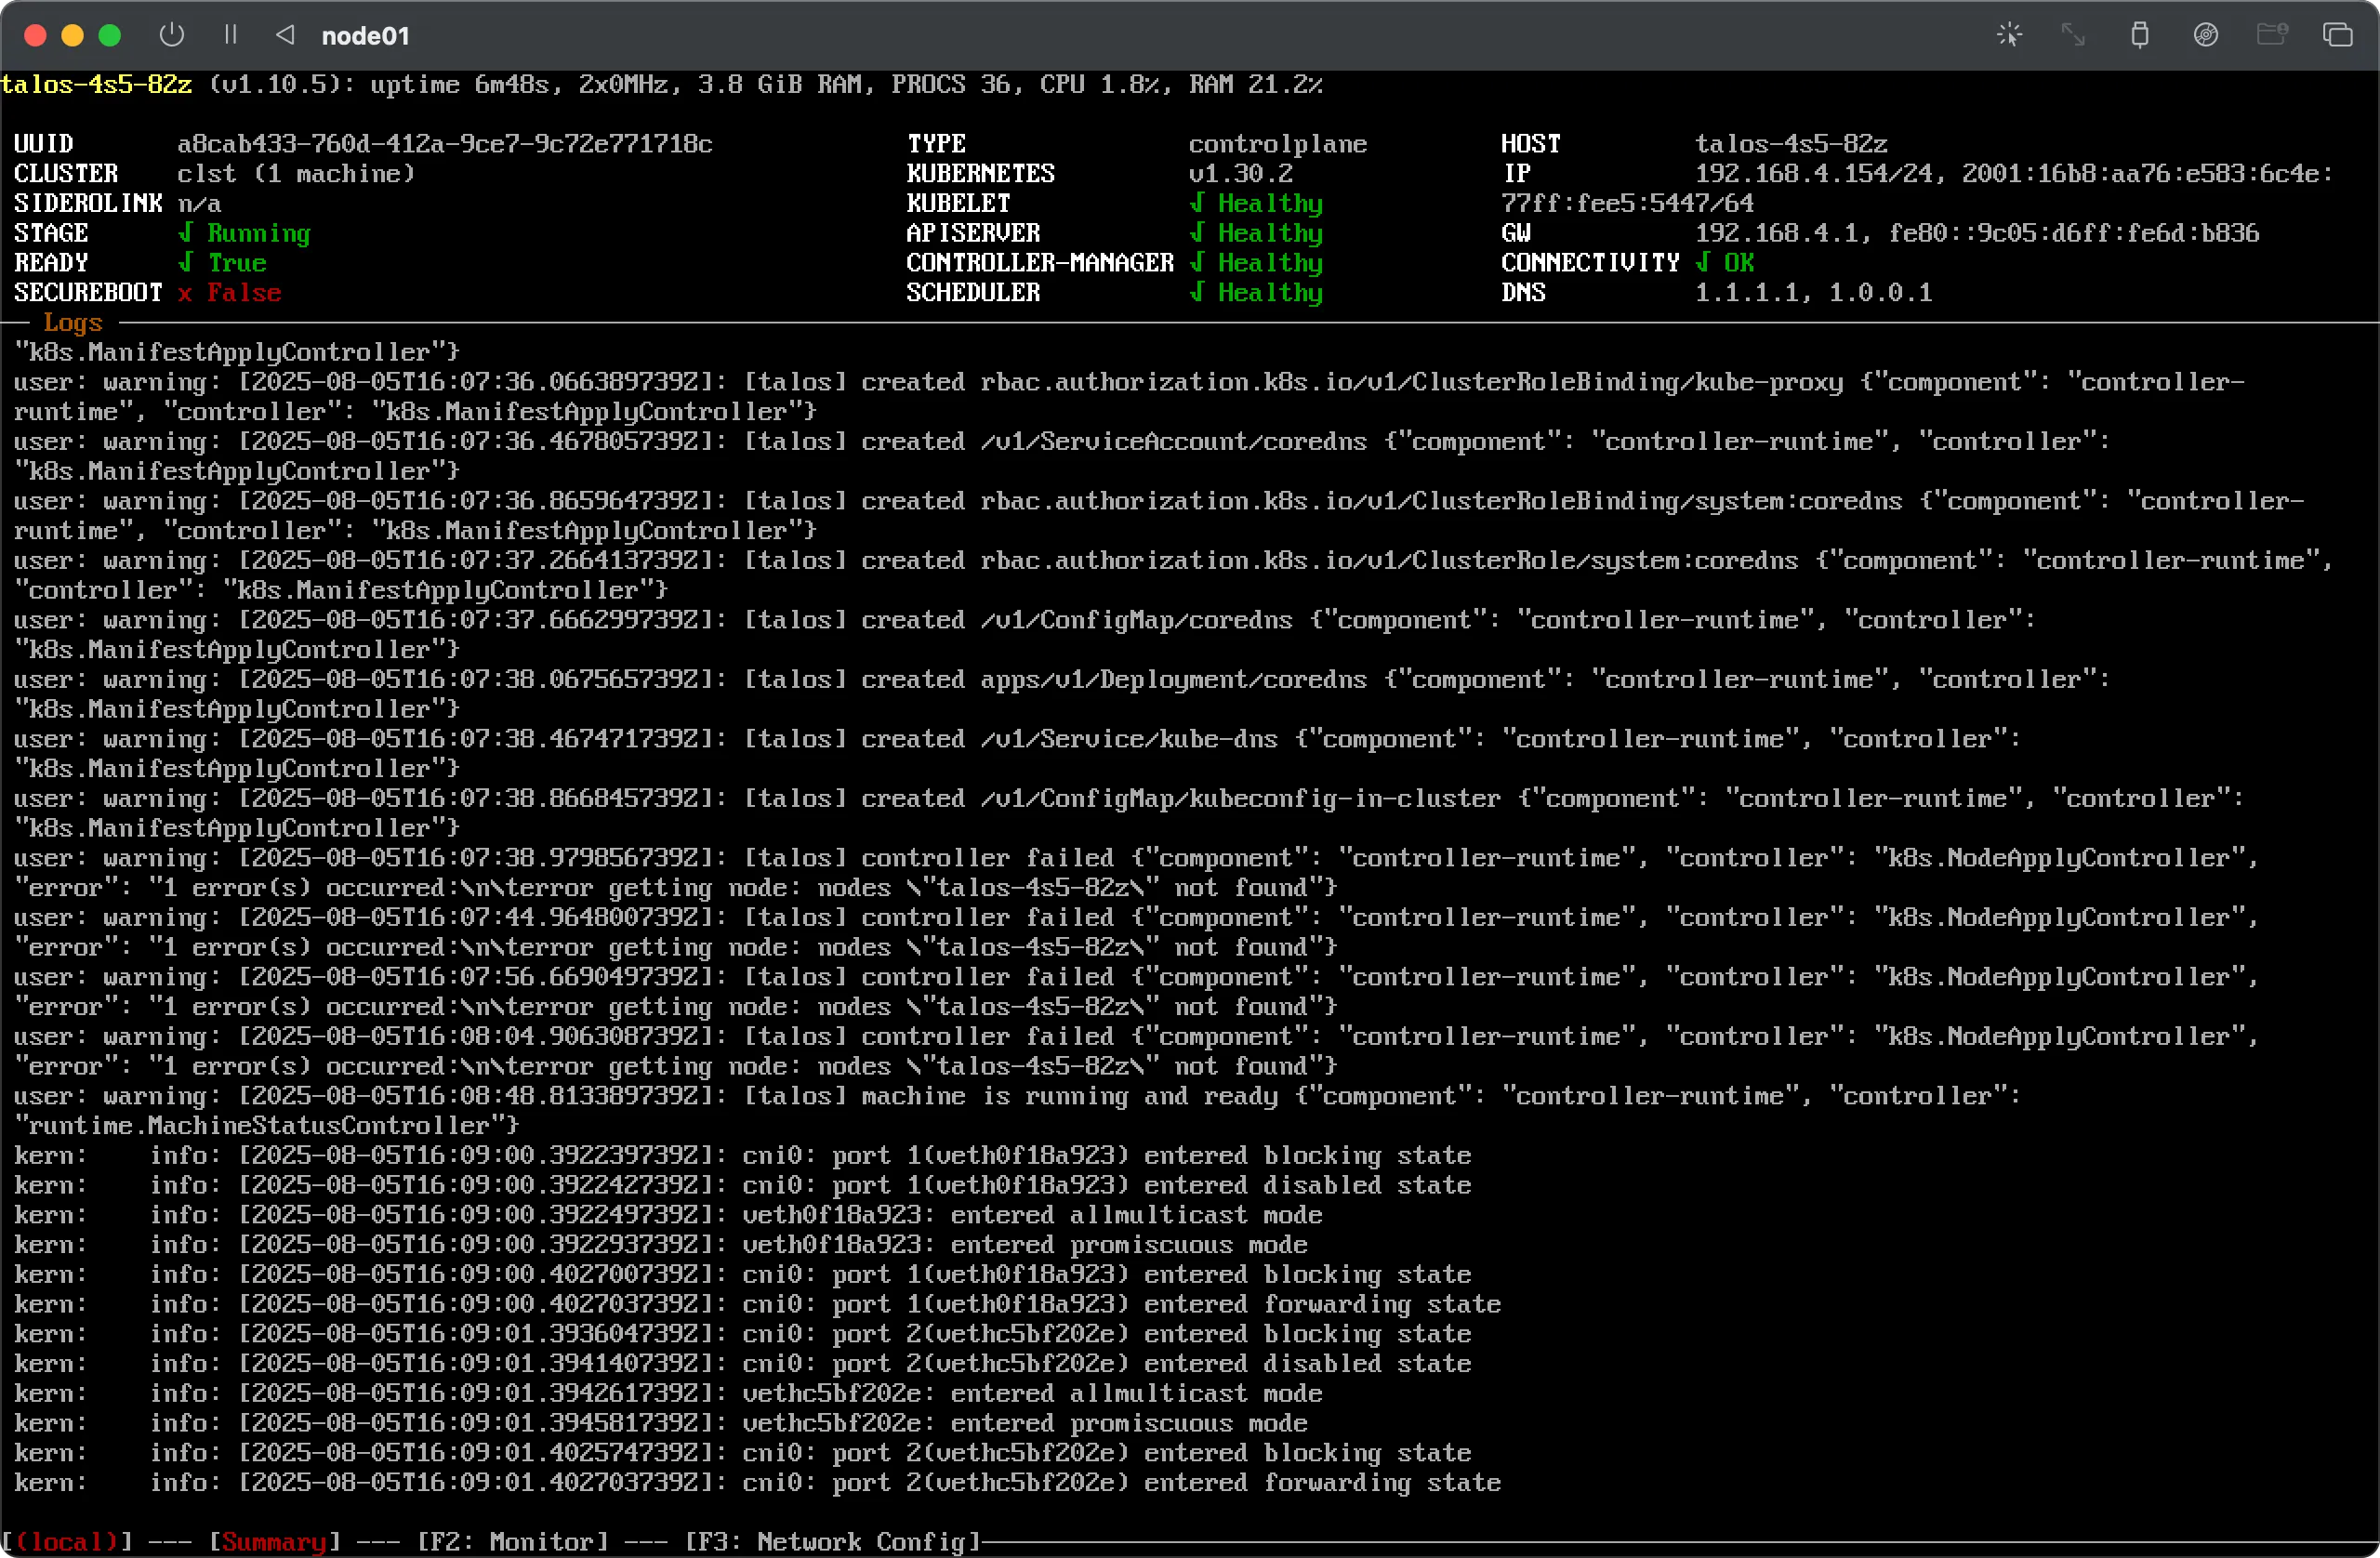
Click on the Create Cluster button to initiate the cluster creation process. You’ll immediately see that the chosen host(s) enter the
bootingstage and, if the configuration is successful, finally enter thereadystage.
-
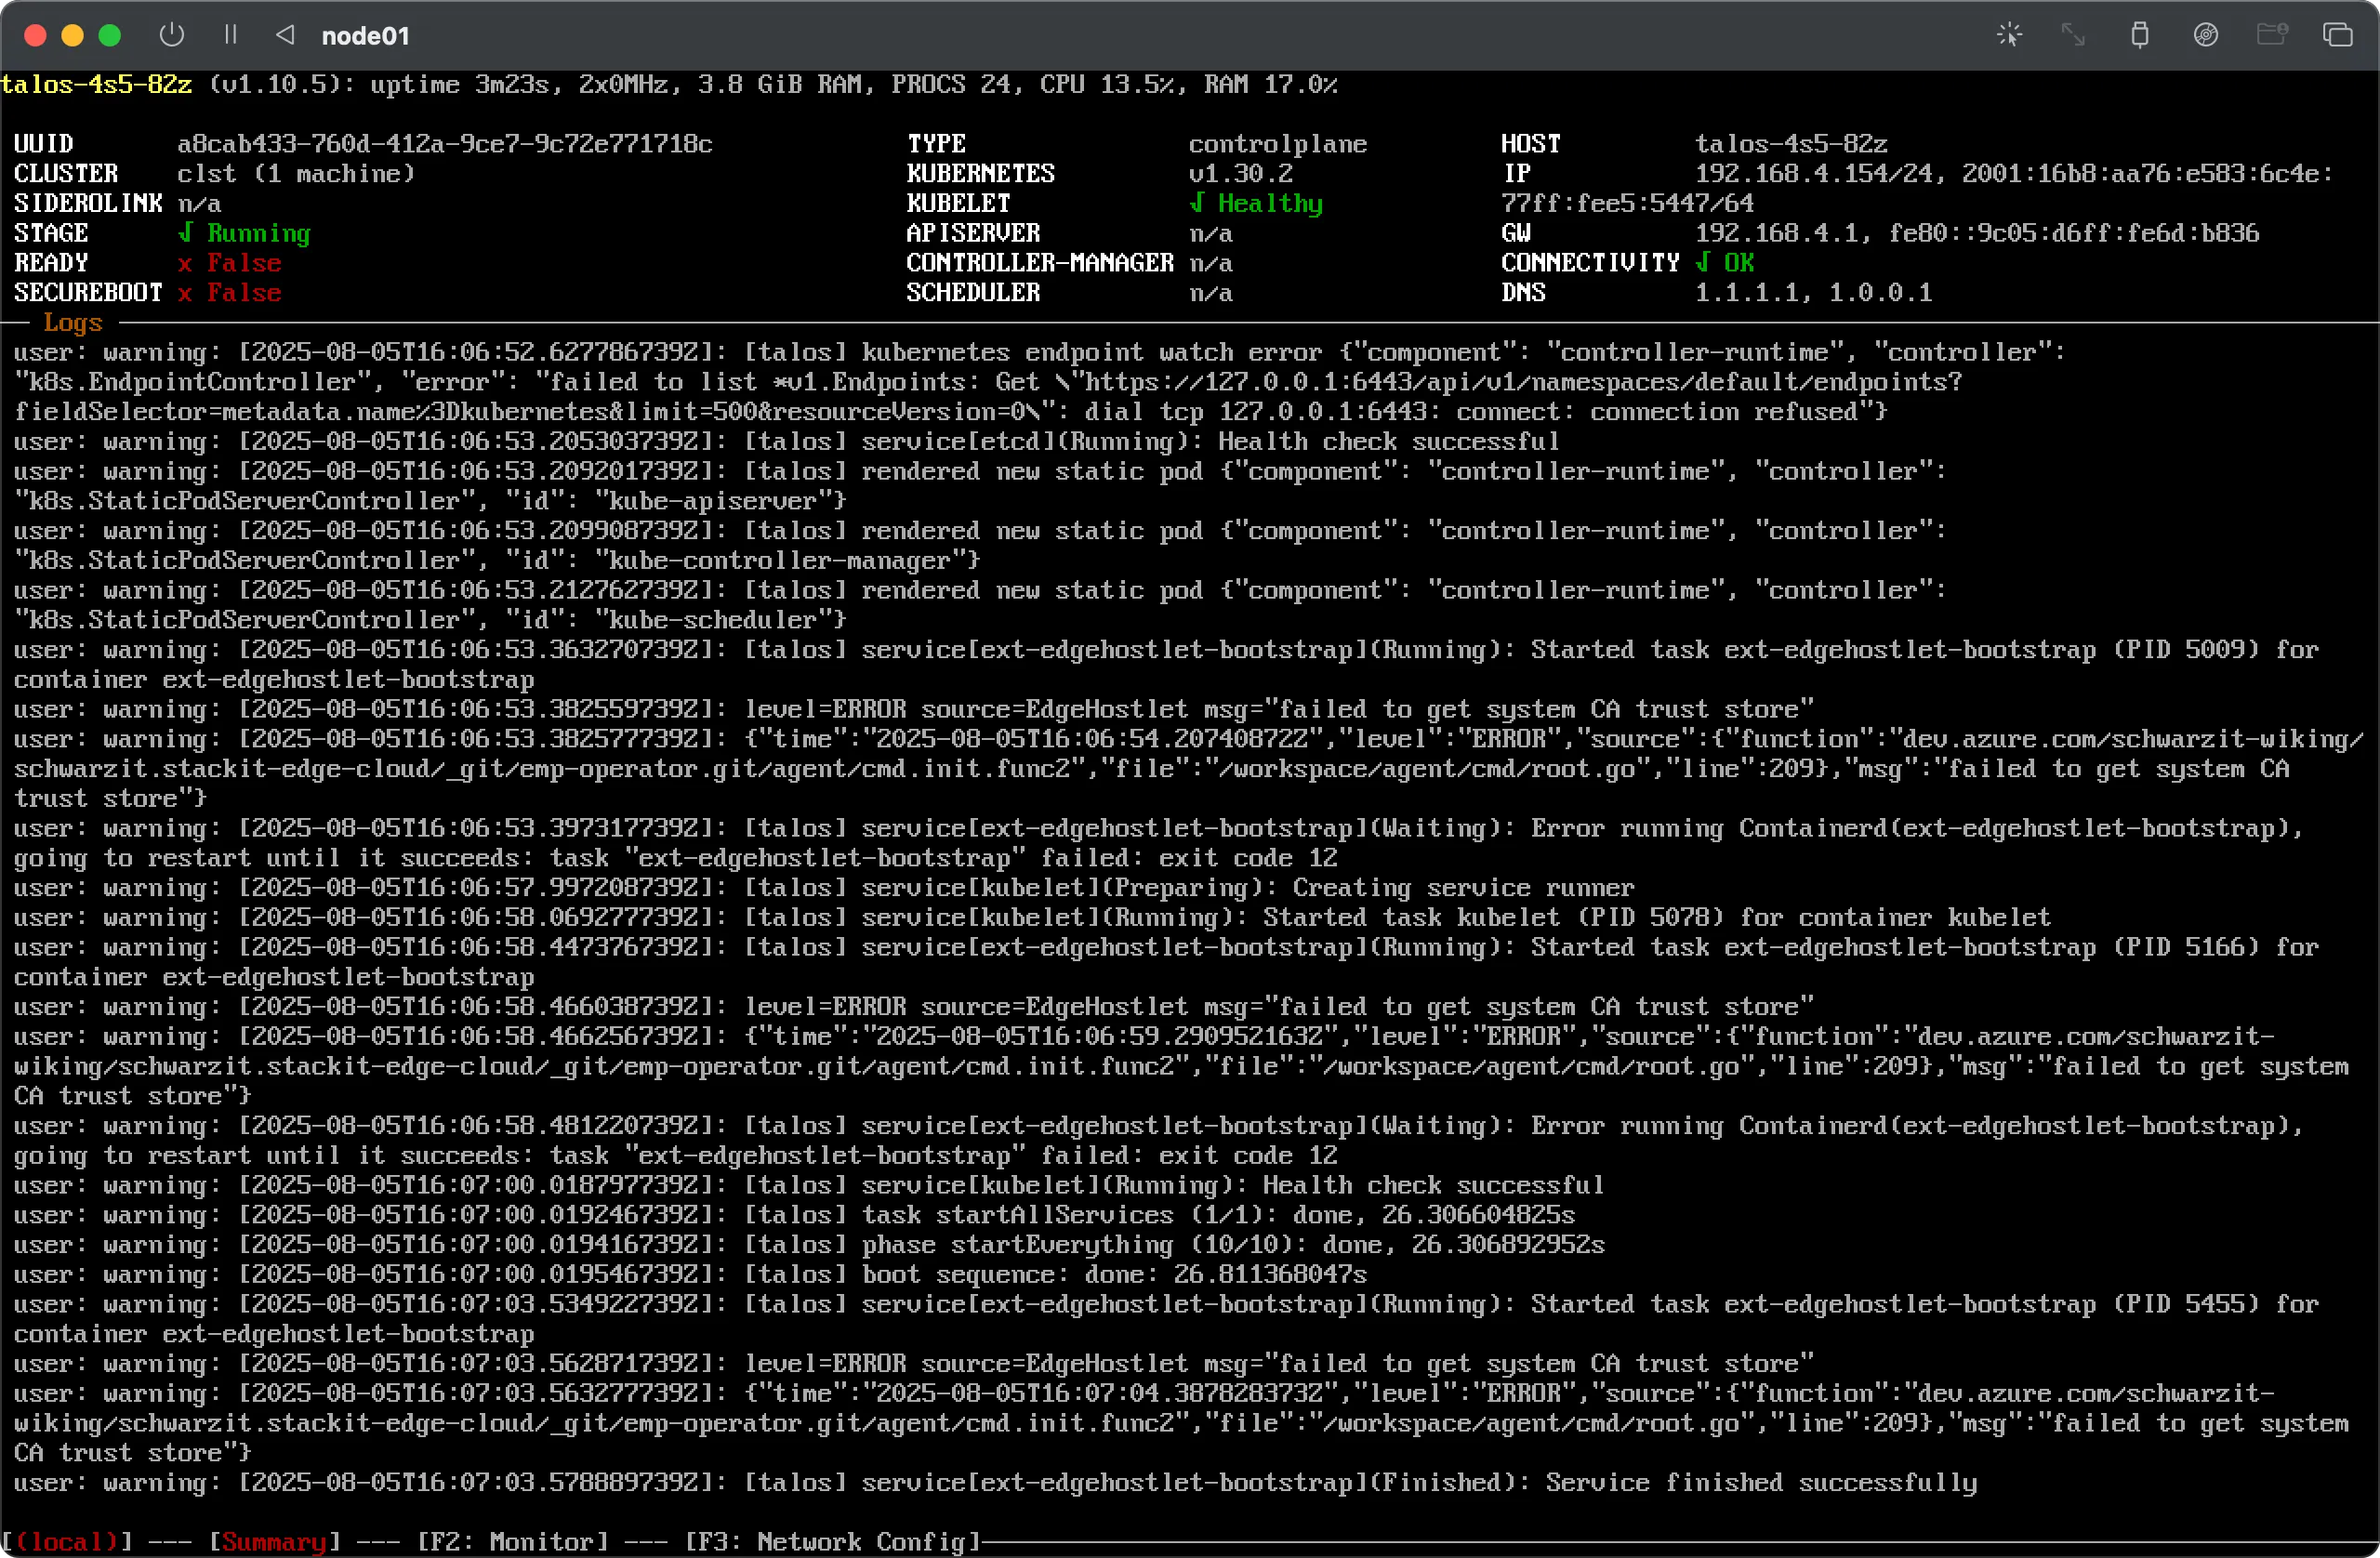
After a few minutes the cluster should report ‘ready’. The cluster creation process is complete.
Prerequisites:
- Successfully authenticated with a STEC instance.
- Kubeconfig for the STEC instance is exported in your terminal session.
- Tools: a generic Linux bash terminal,
kubectl,yq.
Steps:
-
First we have to identify the hosts that will be part of the cluster.
Terminal window > export KUBECONFIG=~/.kubeconfig/your-stec.kubeconfig.yaml> kubectl get EdgeHostNAME AGEa8cab433-760d-412a-9ce7-9c72e771718c 4m53s> kubectl get EdgeHost/a8cab433-760d-412a-9ce7-9c72e771718c -o yamlapiVersion: edge.stackit.cloud/v1alpha1kind: EdgeHostmetadata:name: a8cab433-760d-412a-9ce7-9c72e771718cnamespace: defaultspec:proxyConfig: {}status:hostInfo:architecture: arm64kernelParams:- talos.platform=metal- selinux=1- edge.joinendpoint=https://join.xxx-xxx-xxx.edge.eu01.stackit.cloud/join- edge.jointoken=xxx.xxx.xxxversion: vx.y.z-stackit.vX.Y.Znetwork:- connected: trueipAddrs:- 192.168.4.154/24isDefault: truemacAddr: 6f:4a:77:a4:54:55networkInterfaceName: enp0s1ready: truestorage:- deviceName: /dev/vdasize: 34359738368systemDisk: truetype: HDDconditions:- message: maintenancereason: TalosOsLifecyclestatus: "True"type: Stage[...]- message: System checked in successfullyreason: ConnectionTeststatus: "True"type: HeartbeattalosHostStatus:schematicId: 106b[...]e04d> EDGE_HOST_NAME=$(kubectl get EdgeHost/a8cab433-760d-412a-9ce7-9c72e771718c -o yaml | yq.metadata.name) -
Now it’s time to create the cluster manifest.
Create a new YAML file in a text editor of your choice. In this example we’ll use the same configuration as in the UI example. Please replace
<<EdgeHostName>>with the actual name as saved to the$EDGE_HOST_NAMEvariable in the previous step, make sure to replace alle the versions with versions currently supported by STEC and apply all other changes to the example file as needed.Talos is completely managed through a so called machine config. You may use the optional
configPatchesandclusterConfigPatchesto further customize your deployment, see config patches. STEC generates this machine config on the fly based on the information you provide in this dialog. If you need to further customize the generated machine config please refer to the advanced section.The Talos version you choose during cluster creation may differ from the Talos version you used when creating the image you booted your host(s) from. If it differs, Talos will automatically perform a downgrade / upgrade of the Talos version when creating the cluster to make sure all nodes of the cluster are running using the same Talos release. A check will make sure the selected Kubernetes version is supported by the chosen Talos version.
As of today there is no way to programmatically get a list of supported image versions, overlays or extensions. Please visit our FAQs for more information about this limitation.
apiVersion: edge.stackit.cloud/v1alpha1kind: EdgeClustermetadata:name: clstspec:maintenance: {}nodes:- edgeHost: <<EdgeHostName>>role: controlplanetalos:kubernetes:version: v1.30.2installDisk: /dev/vdamaintenance: {}proxyConfig: {}proxy:kubernetes: falsetalos: falsetalos:kubernetes:version: v1.30.2version: v1.10.5-stackit.v0.21.0 -
Save the file to a location of your choice. We’ll use
~/stec-cluster.yamlin this example. -
Apply the manifest to the Kubernetes cluster. This will create the cluster. You’ll immediately see that the chosen host(s) enter the booting stage and, if the configuration is successful, finally enter the ready stage.
Terminal window > kubectl apply -f ~/stec-cluster.yamledgecluster.edge.stackit.cloud/clst created> kubectl get edgecluster/clst -o yamlapiVersion: edge.stackit.cloud/v1alpha1kind: EdgeClustermetadata:name: clstnamespace: defaultspec:maintenance: {}nodes:- edgeHost: a8cab433-760d-412a-9ce7-9c72e771718cinstallDisk: /dev/vdamaintenance: {}proxyConfig: {}role: controlplanetalos:kubernetes:version: v1.30.2proxy: {}talos:kubernetes:version: v1.30.2version: v1.10.5-stackit.v0.21.0status:conditions:- lastTransitionTime: "2025-08-08T15:47:05Z"message: Cluster readyreason: Readystatus: "True"type: ClusterReadycontrolPlaneEndpoint:host: 192.168.4.154port: 6443ready: true -
After a few minutes the cluster should report ‘ready’. The cluster creation process is complete.