Ordering an instance
Zuletzt aktualisiert am
Introduction
Section titled “Introduction”Before you can use STACKIT Edge Cloud (STEC), you must order an instance. A STEC instance is a management plane that provides a Kubernetes API endpoint and a web UI. You use this API to create images for your hosts and manage your entire STEC fleet—including all hosts and clusters—from a single control plane.
Because all management tasks run through the Kubernetes API, you can use any compatible tool to manage your fleet. A single STEC instance manages hundreds of hosts and clusters. If you need to manage more systems, you can order additional instances. Each new instance adds another Kubernetes API endpoint, so you can still use a single tool to manage all your resources across all STEC instances.
This guide shows you how to order and run your own STEC instance.
Order an instance
Section titled “Order an instance”You can order a new STEC instance using one of two methods:
- The STACKIT Edge Cloud web UI.
- The STACKIT Edge Cloud API, using a tool like the STACKIT CLI.
Prerequisites
Before you begin, you need the following:
- A STACKIT user account.
- A STACKIT project.
- Sufficient permissions for the user account to order new products within the project. more
Steps
-
Login with the STACKIT Portal.
-
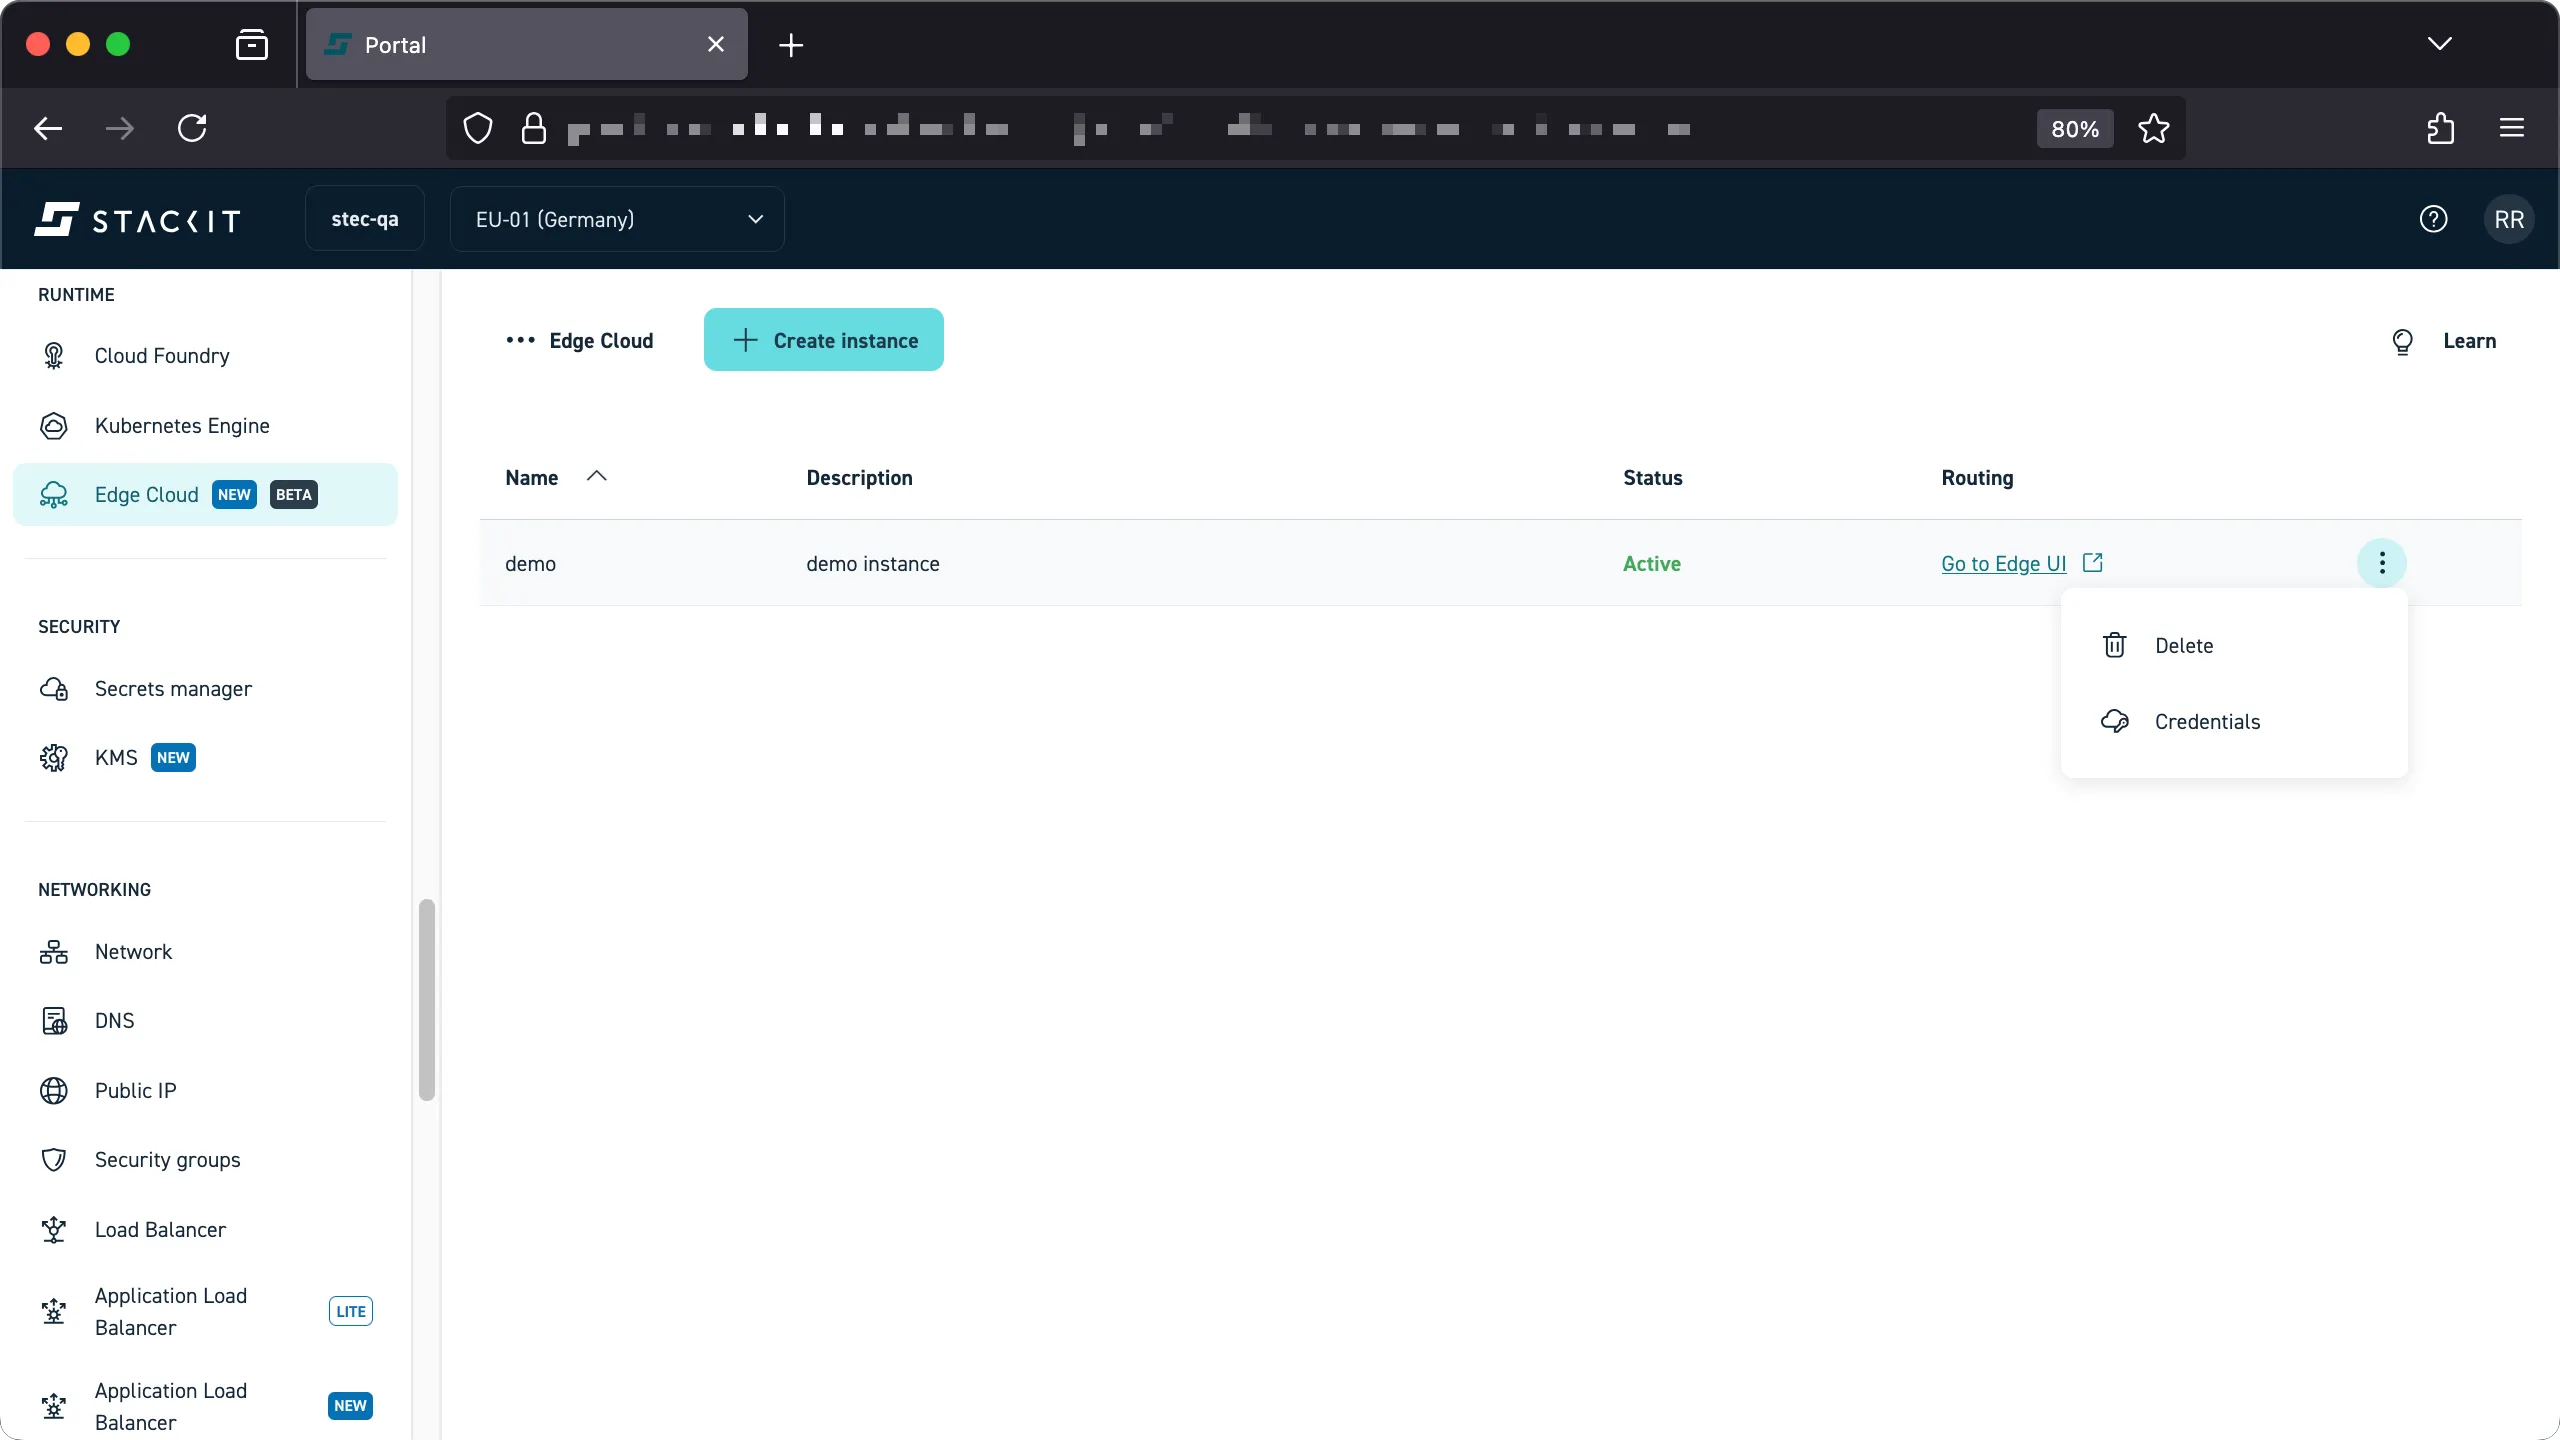
Navigate to the Edge Cloud product in the Runtime section of the Portal.
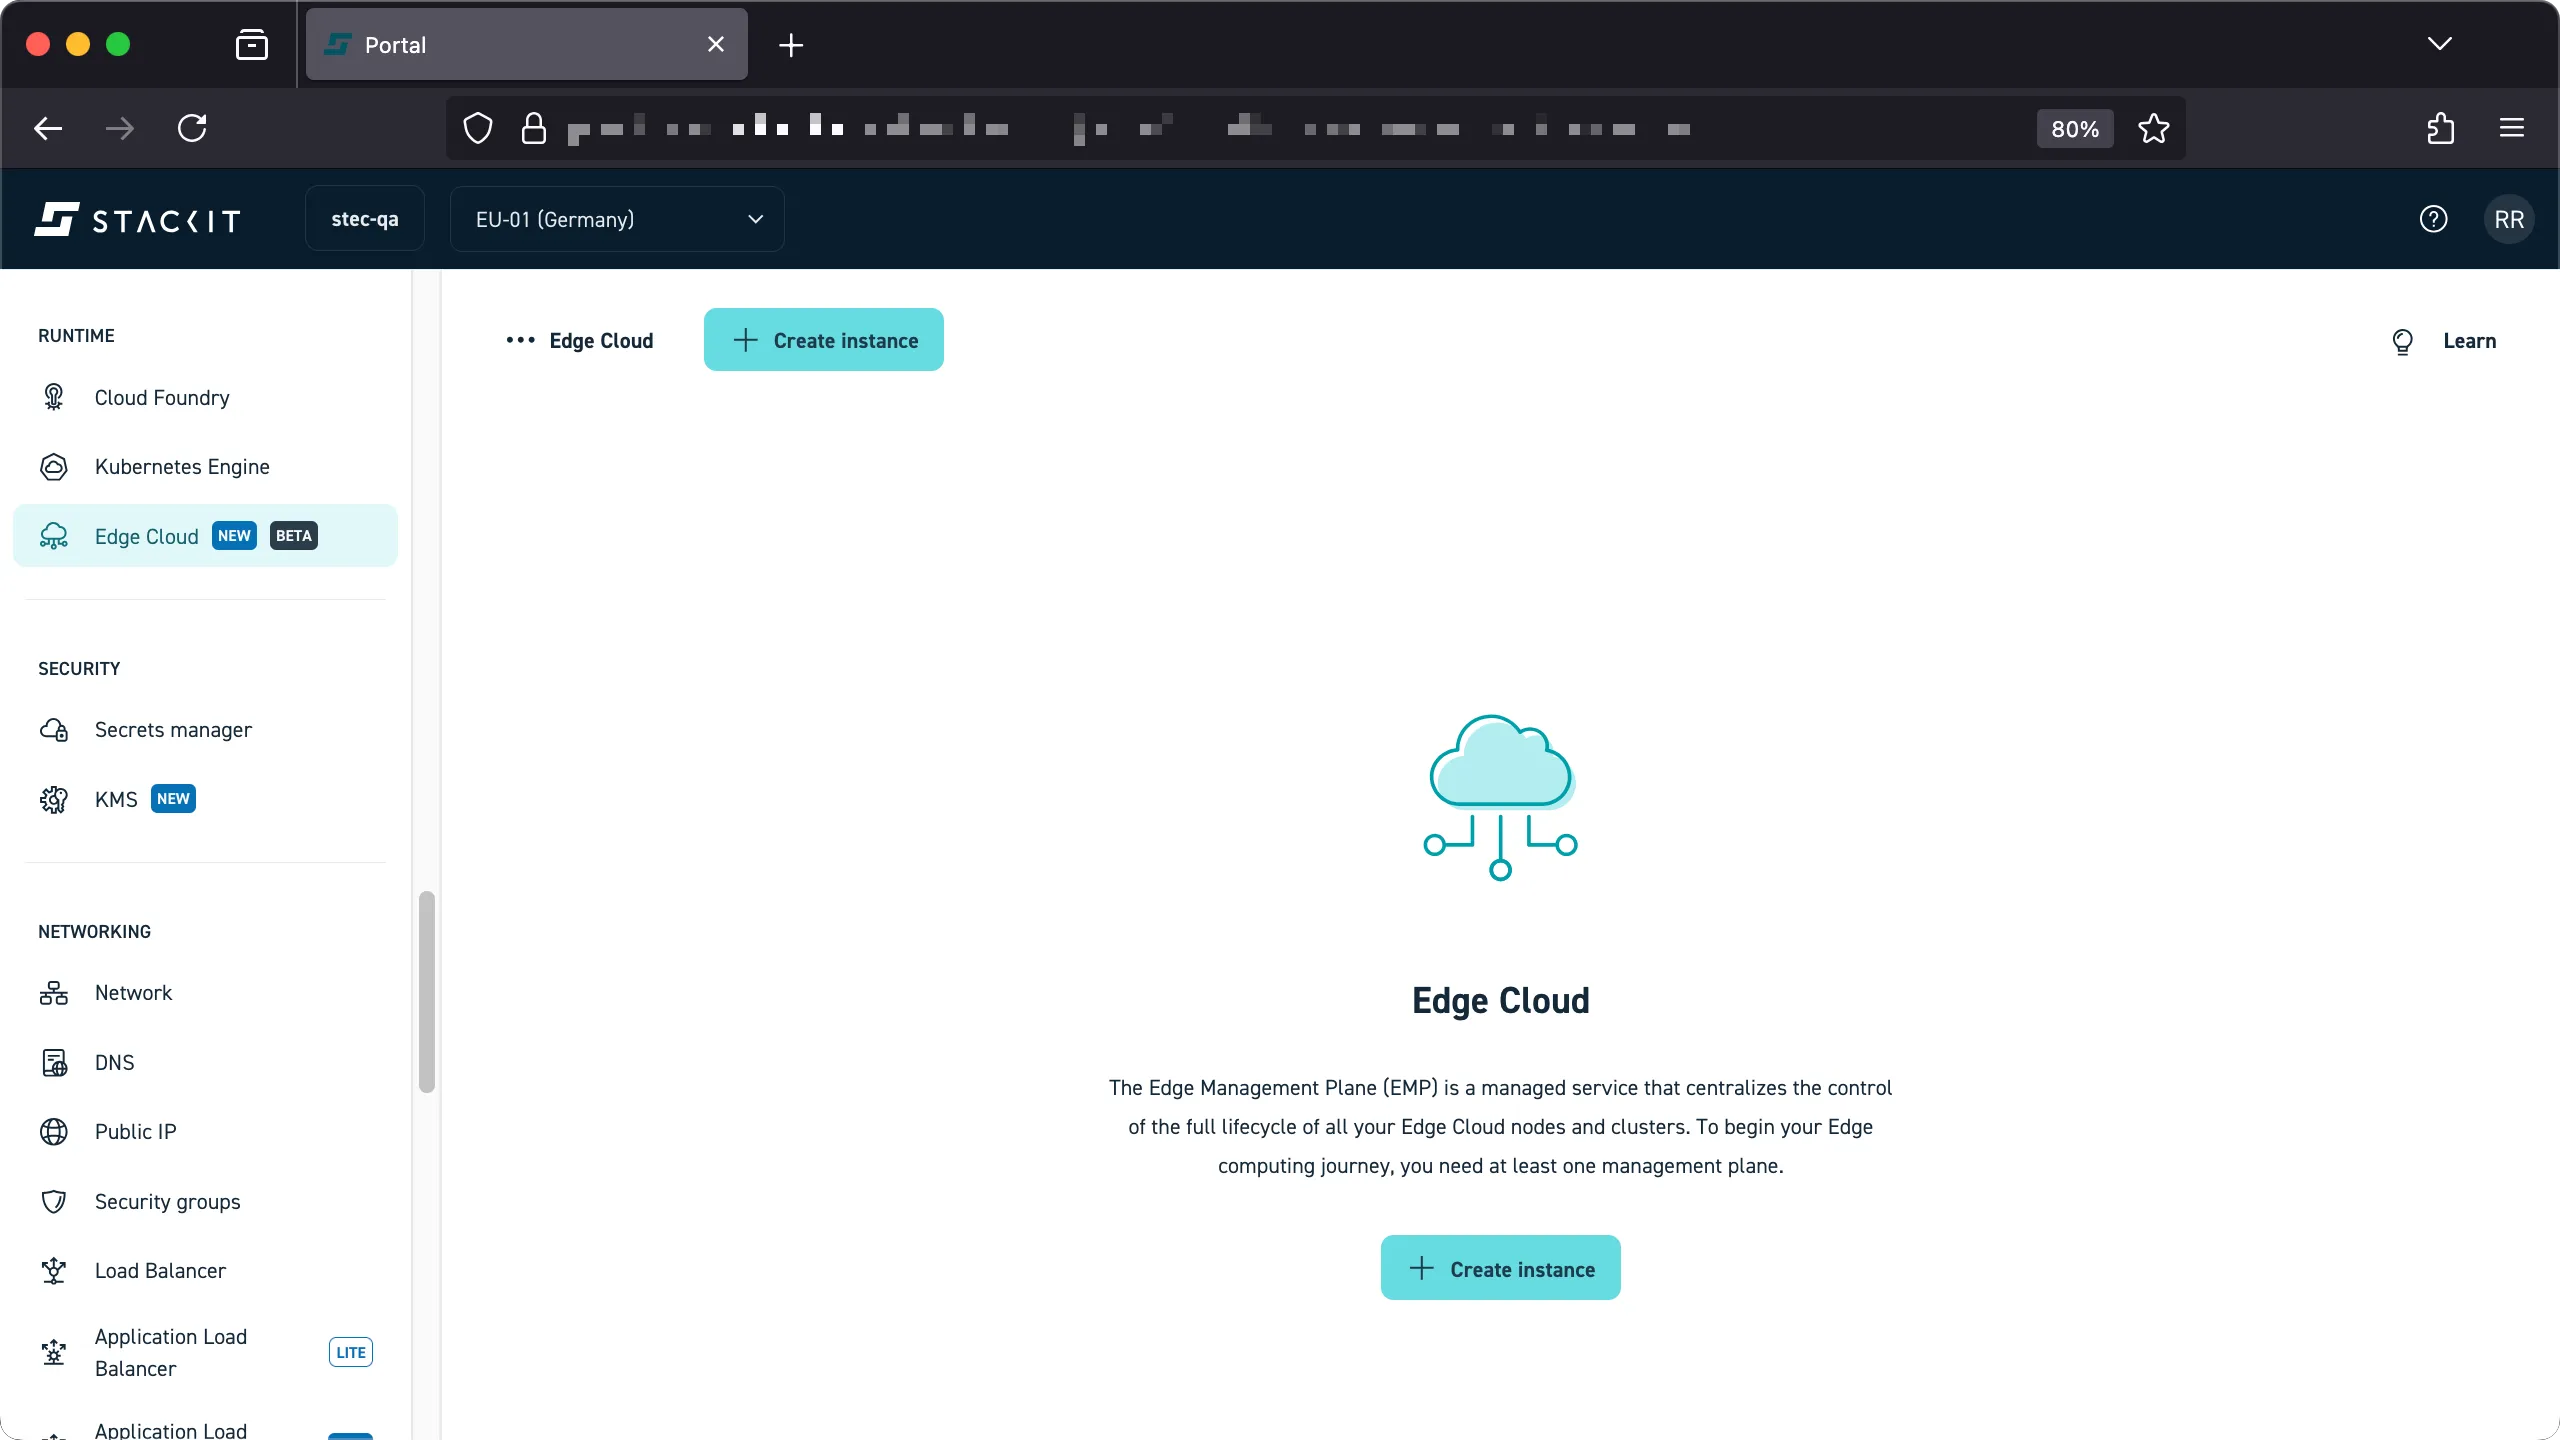
-
Click the ‘create instance’ button.
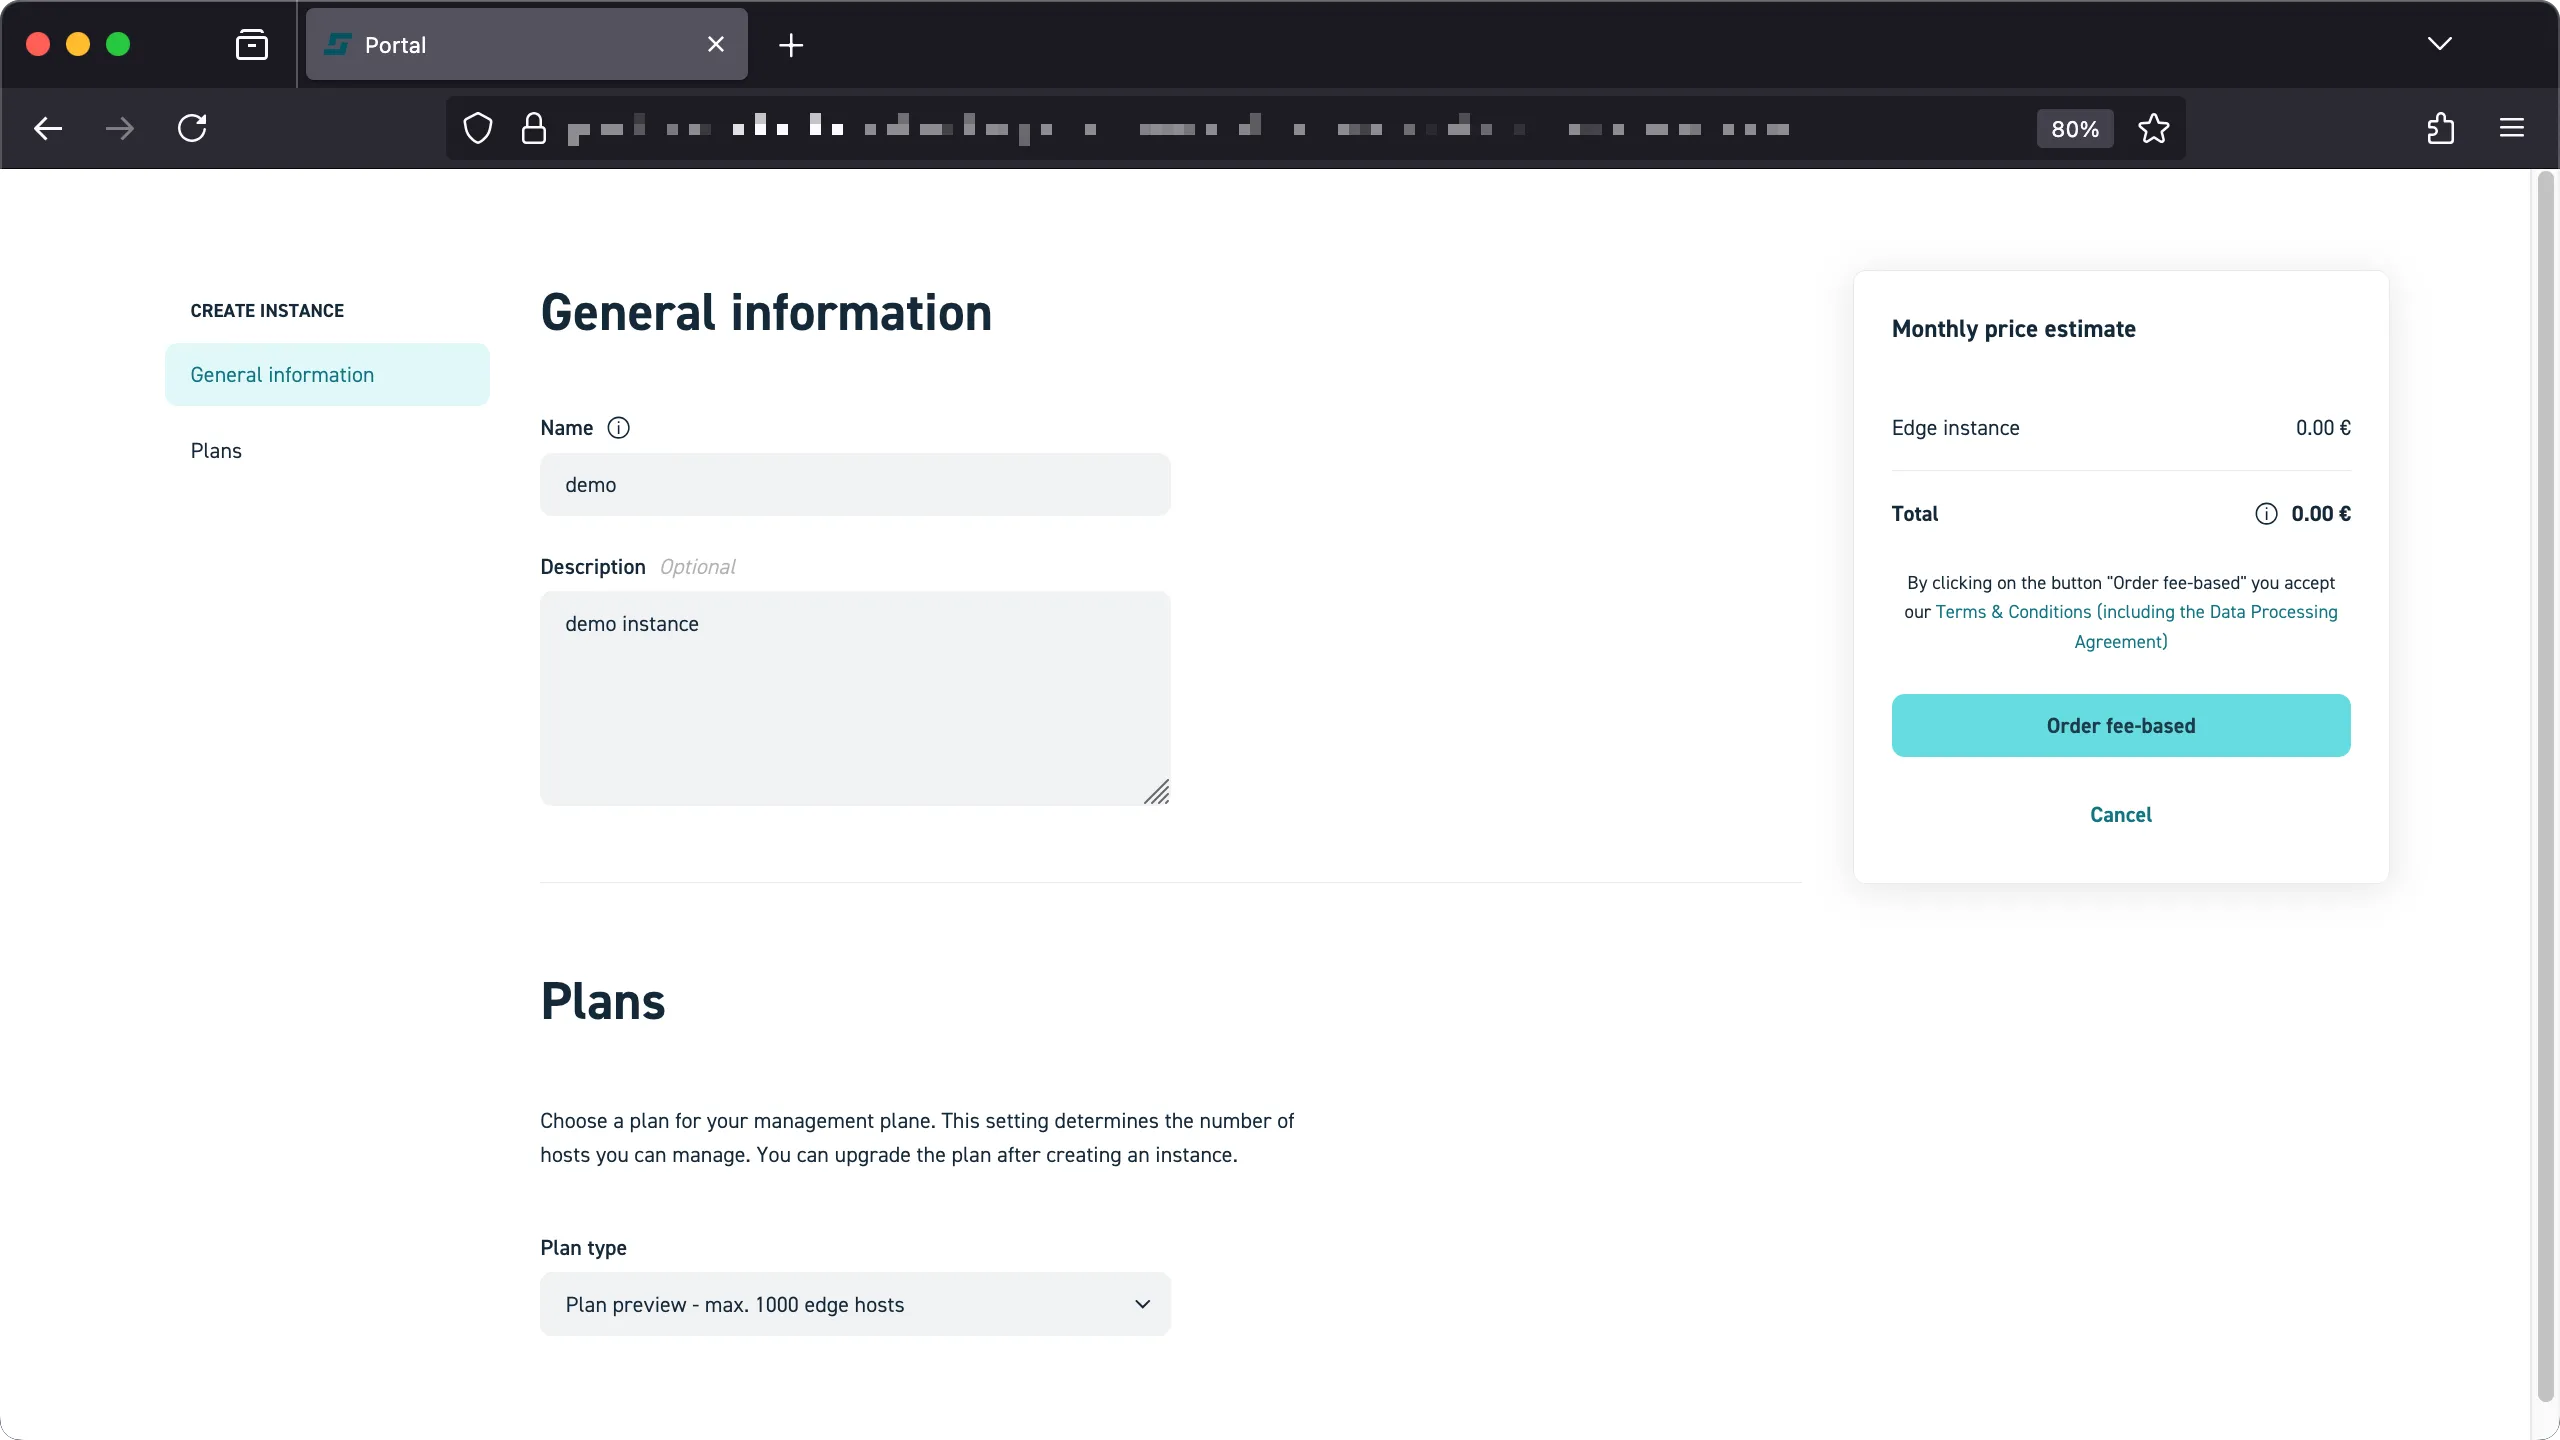
-
Select a plan and enter the required information, than click the ‘order’ button.
-
It will take a moment for your STACKIT Edge Cloud instance to be created.

-
When ready the status of the instance should report
active. You can now use your instance.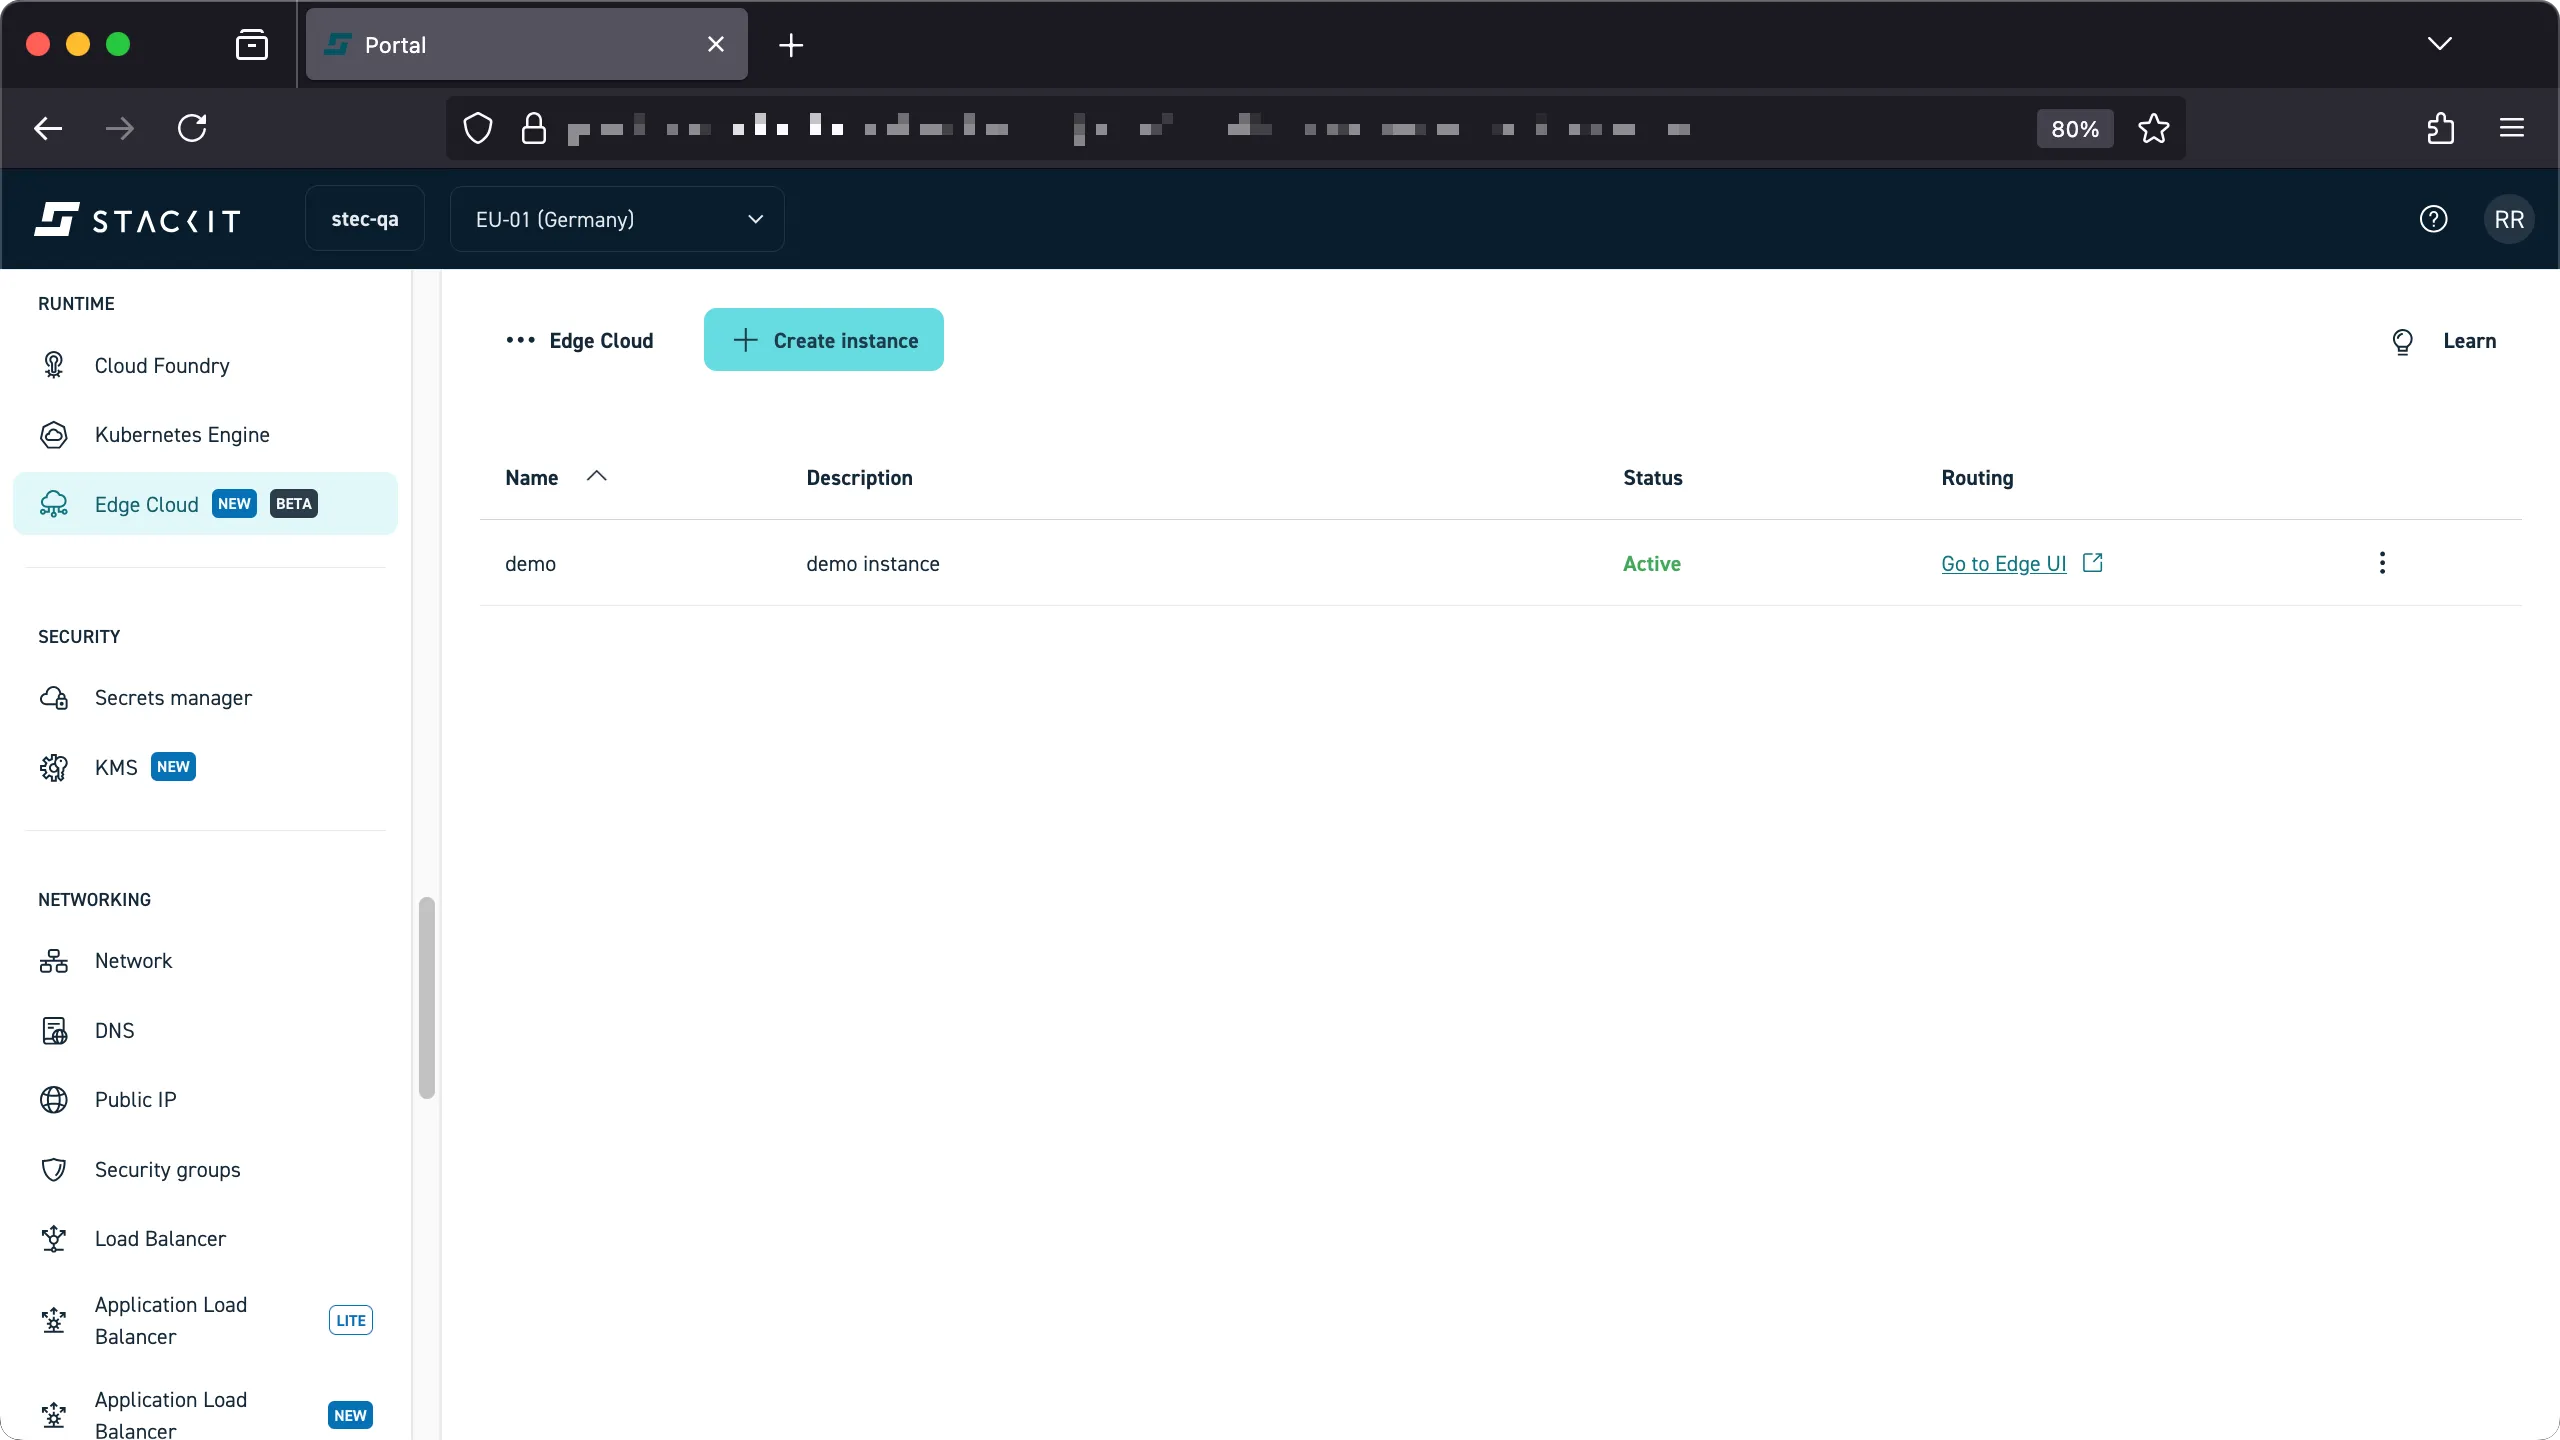
-
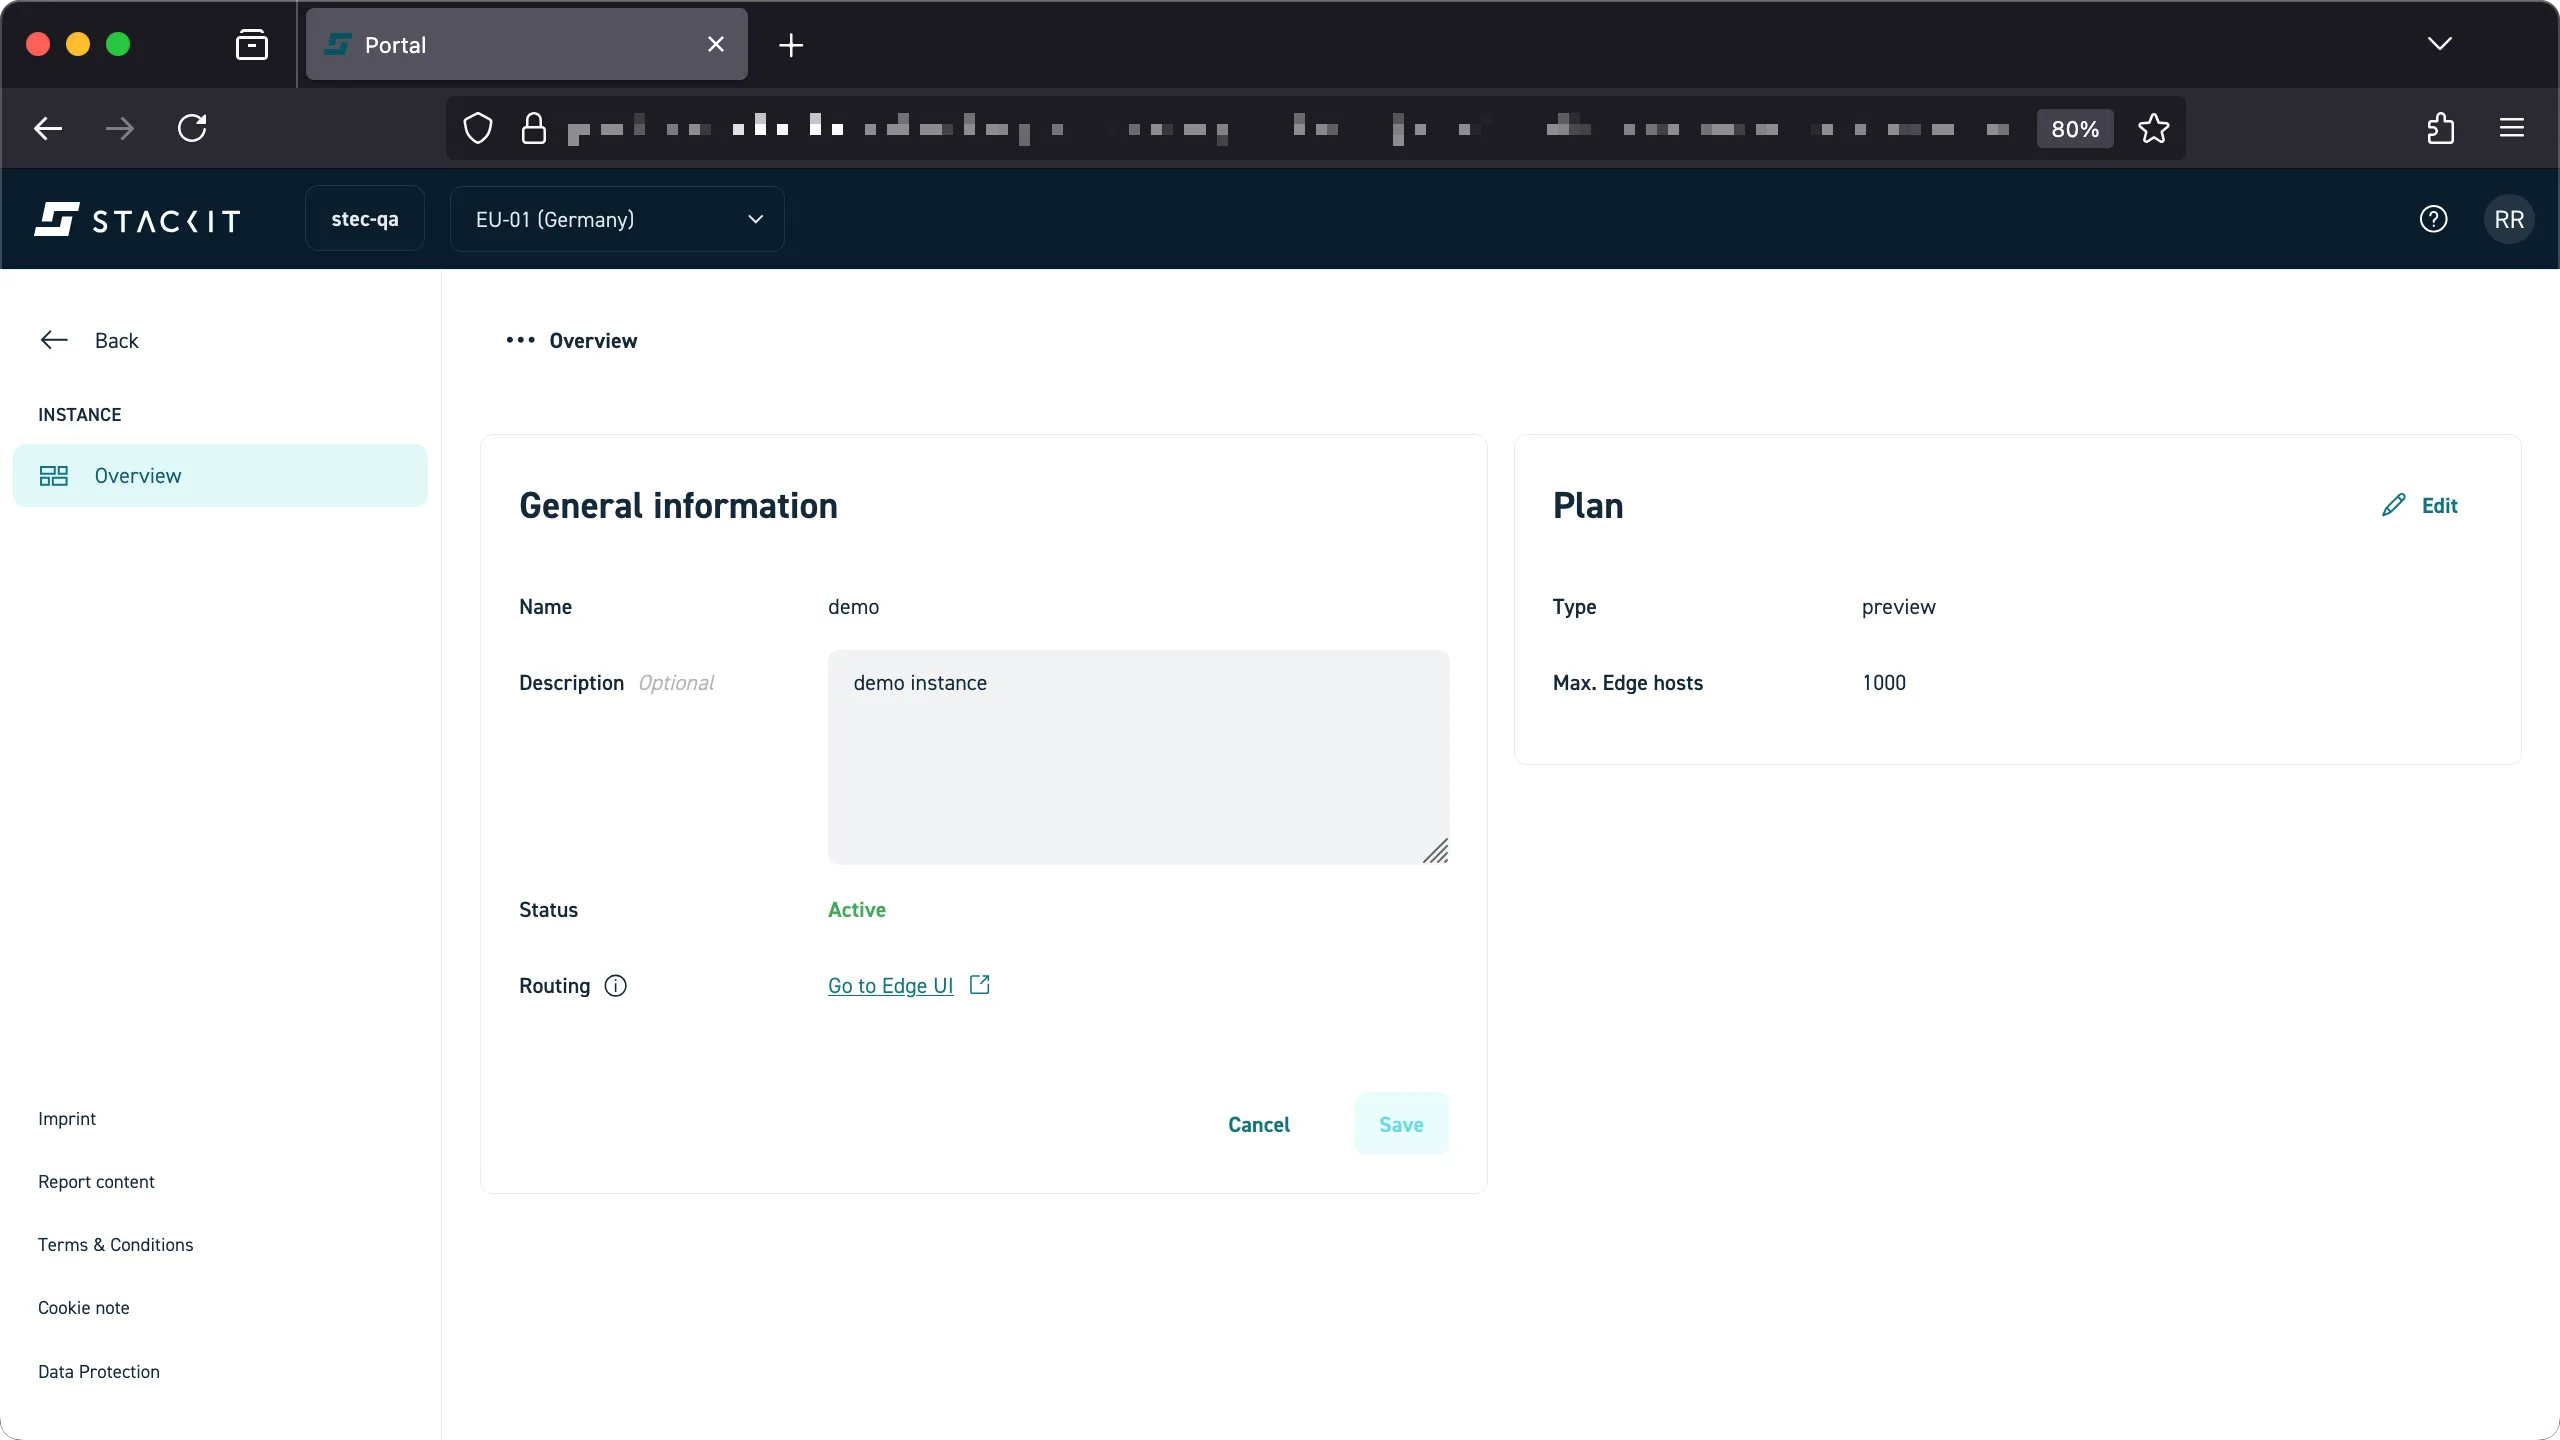
Click on the instance name to open up the overview.
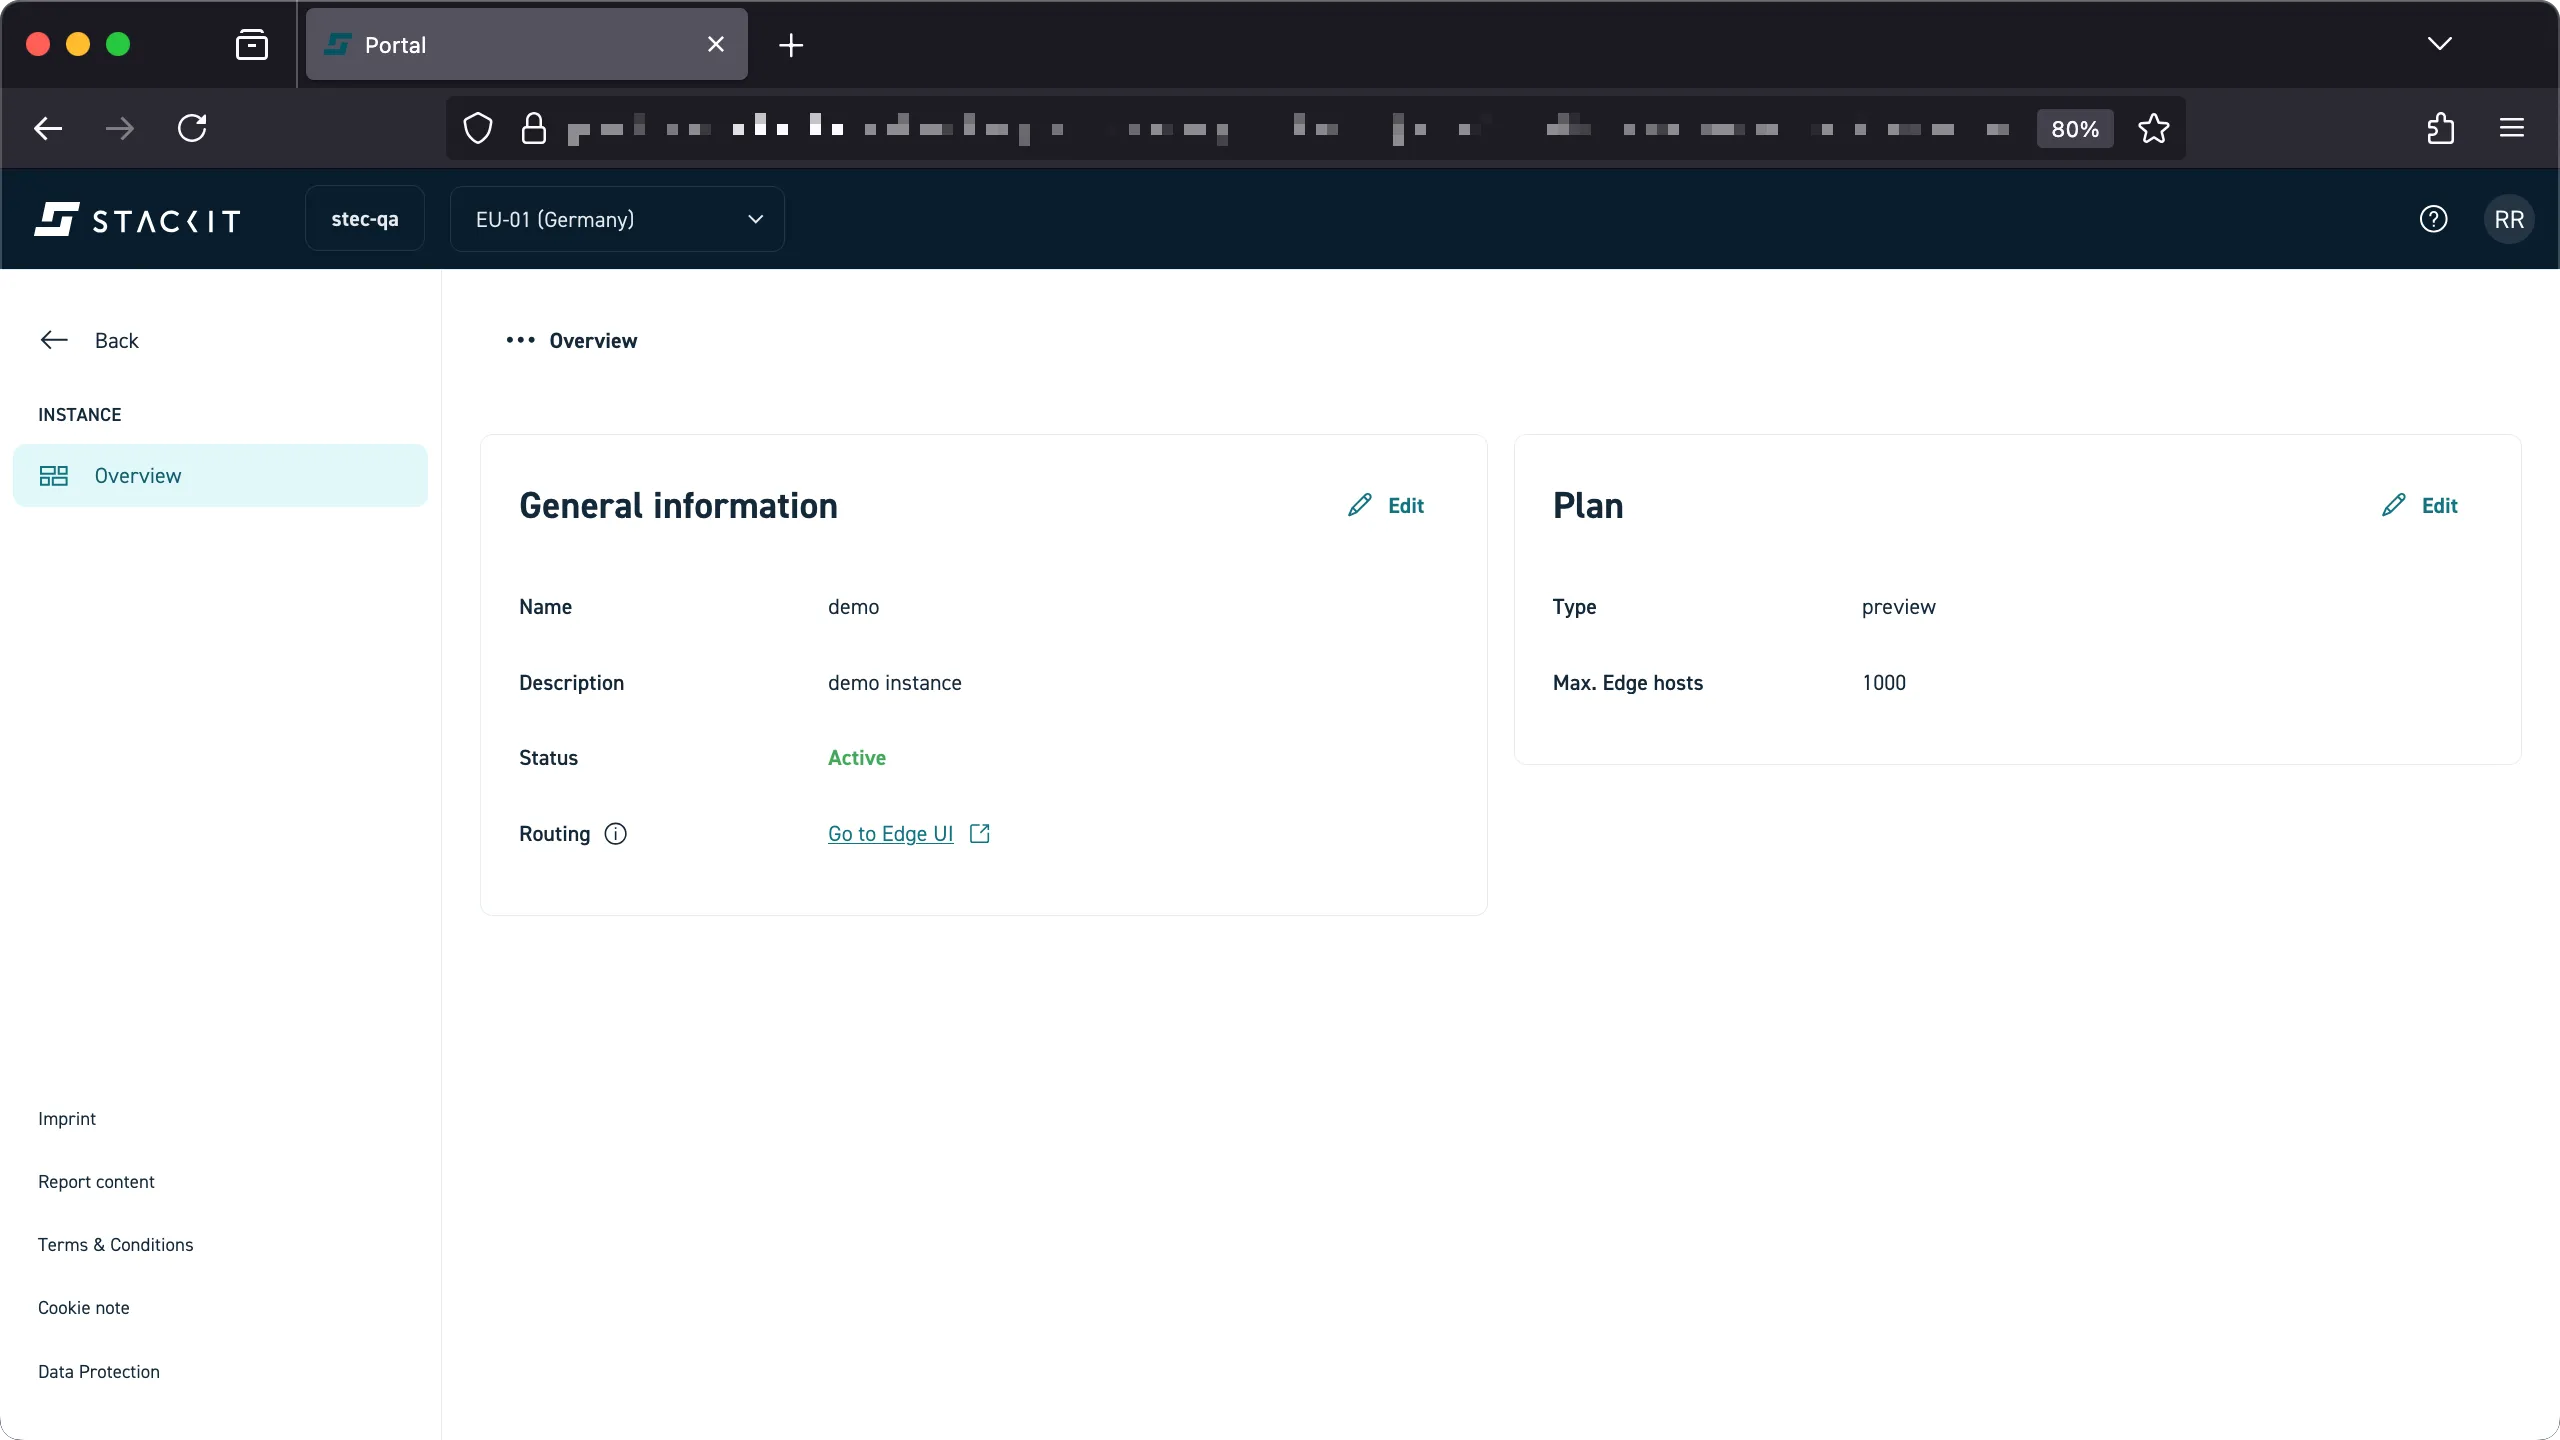
-
By using the respective ‘edit’ buttons you can perform changes to your instance.
Prerequisites
Before you begin, you need the following:
- A STACKIT user account.
- A STACKIT project.
- Sufficient permissions for the user account to order new products within the project.
- Tools: A generic Linux bash terminal with the
STACKIT CLI and
yq.
Steps
-
Login with the STACKIT CLI.
Terminal window > stackit auth loginSuccessfully logged into STACKIT CLI. -
Set the STACKIT project to use and configure a STACKIT CLI profile.
Terminal window ## Parent folder / organization you belong to> PARENT_FOLDER="12345678-abcd-abcd-abcd-12345678"### Name of the project to create your STEC instance in> PROJECT_NAME="YOUR-PROJECT"### Find the project ID> PROJECT_ID=$(stackit project list --parent-id $PARENT_FOLDER -o json | jq -r --arg NAME "$PROJECT_NAME" 'map(select(.name == $NAME)) | if length > 1 then error("Expected exactly one element, but found (length) elements.") else.[0] end |.projectId')> echo $PROJECT_ID12345678-ffff-abcd-ffff-12345678### Configure the CLI profile to use the selected project> stackit config profile create $PROJECT_NAME> stackit config set --project-id $PROJECT_ID> stackit config profile set $PROJECT_NAME -
Select a supported service plan and request a new STEC instance. It will take a moment for your STACKIT Edge Cloud instance to be created.
Terminal window ## Review service plans available to you> stackit beta edge-cloud plans listID │ NAME │ DESCRIPTION │ MAX EDGE HOSTS──────────────────────────────────────┼─────────┼──────────────────────────┼────────────────4916c0e2-e719-445a-9920-58e491cd06c5 │ preview │ Public Preview Free Plan │ 1000### Request a new instance> stackit beta edge-cloud instance create --name demo --plan-id 4916c0e2-e719-445a-9920-58e491cd06c5 --description $INSTANCE_DESCRIPTIONAre you sure you want to create a edge instance for project "YOUR-PROJECT"? [y/N] yCreating instance ✓Created instance for project "YOUR-PROJECT". Instance ID: "demo-3714d85". -
Get details about your STEC instance. The instance is ready to be used if the status is reported as
active.Terminal window > stackit beta edge-cloud instance listID │ NAME │ UI │ STATE──────────────────┼──────────┼───────────────────────────────────────────────────────┼────────demo-3714d85 │ demo │ https://app.demo-3714d85.edge.eu01.onstackit.cloud │ active> stackit beta edge-cloud instance describe --name demo -o json{"created": "2025-10-30T12:00:00Z","description": "Demo STEC instance","displayName": "demo","frontendUrl": "https://app.demo-3714d85.qa.edge.eu01.onstackit.cloud","id": "demo-3714d85","planId": "4916c0e2-e719-445a-9920-58e491cd06c5","status": "active"}
Delete an instance
Section titled “Delete an instance”You can delete an existing STEC instance using one of two methods:
- The STACKIT Edge Cloud web UI.
- The STACKIT Edge Cloud API, using a tool like the STACKIT CLI.
Deleting a instance will cause all STACKIT edge clusters managed by the instance to become orphans. There is no option to add them back to be STACKIT managed without a full re-deployment of the clusters.
Prerequisites
Before you begin, you need the following:
- A STACKIT user account.
- A STACKIT project.
- Sufficient permissions for the user account to delete resources within the project.
Steps
-
Login with the STACKIT Portal.
-
Navigate to the Edge Cloud product in the Runtime section of the Portal.
-
Select the instance you want to delete and click ‘delete’.
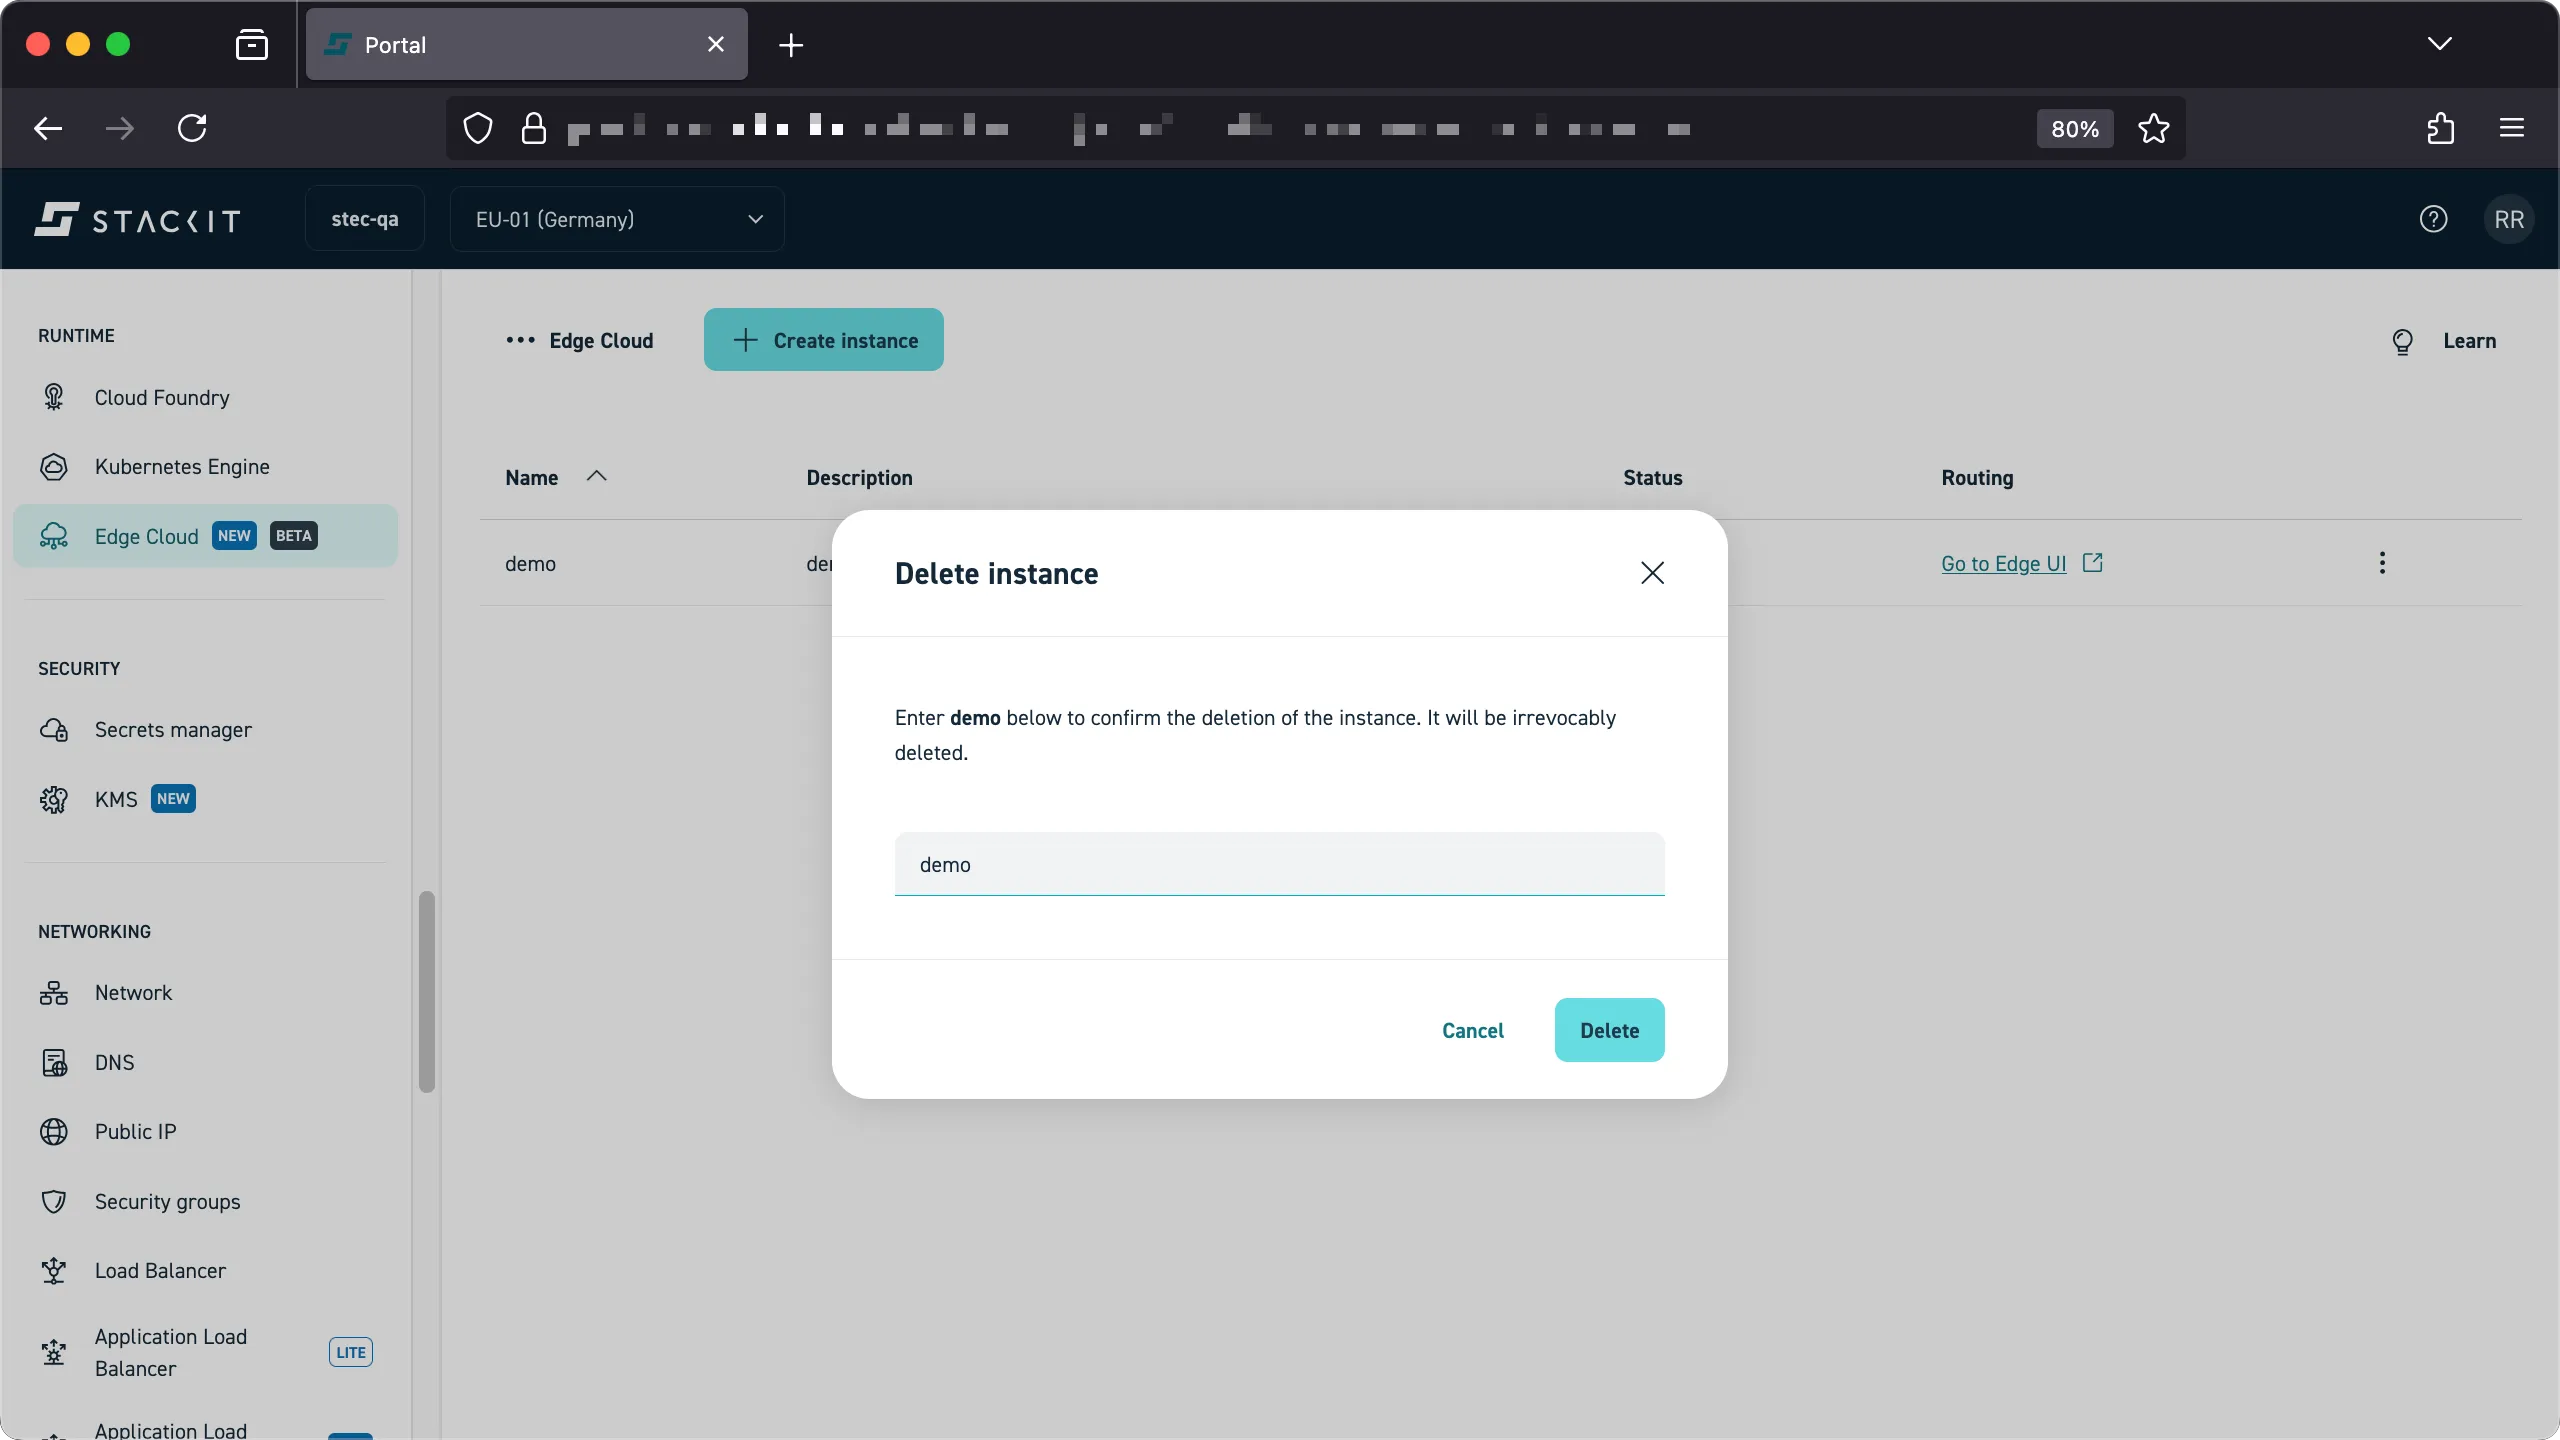
-
Confirm that you want to delete the instance by typing in the name of it and click ‘delete’ to start the deletion.
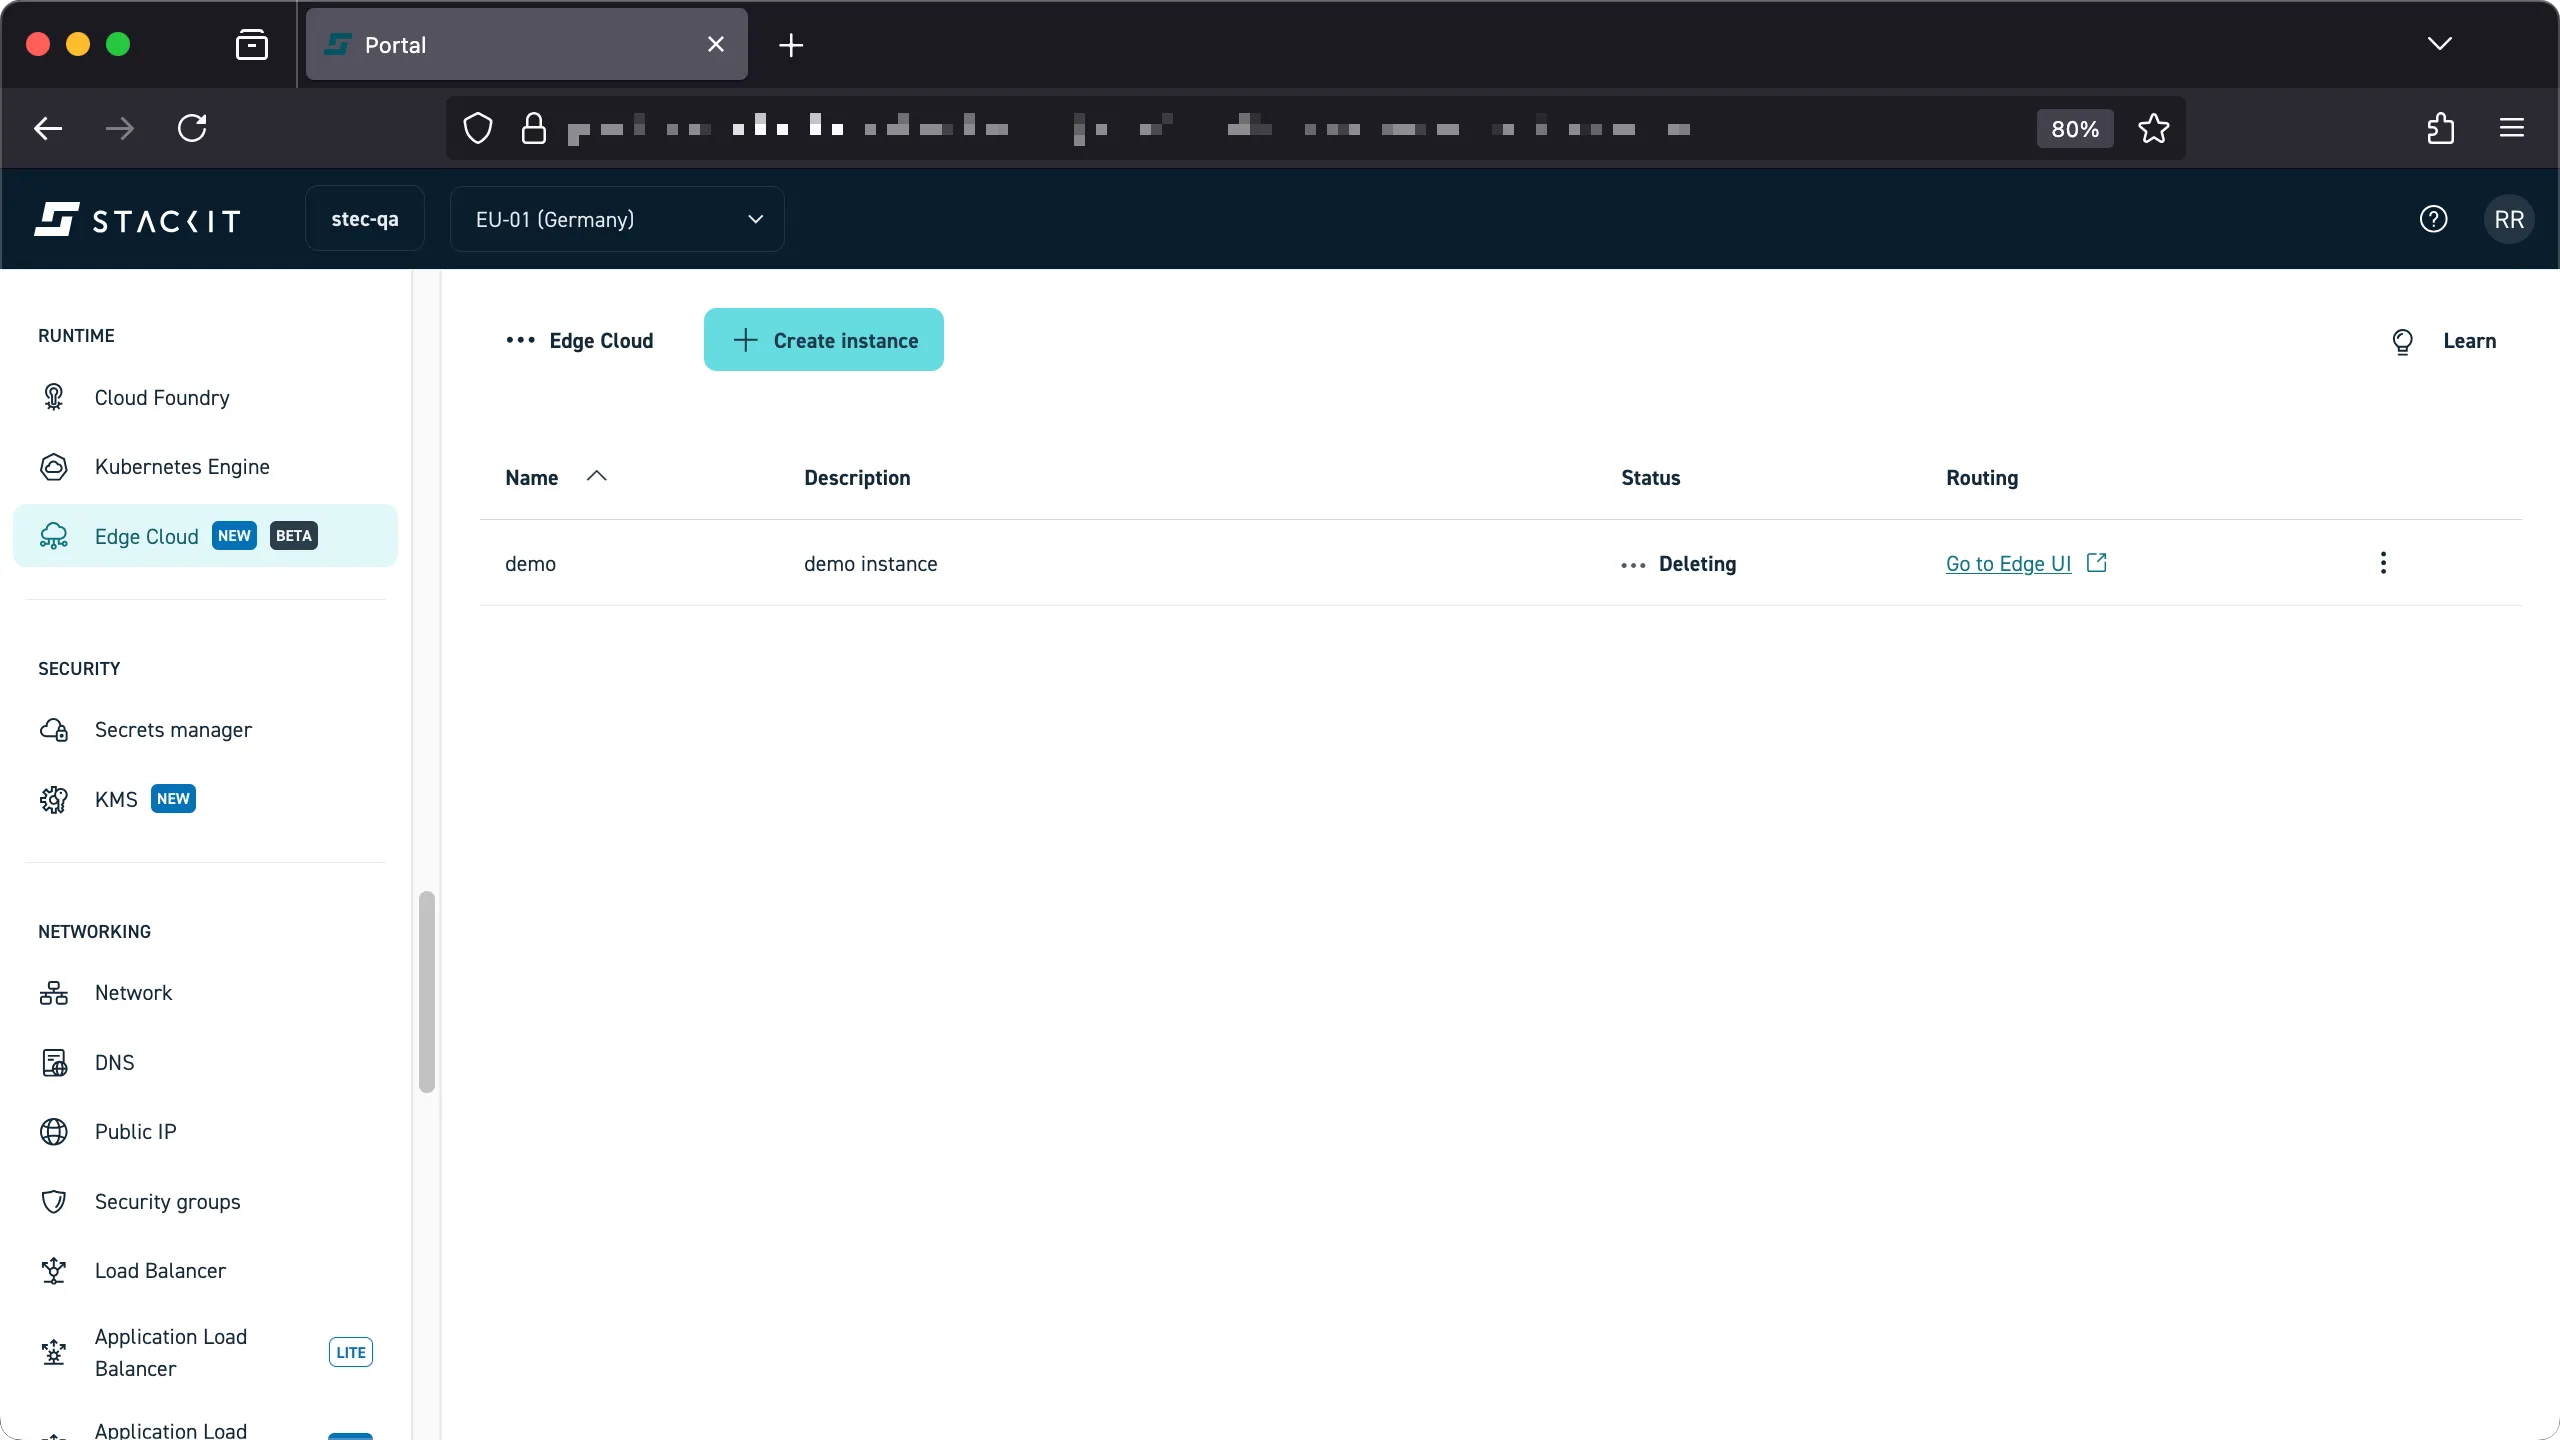
-
The deletion will only take a few minutes.
Prerequisites
Before you begin, you need the following:
- A STACKIT user account.
- A STACKIT project.
- Sufficient permissions for the user account to delete resources within the project.
- Tools: A generic Linux bash terminal with the
STACKIT CLI and
yq.
Steps
-
Login with the STACKIT CLI and make sure you have selected the correct STACKIT project.
Terminal window > stackit auth loginSuccessfully logged into STACKIT CLI. -
Set the STACKIT project to use and configure a STACKIT CLI profile.
Terminal window ## Parent folder / organization you belong to> PARENT_FOLDER="12345678-abcd-abcd-abcd-12345678"### Name of the project to create your STEC instance in> PROJECT_NAME="YOUR-PROJECT"### Find the project ID> PROJECT_ID=$(stackit project list --parent-id $PARENT_FOLDER -o json | jq -r --arg NAME "$PROJECT_NAME" 'map(select(.name == $NAME)) | if length > 1 then error("Expected exactly one element, but found (length) elements.") else.[0] end |.projectId')> echo $PROJECT_ID12345678-ffff-abcd-ffff-12345678### Configure the CLI profile to use the selected project> stackit config profile create $PROJECT_NAME> stackit config set --project-id $PROJECT_ID> stackit config profile set $PROJECT_NAME- Find the instance you want to delete.
Terminal window > stackit beta edge-cloud instance listID │ NAME │ UI │ STATE──────────────────┼──────────┼───────────────────────────────────────────────────────┼────────demo-3714d85 │ demo │ https://app.demo-3714d85.edge.eu01.onstackit.cloud │ active -
Delete the instance.
Terminal window > stackit beta edge-cloud instance delete --id demo-3714d85Are you sure you want to delete the edge instance "demo-3714d85" of project "YOUR-PROJECT"? [y/N] yDeleting instance ✓Deleted instance with "id" "demo-3714d85" of project "YOUR-PROJECT".