Using overlays
Zuletzt aktualisiert am
About overlays
Section titled “About overlays”Overlays customize a Talos Linux boot image by integrating with the installation steps. They let users add boot assets, like those needed for single-board computers, provide extra kernel arguments, or include custom configurations specific to that overlay and not part of the default Talos installation. Overlays are similar to extensions but are used to modify the installation process rather than the root filesystem. They are often used to customize the installation process for single board computers (SBCs) such as the Raspberry Pi.
Using overlays
Section titled “Using overlays”In this example, we’ll create an image using an overlay for a Raspberry Pi 4b SBC. Beware that you cannot use the resulting image with other SBCs. Please be aware, that compatibility with certain SBCs is limited to the platforms supported by Talos and read about the current limitations, as stated in the FAQ section.
Prerequisites:
- Successfully authenticated in the UI of a STEC instance.
Steps:
-
Follow the generic image creation steps, as described in the getting started guide.
-
In the step that allows you to select an overlay image, choose the one called
rpi_generic.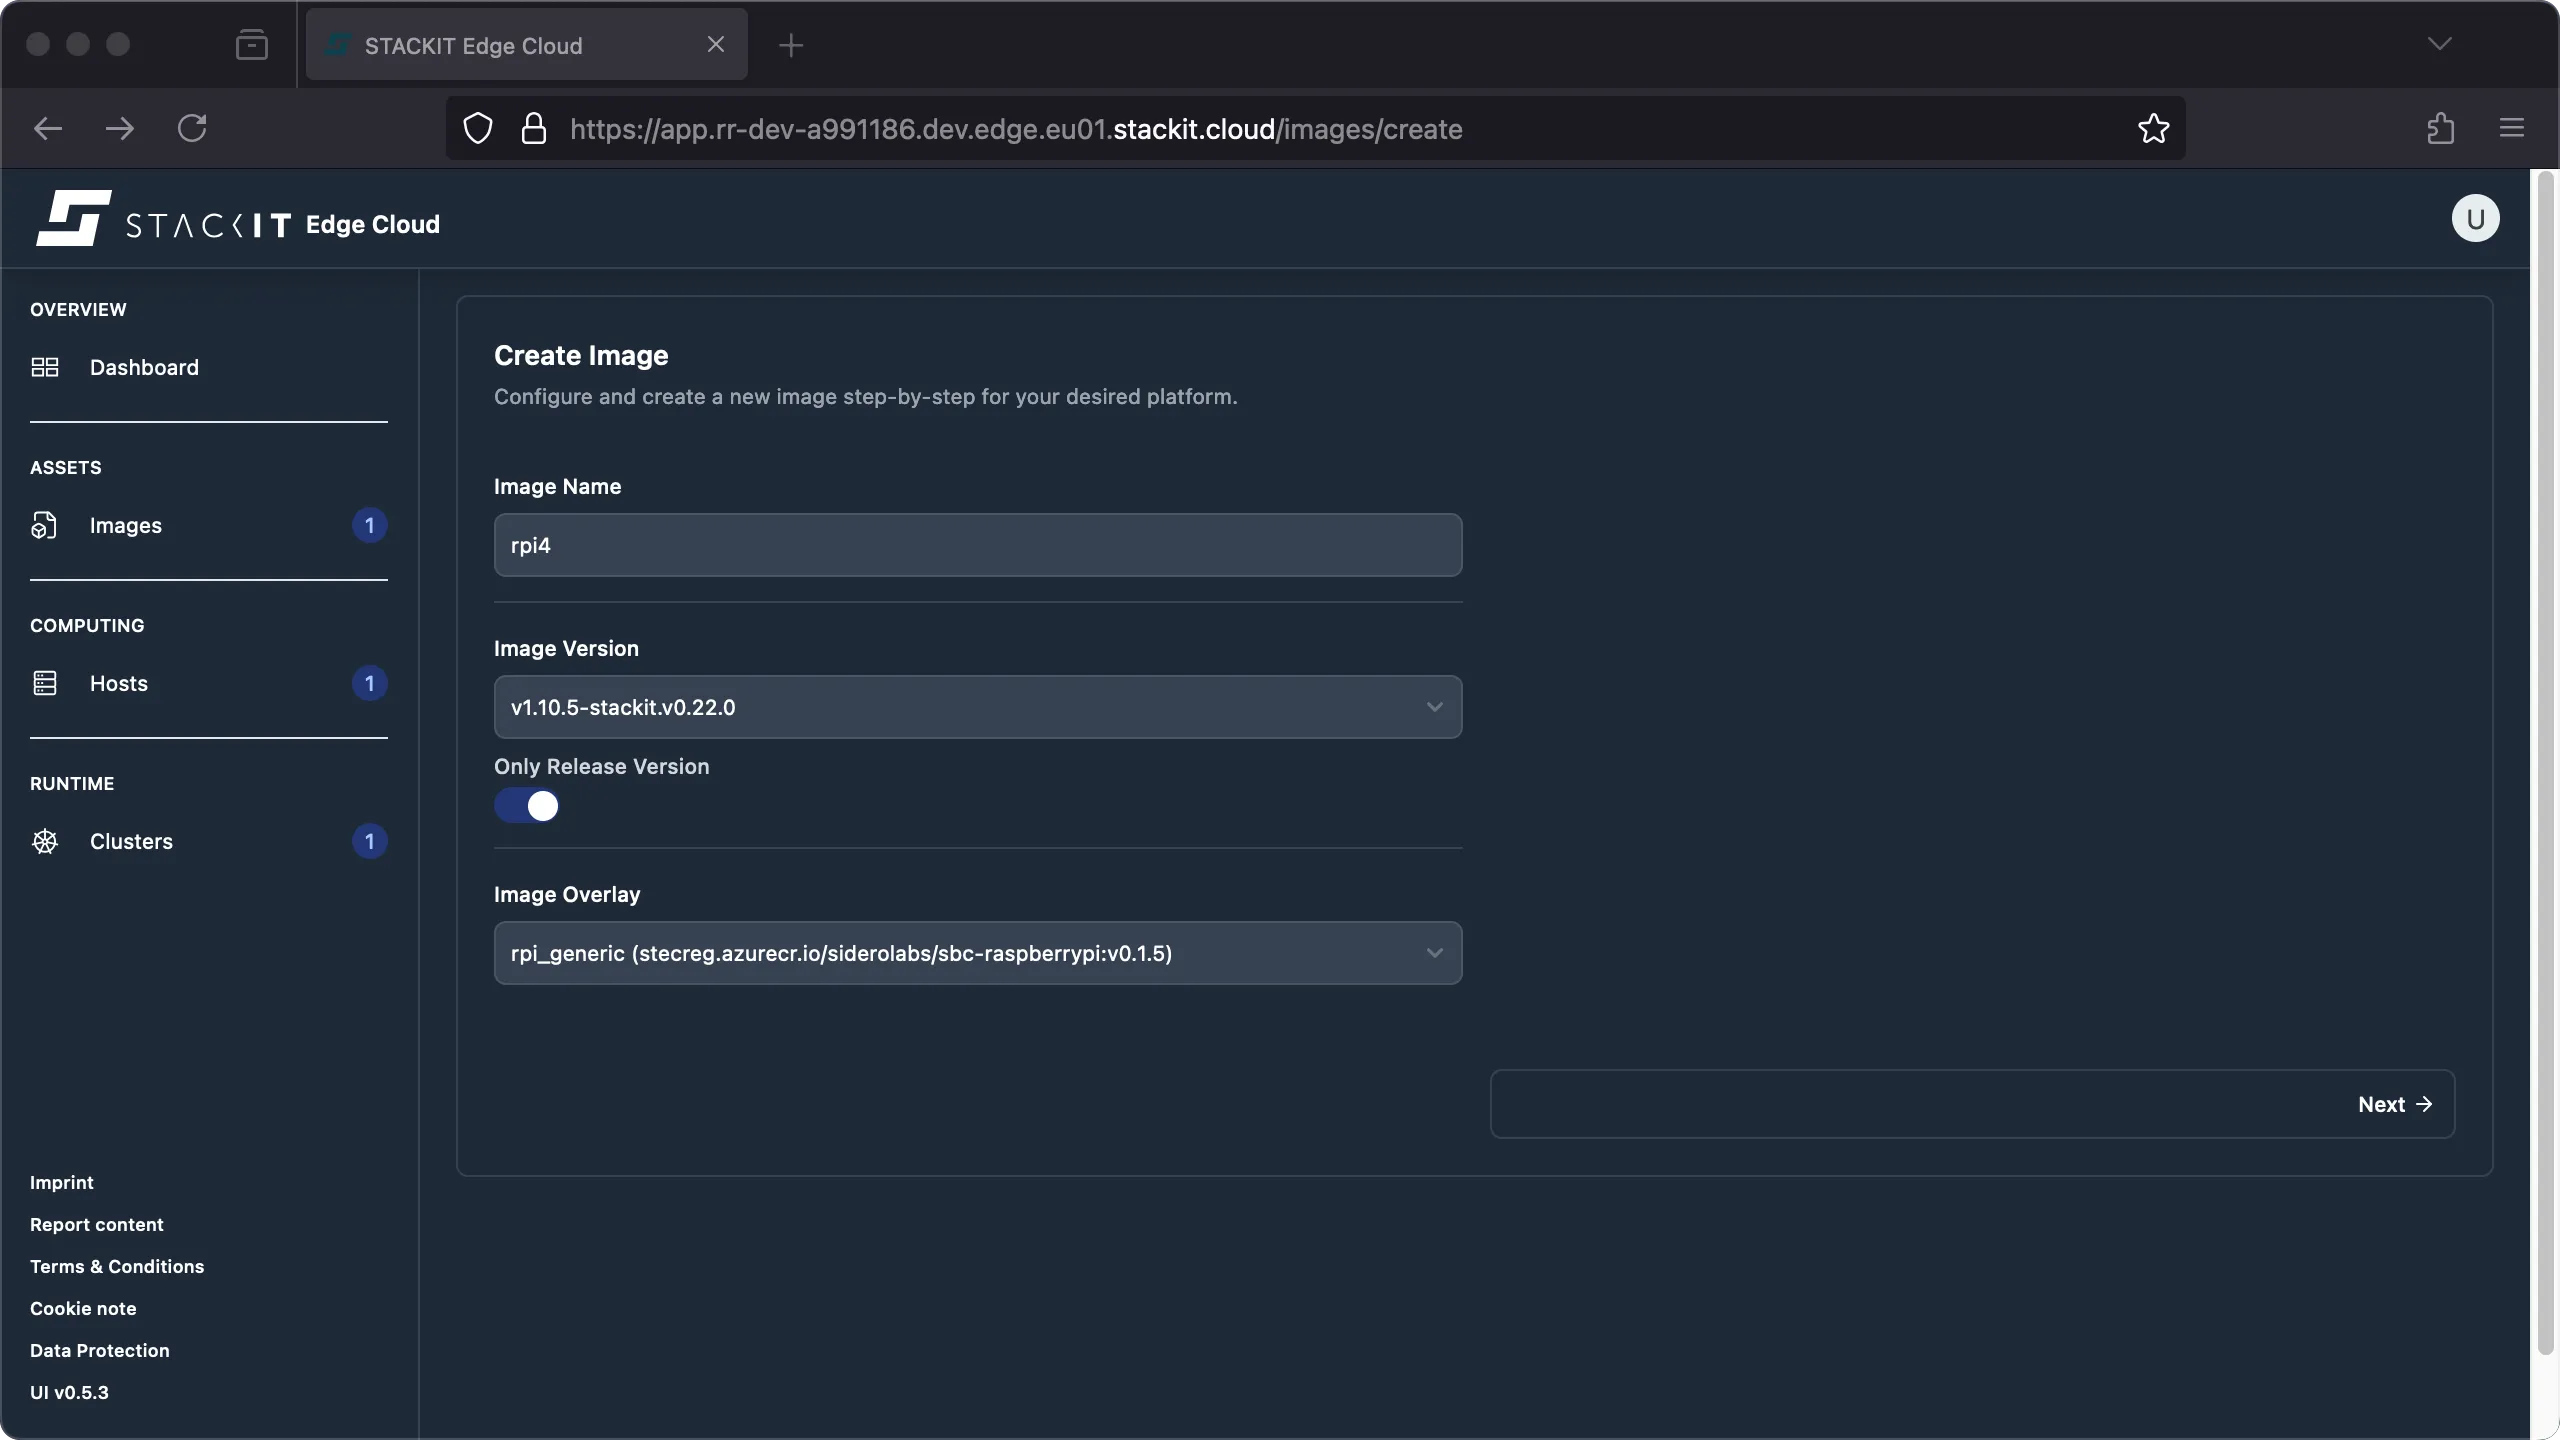
-
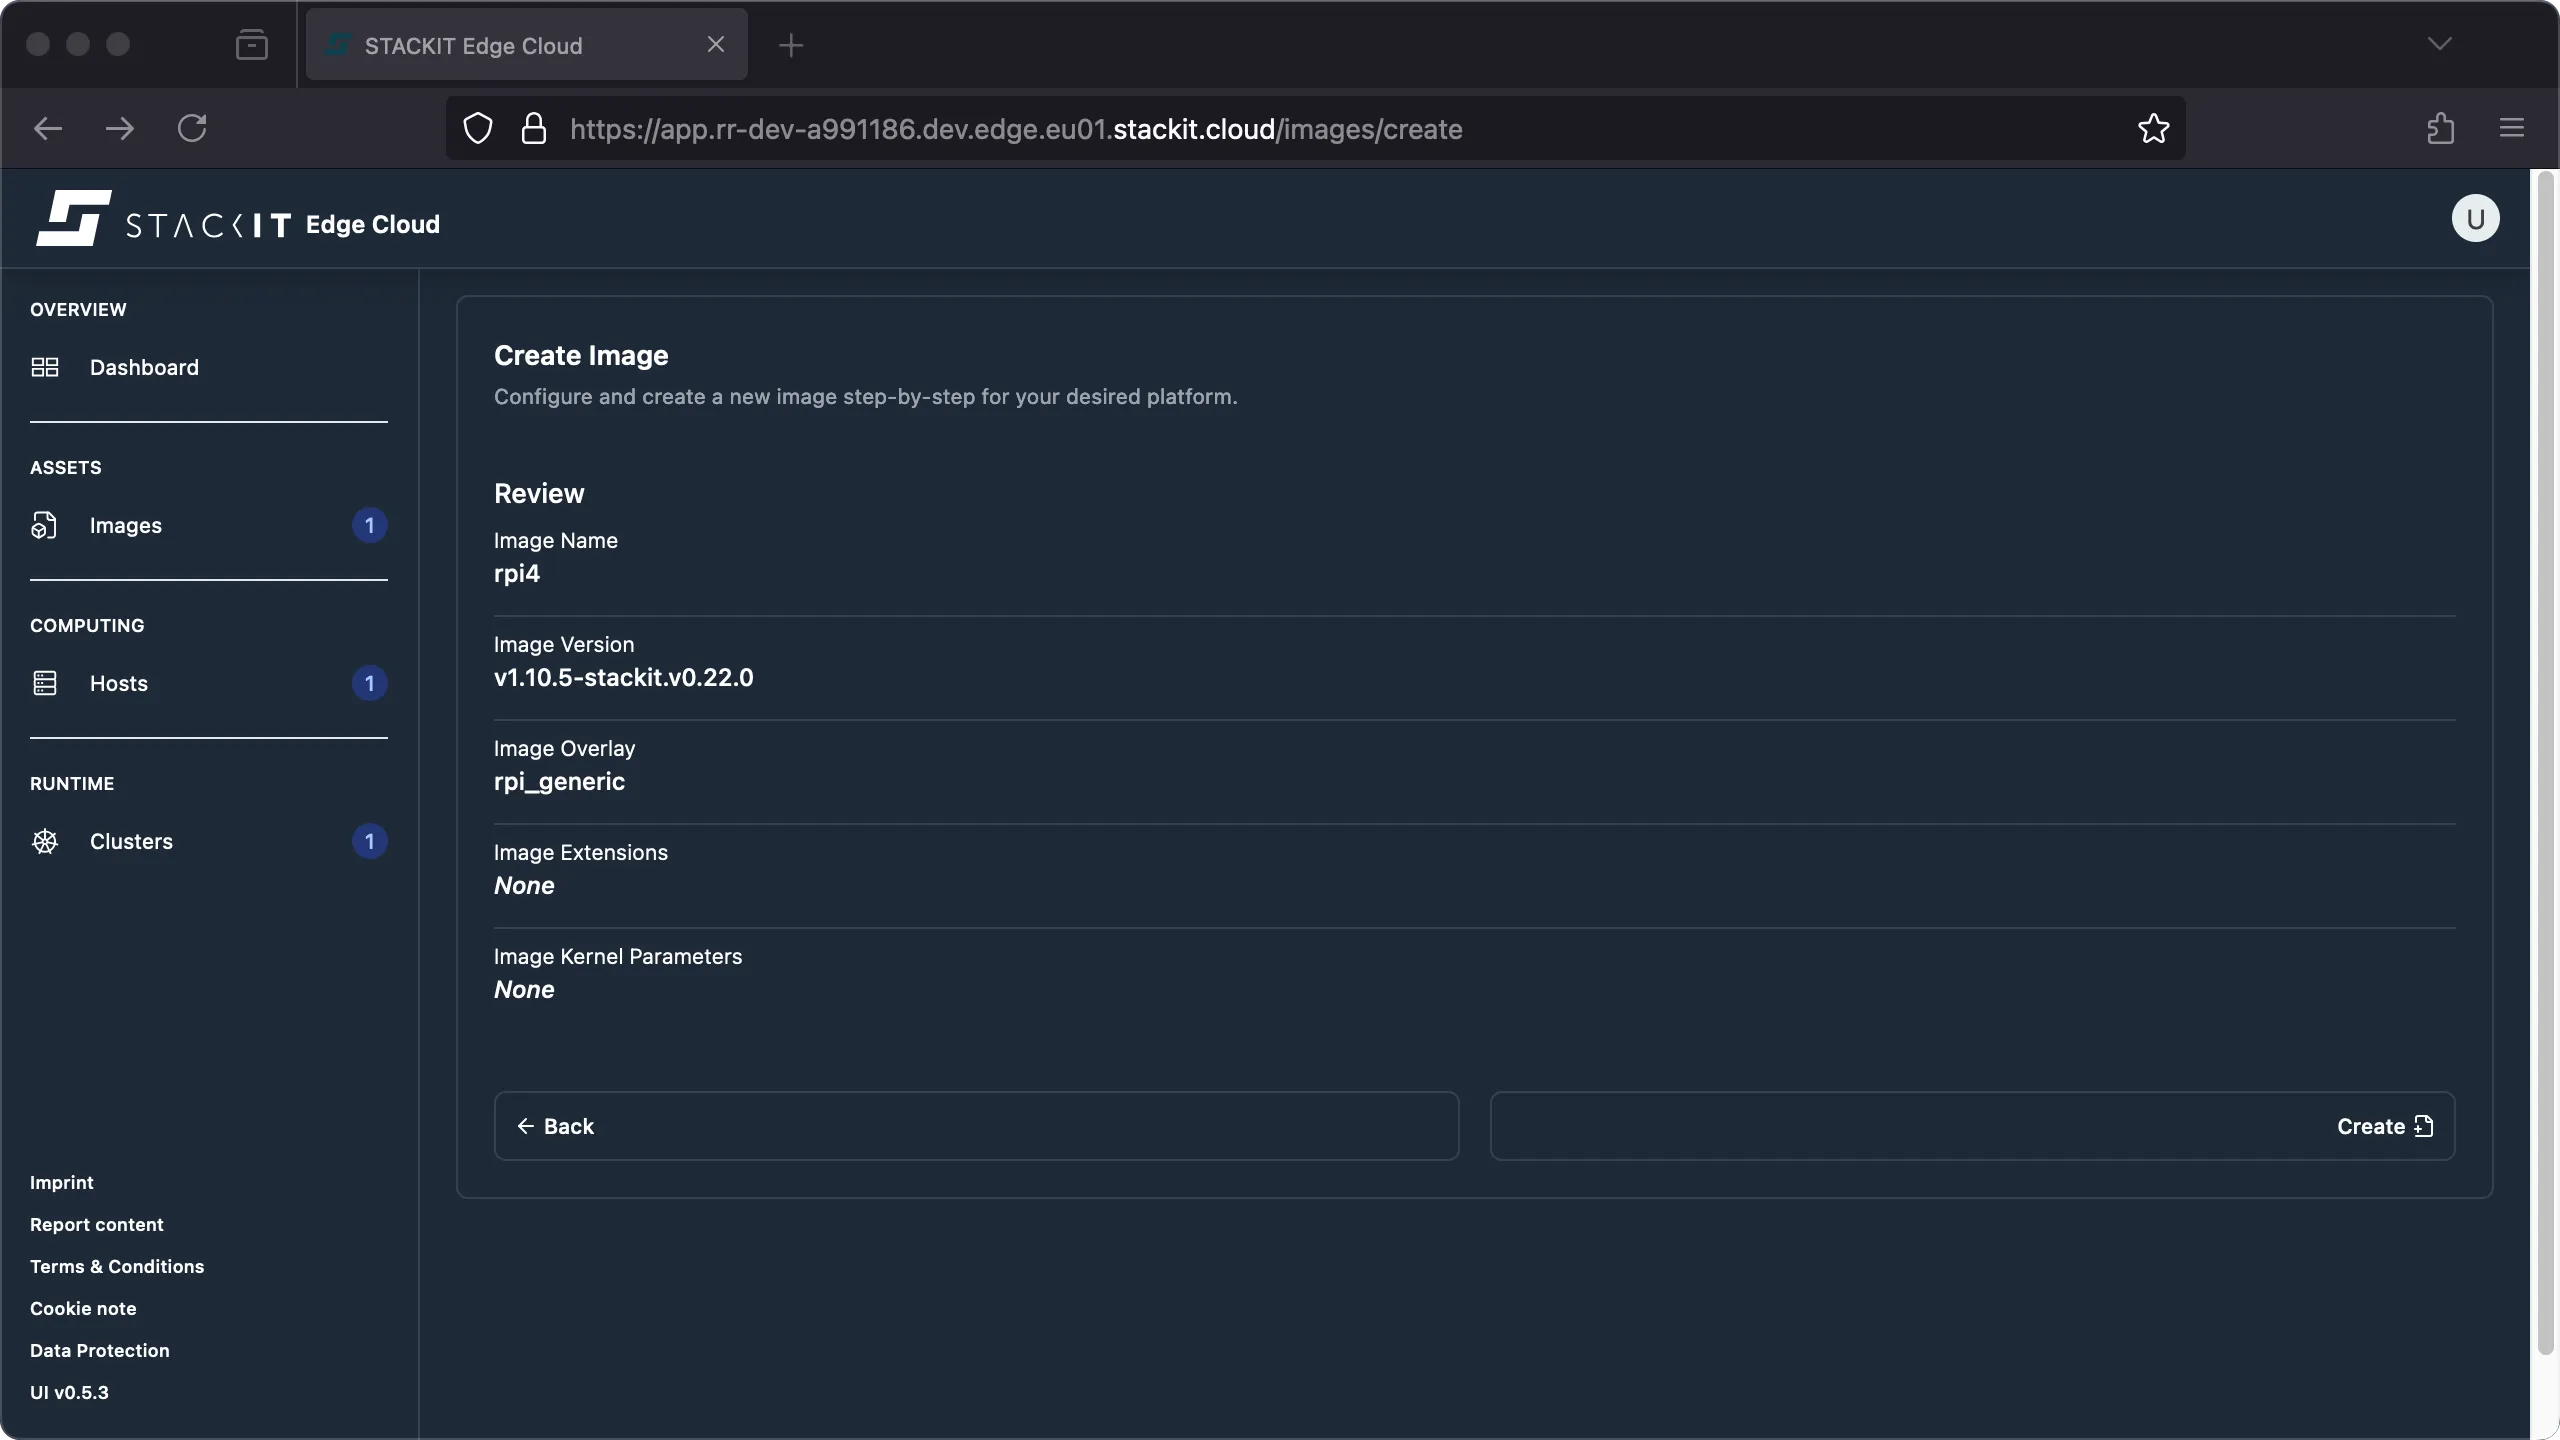
Follow the remaining image creation steps. The resulting review should indicate, that your overlay is included in the image. It’ll be part of any installation medium generated from this image. Click the “create” button to create the image.
-
The rest of the process is identical to the regular image creation procedure.
Prerequisites:
- Successfully authenticated with a STEC instance.
- Kubeconfig for the STEC instance is exported in your terminal session.
- Tools: a generic Linux bash terminal,
kubectl.
Steps:
-
Follow the generic image creation steps, as described in the getting started guide.
-
At the step where you have to create an EdgeImage manifest file, make sure to add the Raspberry Pi overlay called
rpi_genericusing its imagesiderolabs/sbc-raspberrypi.Terminal window > cat <<EOF | kubectl apply -f -apiVersion: edge.stackit.cloud/v1alpha1kind: EdgeImagemetadata:name: olyfoonamespace: defaultspec:schematic: |customization:extraKernelArgs: []systemExtensions:officialExtensions: []overlay:image: siderolabs/sbc-raspberrypiname: rpi_generictalosVersion: v1.10.5-stackit.v0.21.0EOLedgeimage.edge.stackit.cloud/olyfoo created> kubectl get EdgeImage/olyfooNAME AGEolyfoo 1m -
The rest of the process is identical to the regular image creation procedure.
Currently, the only way to get a list of all available image versions, overlays, or extensions, is to query the STEC image factory. The following example shows how to use the API to get a list of Talos overlays.
# get available overlays> INSTANCE_REGION="eu01"> curl https://image-factory.edge.$INSTANCE_REGION.stackit.cloud/versions[ "v1.10.5-stackit.v0.20.0", "v1.10.5-stackit.v0.21.0", "..."]
> IMAGE_VERSION="v1.10.5-stackit.v0.20.0"> curl https://image-factory.edge.$INSTANCE_REGION.stackit.cloud/version/$IMAGE_VERSION/overlays/official[ { "name": "rpi_generic", "image": "siderolabs/sbc-raspberrypi", "ref": "stecreg.azurecr.io/siderolabs/sbc-raspberrypi:v0.1.5", "digest": "sha256:70a1b174a5bddd57da33e377af324c1f93d7ed87b9bc8f6cdefe5ec179abb4c9" }, "..."]