Configure the Secrets Manager
Last updated on
Overview of your Secret Manager
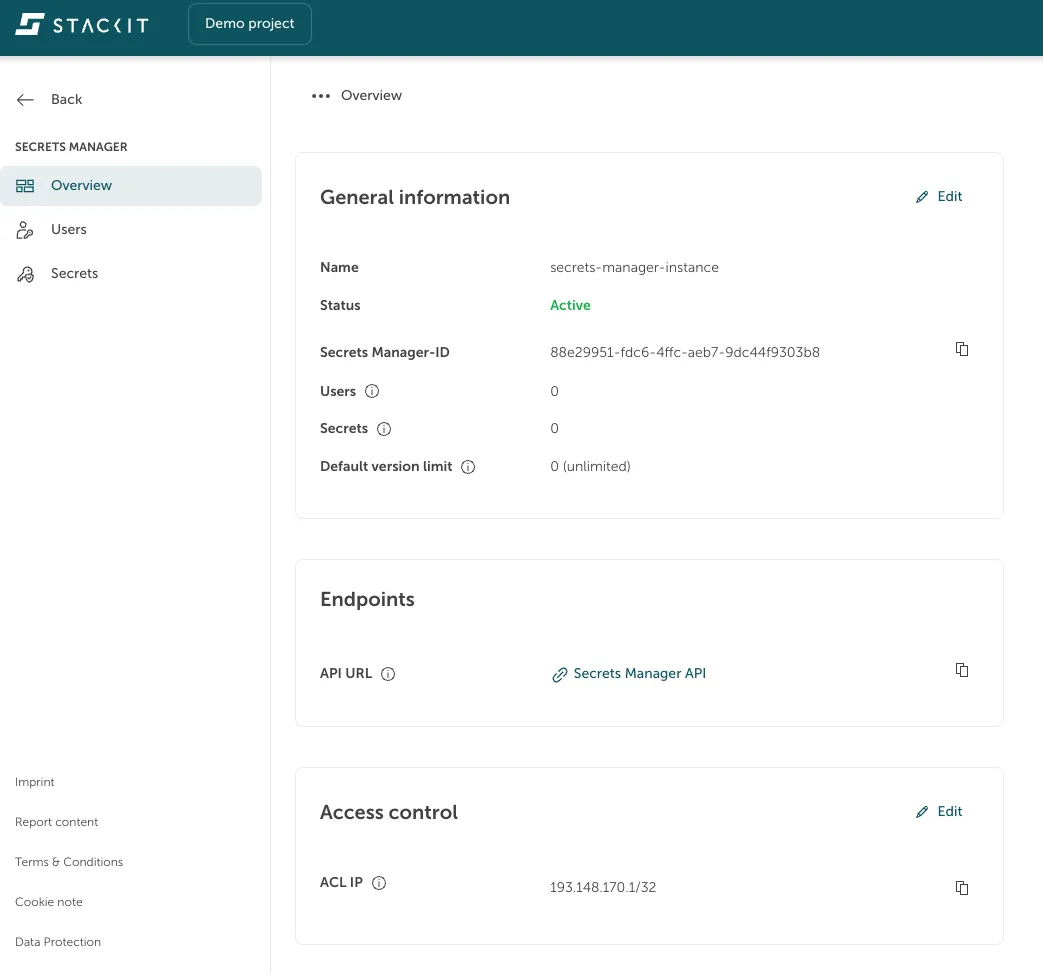
Section titled “Overview of your Secret Manager”In the STACKIT Portal navigate to Security > Secrets Manager. Select one of your created Secrets Managers in the list to get an overview of the information about your service, like:
- Name which you have given to your service
- Status of your service
- Secrets Manager-ID
- Amount of users and secrets (updated every hour)
- Default version limit - this can be overridden at the secret level
Create a user
Section titled “Create a user”In the STACKIT Portal navigate to Security > Secrets Manager. Select one of your created Secrets Managers in the list. In the sidebar on the left select “Users” to get an overview of the users.
Create a new user, which is allowed to access your secrets, by clicking the button Create user.
By selecting a role you can grant “read only” or “read and write” rights.
As the username and password are generated automatically, you can fill out the description field to distinguish between users and see for which reason you have created the user.
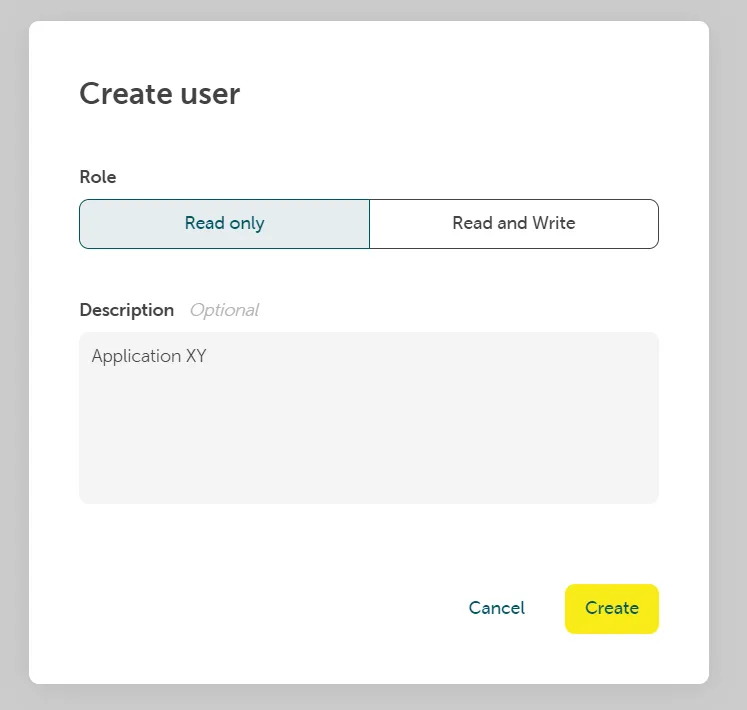
Click on Create. Copy and save the created password. The password cannot be retrieved later.
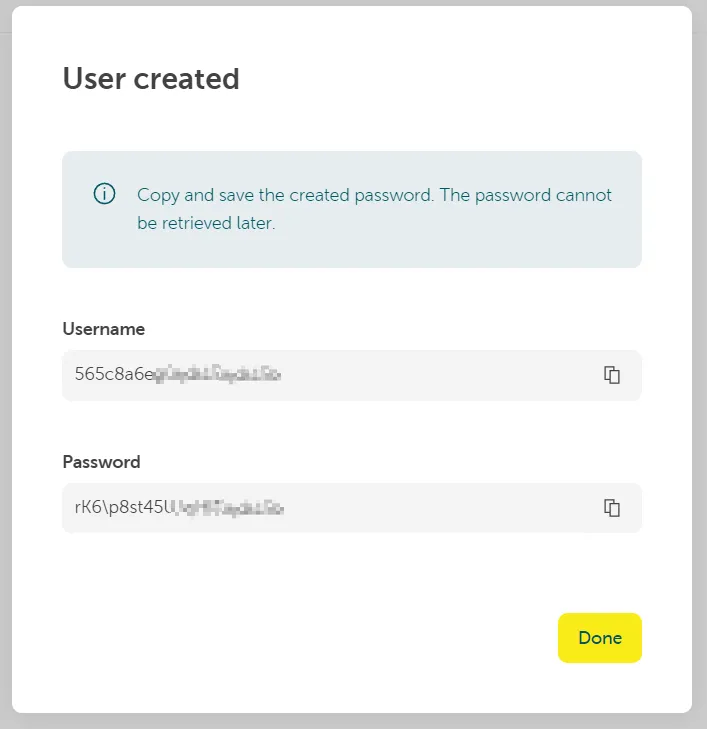
With this user you are now able to interact via API/CLI with your Secrets Manager instance.