Licensing Windows Server
Diese Seite ist noch nicht in deiner Sprache verfügbar. Englische Seite aufrufen
How to use License Mobility through Software Assurance
Section titled “How to use License Mobility through Software Assurance”Eligibility assessment of the Microsoft products
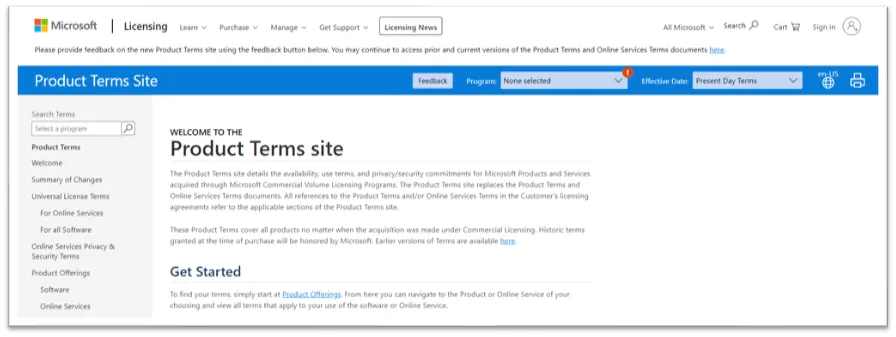
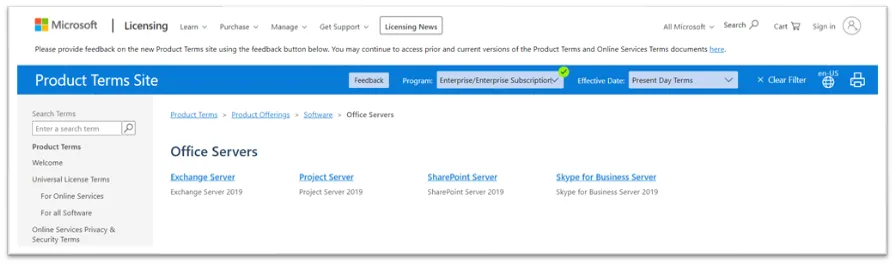
Section titled “Eligibility assessment of the Microsoft products”Browse the Microsoft Product Terms page:
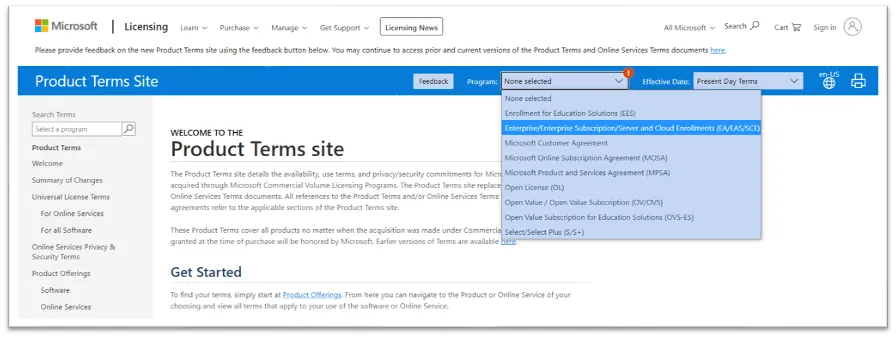
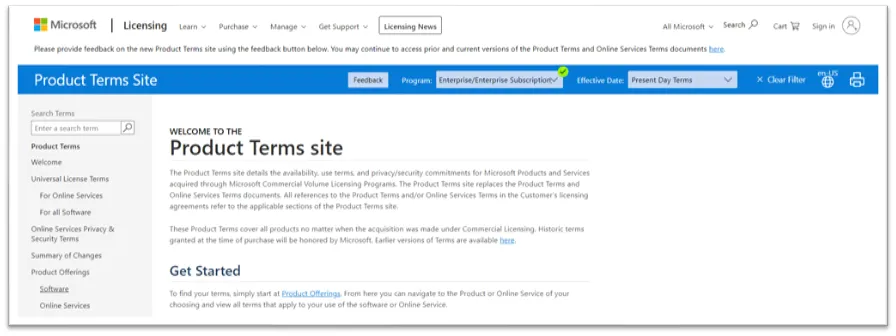
Select the correct program of your Microsoft contract, in this example an Enterprise Agreement:
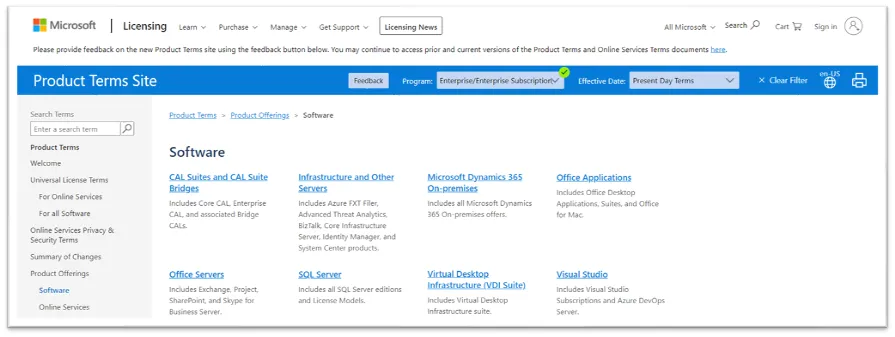
Hover over to software and click the link Software:
Find the correct product and click the link, for example Office Servers:
Find the correct product and click the link, for example Exchange Server:
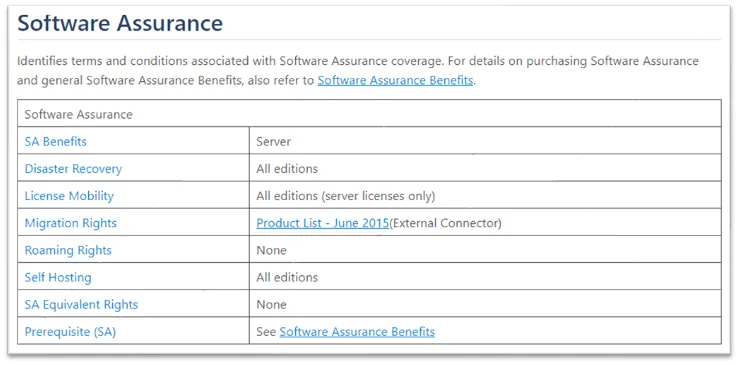
On the tab bar, click on Software Assurance:

Navigate to the License Mobility row: All editions of Exchange Server are allowed to migrate to SIT and license under your contract if the license is under Software Assurance.
Eligible Microsoft products
Section titled “Eligible Microsoft products”The following products are currently license mobility eligible (the list is subject to change):
- Dynamics AX, CRM
- Exchange, SharePoint, Skype for Business Server
- SQL Server
- System Center
- Windows RDS User CALs
- Windows, Windows Server
Not eligible are the following (the list is subject to change):
Section titled “Not eligible are the following (the list is subject to change):”- Server licenses without Software Assurance (SA)
- Desktop Applications
- Developer Tools
How to execute MS license verification
Section titled “How to execute MS license verification”Download the verification form
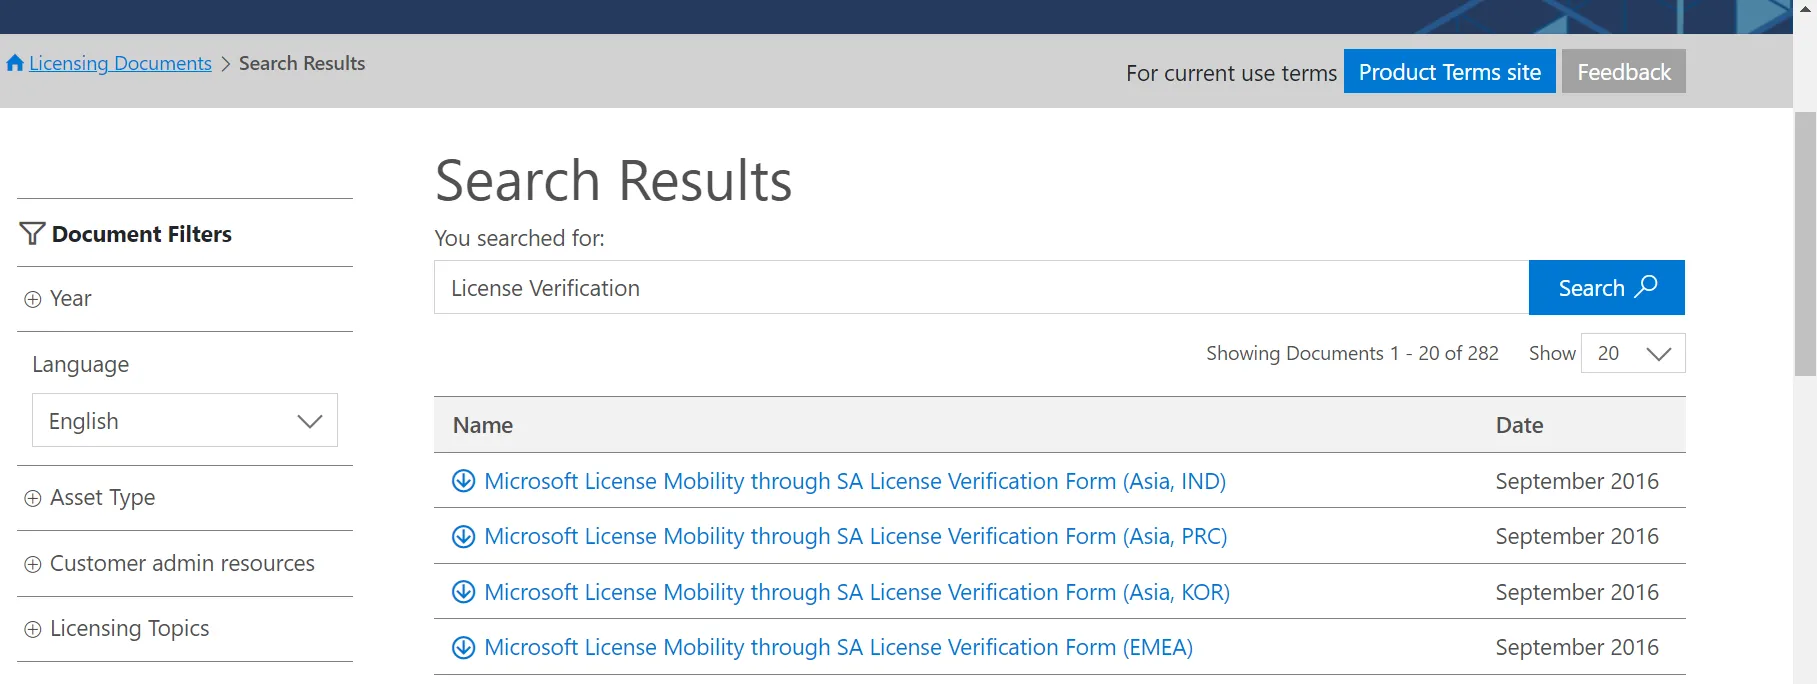
Section titled “Download the verification form”You can find the license verification form under Microsoft’s Licensing Resources and Documents. Choose the correct region - for instance EMEA for Europe, the Middle East and Africa:
Fill in the verification form
Section titled “Fill in the verification form”To complete the form, you need to know:
- Your organization’s legal name (as shown on your Microsoft Volume Licensing agreement)
- Your agreement type (for example, Enterprise Agreement, Select Plus, Campus and School Agreement, Open Value, or OVS for Education Solutions)
- Your agreement number, Authorization Number (for Open License), or Public Customer Number (for Select License)
- Your agreement’s enrollment number or license number for Open License (not applicable for Select License)
- The enrollment’s Software Assurance expiration date(s)
- The number of eligible licenses you have on the enrollment
- Your authorized mobility partner’s name, website address, and email contact: Schwarz IT KG, windows@stackit.de
- The number of eligible licenses your will be deploying with License Mobility
Fill in eligible products
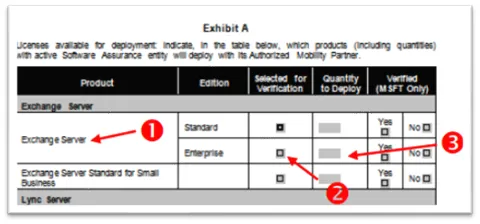
Section titled “Fill in eligible products”After the completion of the required contact and agreement information, you can specify which licenses you are deploying with License Mobility. In Exhibit A of the License Verification form, you will indicate which licenses will be deployed. In this example, Exchange Server Enterprise Edition will be deployed.
- Find the product to be deployed from the list.
- Check Selected for Verification at the appropriate product edition.
- Input the quantity to deploy.
Repeat this for every product you will be deploying with License Mobility under this enrollment:
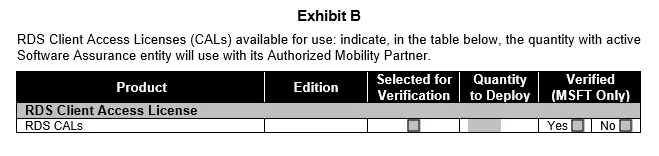
In Exhibit B of the license verification form, you will indicate RDS Client Access Licenses User (CAL) will be deployed:
Signature of verfication form
Section titled “Signature of verfication form”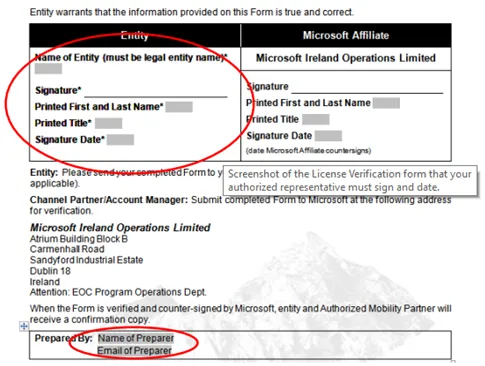
Submitting of the verfication form
Section titled “Submitting of the verfication form”- After you have completed the license verification form, send it to your channel partner (or Microsoft Account Manager). Your channel partner will submit the form to Microsoft for verification.
- If you do not know your channel partner, contact your procurement department or whoever signed the original Microsoft Volume Licensing agreement.
- After the review of the verification form by Microsoft, there are two possibilities:
- If your organization is verified as eligible for specific licenses, Microsoft will confirm your eligibility and communicate your verification status to you. Afterwards you must send it to SIT, because SIT would need to deliver the form in case of an audit to the auditor.
- Send the fully completed form to: windows@stackit.de.
- If your organization is not verified as eligible for specific licenses, the form will be returned to you with information on why the verification was not granted. You can make the necessary revisions and resubmit the form to Microsoft for verification.
- If your organization is verified as eligible for specific licenses, Microsoft will confirm your eligibility and communicate your verification status to you. Afterwards you must send it to SIT, because SIT would need to deliver the form in case of an audit to the auditor.