Booting images
Zuletzt aktualisiert am
Introduction
Section titled “Introduction”After you create a bootable medium for STACKIT Edge Cloud, the next step is to boot your host system from it. This guide walks you through the required steps using common examples.
Common boot methods
Section titled “Common boot methods”You can use several methods to deliver the created medium to your target system.
- Boot from an ISO file by:
- Mounting the ISO using out-of-band management (OOBM).
- Using a bootable USB device created from the ISO file.
- Boot from a raw image by:
- Using a pre-formatted medium, such as a MicroSD card.
- Creating a virtual machine (VM) from the raw image.
The method you choose depends on your preferences and the boot options supported by your target platform.
Machine stages
Section titled “Machine stages”Talos Linux uses multiple machine stages. The maintenance stage is the initial, temporary state of a Talos node. In this stage, the node has only the minimal configuration required for you to access its API (for example, with talosctl) and waits for you to apply its final configuration. At this stage, the host is not yet part of any Kubernetes cluster.
The following table explains the different machine stages:
| Stage | Description |
|---|---|
| Maintenance | Initial, temporary state after boot. The node has minimal configuration and waits for final configuration to be applied. Not yet part of a Kubernetes cluster. |
| Installing | Node is in the process of installing. The base system and configuration are being set up. |
| Booting | Node is in the process of booting. |
| Running | Node has been successfully configured and is part of a Kubernetes cluster. All services are running. |
| Rebooting | Node is in the process of rebooting. |
| Shutting Down | Node is in the process of shutting down. |
| Resetting | Node is being reset to its initial state and will switch to Maintenance after reboot |
| Upgrading | Node is in the process of upgrading. |
| Unknown | The machine stage is unknown or undefined. |
To learn more about the boot sequence, refer to the official Talos Linux documentation.
After you complete the steps in the first boot section, your STEC host should be in the maintenance stage. If it is not, review the common issues that often result in boot failures.
First boot
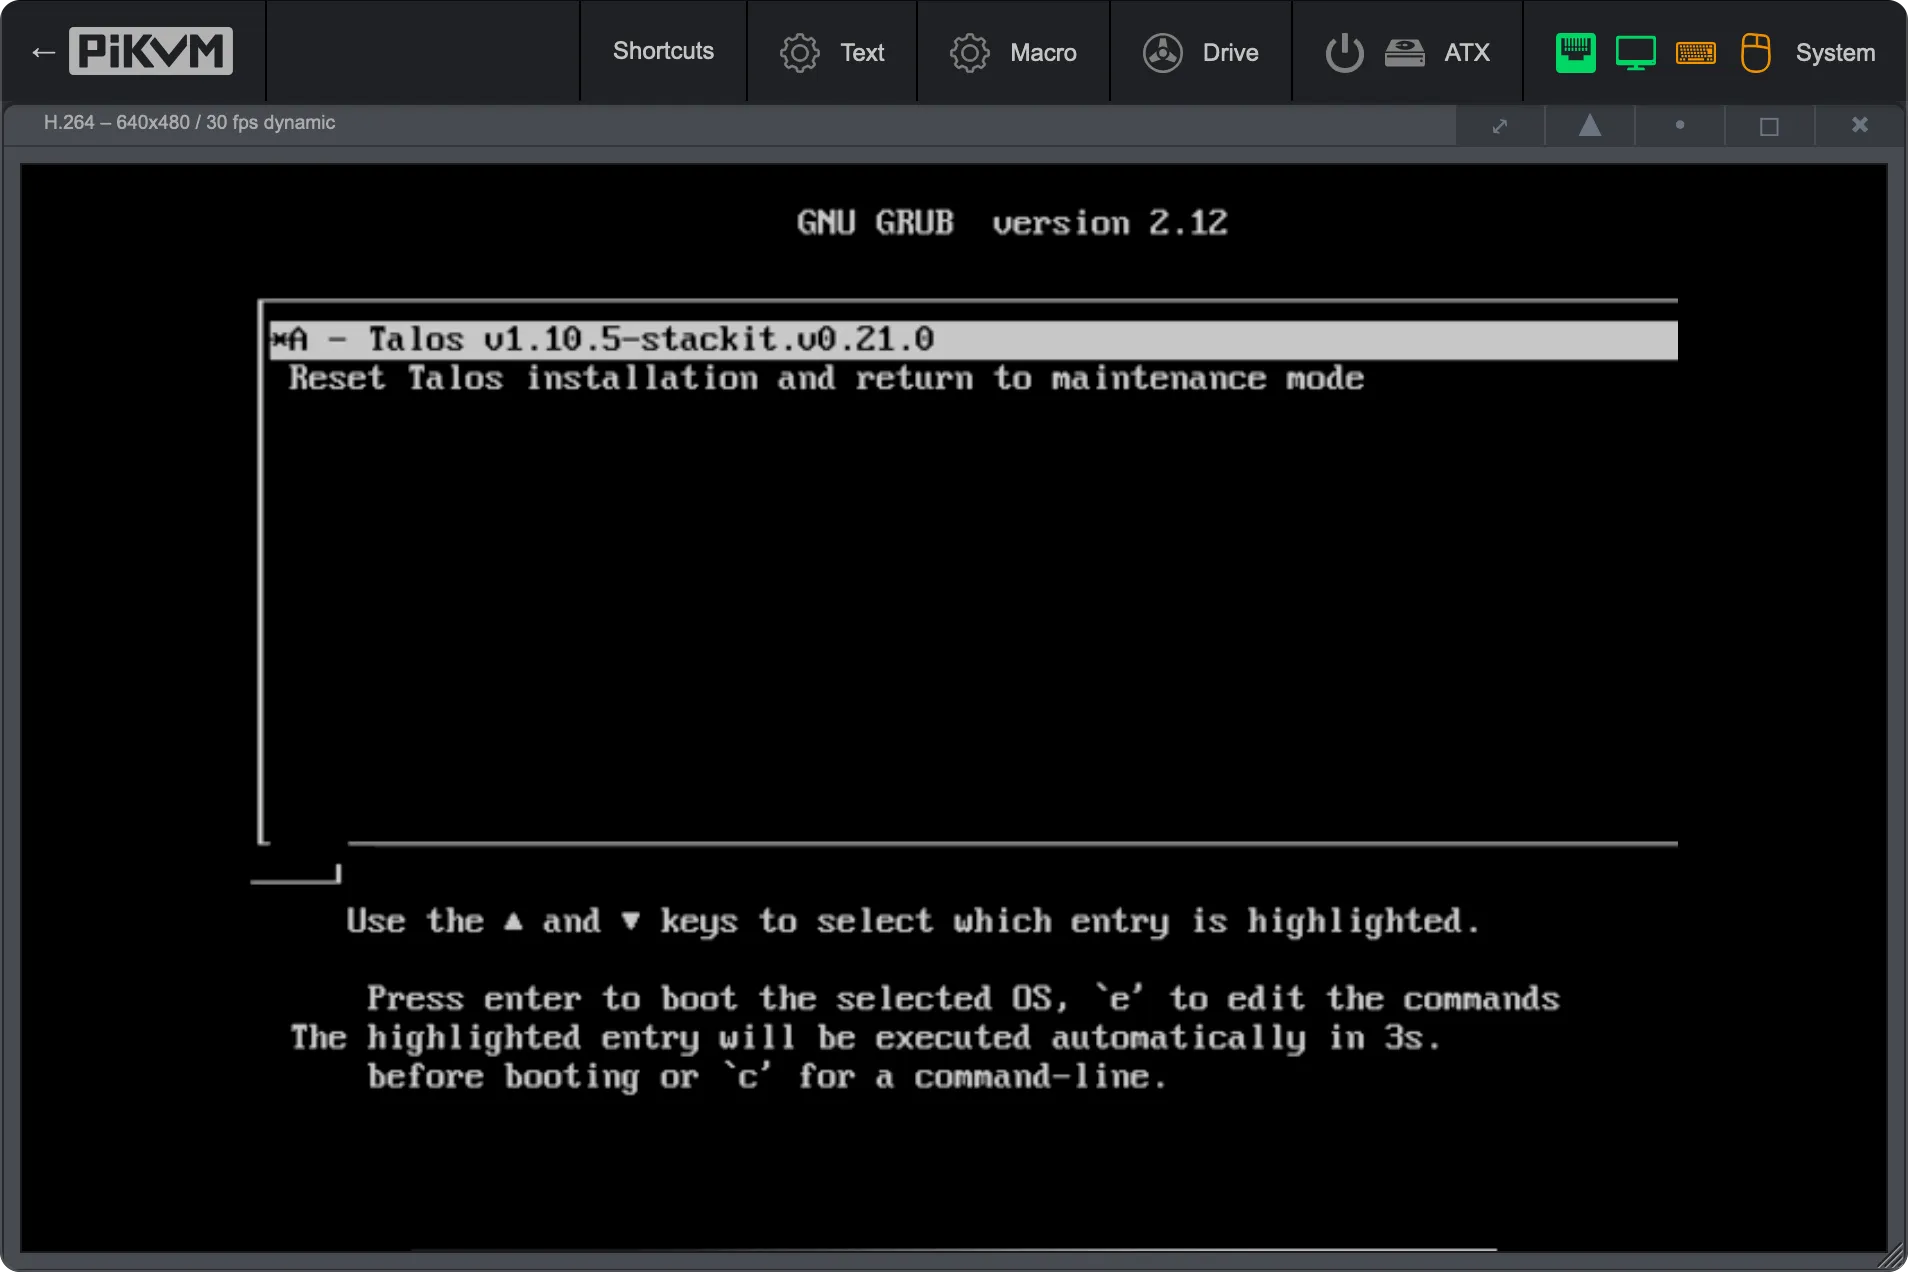
Section titled “First boot”When you first boot your target device from the STEC image, you will see two bootloader entries. The default entry boots automatically after a few seconds and starts Talos Linux in maintenance stage.
Regular machines and VMs
Section titled “Regular machines and VMs”-
Start your target device from the STEC image. The bootloader menu appears, showing the available boot options.

-
The (optional) initial boot parameters can be modified by pressing the ‘
e’ key on the selected bootloader entry. This may be useful for troubleshooting selected boot options.
-
Allow the boot sequence to complete, which should only take a few seconds.
-
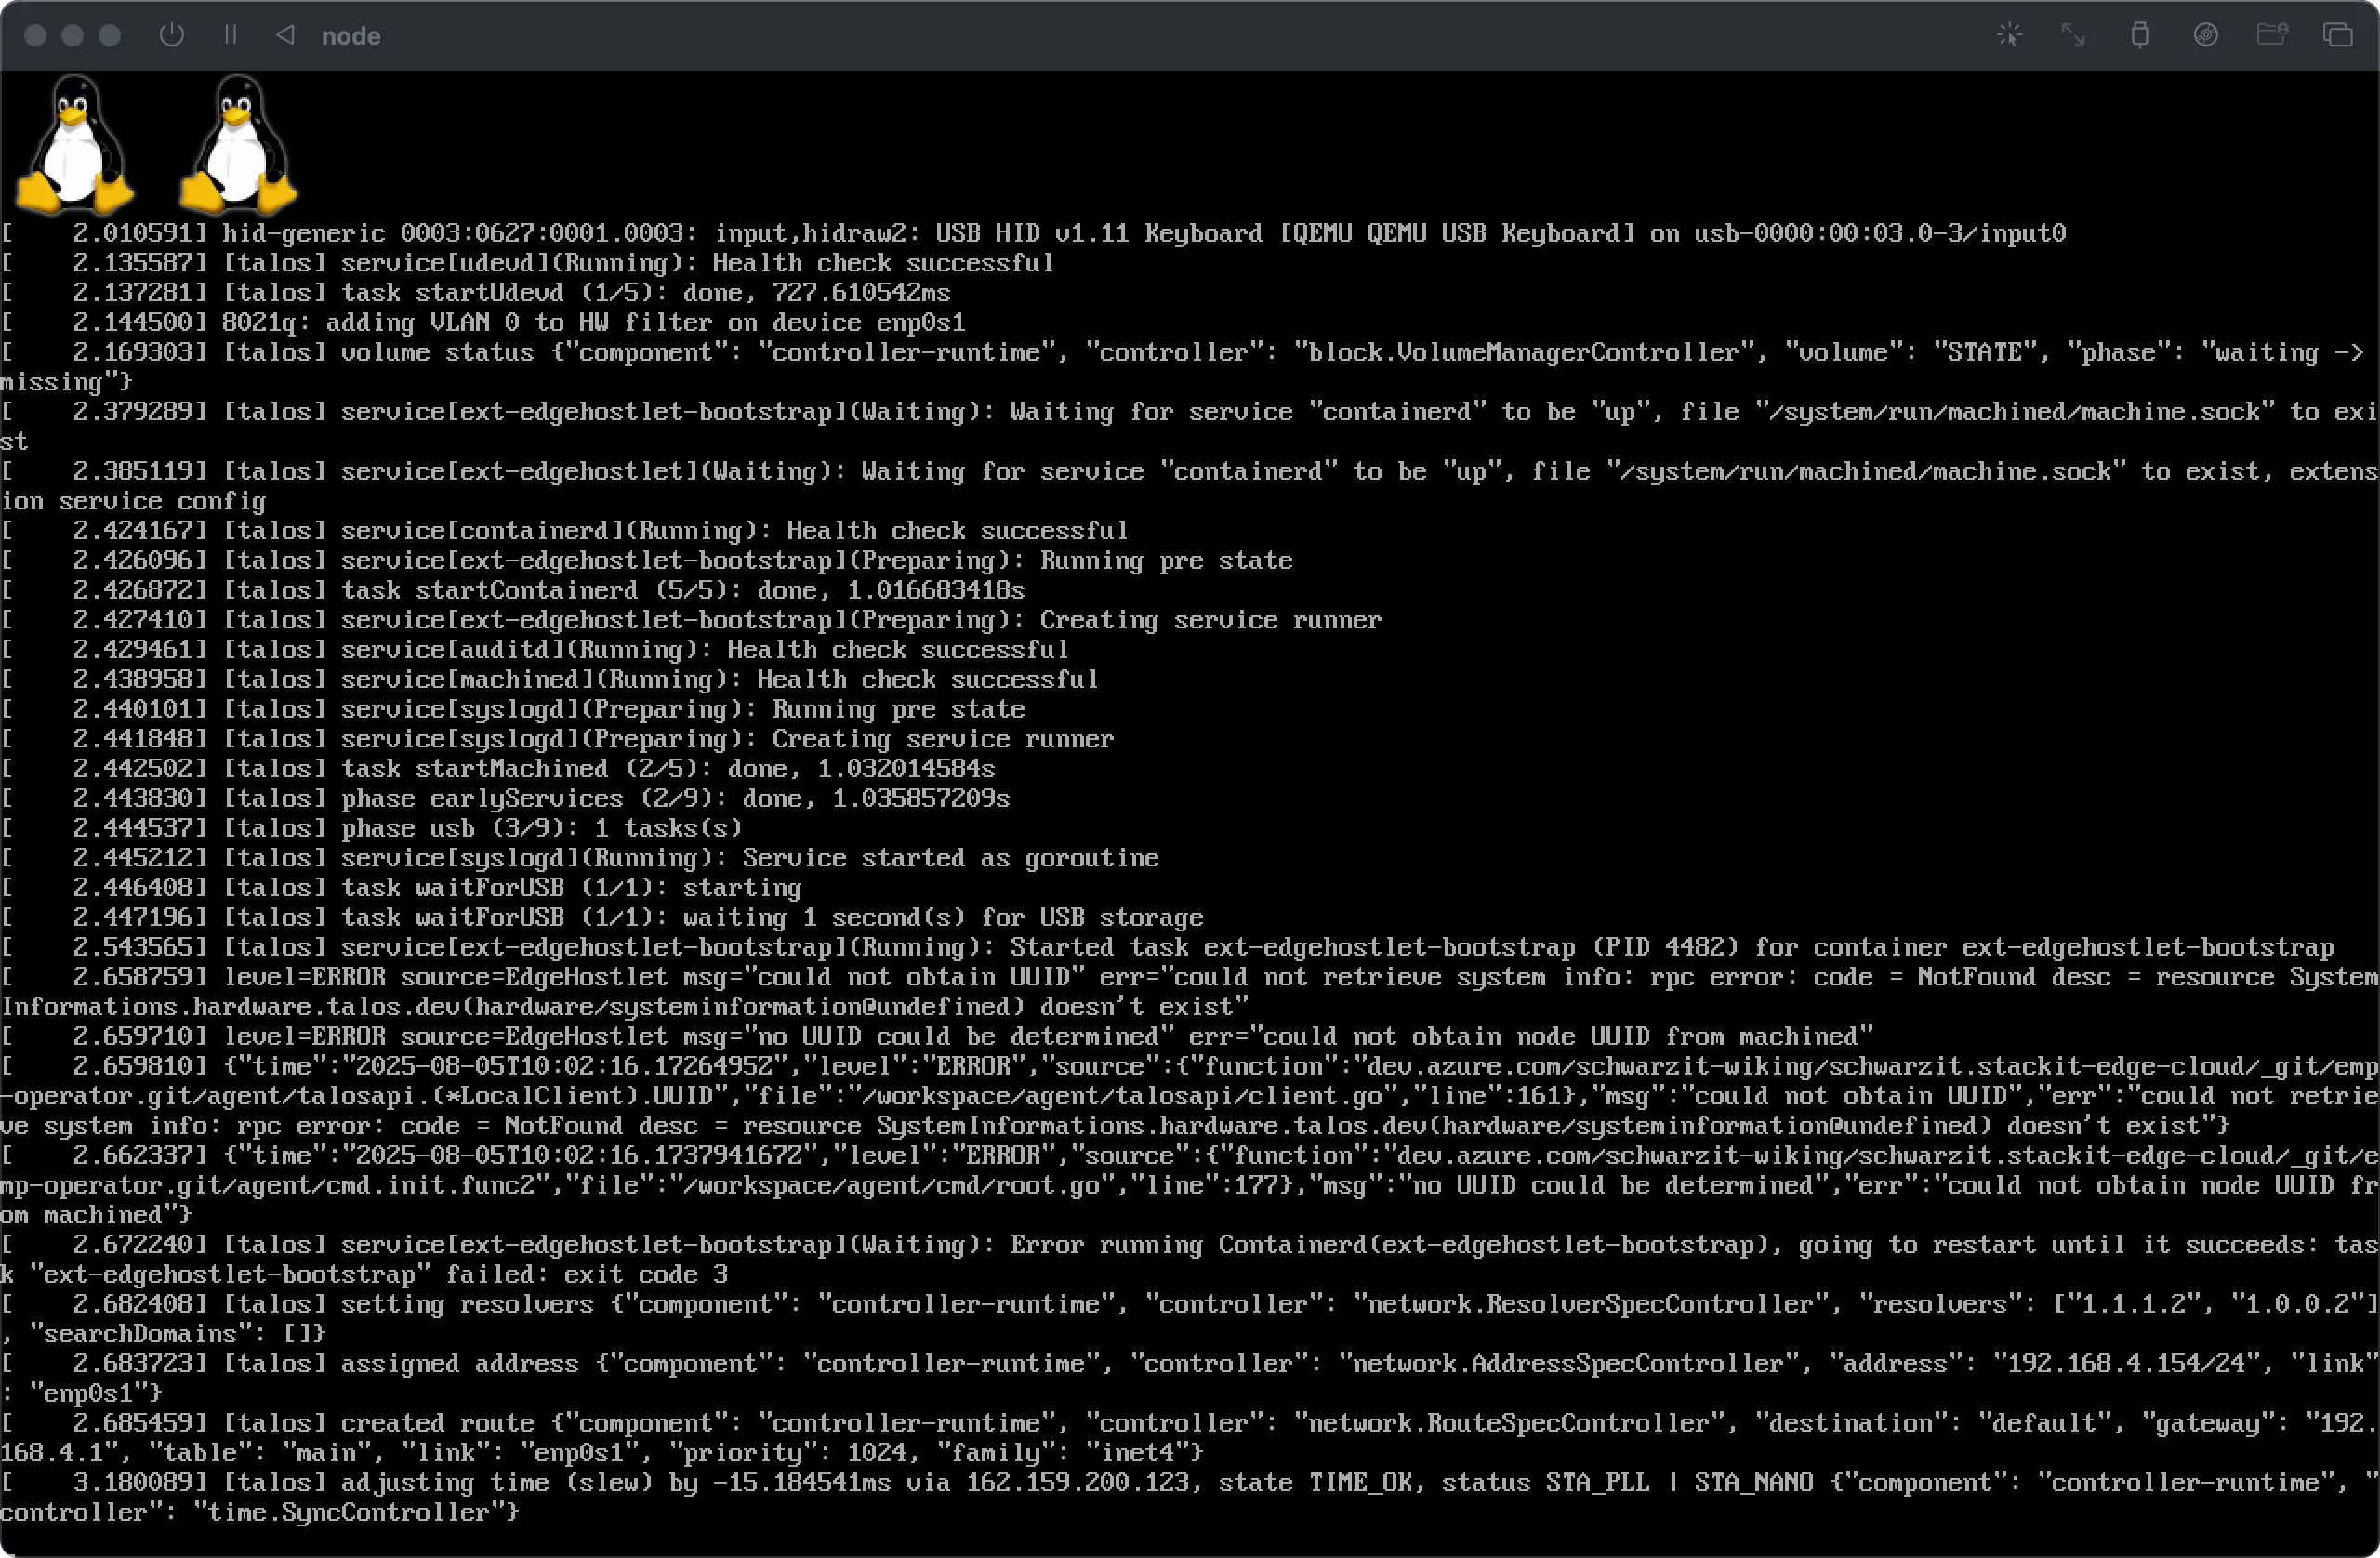
Verify that the Talos dashboard loads.
Confirm two things: the stage is maintenance and the connectivity is ok. Note the system UUID shown in the top-left corner of the dashboard. You will use this UUID in the next step to identify the host. Dashboard The dashboard runs on the second virtual TTY. The first virtual TTY shows kernel logs. You can switch between TTYs using the
<Alt+F1>and<Alt+F2>keys. You can also use the<F1>through<Fn>keys to switch between different screens of the dashboard.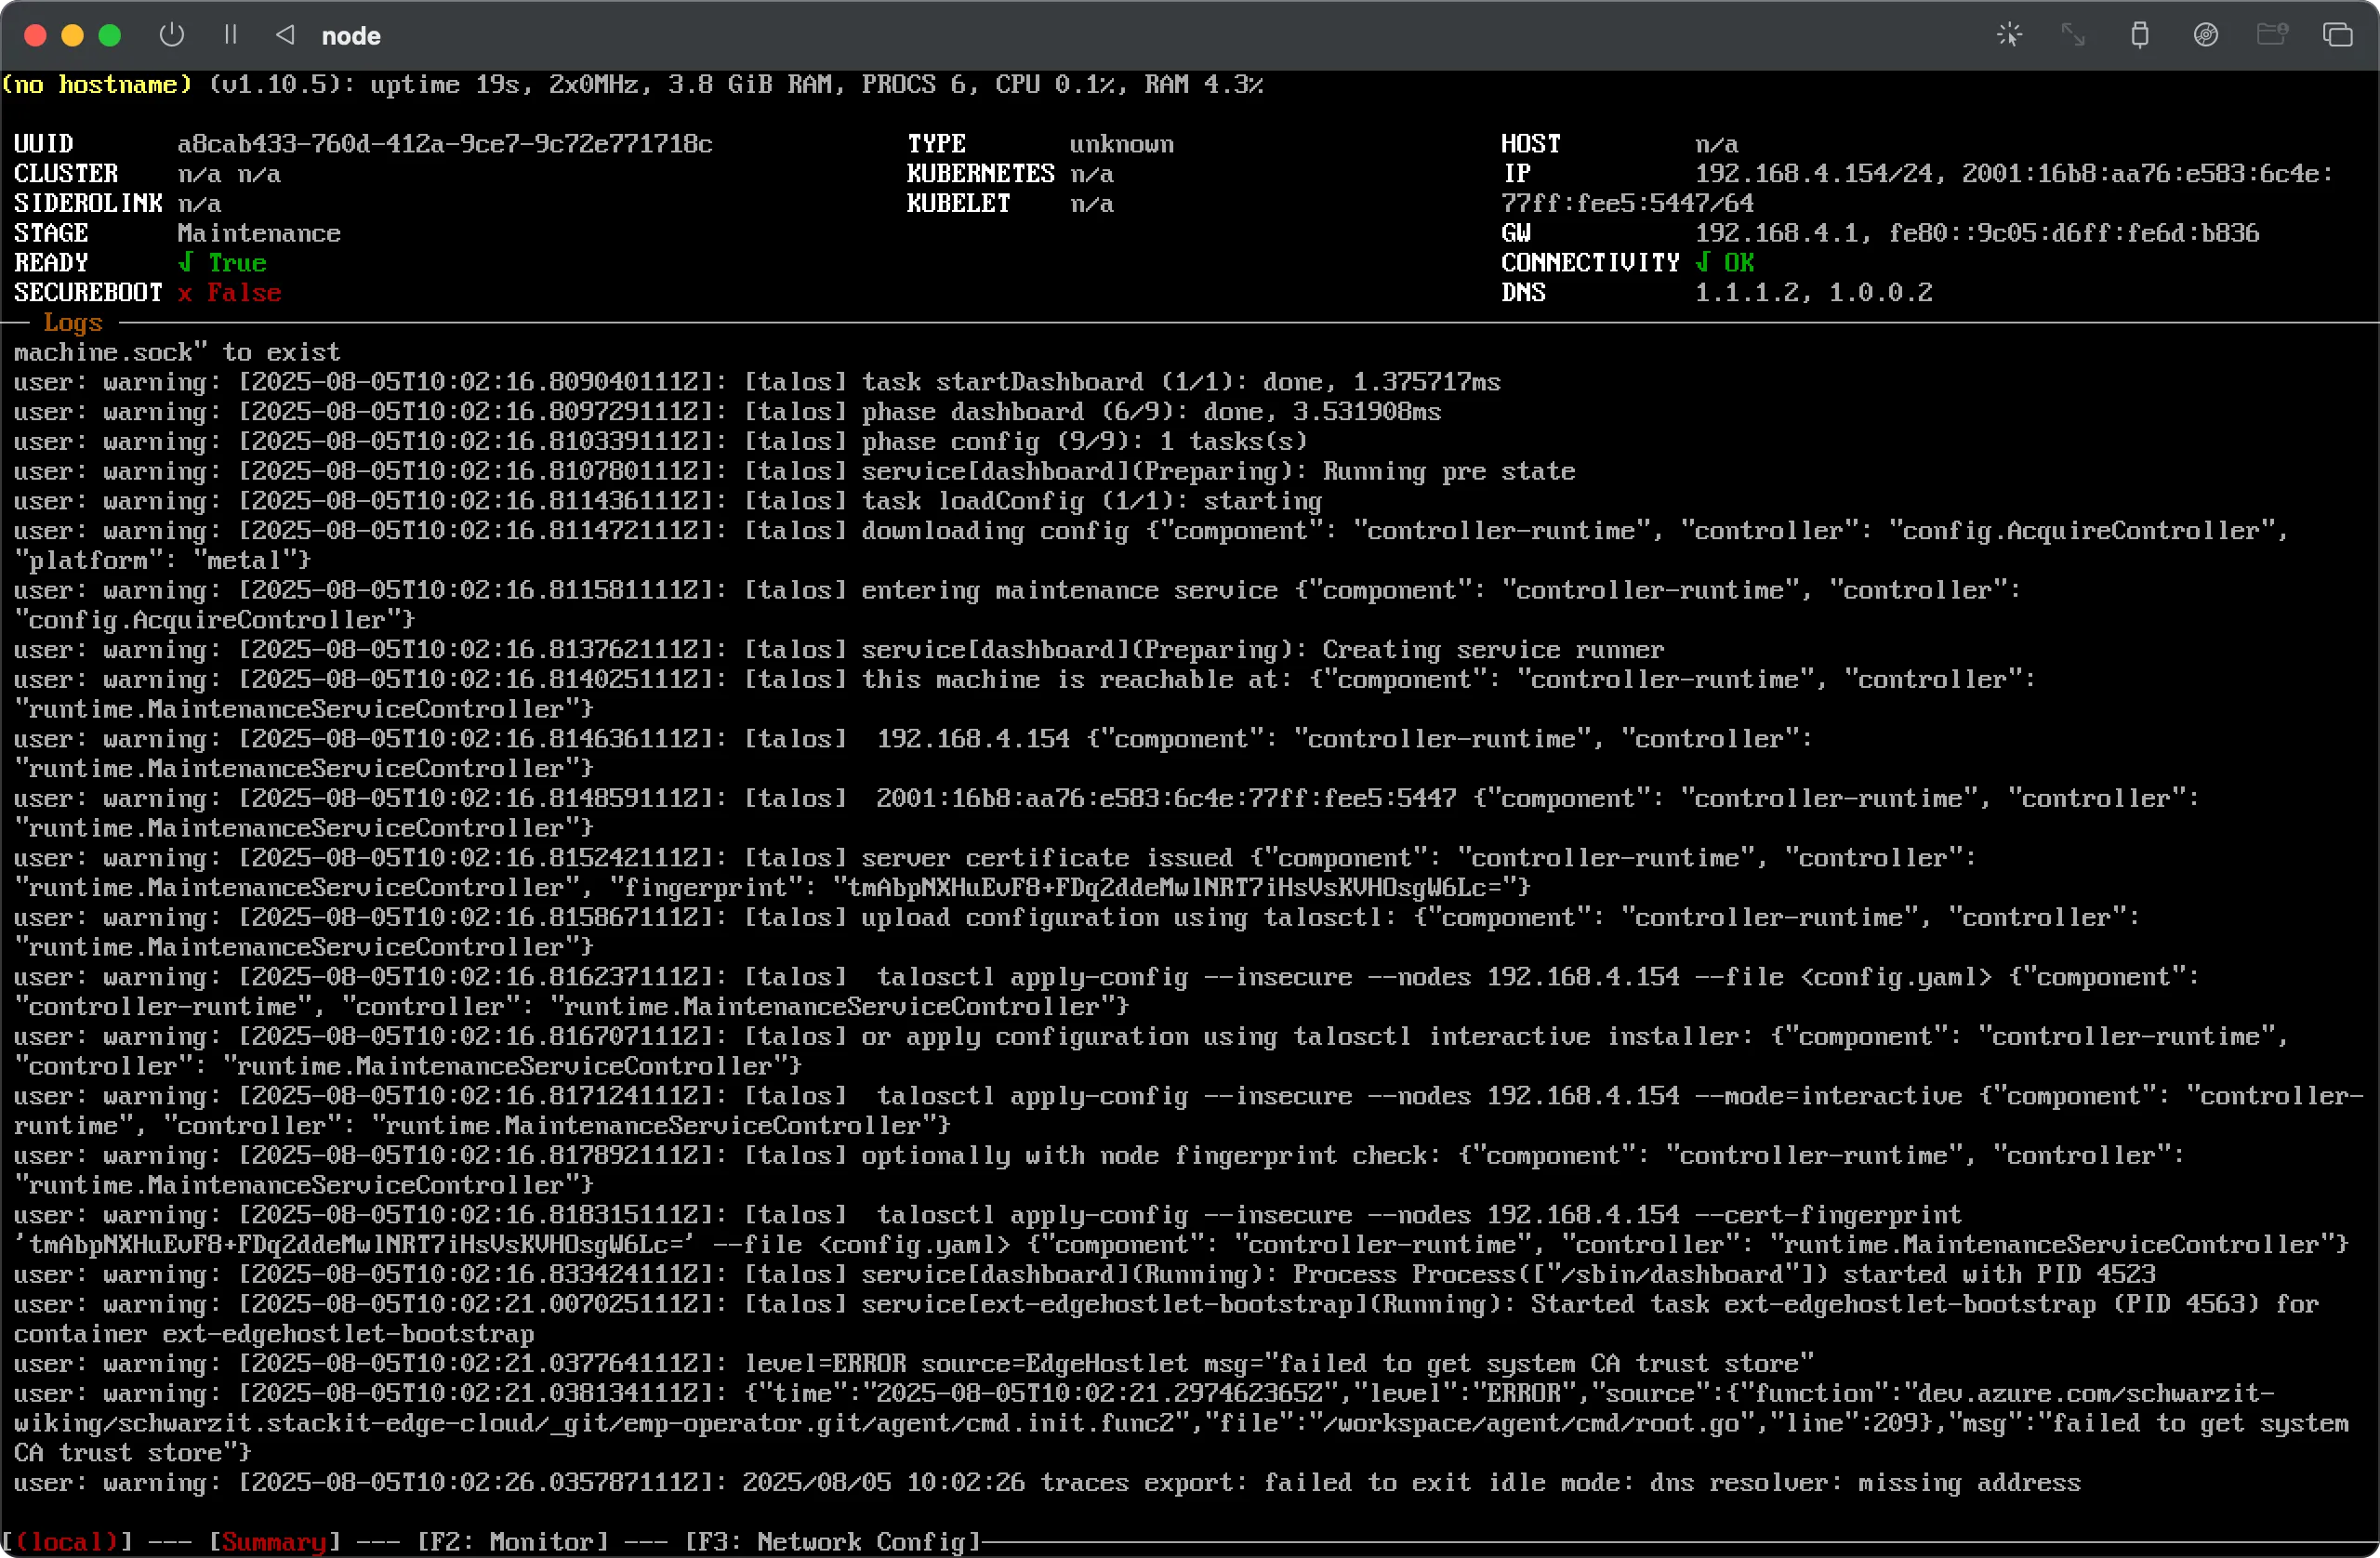
Single board computers
Section titled “Single board computers”The boot process for single board computers (SBCs) is very similar to that of regular machines and VMs and—given you have chosen the correct overlay image and followed the guidance for single board computers should look similar to the process outlined in this Raspberry Pi 4b example.
-
Insert your boot medium, e.g. MicroSD card, into your Raspberry PI and boot it.
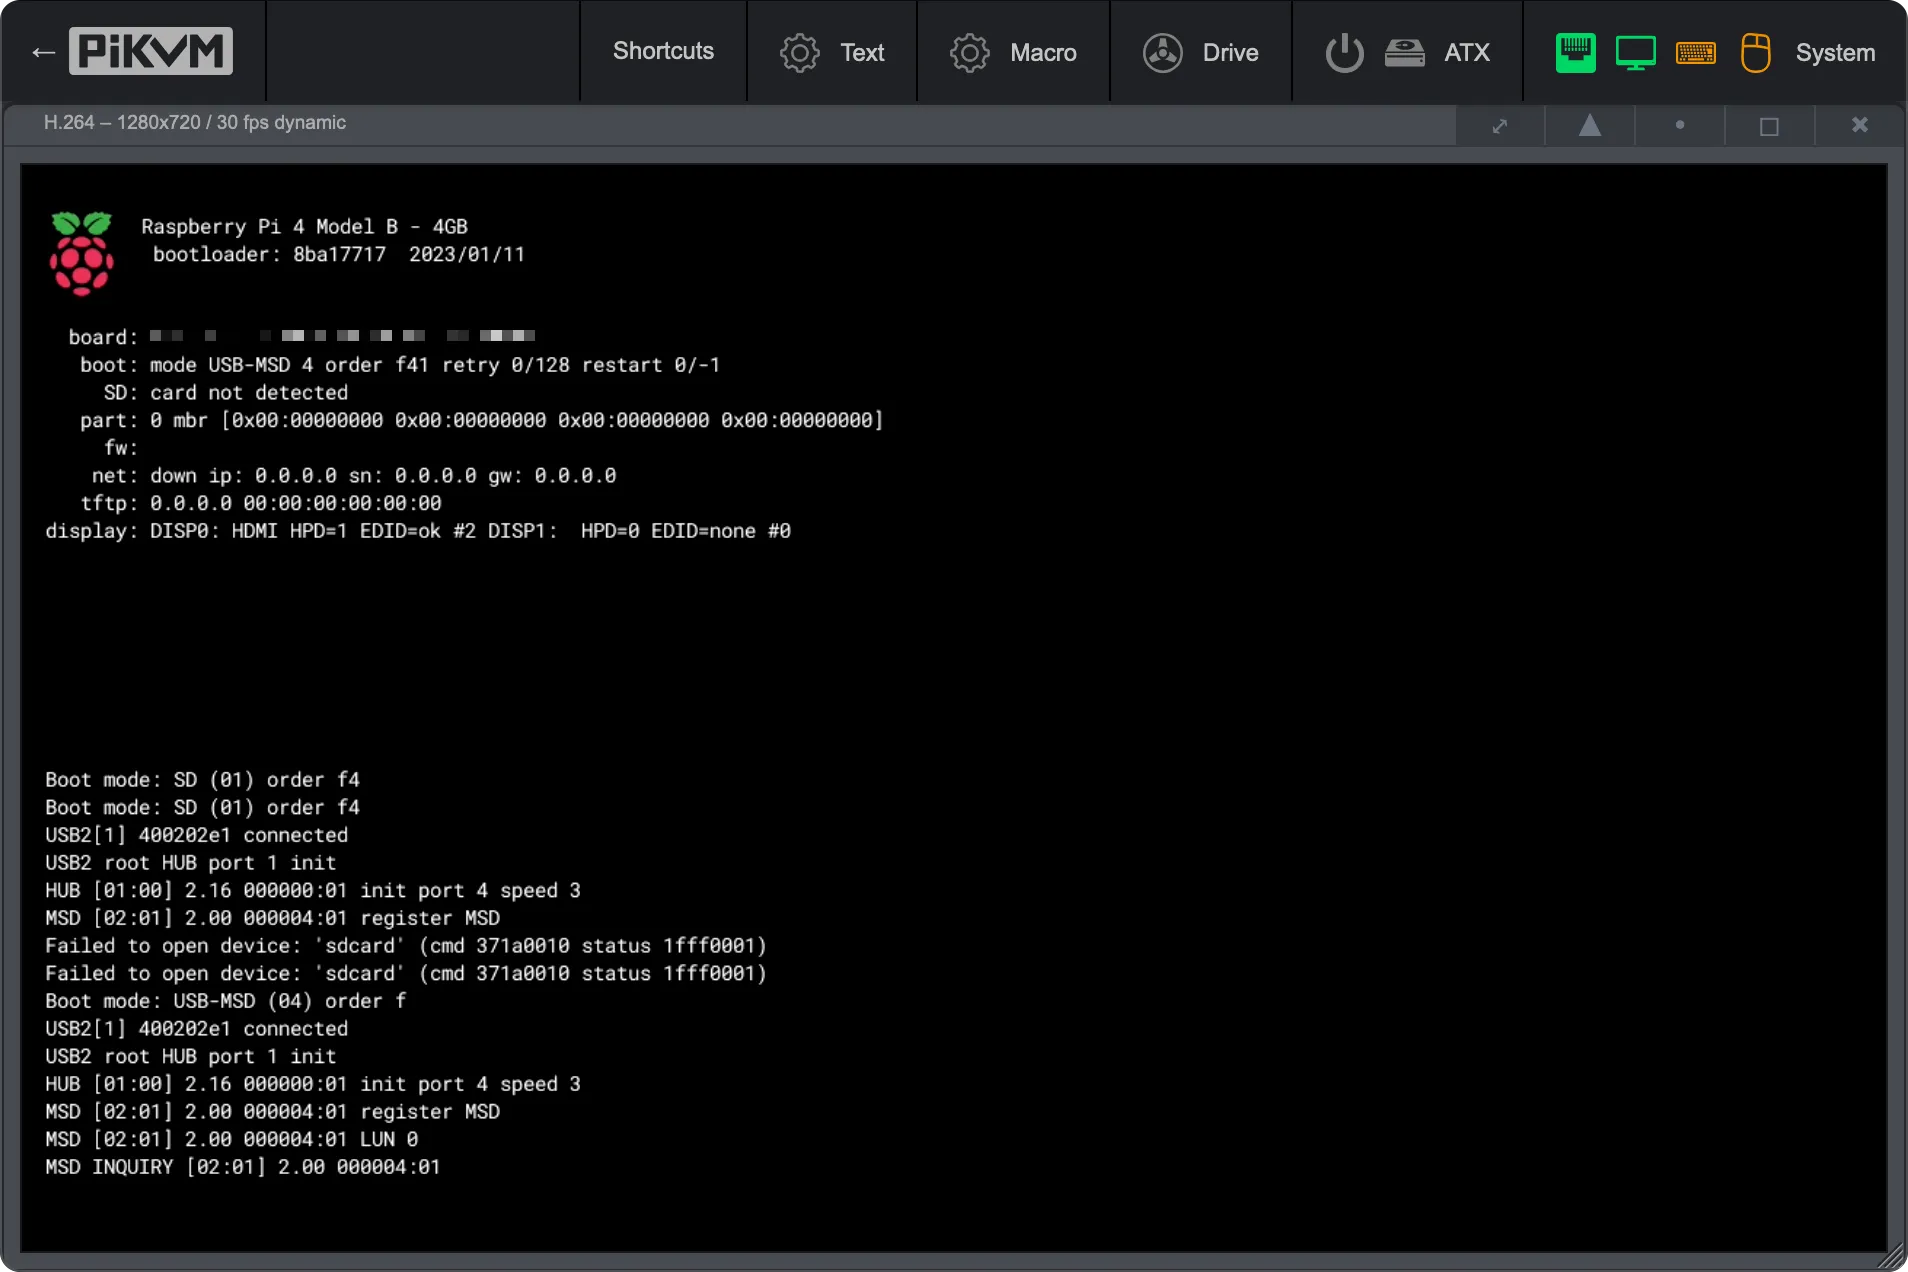
-
You should be presented with the u-boot bootloader. If you see this you know that the overlay has successfully been integrated into your boot image.
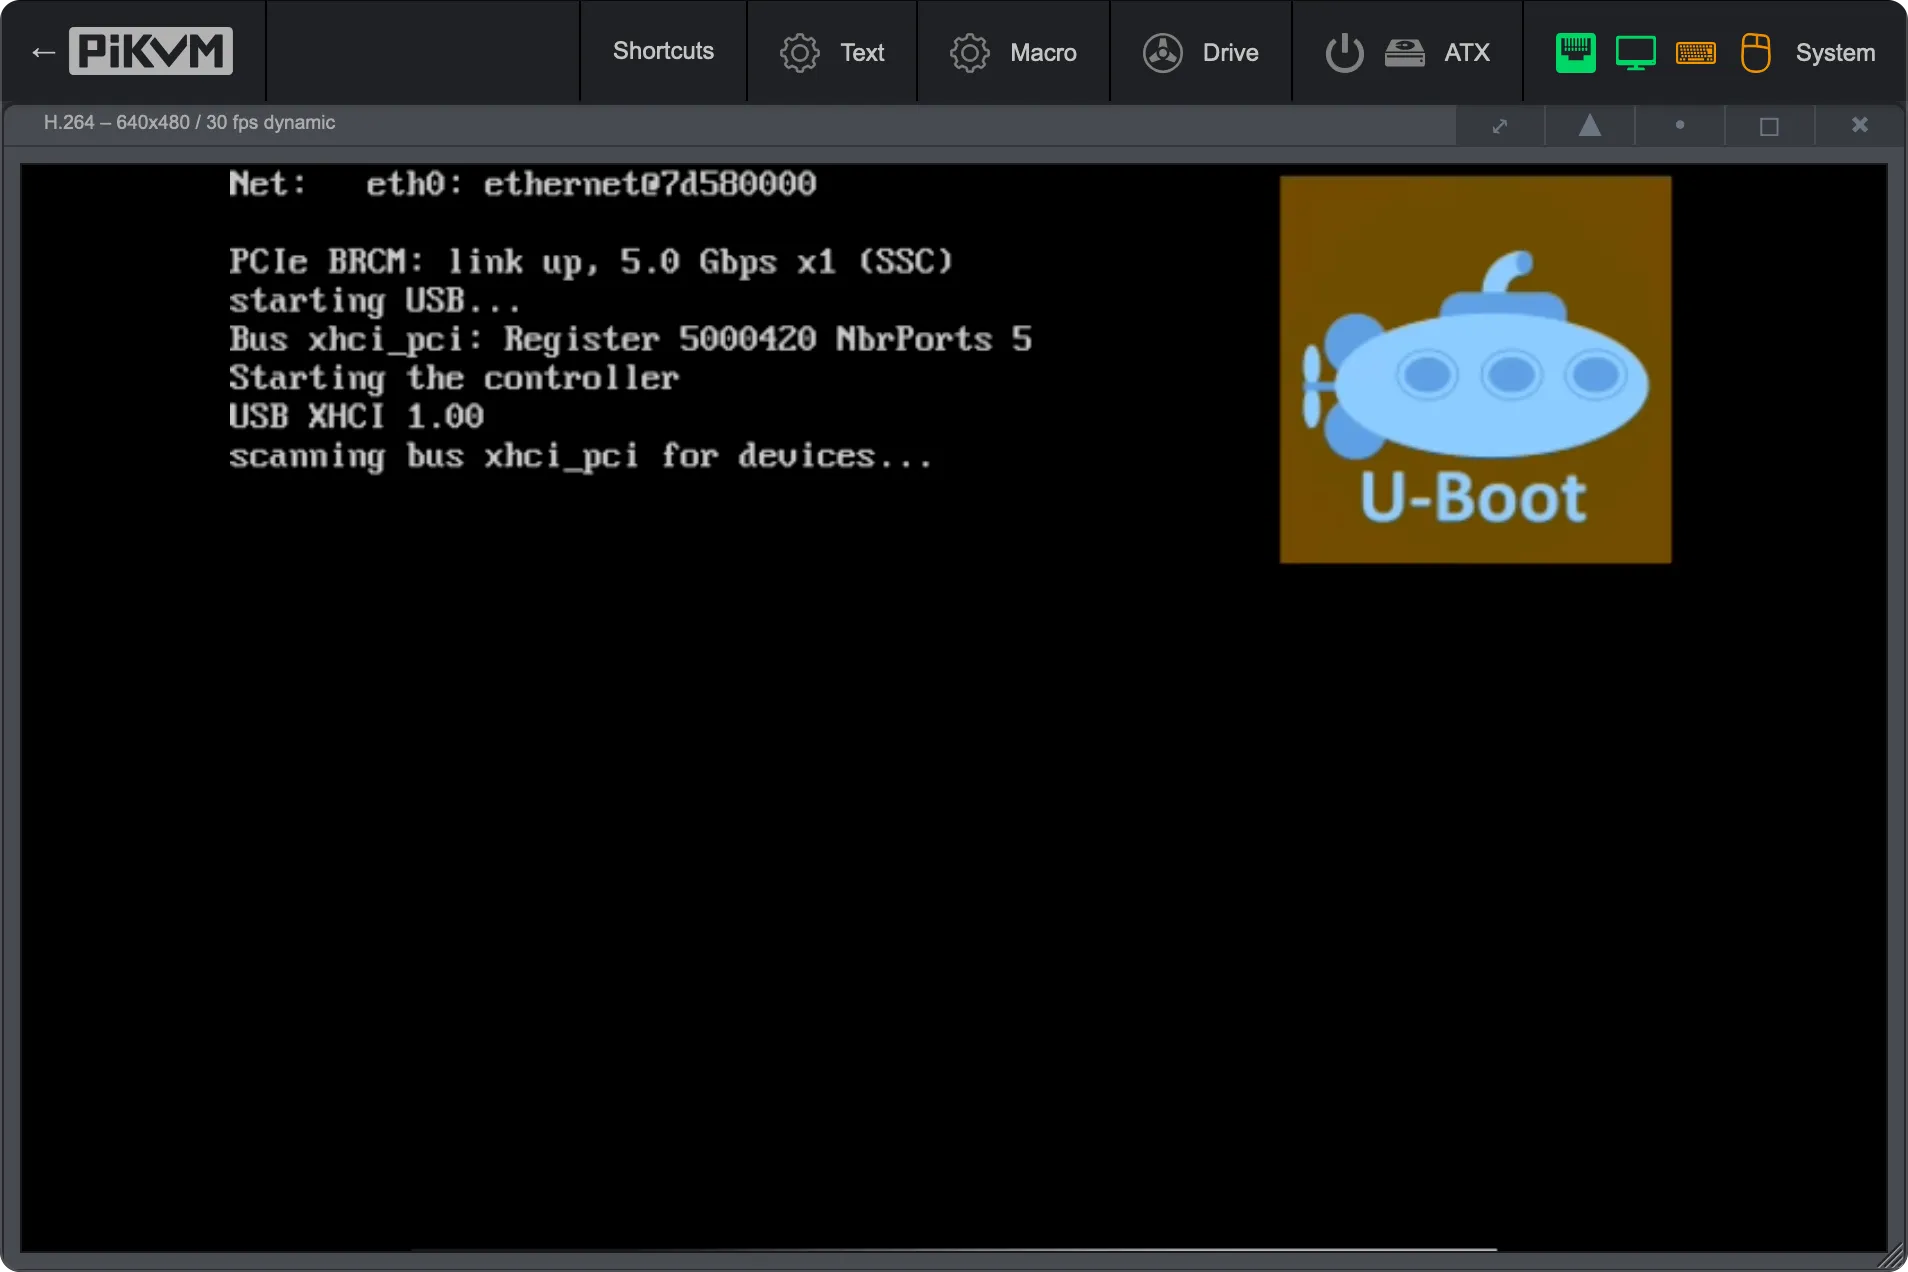
-
The rest of the boot should be similar to the normal boot experience and you should see the standard GRUB bootloader screen that ships with Talos.
-
On single-board computer (SBC) images (Talos Linux 1.9.x and newer), the interactive dashboard is disabled by default. You can enable it, if required, by adding the kernel parameter
talos.dashboard.disabled=0.The dashboard runs on the second virtual TTY. The first virtual TTY shows kernel logs. You can switch between TTYs using the
<Alt+F1>and<Alt+F2>keys. You can also use the<F1>through<Fn>keys to switch between different screens of the dashboard.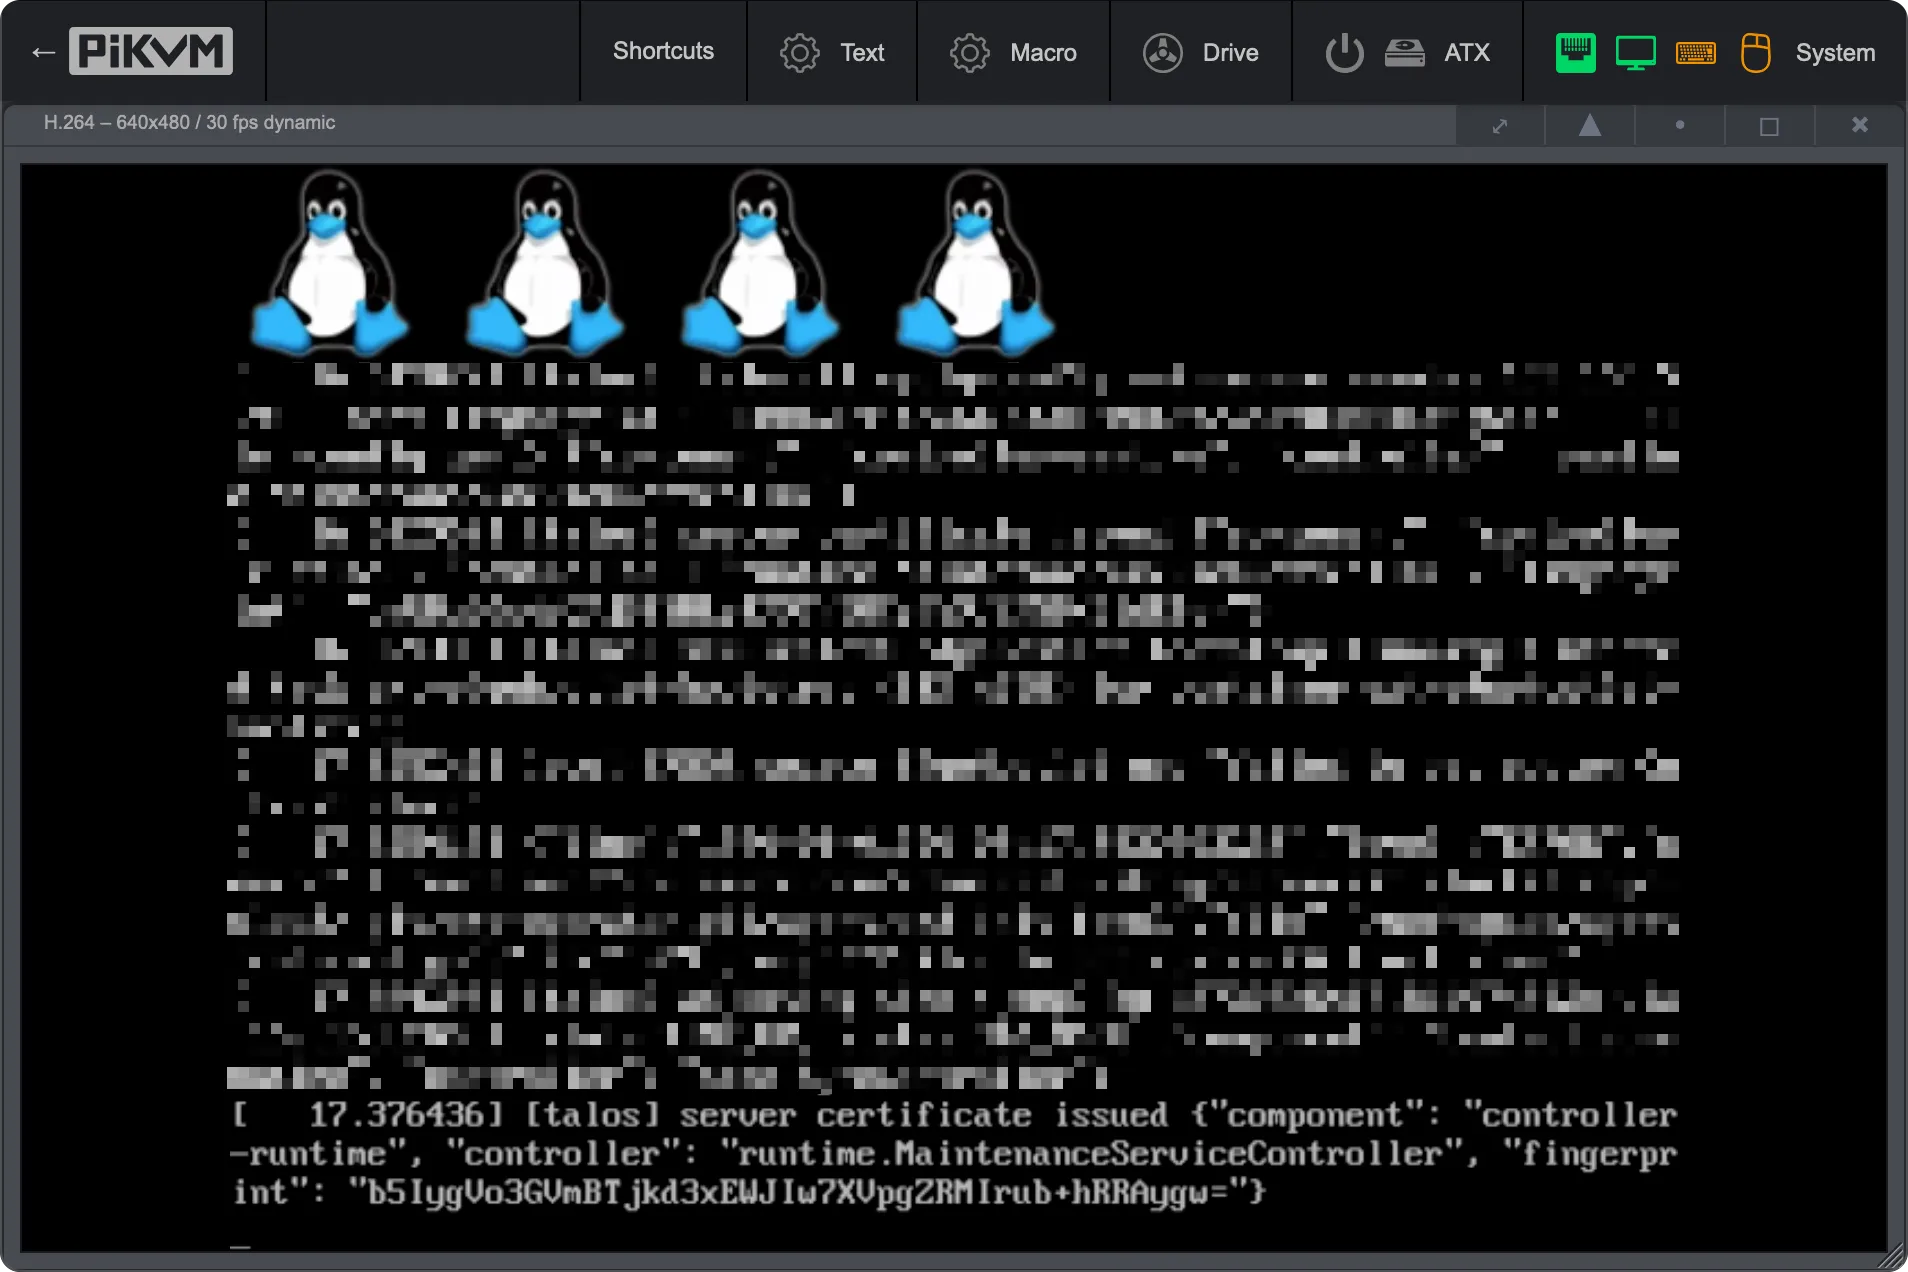
-
In the STEC GUI you now should see that the new EdgeHost has successfully registered with the STEC instance.
Prerequisite: You have authenticated access to a STEC instance.

Host registration
Section titled “Host registration”Once your target system has booted into maintenance stage, it automatically idles and tries to register itself with the STEC management plane.
For registration to succeed, your host’s initial boot parameters must be configured to allow an HTTPS connection (TCP port 443) to *.stackit.cloud.
You can verify the successful registration in the STEC web UI or CLI by matching an identifier, such as the UUID (which you noted from the dashboard) or the MAC address of your target system.
Prerequisites
Before you begin, you need the following:
- Authenticated access to a STEC instance.
Steps
-
Navigate to the hosts section of the GUI. You should see a new host matching the UUID seen in the Talos dashboard. The status should display “ready”.
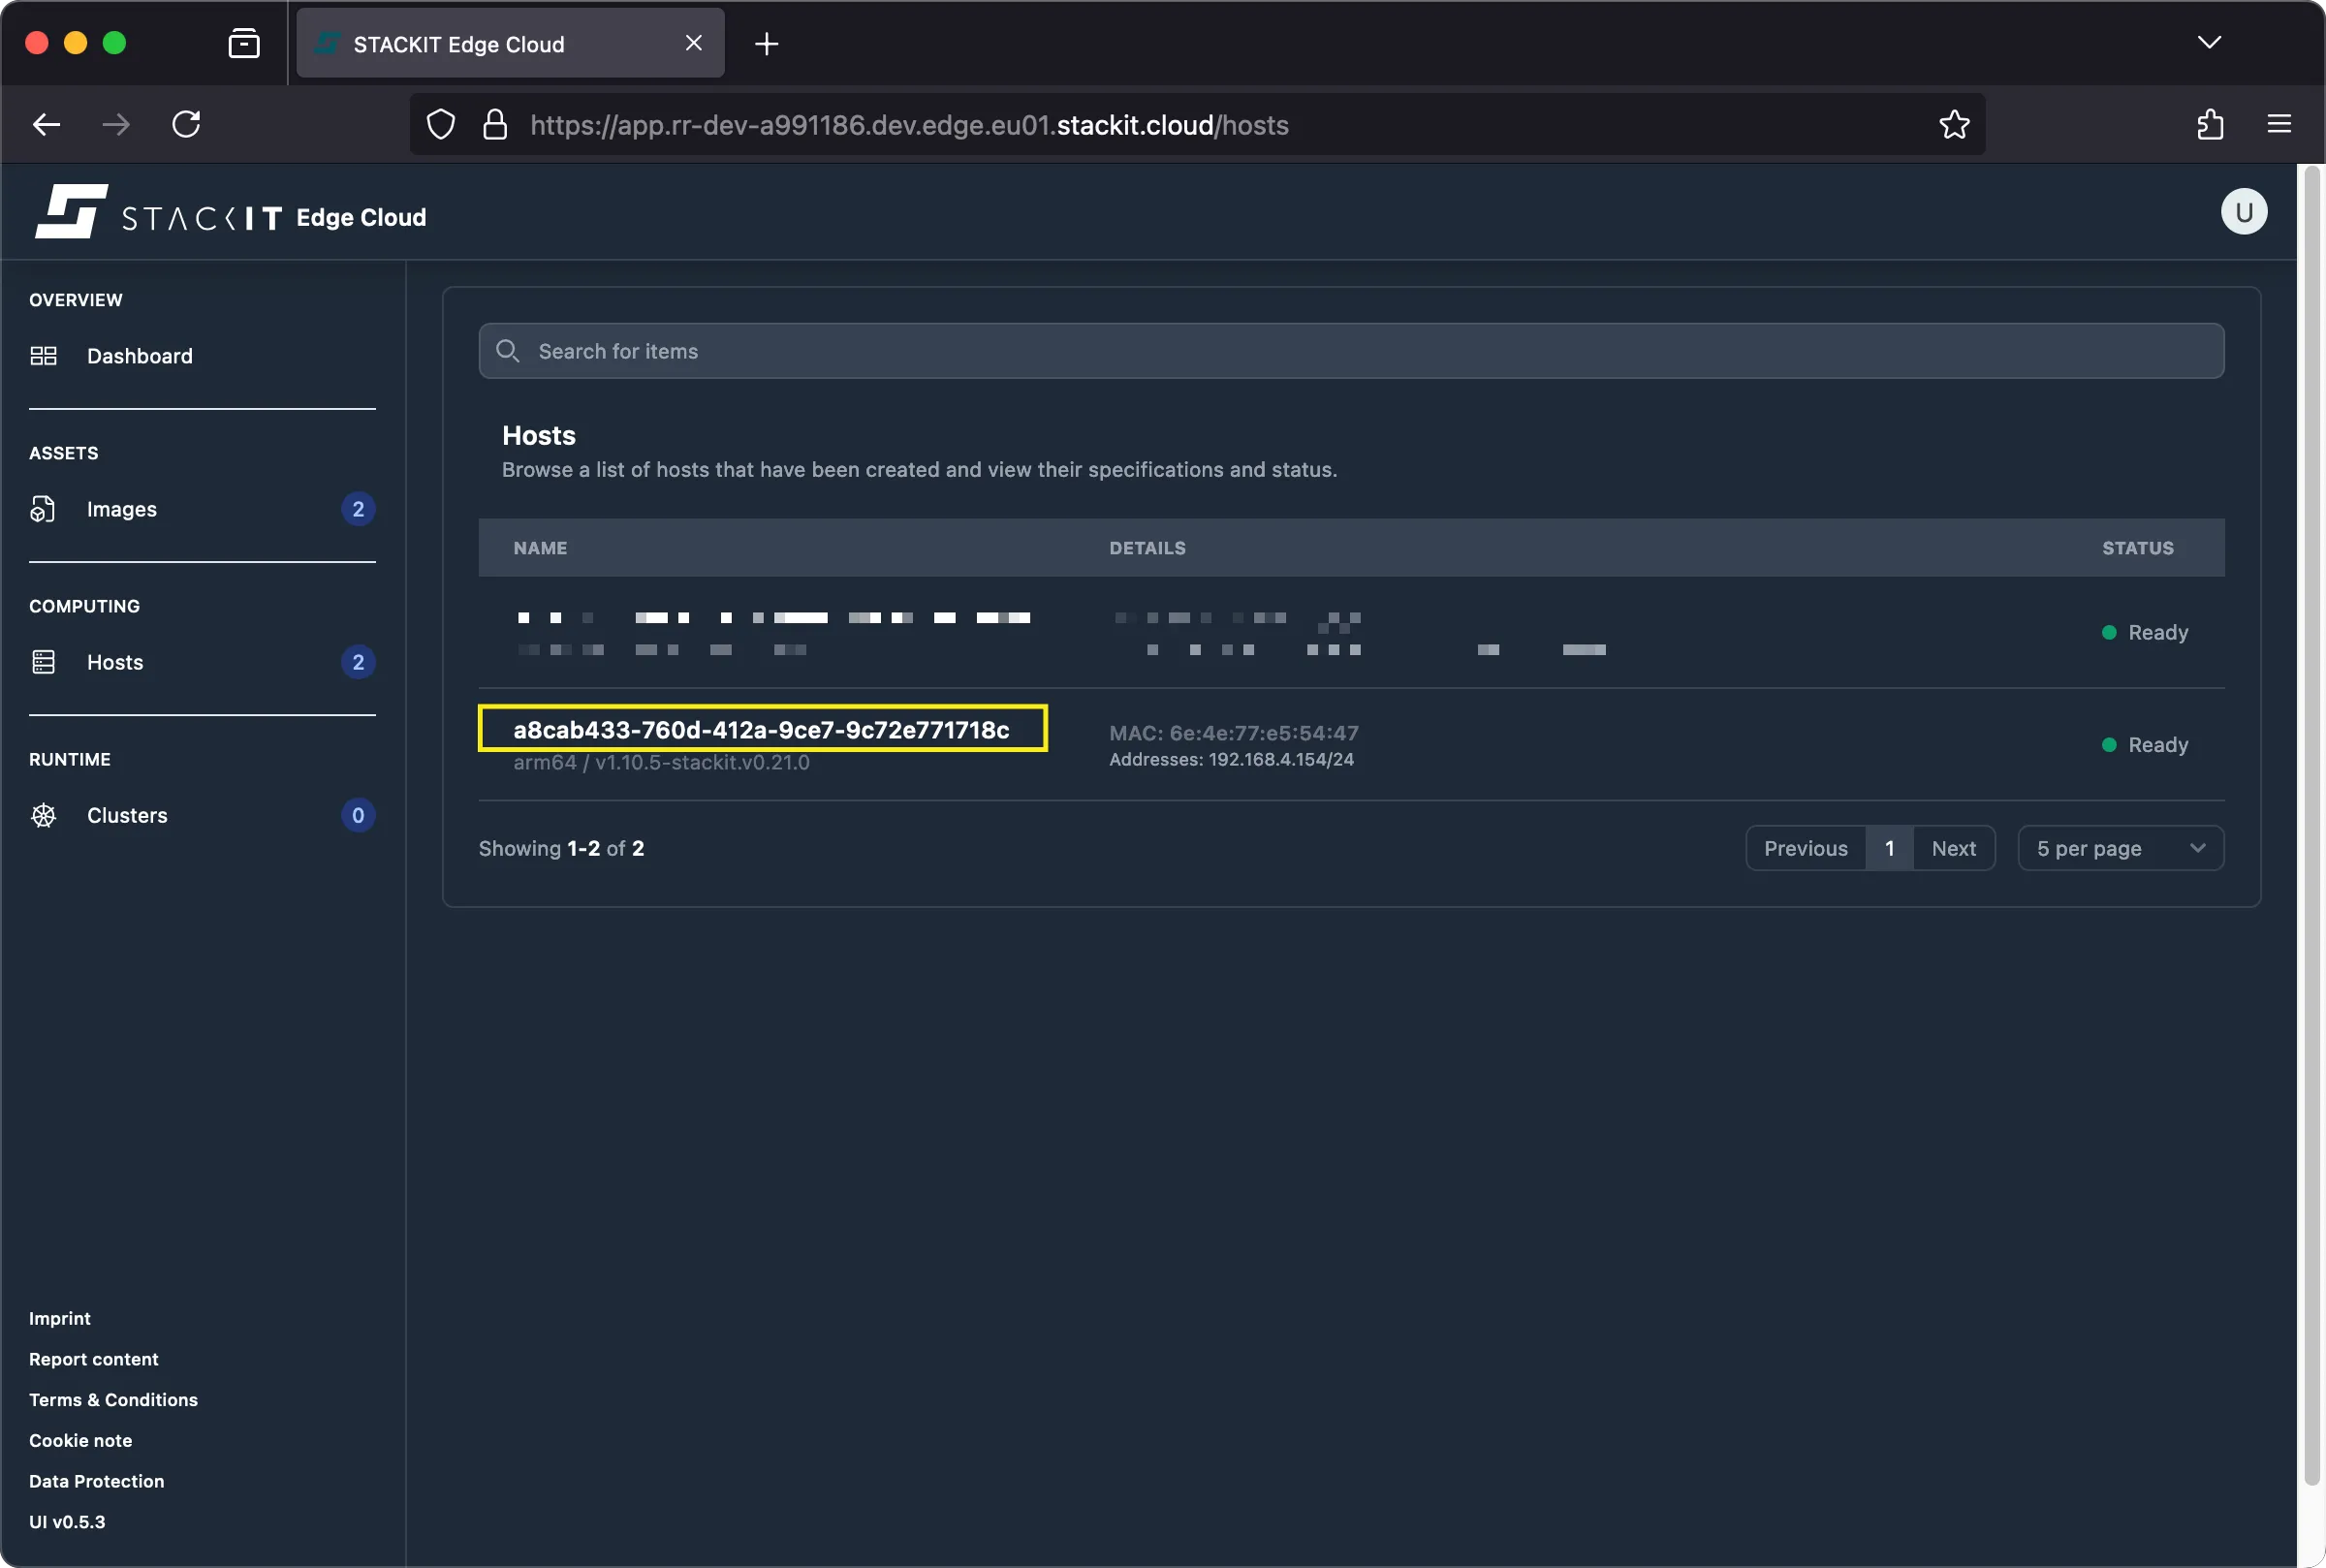
-
By clicking on the host name you can verify additional configuration data of the host.

Prerequisites
Before you begin, you need the following:
- Authenticated access to a STEC instance.
- The kubeconfig for the STEC instance exported in your terminal session.
- Tools: A generic Linux bash terminal with
kubectlandyq.
Steps
-
Simply use
kubectlto get the EdgeHost CR matching the UUID of the target system. You’ll see the current configuration of the host as well as various status fields.Terminal window > kubectl get EdgeHost/a8cab433-760d-412a-9ce7-9c72e771718c -o yaml | yqapiVersion: edge.stackit.cloud/v1alpha1kind: EdgeHostmetadata:name: a8cab433-760d-412a-9ce7-9c72e771718cnamespace: defaultspec:proxyConfig: {}status:hostInfo:architecture: arm64kernelParams:- talos.platform=metal- selinux=1- edge.joinendpoint=https://join.xxx-xxx-xxx.edge.eu01.stackit.cloud/join- edge.jointoken=xxx.xxx.xxxversion: v1.10.5-stackit.v0.21.0network:- connected: trueipAddrs:- 192.168.4.154/24isDefault: truemacAddr: 6f:4a:77:a4:54:55networkInterfaceName: enp0s1 ready: truestorage:- deviceName: /dev/vdasize: 1306525696systemDisk: truetype: HDDconditions:- message: maintenancereason: TalosOsLifecyclestatus: "True"type: Stage[...]- message: System checked in successfullyreason: ConnectionTeststatus: "True"type: HeartbeattalosHostStatus:schematicId: 9deb[...]cc99 -
The status of the ready field should be
true. If there are problems with the EdgeHost you should see this by checking the relevantstatus.conditions.Terminal window > kubectl get EdgeHost/a8cab433-760d-412a-9ce7-9c72e771718c -o yaml | yq '.status.ready'true> kubectl get EdgeHost/a8cab433-760d-412a-9ce7-9c72e771718c -o yaml | yq '.status.conditions'- lastTransitionTime: "2025-08-05T09:59:57Z"message: maintenancereason: TalosOsLifecyclestatus: "True"type: Stage- lastTransitionTime: "2025-08-05T09:59:57Z"message: ""reason: ServiceLifecyclestatus: Unknowntype: Service.Kubelet- lastTransitionTime: "2025-08-05T09:59:57Z"message: ""reason: ServiceLifecyclestatus: Unknowntype: Service.Etcd- lastTransitionTime: "2025-08-05T10:02:22Z"message: System checked in successfullyreason: ConnectionTeststatus: "True"type: Heartbeat