Load balancing
Zuletzt aktualisiert am
This page describes how to create a STACKIT Network Load Balancer via a Kubernetes Service object.
Mechanisms
Section titled “Mechanisms”Kubernetes offers Service objects of different types. You can learn more about the various Service types in the Kubernetes documentation. One of these types is LoadBalancer.
When you create a Kubernetes Service of this type in SKE, STACKIT provisions one or more servers in your project. These servers expose a public IP, receive incoming traffic, and forward it to the cluster. Kubernetes then routes the traffic to the matching Pods.
The created servers and public IPs are visible inside your STACKIT project. You are charged for them based on the regular plans for Servers and Public IP Addresses.
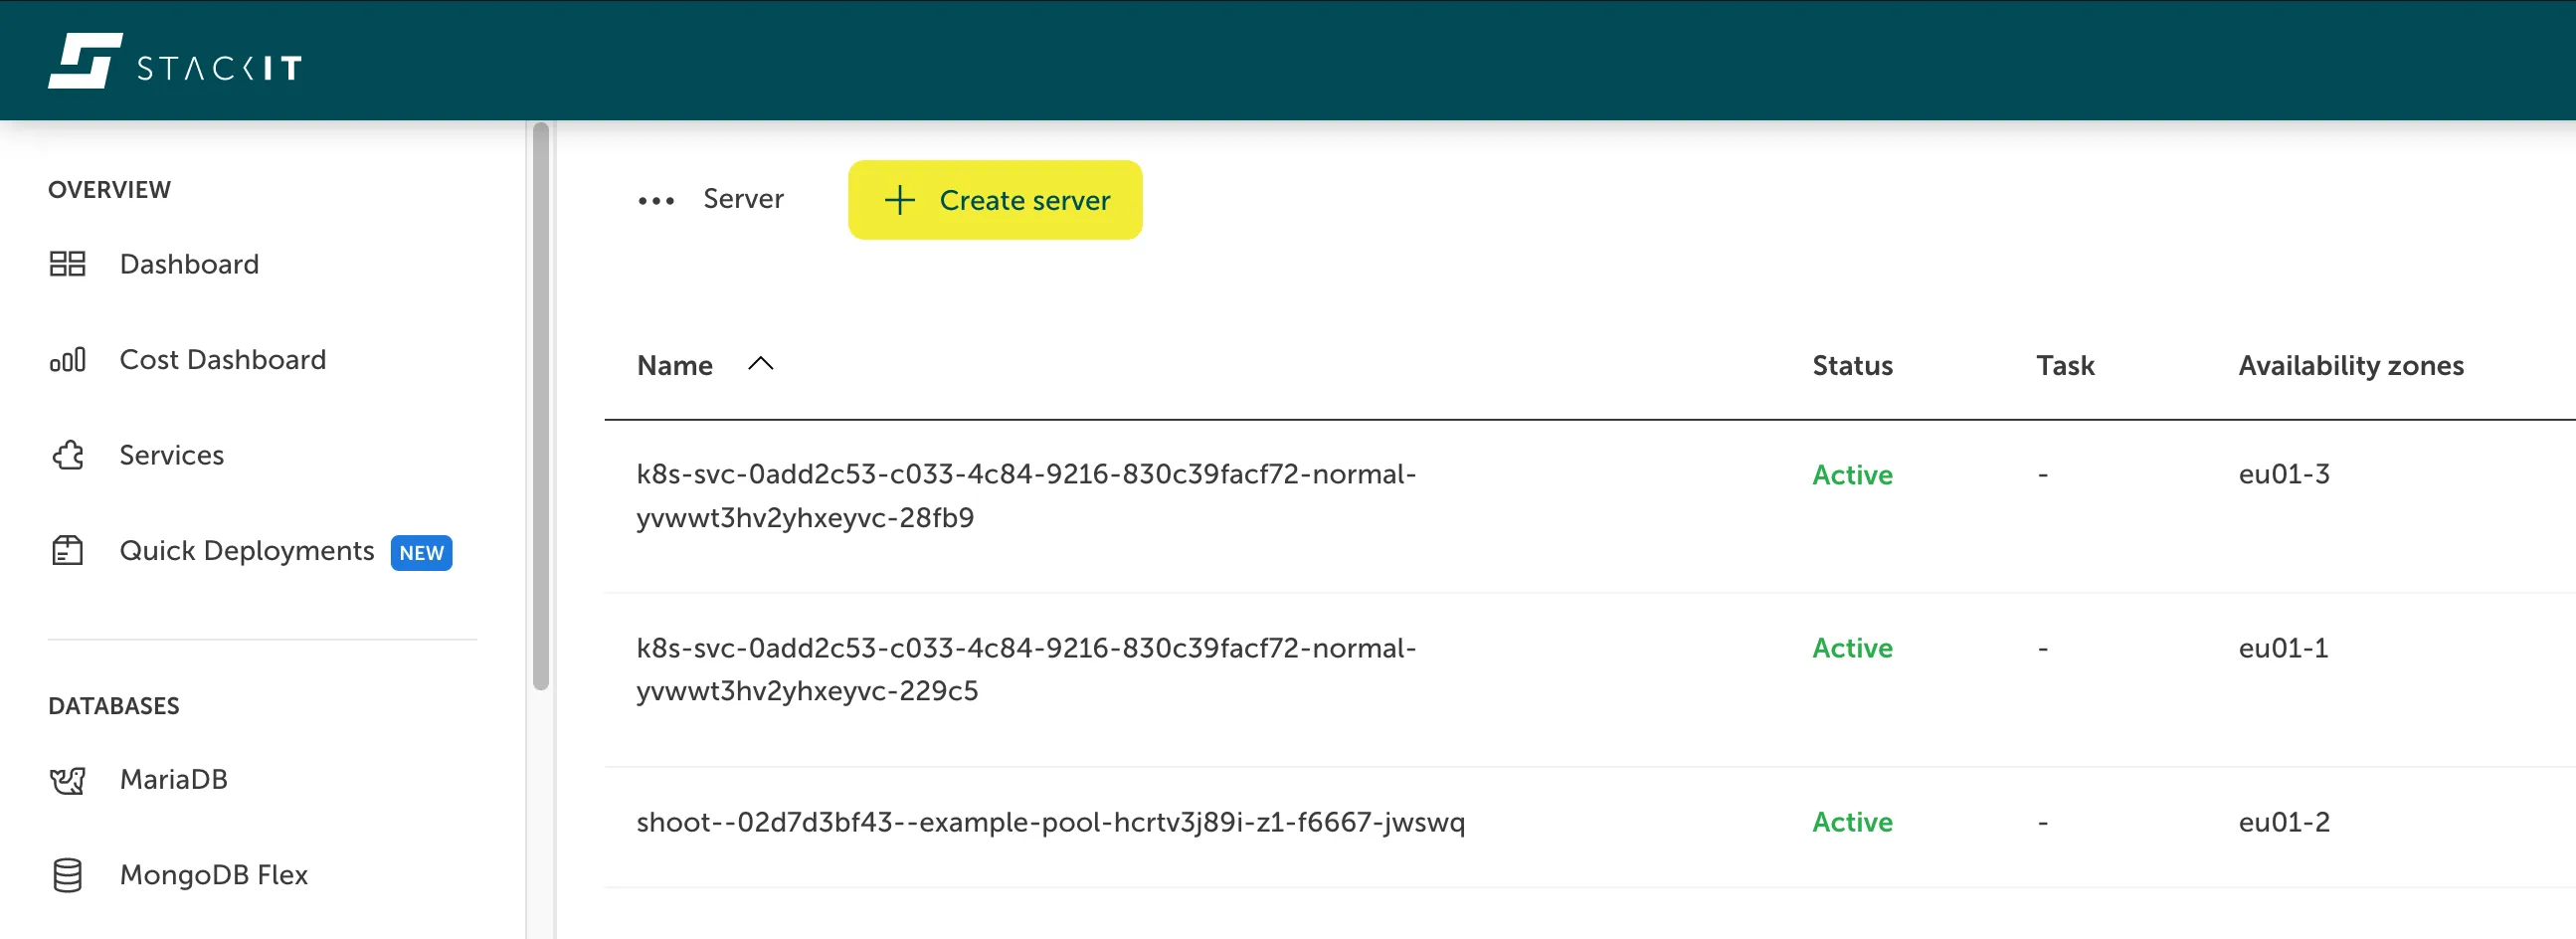
Here you can see the Server view for a STACKIT project, showing two servers that act as network load balancers for Kubernetes:
Creating a network load balancer
Section titled “Creating a network load balancer”To create a network load balancer, define a Kubernetes Service of type LoadBalancer. Inside the Service you can specify, which applications or Pods should receive the traffic (spec.selector) and on which ports (spec.ports):
apiVersion: v1kind: Servicemetadata: name: my-servicespec: selector: app: MyApp ports: - protocol: TCP port: 80 targetPort: 8080 type: LoadBalancerAs soon as the Service is ready to use, a public IP will appear in your Service object:
kubectl get serviceThe output will look similar to this:
NAME TYPE CLUSTER-IP EXTERNAL-IP PORT(S) AGEmy-service LoadBalancer 100.67.140.208 193.148.xxx.xxx 80:30642/TCP 14hYou can reach the Service via the EXTERNAL-IP.
Configuration
Section titled “Configuration”Configure the STACKIT Network Load Balancer via service annotations prefixed with lb.stackit.cloud/. Supported annotation keys are listed below:
| Annotation | Default | Description |
|---|---|---|
lb.stackit.cloud/internal-lb | ”false” | The load balancer is not exposed via a public IP, but instead resides in the Kubernetes nodes network. (This allocated local IP is not persistent. It changes in case the service gets recreated.) |
lb.stackit.cloud/tcp-proxy-protocol | ”false” | Enables the TCP PROXY protocol for TCP ports. Also see lb.stackit.cloud/ip-mode-proxy. |
lb.stackit.cloud/tcp-proxy-protocol-ports-filter | none | Defines which ports use the TCP PROXY protocol. Only takes effect if TCP PROXY protocol is enabled. If the annotation is not present then all TCP ports use the TCP PROXY protocol. Has no effect on UDP ports. The ports must be specified as a comma separated list, for example “8080,80” for ports 8080 and 80. |
lb.stackit.cloud/tcp-idle-timeout | If unset, the default is “1h” (1 hour). | Defines the idle timeout for all TCP ports (including ports that use the PROXY protocol). The value must include a valid unit (like “s”, “m”, “h”). For a timeout of 5 minutes 30 seconds, set “5m30s”. |
lb.stackit.cloud/udp-idle-timeout | If unset, the default is “2m” (2 minutes). | Defines the idle timeout for all UDP ports. The value must include a valid unit (like “s”, “m”, “h”). For a timeout of 5 minutes 30 seconds, set “5m30s”. |
lb.stackit.cloud/external-address | none | Refer to an existing public IP for the load balancer by specifying the IP address, for example “198.51.100.17”. When specified, it is used instead of an ephemeral IP. The user must create this IP, and it persists even after service deletion. However, this annotation is ignored for internal load balancers. If this annotation is set post-creation of the service, it must match the assigned used ephemeral IP. The ephemeral IP will be promoted to a static IP that persists even after service deletion. |
lb.stackit.cloud/service-plan-id | ”p10” | Defines the service plan for the load balancer. |
lb.stackit.cloud/ip-mode-proxy | ”false” | If true, the load balancer will be reported to Kubernetes as a proxy (in the service status). This causes connections to the load balancer IP that come from within the cluster to be routed through the load balancer, rather than directly to a target pod. Requires Kubernetes v1.30. The annotation has no effect on earlier versions. Recommended in combination with the TCP PROXY protocol, to ensure that connection from within the cluster also use the PROXY protocol. See Load Balancer IP Mode for more details. |
lb.stackit.cloud/session-persistence-with-source-ip | ”false” | When set to true, all connections from the same source IP are consistently routed to the same target. This setting changes the load balancing algorithm to Maglev. Note, this only works reliably when externalTrafficPolicy: Local is set on the Service, and each node has exactly one backing pod. Otherwise, session persistence may break. |
Limit source IP ranges
Section titled “Limit source IP ranges”To restrict access to specific IP ranges, set spec.loadBalancerSourceRanges on the Service. If the load balancer should be reachable from inside the cluster, include the cluster’s podCIDR in the allowed ranges.
The podCIDR can be found in the shoot-info ConfigMap within the kube-system namespace:
kubectl get configmap -n kube-system shoot-info -oyamlService plans and flavors
Section titled “Service plans and flavors”Service plans let you vertically scale the load balancer. Configure the plan via the lb.stackit.cloud/service-plan-id annotation on the Service. If omitted, plan p10 is used by default.
| Plan | Type | vCPU | Memory (GB) | Region |
|---|---|---|---|---|
| p10 | High availability (HA), active/passive, 2 VMs | 1 | 1 | EU01 |
| p50 | High availability (HA), active/passive, 2 VMs | 4 | 4 | EU01 |
| p250 | High availability (HA), active/passive, 2 VMs | 8 | 8 | EU01 |
| p750 | High availability (HA), active/passive, 2 VMs | 16 | 16 | EU01 |
Examples
Section titled “Examples”The examples below demonstrate common SKE load balancer configurations, so you can quickly tailor behavior to your application.
Internal load balancers
Section titled “Internal load balancers”By default, Services of type LoadBalancer receive a public IP. To create an internal load balancer that lives in the Kubernetes nodes network, add the corresponding annotation to the Service, as shown below:
apiVersion: v1kind: Servicemetadata: annotations: lb.stackit.cloud/internal-lb: "true" name: my-internal-servicespec: selector: app: MyApp ports: - protocol: TCP port: 80 targetPort: 8080 type: LoadBalancerLimit access by source IP
Section titled “Limit access by source IP”Use spec.loadBalancerSourceRanges to restrict which source IP ranges can access the load balancer. For example, to allow only 123.123.123.0/24, configure the Service as follows:
apiVersion: v1kind: Servicemetadata: annotations: name: my-sourcerange-servicespec: selector: app: MyApp ports: - protocol: TCP port: 80 targetPort: 8080 loadBalancerSourceRanges: - 123.123.123.0/24 type: LoadBalancerTo reach the load balancer from within the cluster, include the cluster podCIDR (for example, 10.96.0.0/11) in loadBalancerSourceRanges. Retrieve the podCIDR from the shoot-info ConfigMap:
kubectl describe configmap -n kube-system shoot-infoTCP PROXY protocol
Section titled “TCP PROXY protocol”To propagate client IPs to Pods, enable the PROXY protocol v2.
To enable the PROXY protocol support, set the following annotation on your Kubernetes Service object:
apiVersion: v1kind: Servicemetadata: annotations: lb.stackit.cloud/tcp-proxy-protocol: "true" name: my-proxy-servicespec: selector: app: MyApp ports: - protocol: TCP port: 80 targetPort: 8080 type: LoadBalancerChange the service plan
Section titled “Change the service plan”To provision a STACKIT Network Load Balancer with more resources (for example, 4 vCPU and 4 GB RAM), select a higher service plan via the annotation:
apiVersion: v1kind: Servicemetadata: annotations: lb.stackit.cloud/service-plan-id: p50 name: my-servicespec: selector: app: MyApp ports: - protocol: TCP port: 80 targetPort: 8080 type: LoadBalancerEnable session persistence
Section titled “Enable session persistence”To enable session persistence, add the lb.stackit.cloud/session-persistence-with-source-ip annotation as shown below:
apiVersion: v1kind: Servicemetadata: annotations: lb.stackit.cloud/session-persistence-with-source-ip: "true" name: my-servicespec: selector: app: MyApp ports: - protocol: TCP port: 80 targetPort: 8080 type: LoadBalancer externalTrafficPolicy: LocalThis works reliably only when externalTrafficPolicy: Local is set on the Service and each node has exactly one backing Pod. Otherwise, session persistence may break.