Creating images
Last updated on
Introduction
Section titled “Introduction”STACKIT Edge Cloud (STEC) provides you with an image for a supported platform. After you create the image, you are responsible for delivering it to your target system using a medium of your choice. This requires you to perform some preparation work to use the image in your specific setup.
The following sections describe the process for creating an image for the most common target platforms. If you need more specific information for your target system, refer to the official Talos documentation, which is linked in the references.
Concepts
Section titled “Concepts”In the context of a bootable operating system, an image and a medium represent two distinct stages in the OS deployment process: the data format and the physical carrier that makes the data executable by hardware.
An image is a complete digital copy of the file system structure used for OS installation or booting. It contains:
- Bootloaders (necessary to start the system)
- OS system files
- Additional setup tools (for installations or recovery environments)
However, an image file is not directly bootable by most hardware—it must be placed on a bootable medium first.
Medium
Section titled “Medium”A medium is the physical or virtual storage device that actually allows a computer to boot from the image. It can be:
- A USB flash drive or DVD into which the image has been written or “burned”
- A virtual drive used by a hypervisor (for virtual machines)
Creating an image
Section titled “Creating an image”You can create an image using the STACKIT Edge Cloud (STEC) UI or API.
Prerequisites
Before you begin, you need the following:
- Authenticated access to a STEC instance.
Steps
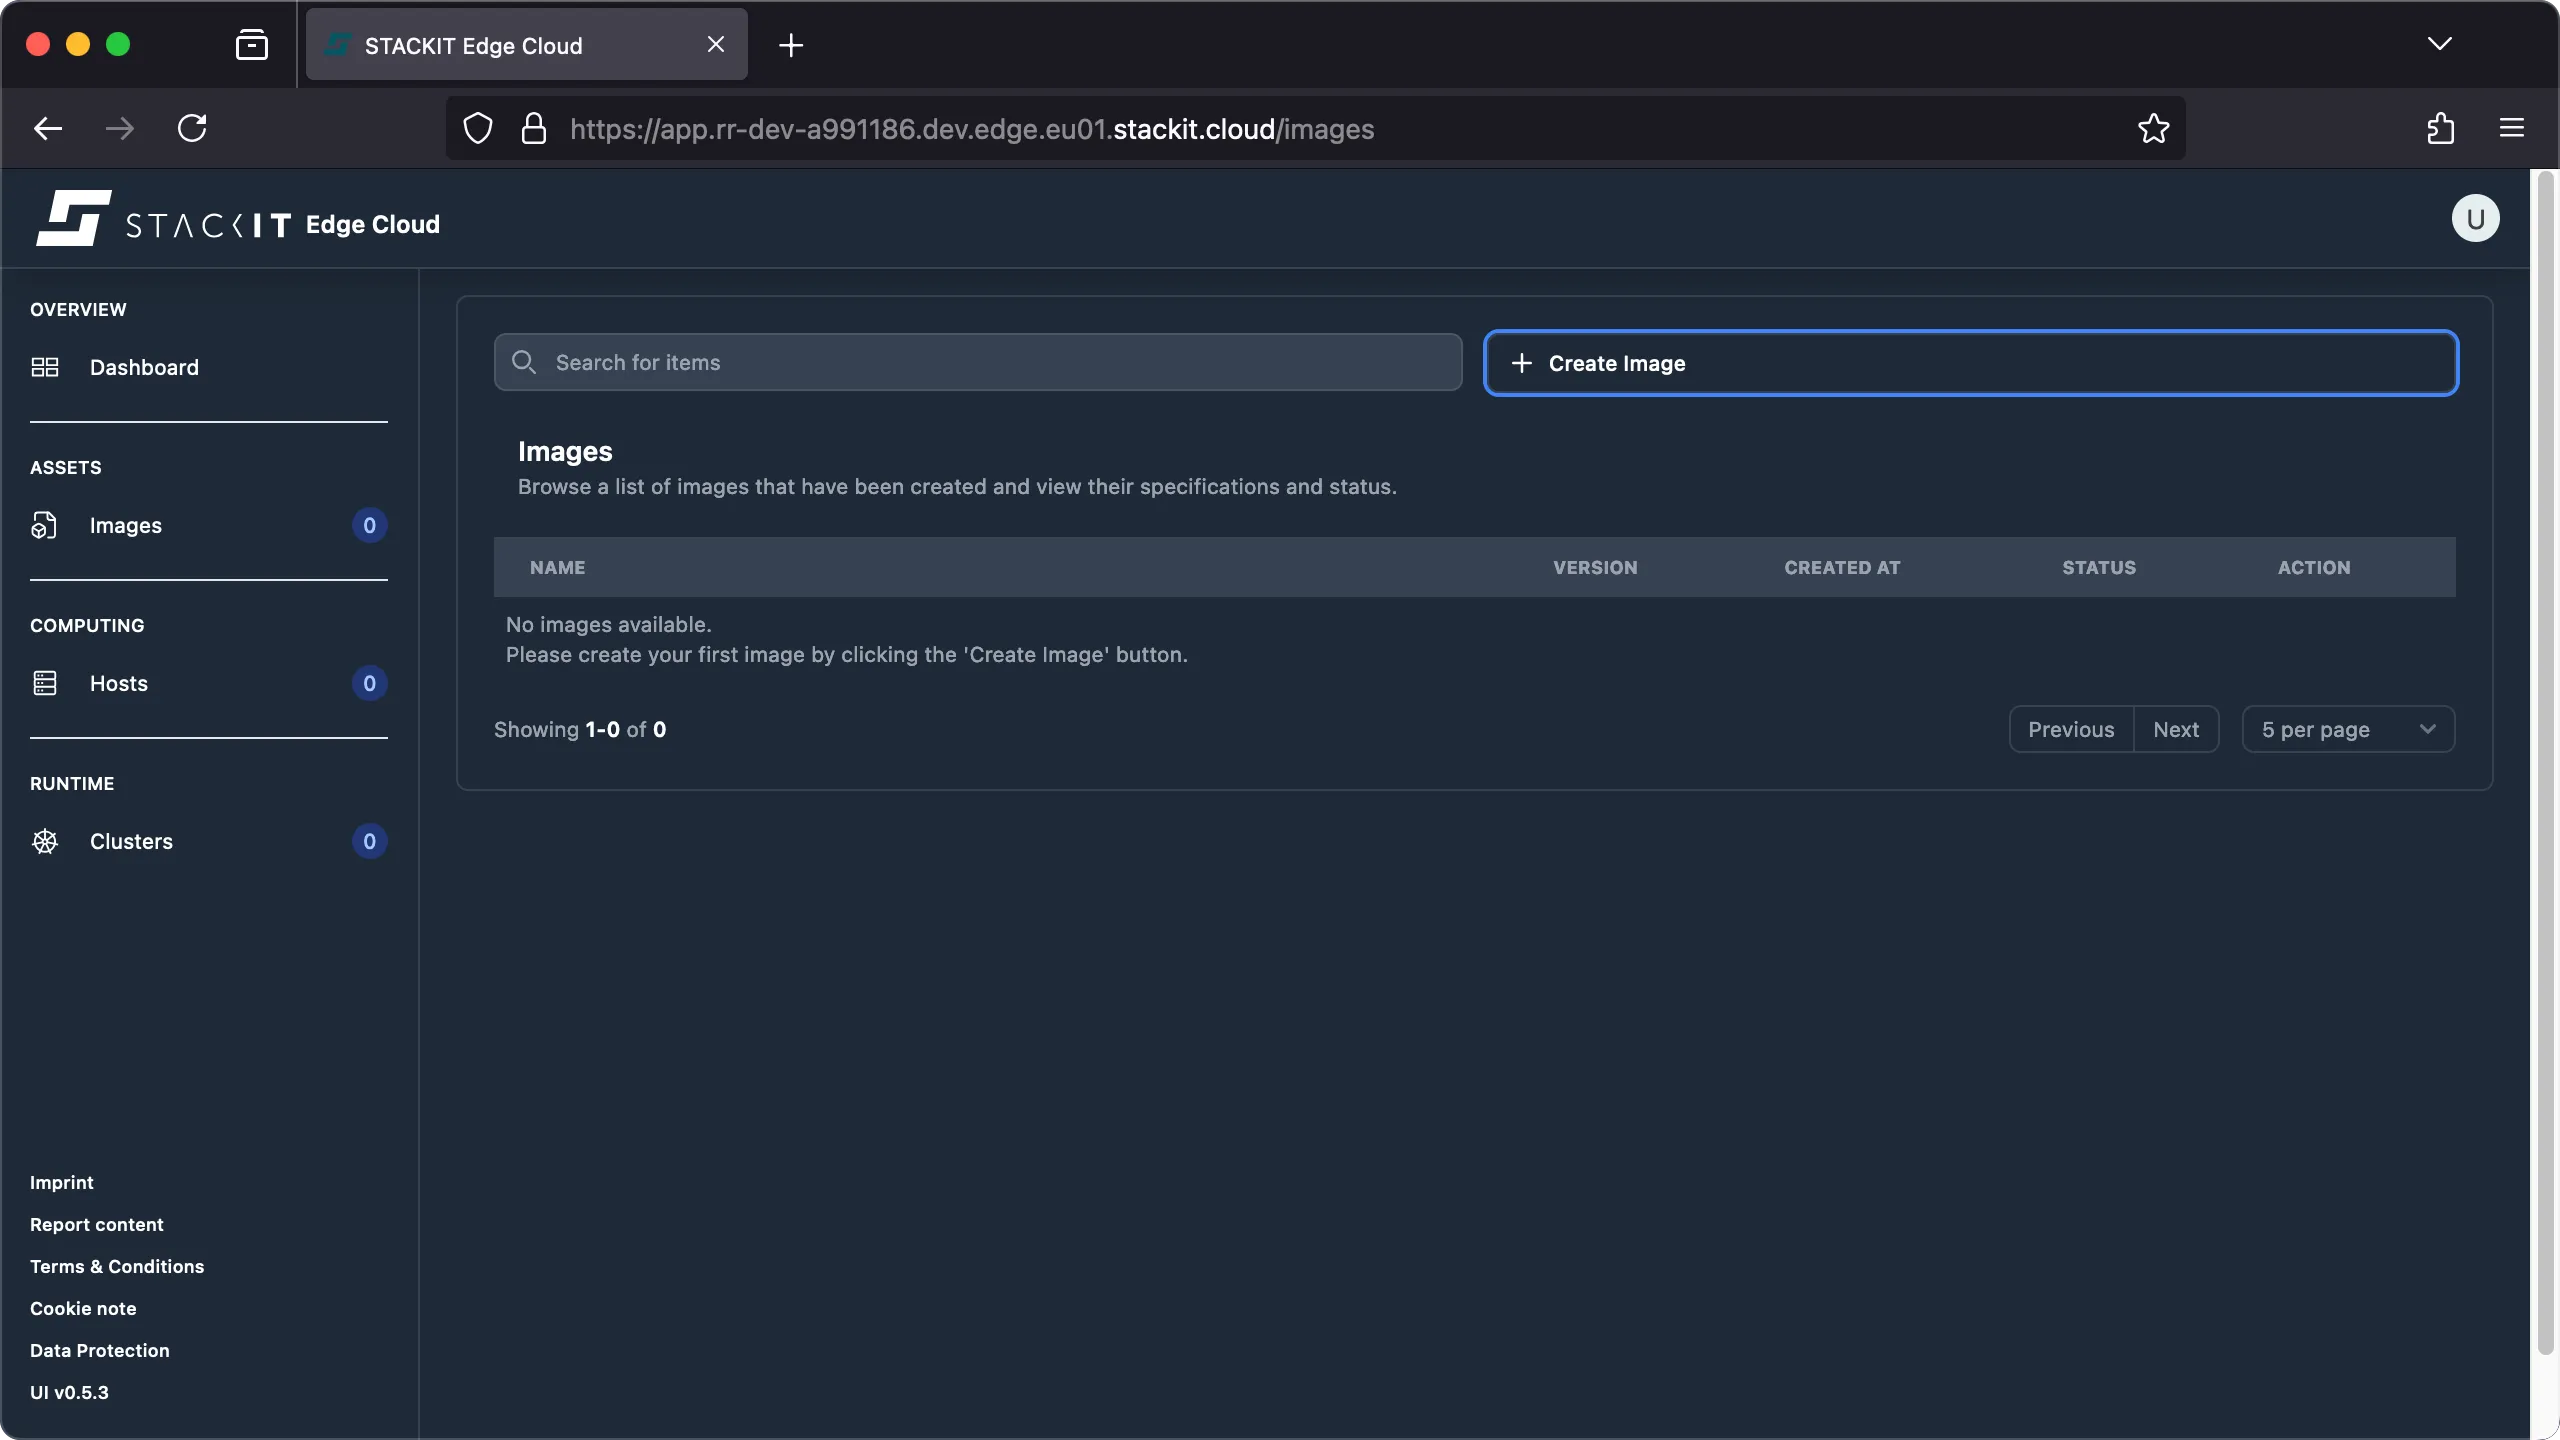
-
In the Images section of the UI, click “Create Image”.
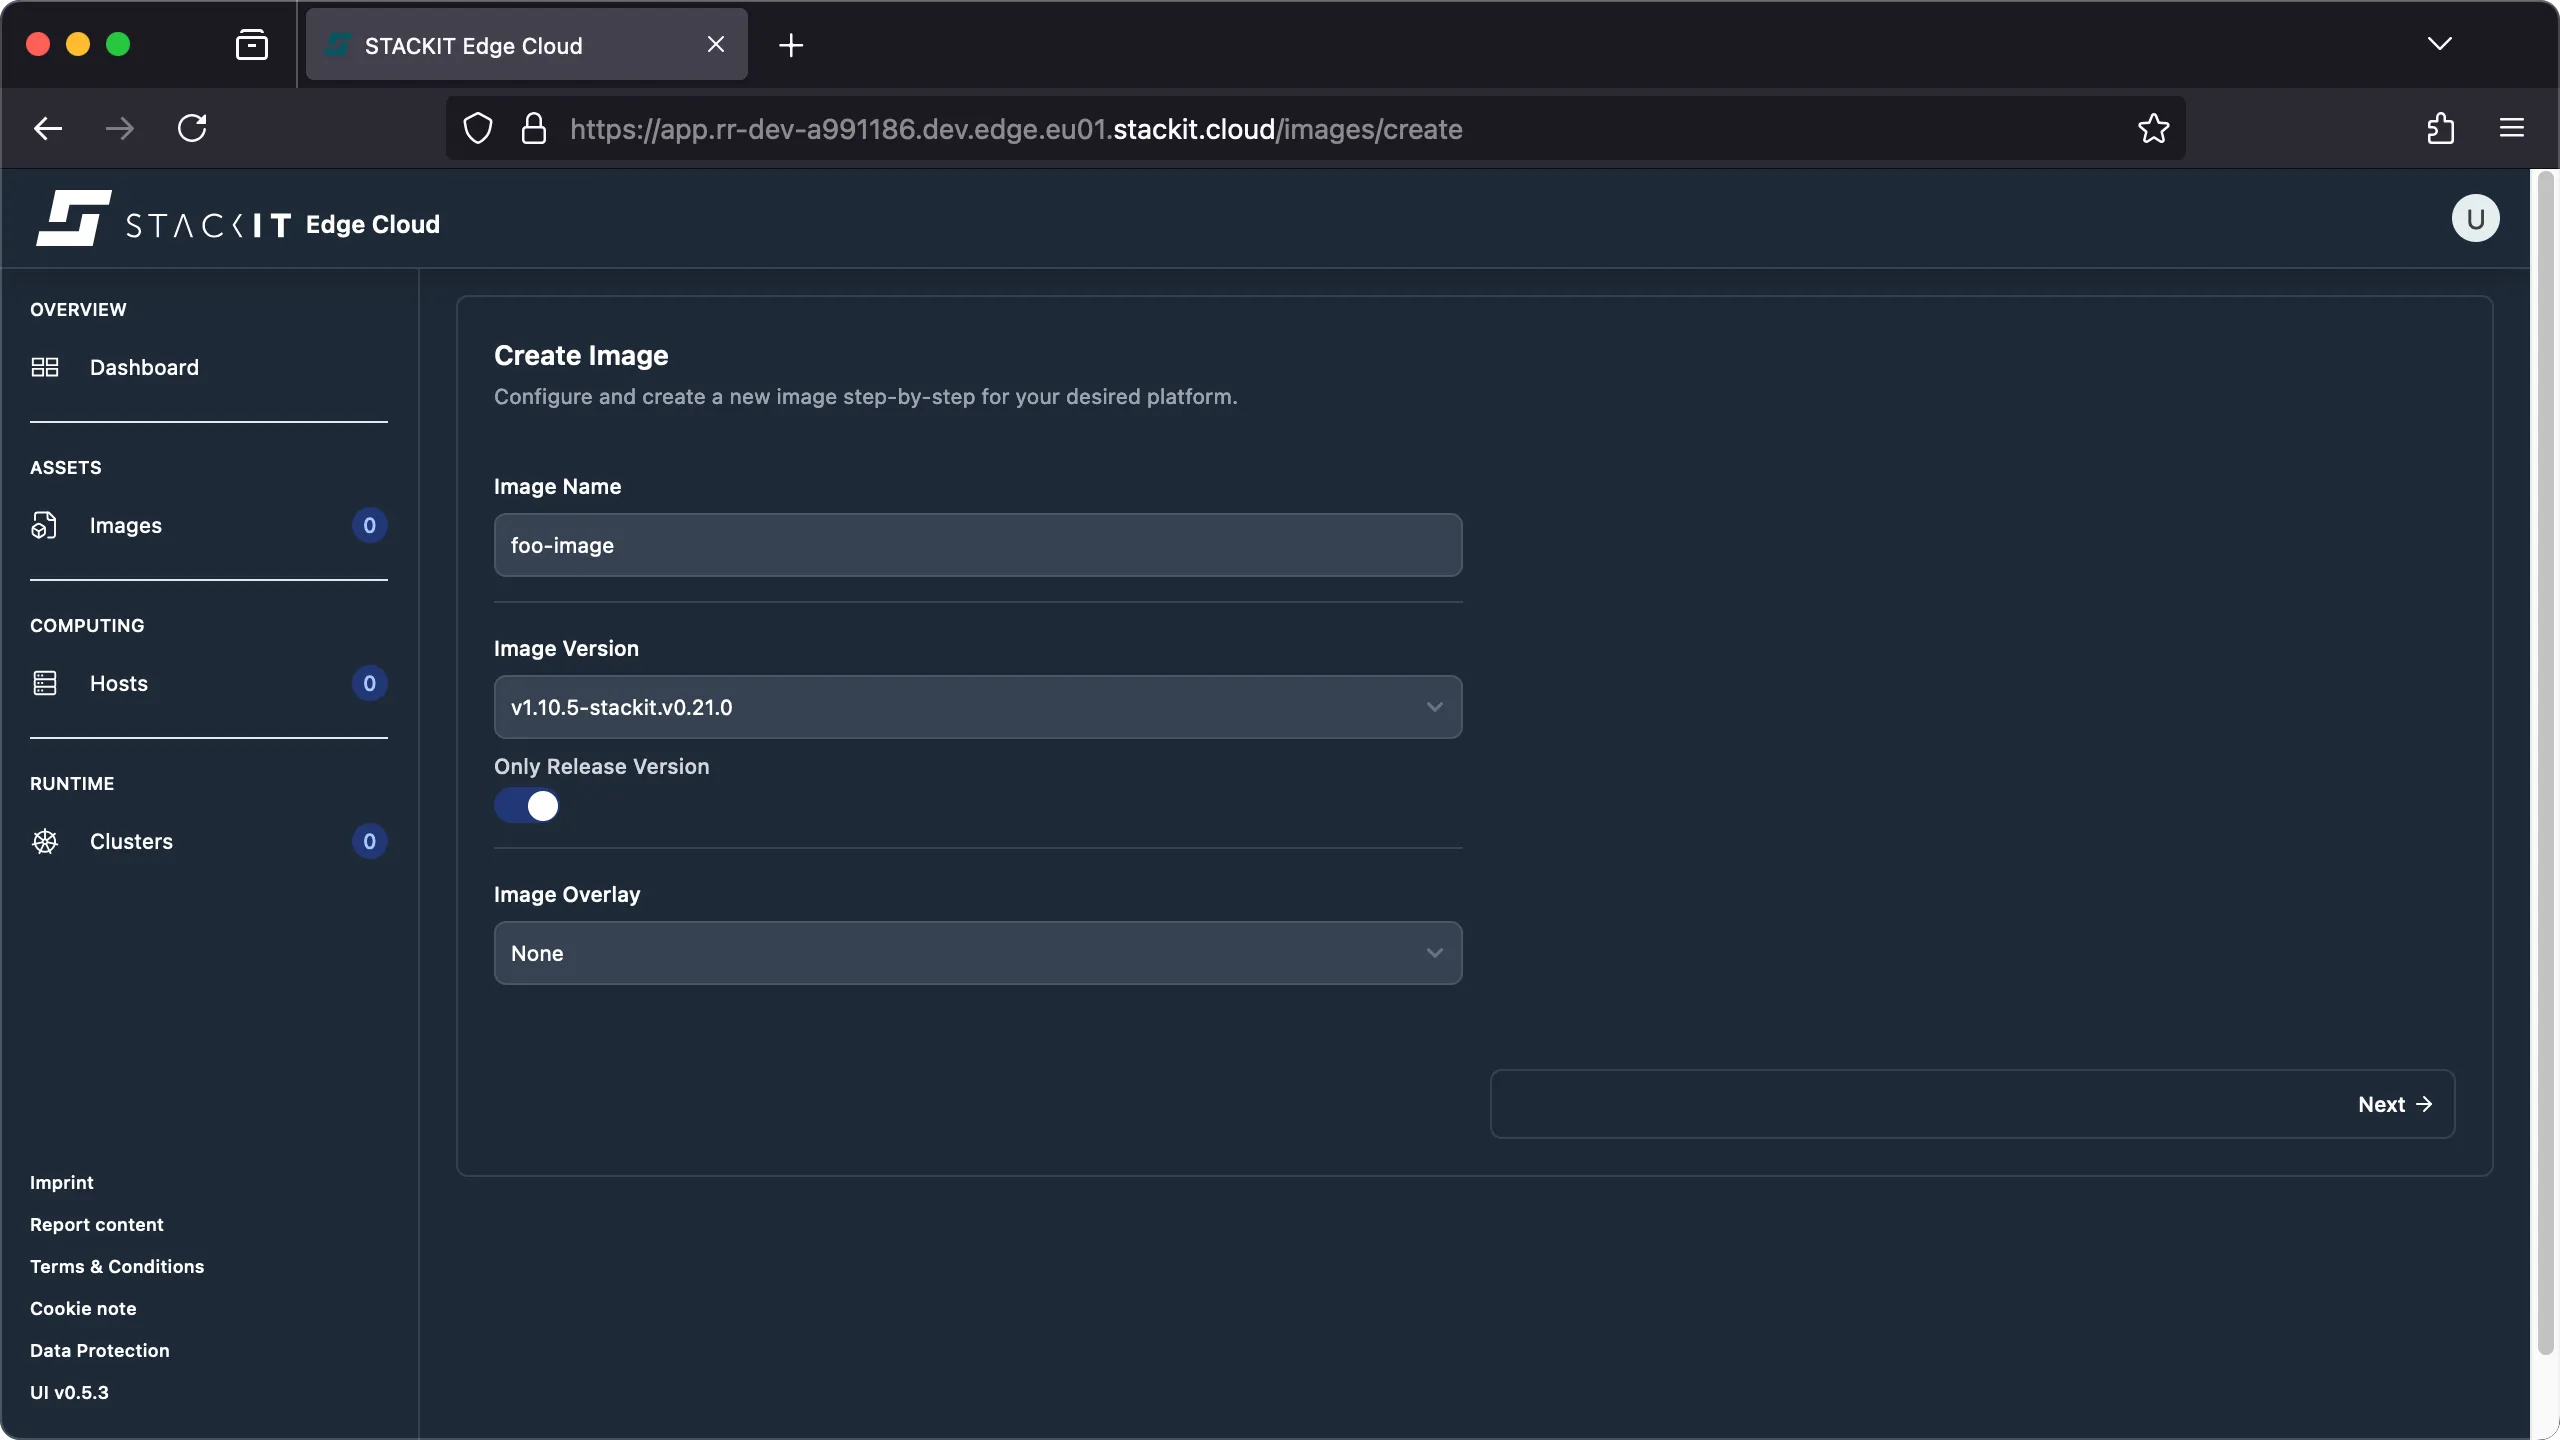
-
Enter a name for the image, select an image version, choose an optional image overlay, and then click “Next”.
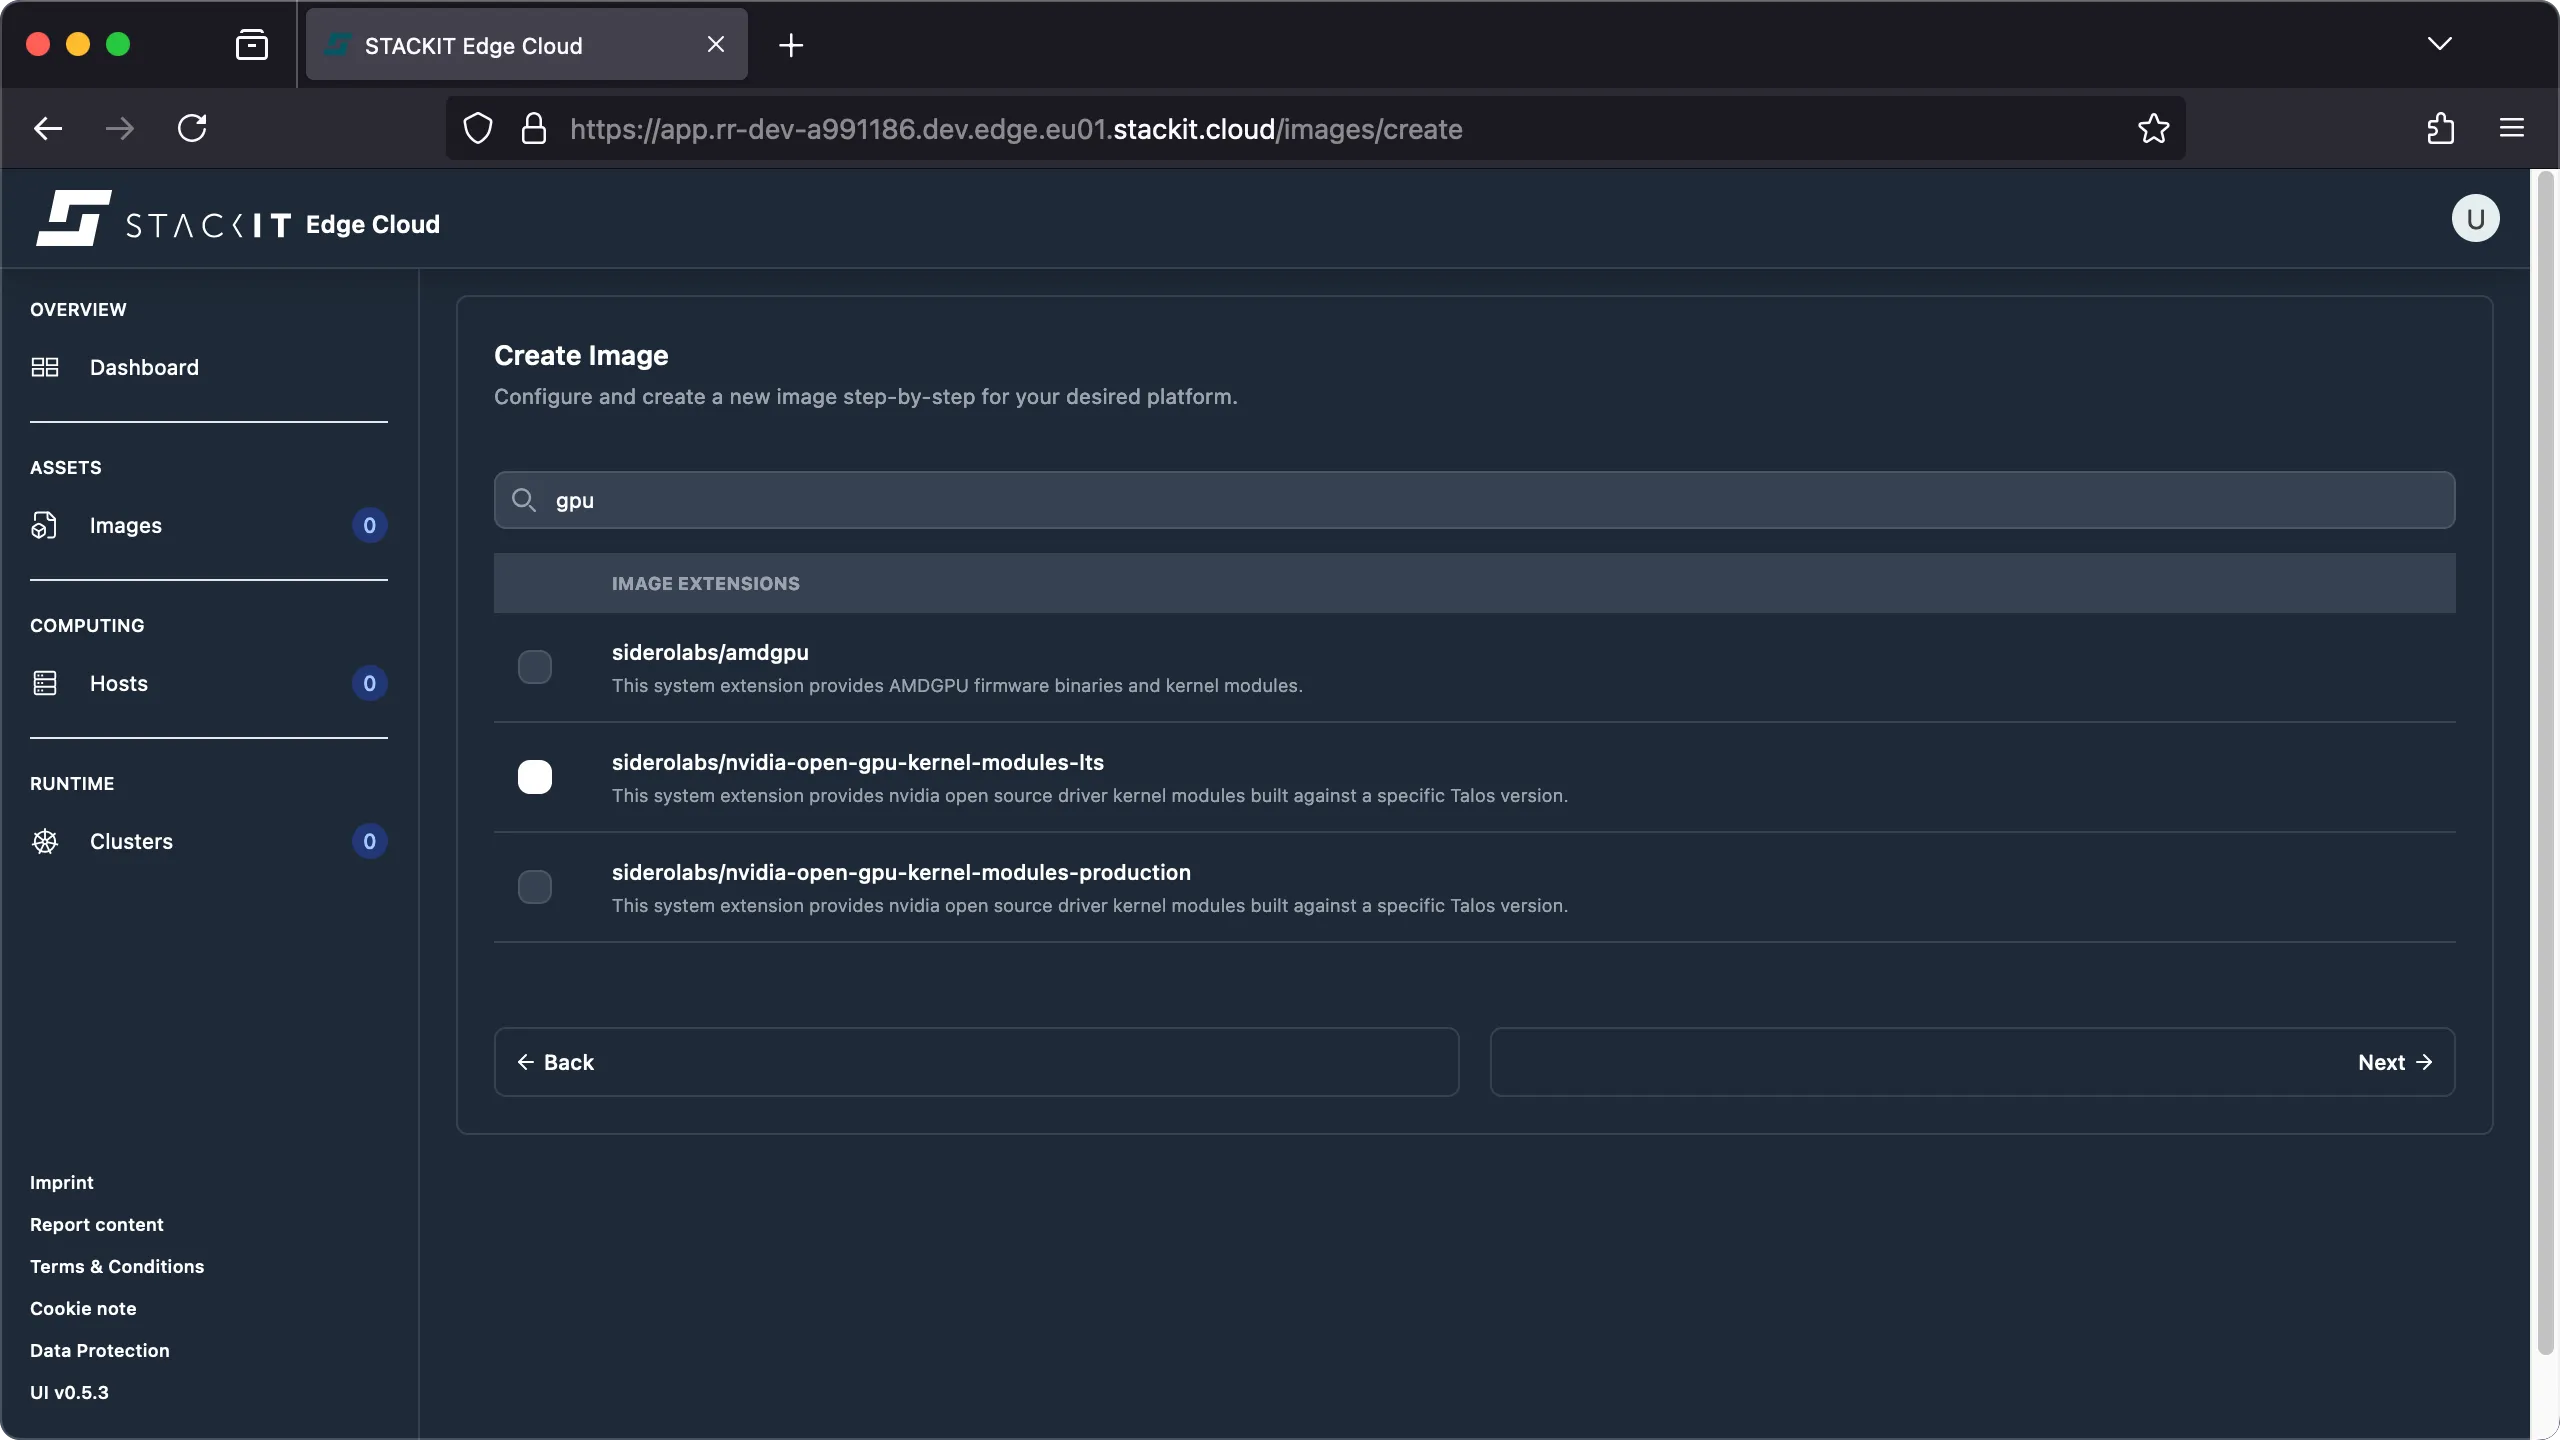
-
Select optional image extensions you require and click “Next”.
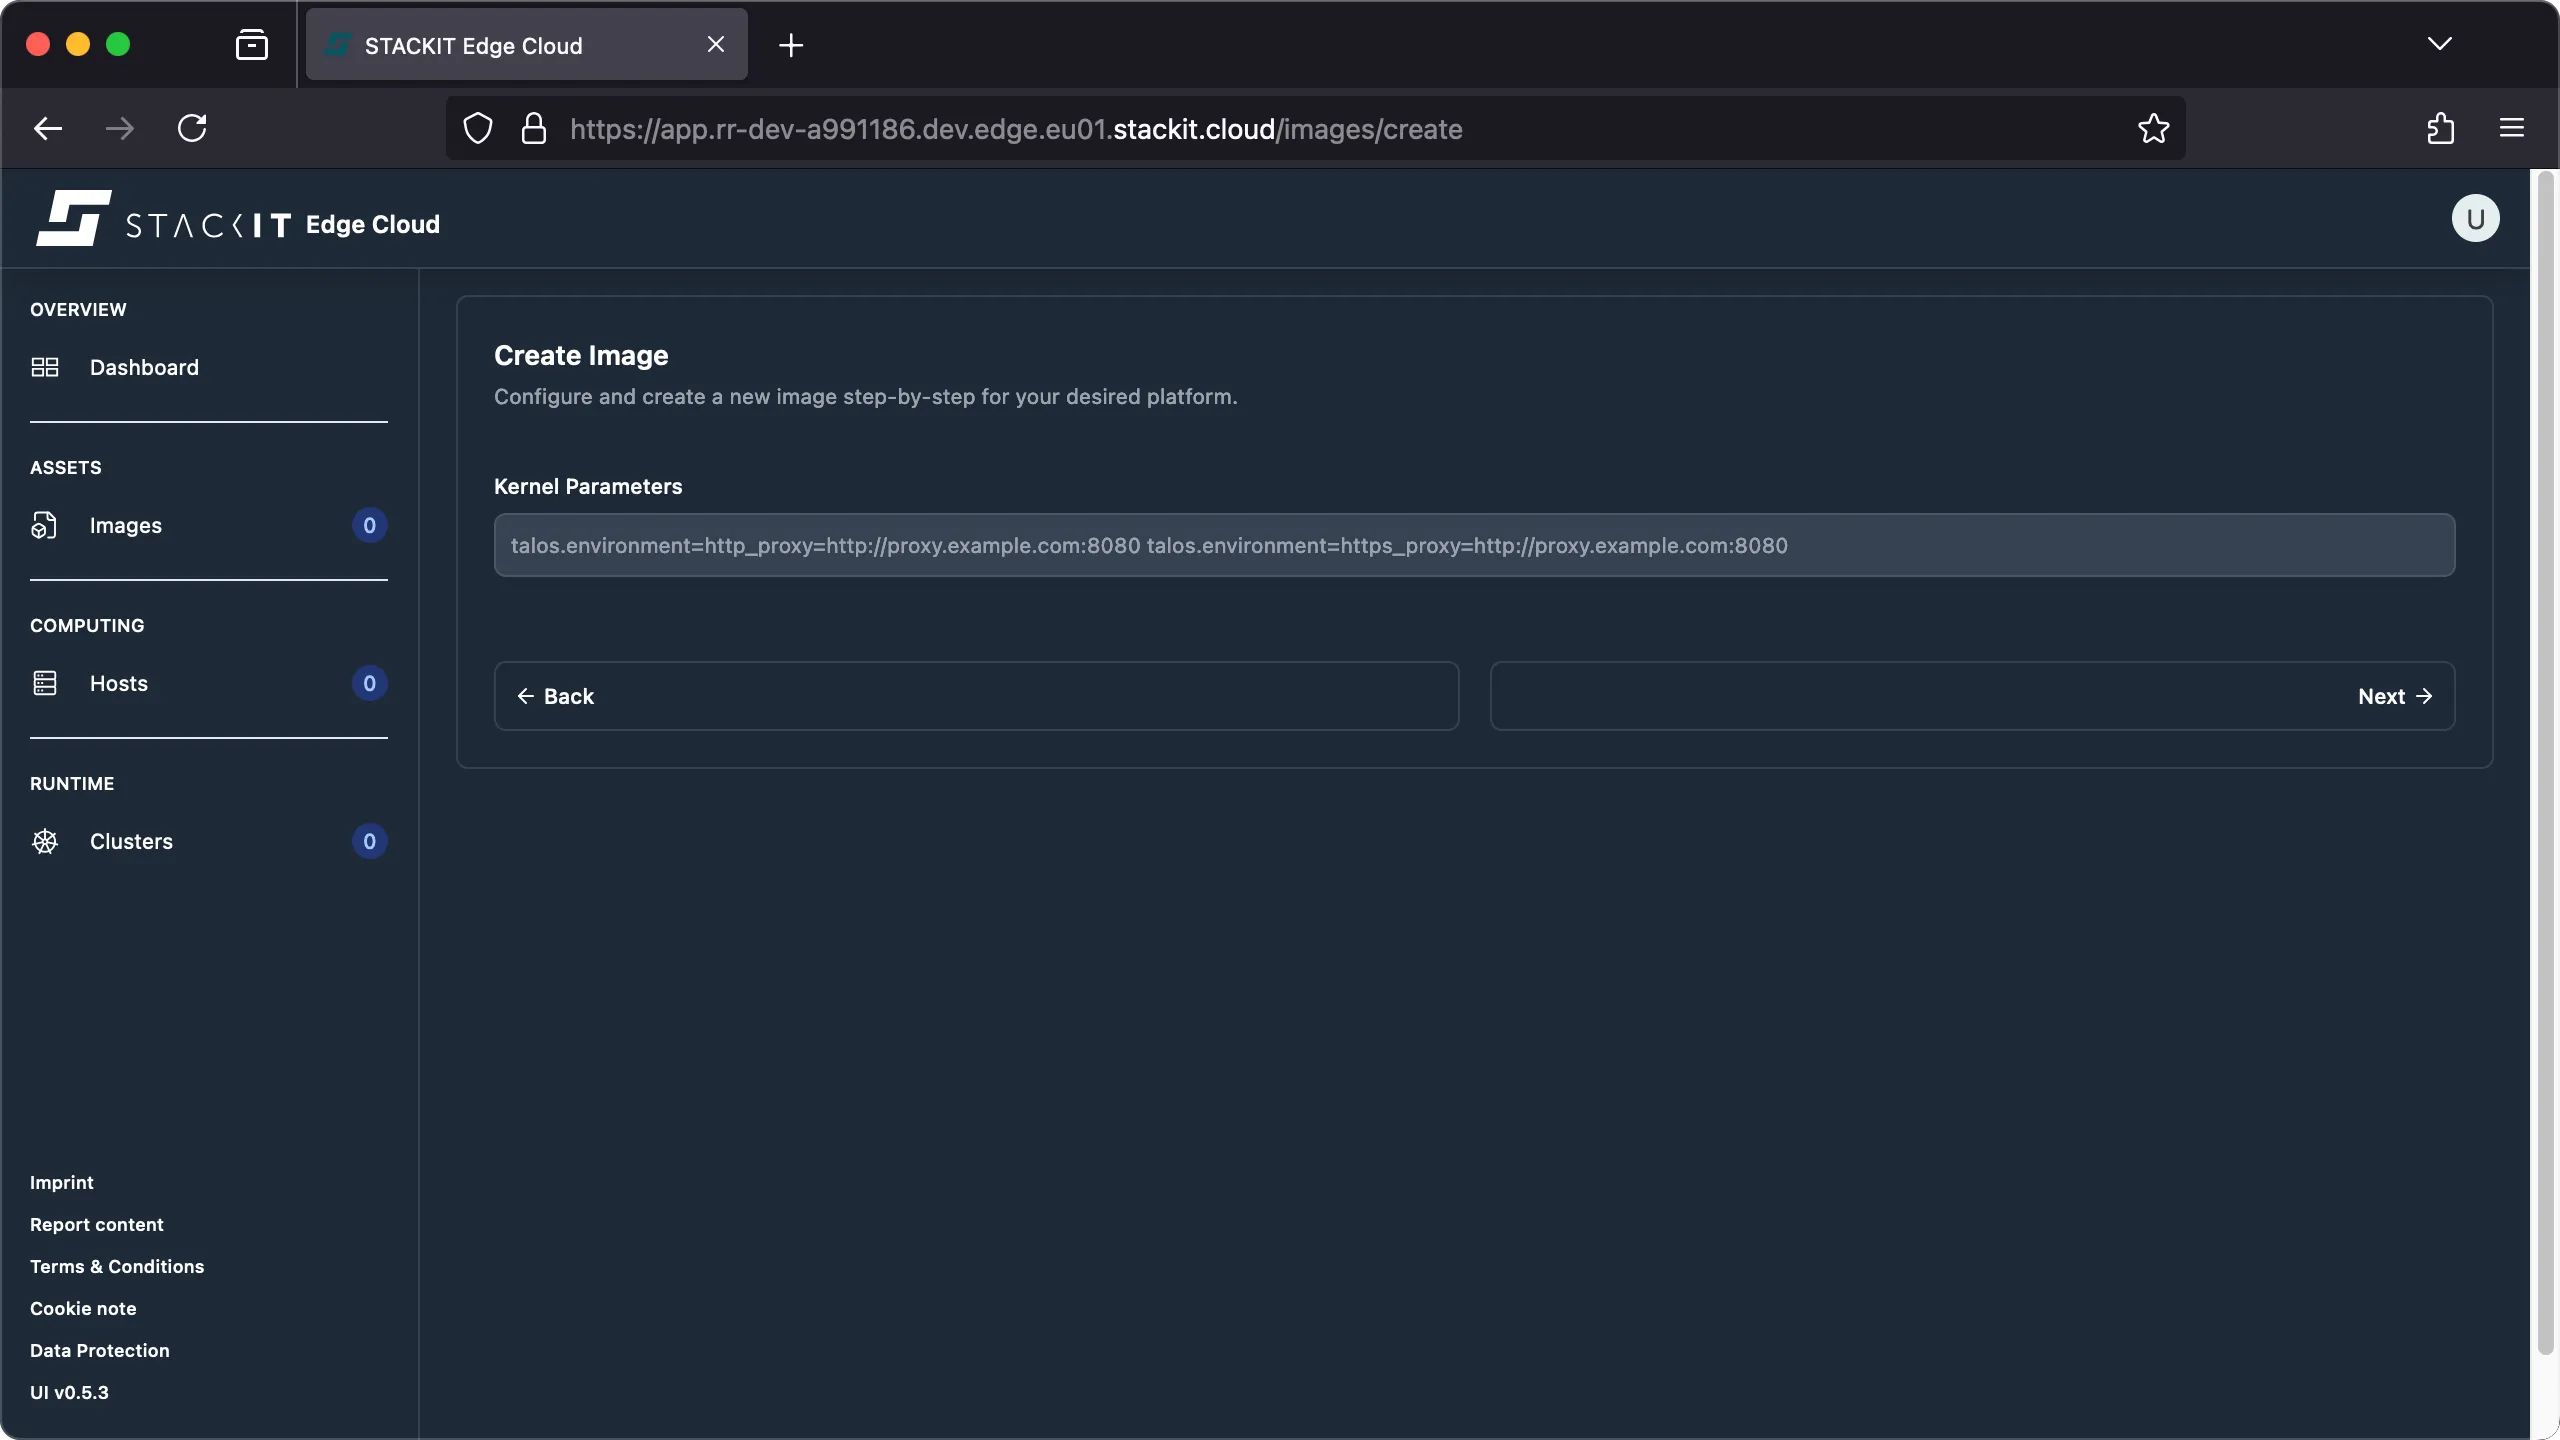
-
Enter optional kernel parameters for boot customization and click “Next”.
-
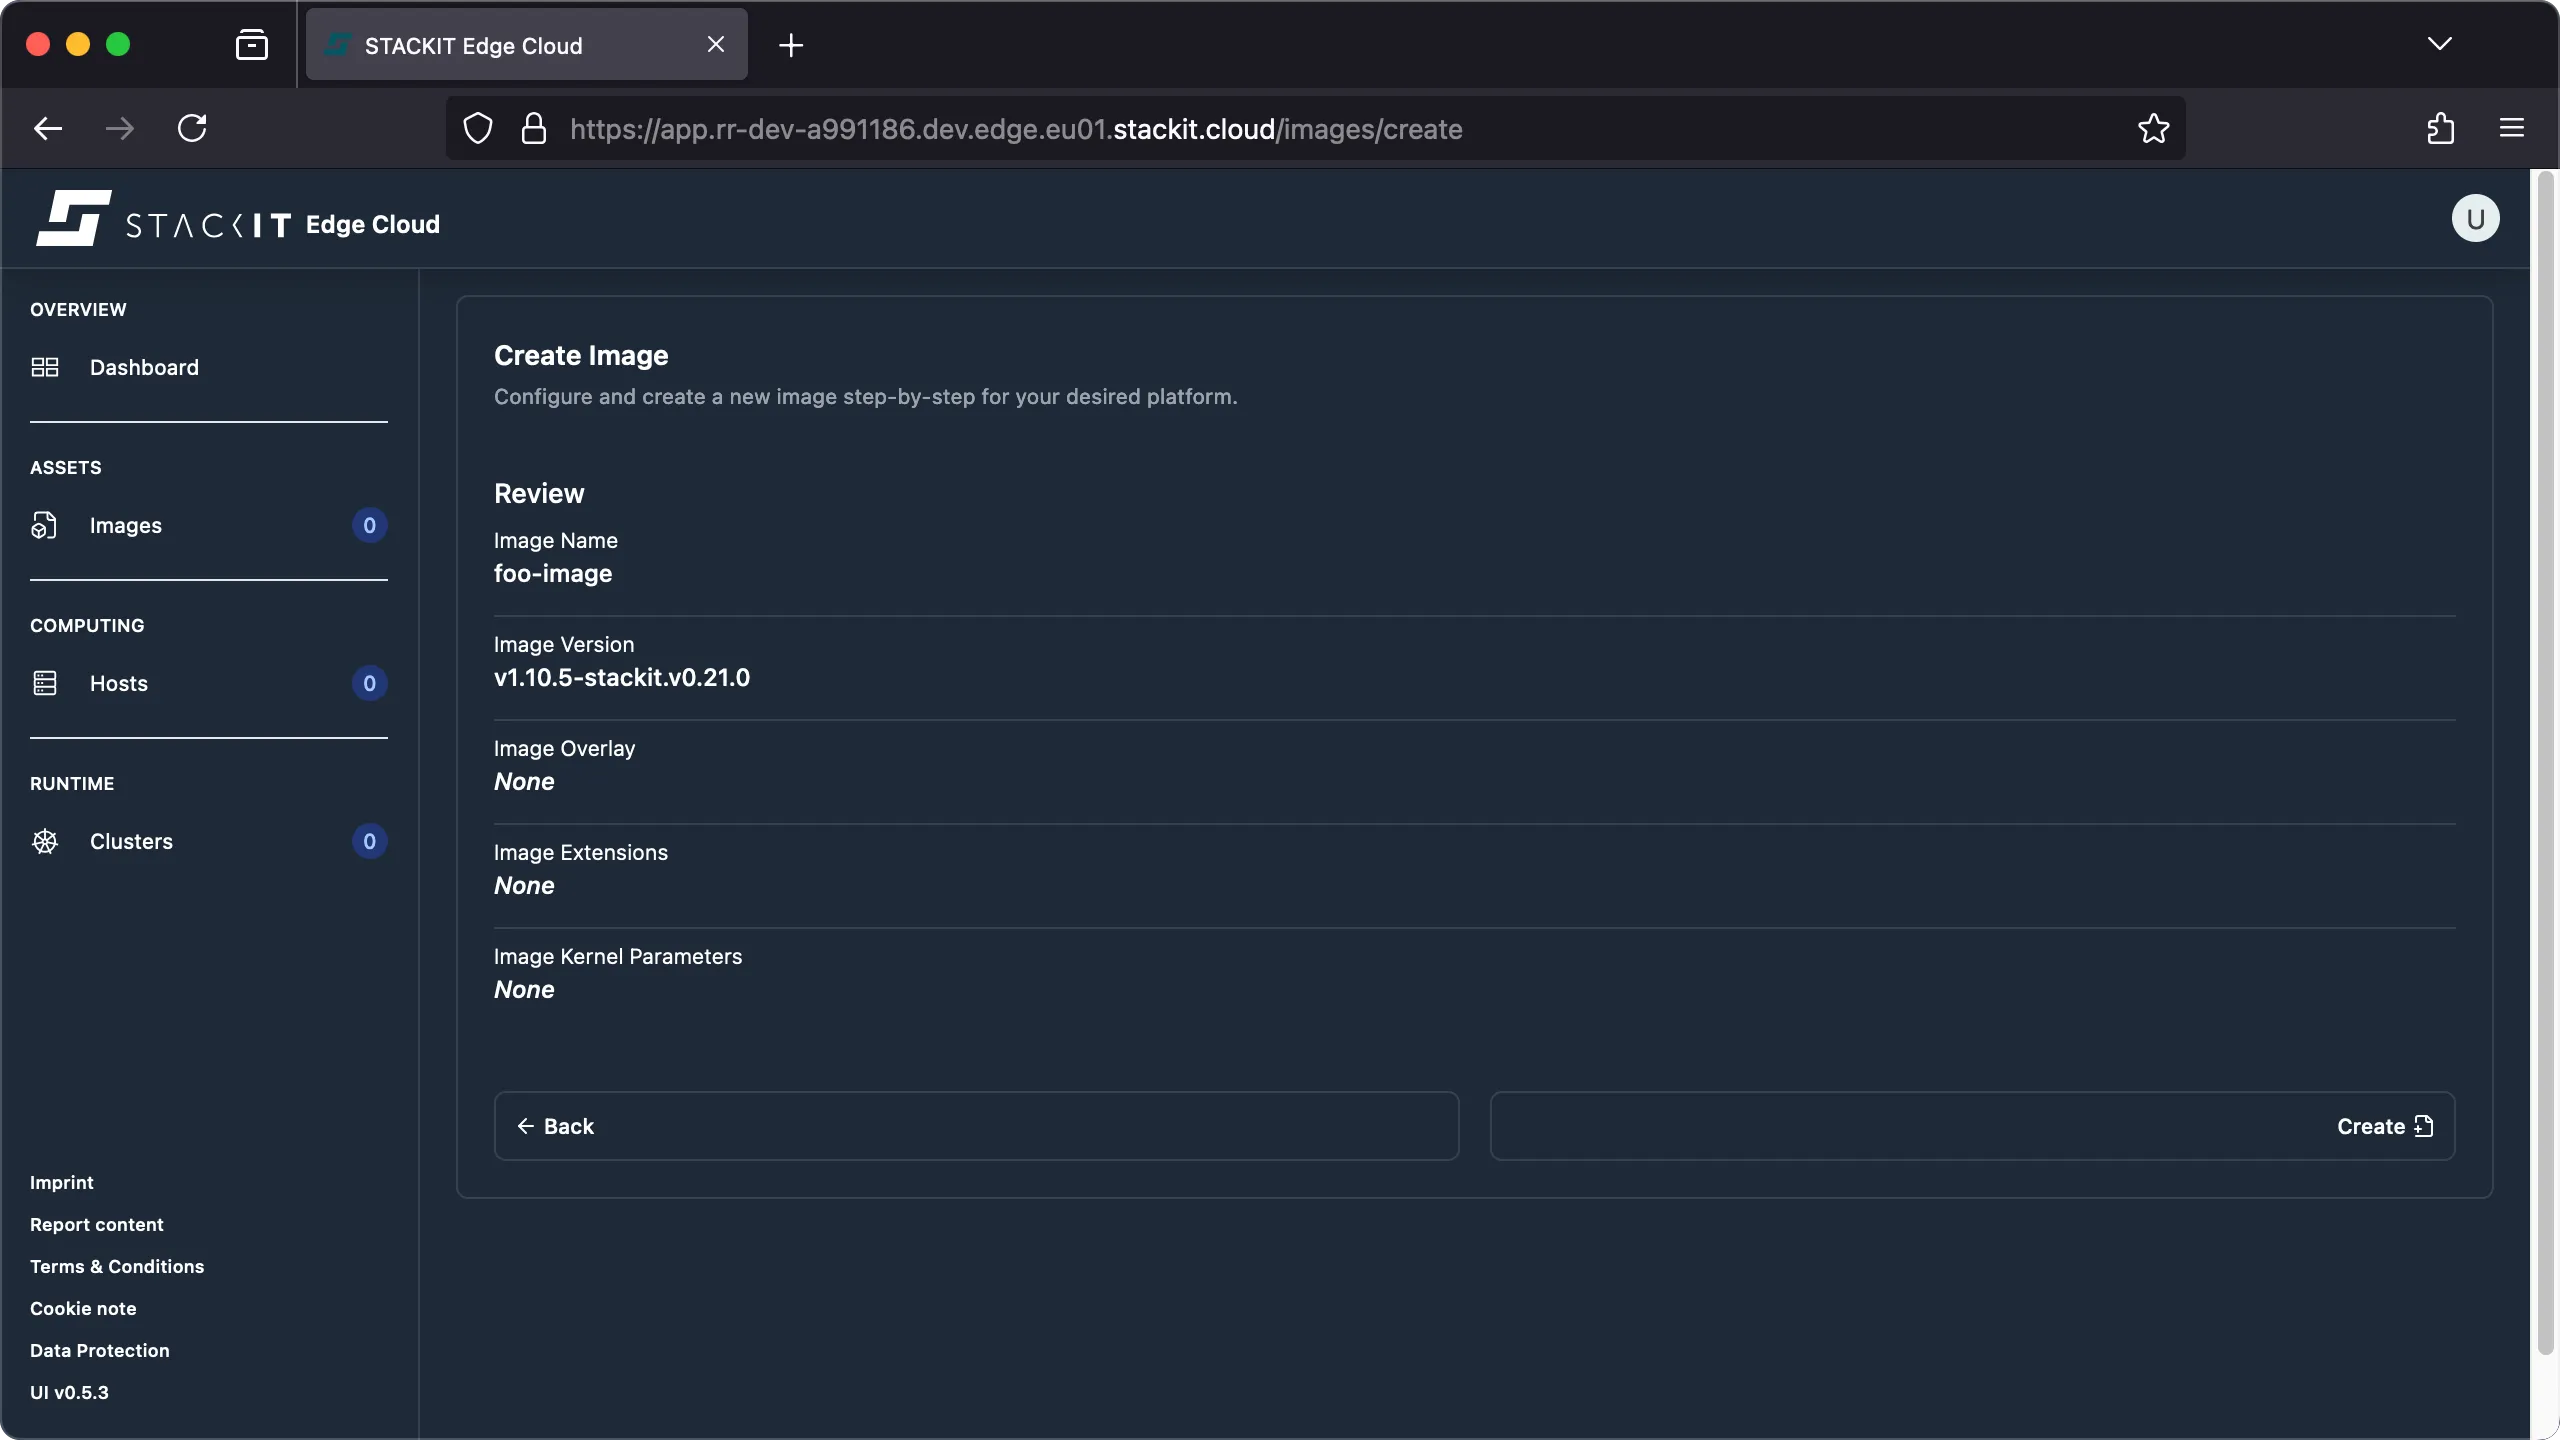
Review your image configuration to verify that it is correct, then click “Create”.
-
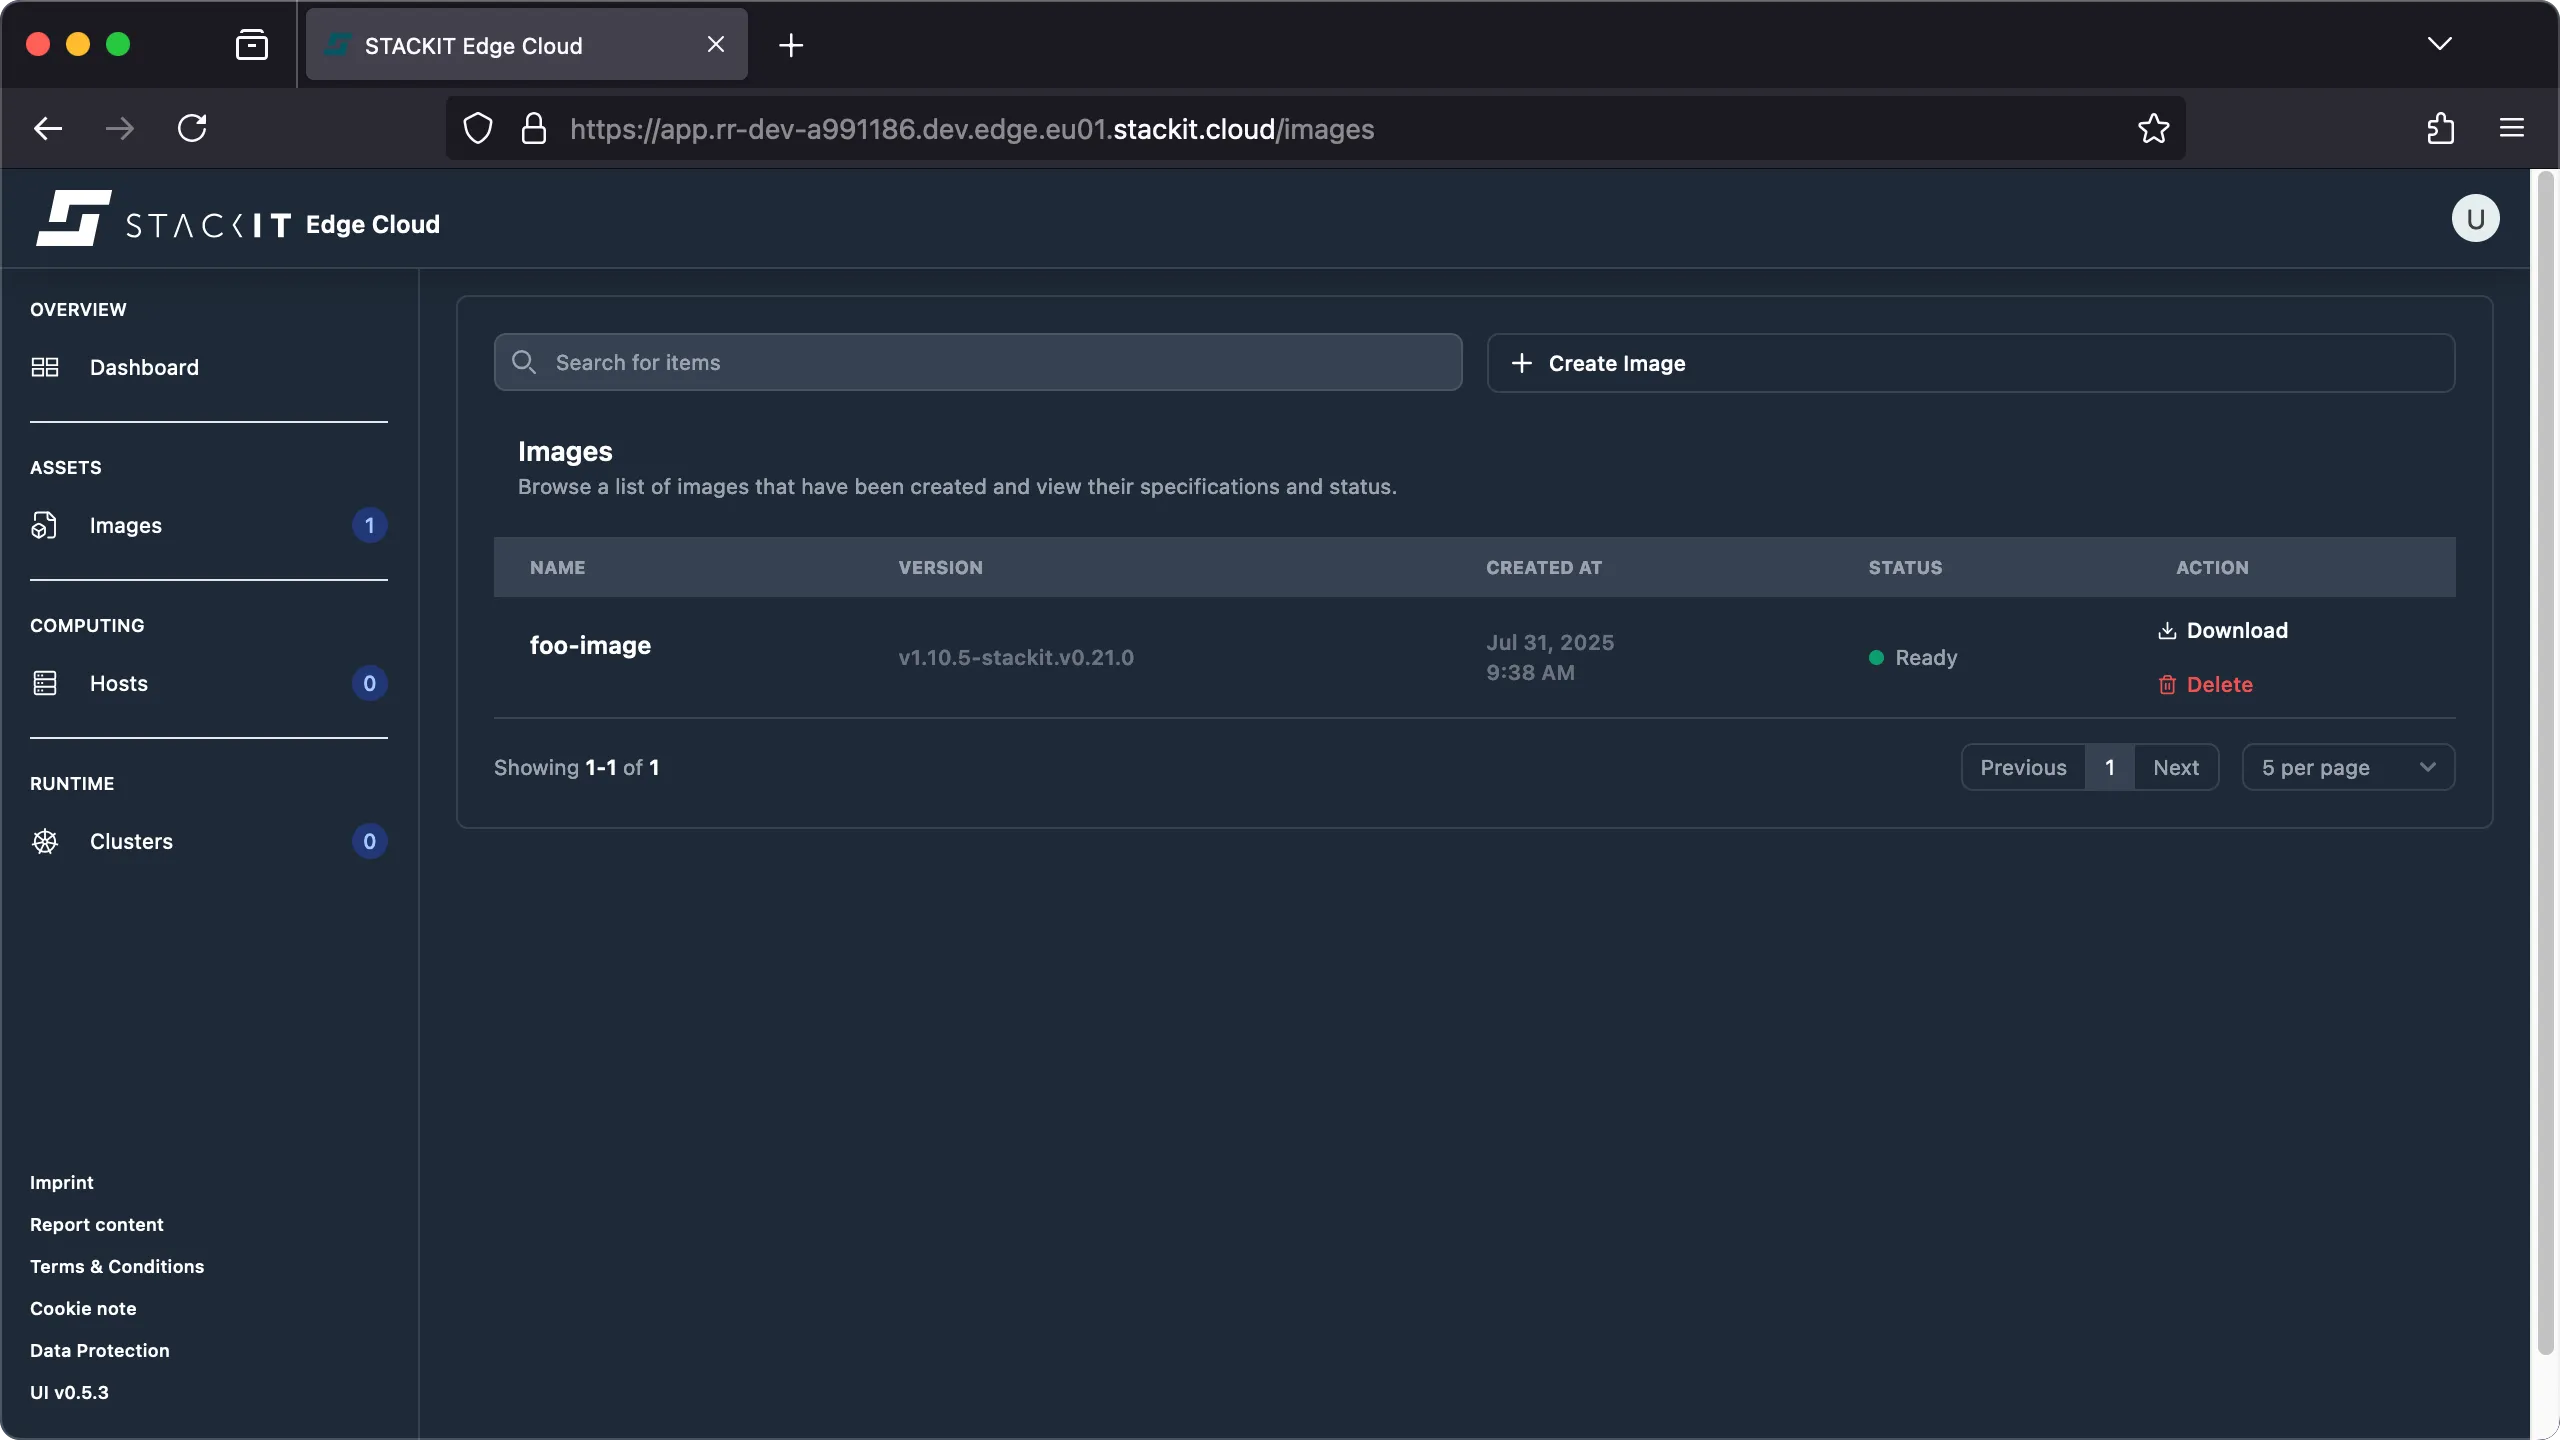
Your new image is created and now appears in the Images list.
Prerequisites
Before you begin, you need the following:
- Authenticated access to a STEC instance.
- The kubeconfig for the STEC instance exported in your terminal session.
- Tools: A generic Linux bash terminal with
kubectl.
Steps
-
Verify the currently available images of your STEC instance
Terminal window > kubectl api-resources --api-group=edge.stackit.cloudNAME SHORTNAMES APIVERSION NAMESPACED KINDbootstrapkubeconfigs edge.stackit.cloud/v1alpha1 true BootstrapKubeconfigedgeclusters edge.stackit.cloud/v1alpha1 true EdgeClusteredgehosts edge.stackit.cloud/v1alpha1 true EdgeHostedgeimages edge.stackit.cloud/v1alpha1 true EdgeImageedgeimageschematics edge.stackit.cloud/v1alpha1 true EdgeImageSchematicedgemachines edge.stackit.cloud/v1alpha1 true EdgeMachineupgradeplans edge.stackit.cloud/v1alpha1 true UpgradePlan> kubectl get edgeimages.edge.stackit.cloud> kubectl explain EdgeImage.spec --recursive -
Create a
EdgeImagemanifest file. The schematic is defined by the chosentalosVersion.Terminal window cat << EOL > foo.yamlapiVersion: edge.stackit.cloud/v1alpha1kind: EdgeImagemetadata:name: foo-imagenamespace: defaultspec:schematic: |customization:extraKernelArgs: []systemExtensions:officialExtensions: []overlay: {}talosVersion: vx.y.z-stackit.vX.Y.ZEOL -
Apply the created manifest to create a new image. The
schematicIdpoints to the specified configuration. When you upgrade a host created from this image, STEC uses theschematicIdto build an updated image with the exact same configuration, including any selected extensions.Terminal window > kubectl apply -f foo.yaml> kubectl get EdgeImageNAME AGEfoo-image 1m> kubectl describe EdgeImage/foo-imageName: foo-imageNamespace: defaultAPI Version: edge.stackit.cloud/v1alpha1Kind: EdgeImage[...]Spec:Schematic:customization:extraKernelArgs: []systemExtensions:officialExtensions: []overlay: {}Talos Version: v1.10.5-stackit.v0.21.0Status:Artifacts:Artifacts:Architecture: amd64URL: https://image-factory.edge.eu01.stackit.cloud/image/9deb[...]4599/v1.10.5-stackit.v0.21.0/metal-amd64.isoArchitecture: arm64URL: https://image-factory.edge.eu01.stackit.cloud/image/9deb[...]4599/v1.10.5-stackit.v0.21.0/metal-arm64.isoType: iso[...]Ready: trueSchematic Id: 9deb[...]4599
You can further customize your image with several optional, platform-specific settings. To learn more about these advanced options, see the advanced user guide:
You can get a list of all available image versions, overlays or extensions by querying the STACKIT Edge Cloud (STEC) image factory API. The following example shows how to retrieve a list of all available Talos images.
get available images
> INSTANCE_REGION="eu01"> curl https://image-factory.edge.$INSTANCE_REGION.stackit.cloud/versions[ "v1.10.5-stackit.v0.20.0", "v1.10.5-stackit.v0.21.0", "..."]You can reuse a single image to boot multiple hosts, but be aware that all hosts will share the exact same configuration. Do not clone an existing VM or VM disk. Cloning can change the VM’s UUID, which is used to identify the node in both the STACKIT Edge Cloud control plane and the Edge Kubernetes cluster. If the UUID changes, the node loses its registered identity and can no longer connect (breaking cluster membership). Always provision new hosts by booting from an image. If you include host-specific settings—for example, a static IP address set via boot customization, every host booted from that image will use the same setting, which can cause network conflicts.
To safely reuse an image across multiple hosts, you must keep its configuration generic and avoid any host-specific modifications.
Downloading an installation image
Section titled “Downloading an installation image”After you create the image, you need to download it in the correct format for your target platform.
Prerequisites
Before you begin, you need the following:
- Authenticated access to a STEC instance.
Steps
-
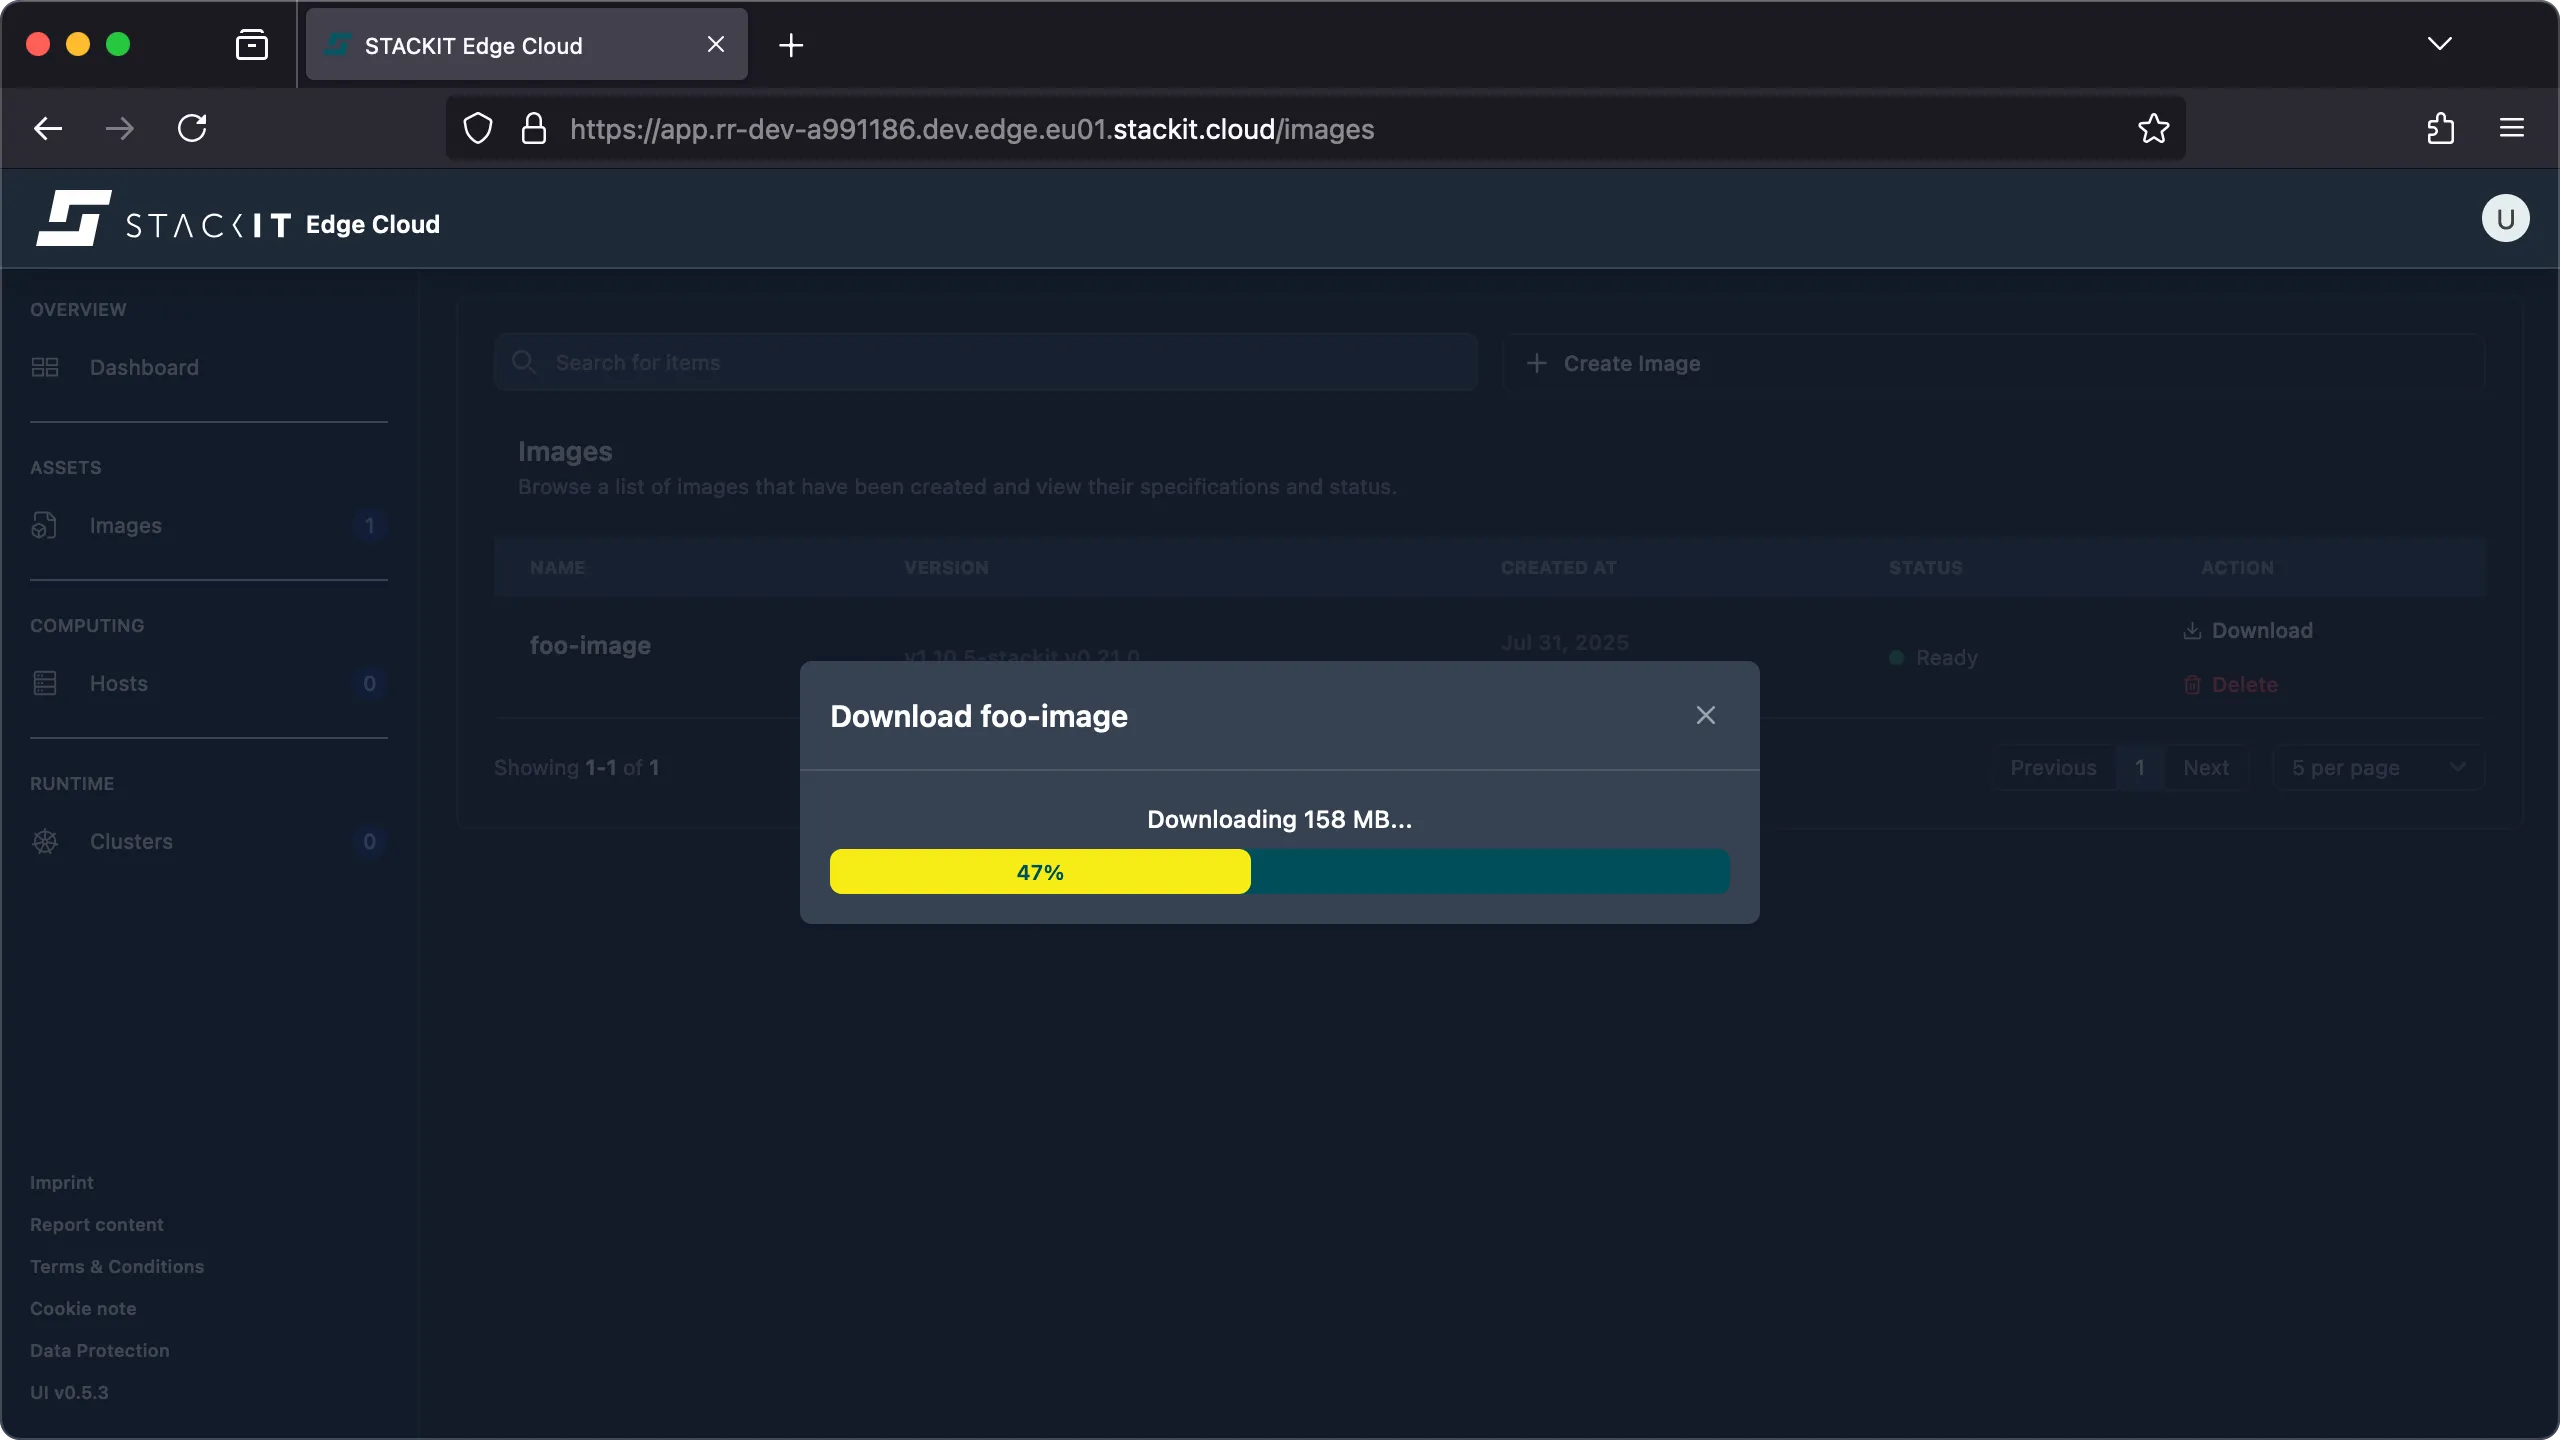
Navigate to the Images section of the UI and click the “Download” button for your desired image.
-
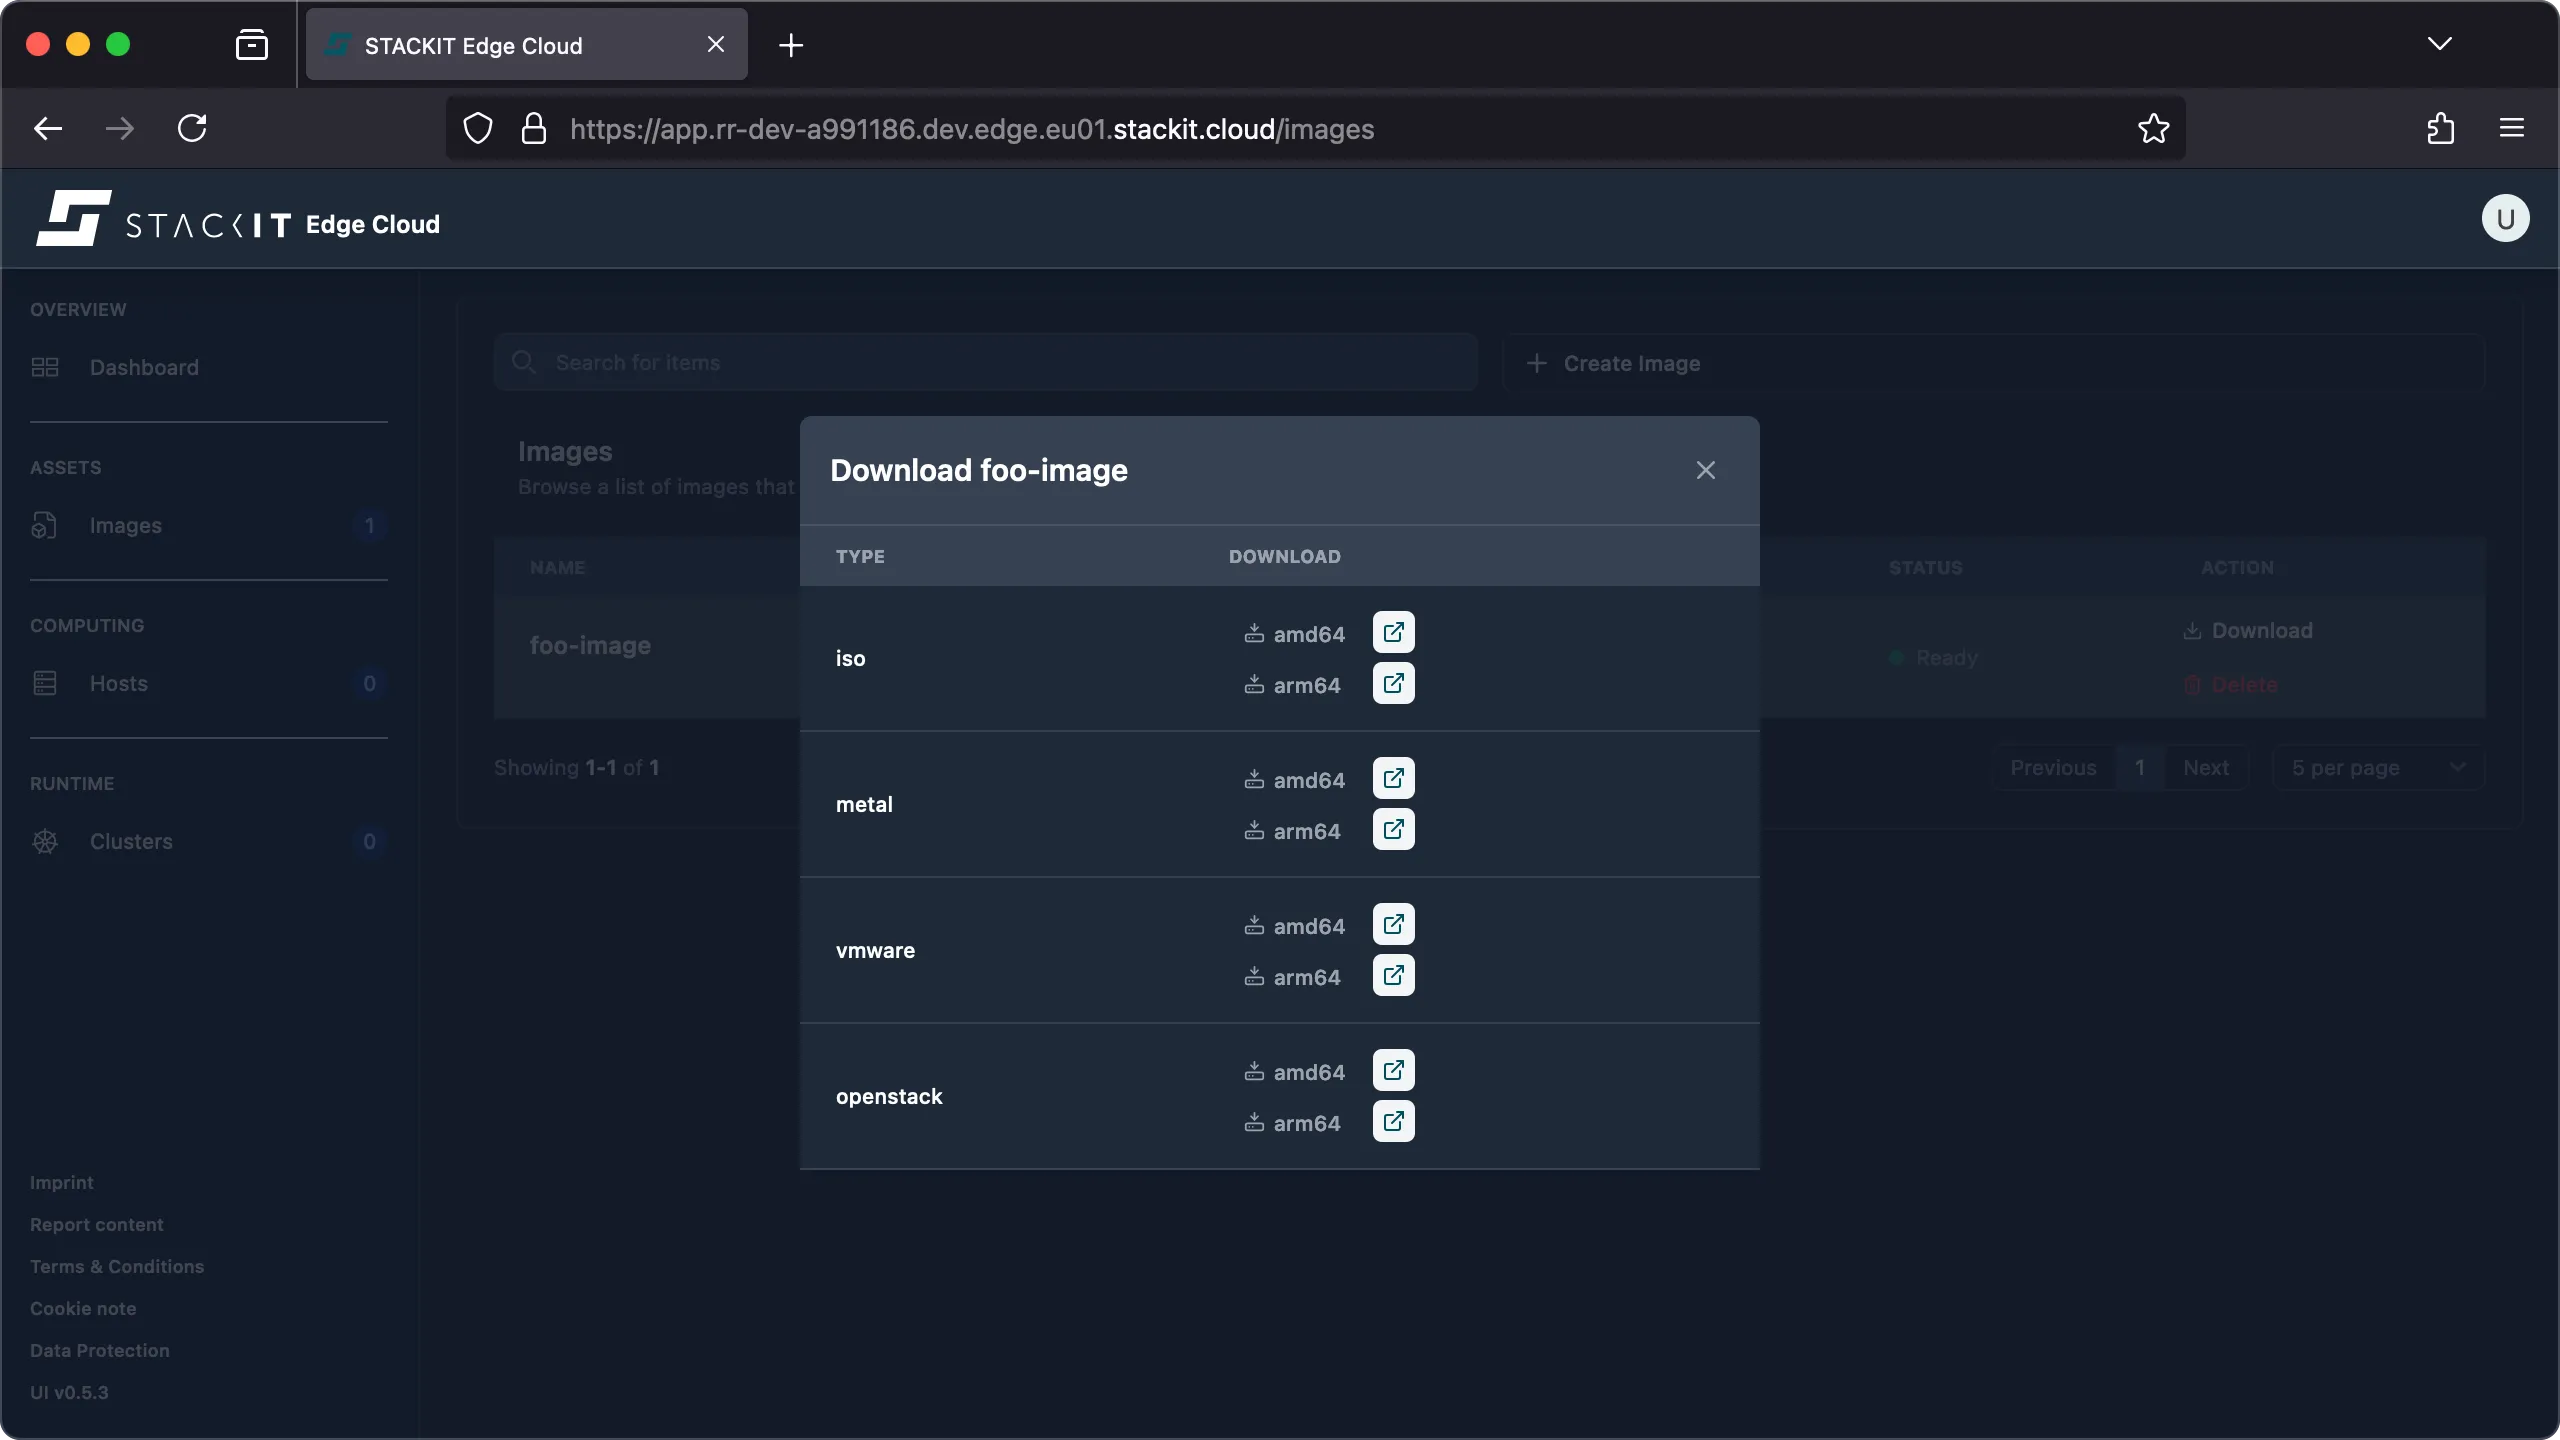
For each media type, notice there are two download options:
- UI download button: This button provides visual feedback in the UI and automatically renames the downloaded file to match the image name.
- Direct link: This is a direct link to the STACKIT Edge Cloud (STEC) image factory. Because the image is built on demand, selecting this link will trigger a blocking HTTP call until the build is complete. This is expected behavior.
-
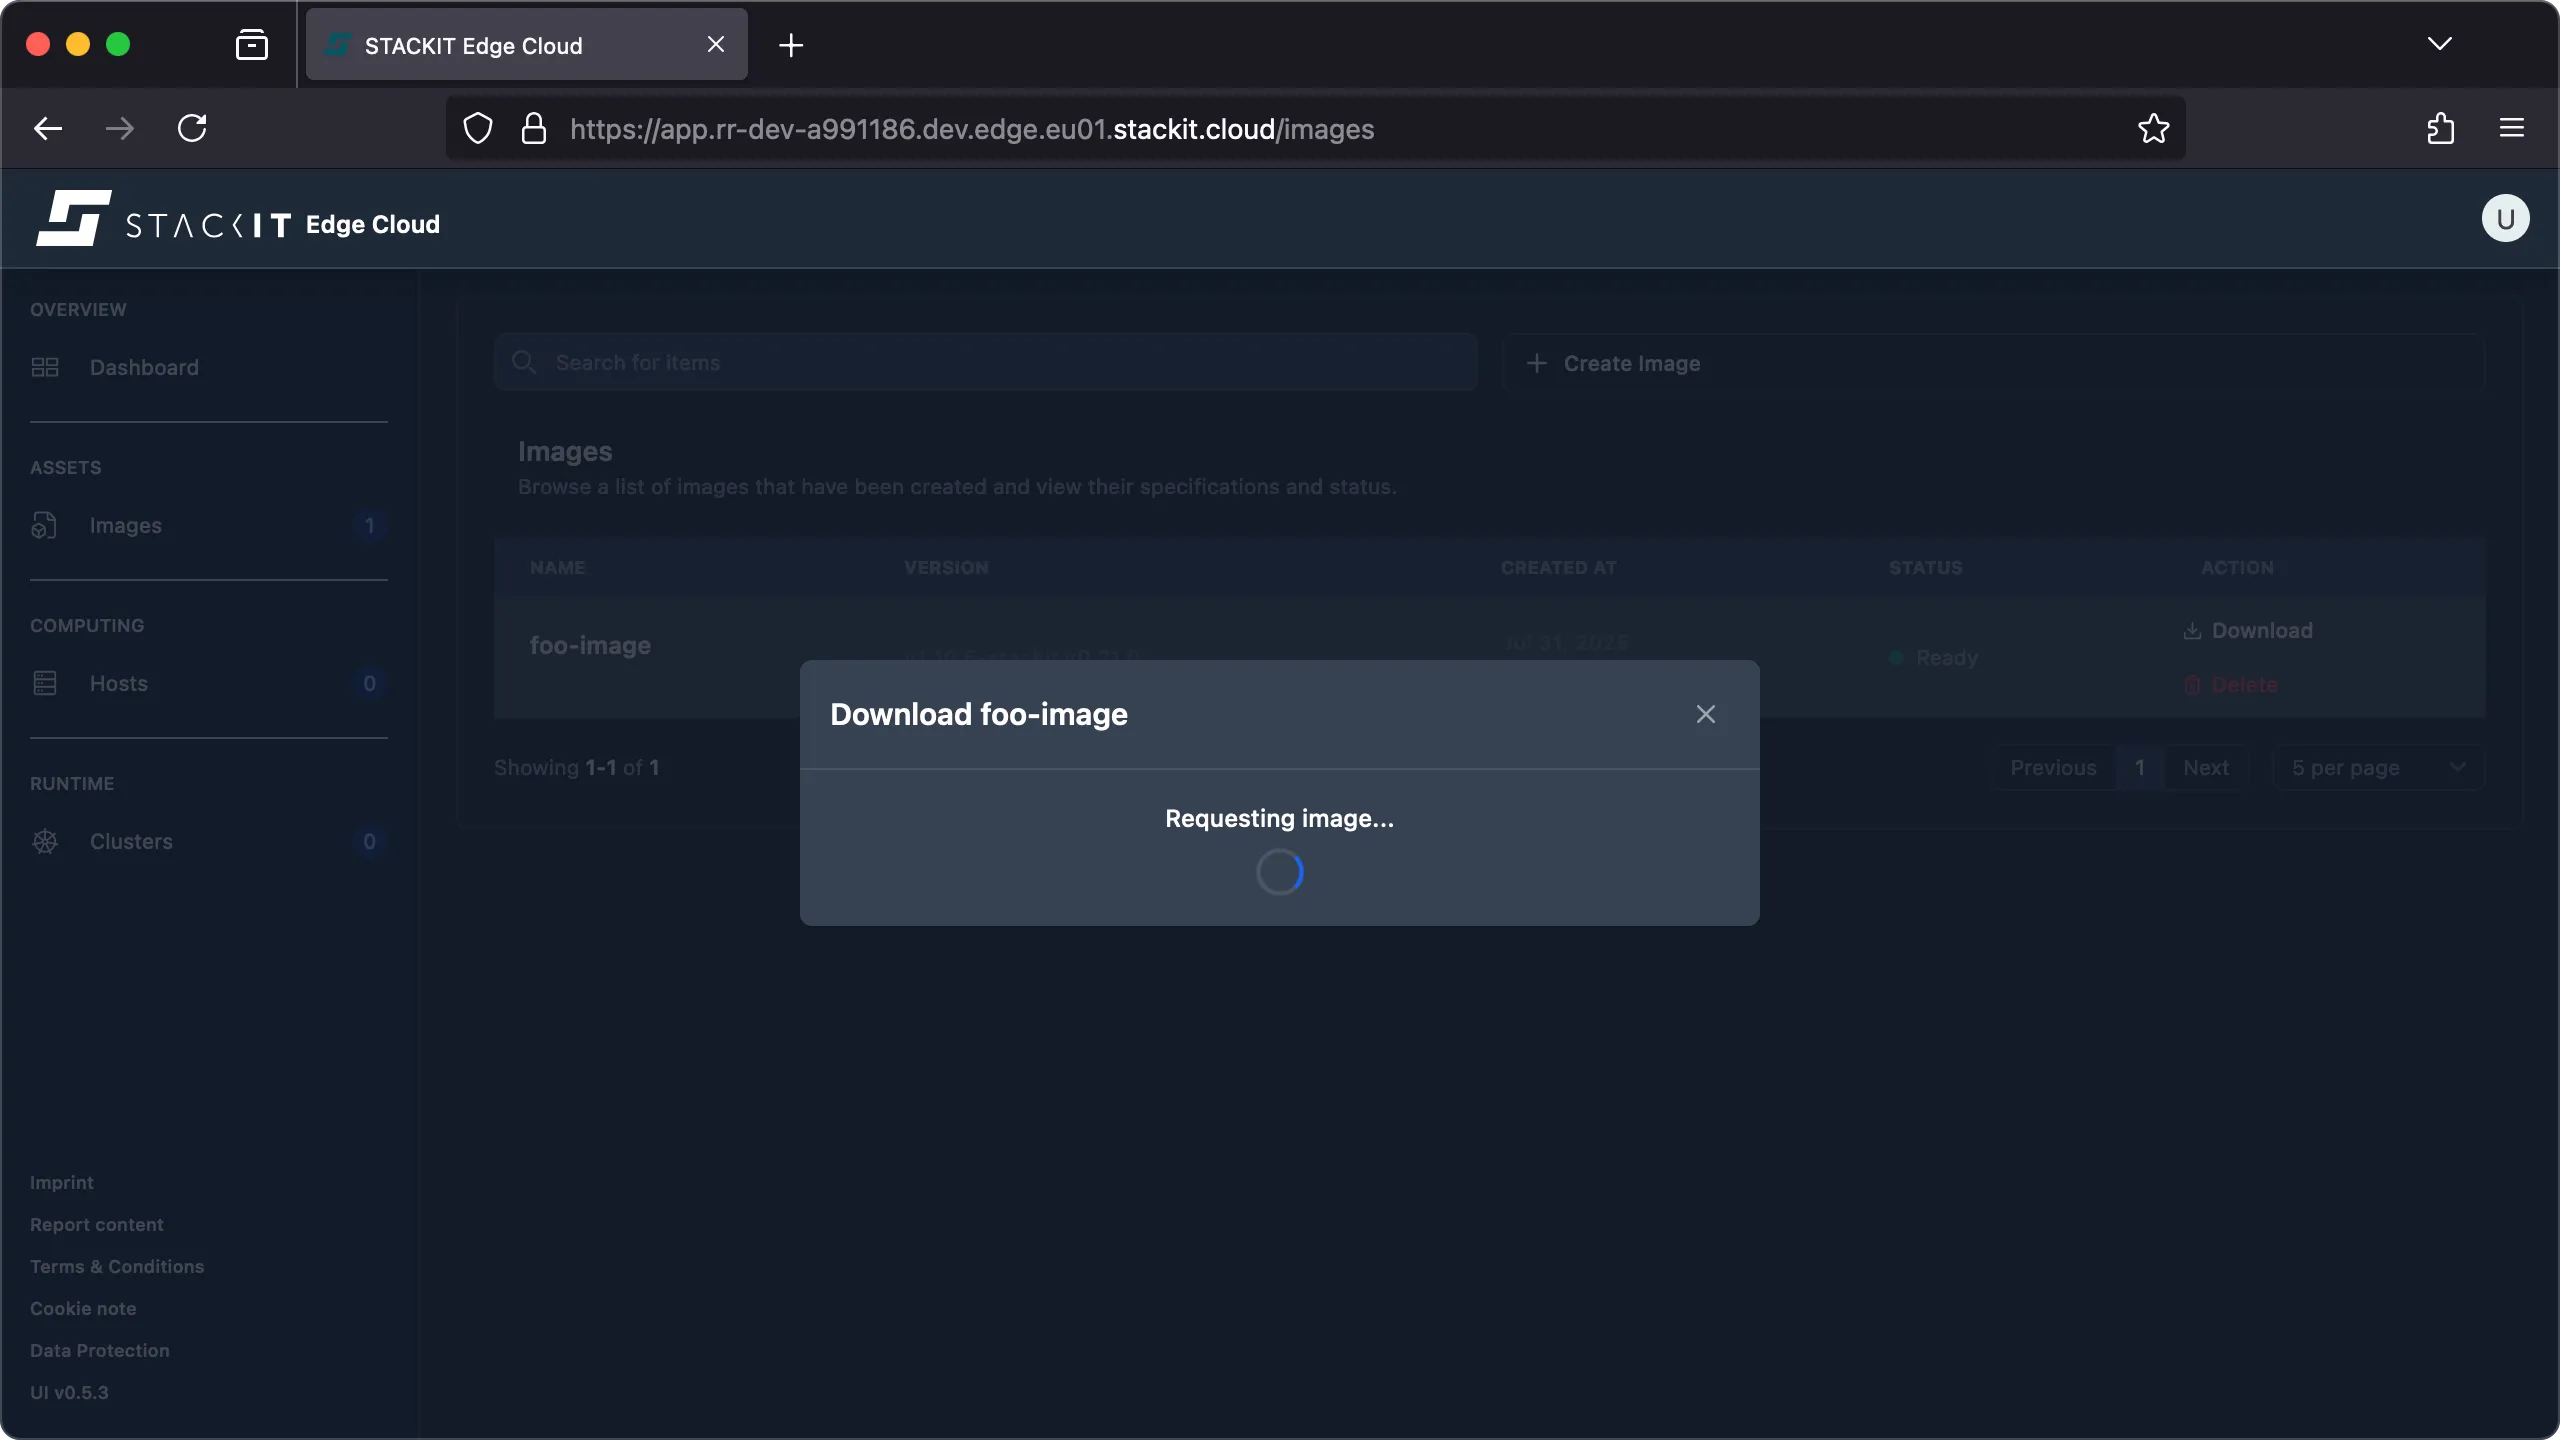
For this example, select the first download button for your chosen media type. A loading indicator appears while your image is generated.
-
Once the image is generated, the download starts automatically.
Note: Subsequent downloads of the same image will start immediately as long as the generated image is cached in the image factory. The cache is invalidated automatically when needed, and you cannot control this behavior.
Prerequisites
Before you begin, you need the following:
- Authenticated access to a STEC instance.
- The kubeconfig for the STEC instance exported in your terminal session.
- Tools: A generic Linux bash terminal with
kubectlandyq.
Steps
-
Inspect the status of the image you created to find the image URLs.
Terminal window > kubectl get EdgeImage/foo-image -o yaml | yq '.status'artifacts:- artifacts:- architecture: amd64url: https://image-factory.edge.eu01.stackit.cloud/image/9deb[...]4599/v1.10.5-stackit.v0.21.0/metal-amd64.iso- architecture: arm64url: https://image-factory.edge.eu01.stackit.cloud/image/9deb[...]4599/v1.10.5-stackit.v0.21.0/metal-arm64.isotype: iso- artifacts:- architecture: amd64url: https://image-factory.edge.eu01.stackit.cloud/image/9deb[...]4599/v1.10.5-stackit.v0.21.0/metal-amd64.raw.xz- architecture: arm64url: https://image-factory.edge.eu01.stackit.cloud/image/9deb[...]4599/v1.10.5-stackit.v0.21.0/metal-arm64.raw.xztype: metal- [...]ready: trueschematicId: 9deb[...]4599 -
Select the URL for the image that matches your target platform.
Terminal window > kubectl get EdgeImage/foo-image -o yaml | yq '.status.artifacts[] | select(.type=="iso").artifacts[] | select(.architecture=="amd64").url'https://image-factory.edge.eu01.stackit.cloud/image/9deb[...]4599/v1.10.5-stackit.v0.21.0/metal-amd64.iso -
Download the image.
Terminal window > curl $(kubectl get EdgeImage/foo-image -o yaml | yq '.status.artifacts[] | select(.type=="iso").artifacts[] | select(.architecture=="amd64").url') --output foo.amd64.iso% Total % Received % Xferd Average Speed Time Time Time CurrentDload Upload Total Spent Left Speed100 531M 100 531M 0 0 5224k 0 0:01:44 0:01:44 --:--:-- 5333k> ls foo.amd64.isofoo.amd64.iso
Selecting the correct image for a target
Section titled “Selecting the correct image for a target”Select the image type and architecture that matches your target platform. Depending on your system, you may need to perform additional preparation steps to make an image bootable. For more information on these steps, see the guidance on preparing a medium.
For a full list of supported platforms and architectures, refer to the official Talos Linux documentation.
| Target | Type | Architecture | Boot preparation |
|---|---|---|---|
| Bare-metal machine | iso | arm64/amd64 as required | None. Simply boot the generated iso image. |
| Virtual machines (excluding VMware) | iso | arm64/amd64 as required | None. Simply boot the generated iso image. |
| Virtual machines (VMware specific) | vmware | amd64 | None. Simply boot the generated ova image. |
| Cloud machines (OpenStack) | openstack | amd64 | Review the OpenStack example. |
| Single board computers (Raspberry Pi) | metal with overlay | arm64 | Review the single-board computers example. |
Preparing an installation medium
Section titled “Preparing an installation medium”Depending on your target platform, you may need to prepare a bootable installation medium. This process can include steps such as:
- Making the image bootable.
- Writing the image to a boot device.
- Uploading or attaching the boot device.
Because these steps are highly specific to your platform, this guide cannot cover every possibility. For detailed instructions, refer to your platform vendor’s documentation and the official Talos documentation on installation media.
The following sections provide common examples to help you get started.
Example for OpenStack
Section titled “Example for OpenStack”For the purpose of this example we’ll use the STACKIT Compute Engine.
Prerequisites
Before you begin, you need the following:
- A STACKIT Edge Cloud installation image (obtained by following the previous steps—
openstackforamd64in this example). - Tools: A generic Linux bash terminal with the STACKIT CLI and
xzand (optionally)qemu-img.
Steps
-
STACKIT Compute Engine expects certain image formats. The downloaded image is delivered as a raw disk image (
img), compressed usingxz. The first step is to decompress the image.Terminal window > unxz "openstack-amd64.raw.xz"> ls openstack-amd64.rawopenstack-amd64.raw -
Convert the raw image to the
qcow2format (optional).Terminal window > qemu-img convert -f raw -O qcow2 "openstack-amd64.raw" "openstack-amd64.qcow2"### Resize to the minimum required 32G using sparse allocation> qemu-img resize openstack-amd64.qcow2 32G### Verify the image> qemu-img info openstack-amd64.qcow2> du -h openstack-amd64.qcow2 -
Create a new STACKIT image from the downloaded image.
-
Launch a new STACKIT VM using the image. Make sure that the disk has at least at least 32 GB in capacity (see common issues).
Example for single-board computers
Section titled “Example for single-board computers”If you want to register a single-board computer (SBC), such as a Raspberry Pi, you need to select a matching overlay, such as the rpi_generic overlay for Raspberry Pi.
An image created with a specific overlay is not compatible with other types of SBCs. To support a different type of SBC, you must create a new image and select the correct overlay for that device.
Prerequisites
Before you begin, you need the following:
- A STACKIT Edge Cloud installation image (obtained by following the previous steps—
metalforarm64in this example). - A matching overlay applied to the image.
- A storage medium, e.g. a MicroSD Card, is attached to your computer.
- Tools: Balena Etcher.
Steps
-
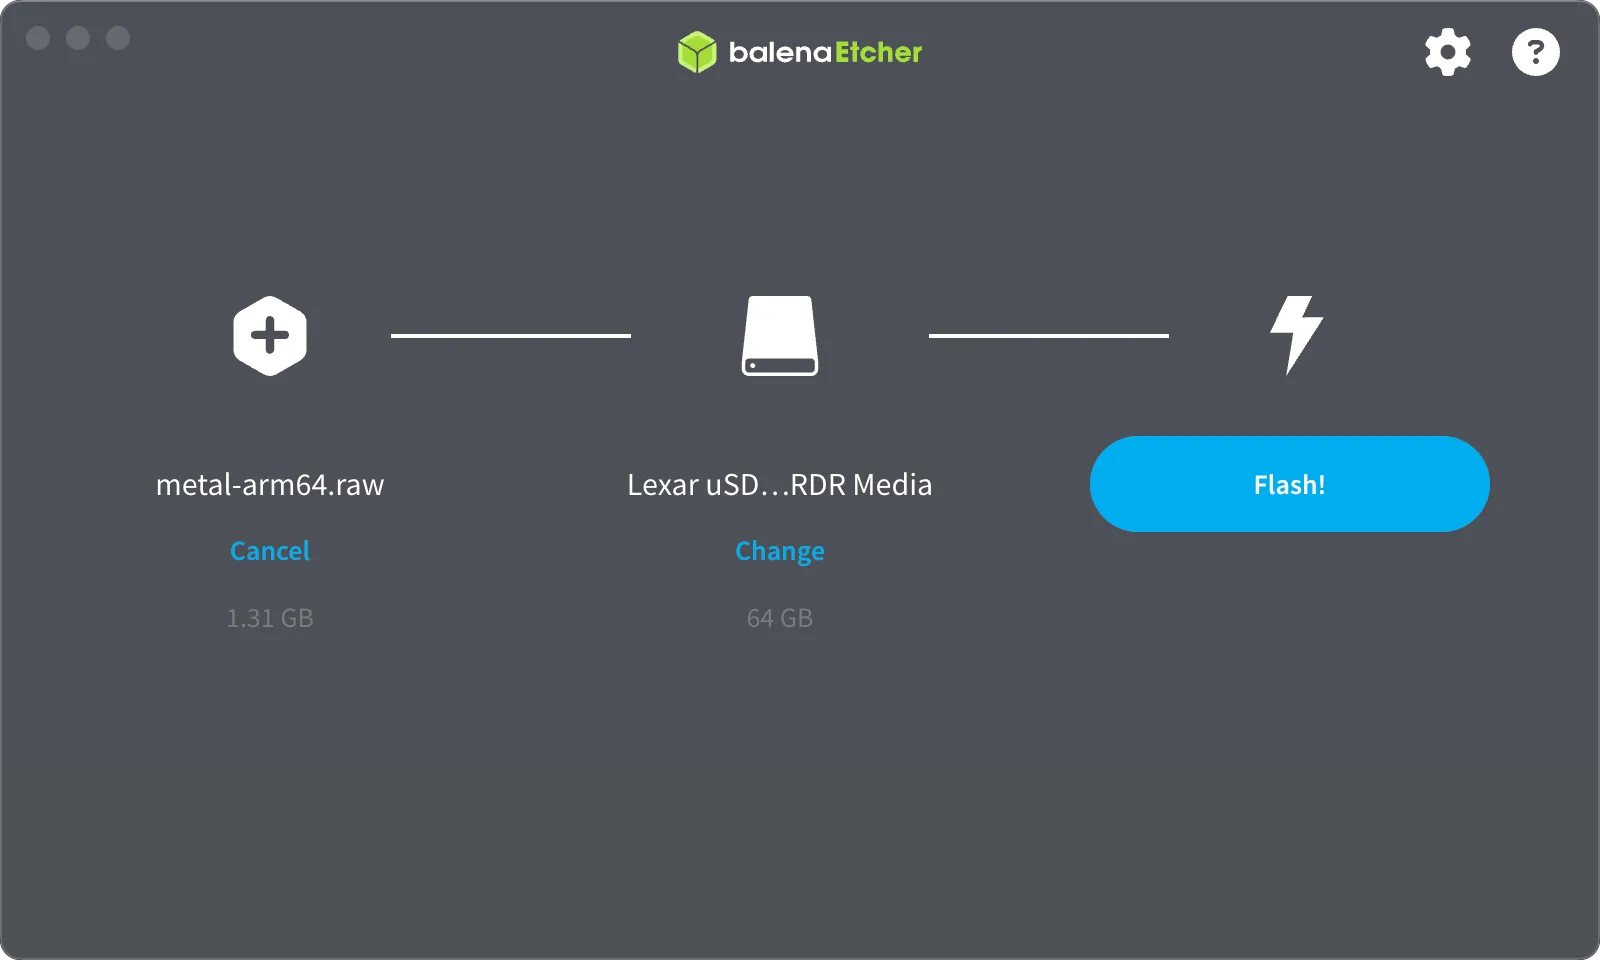
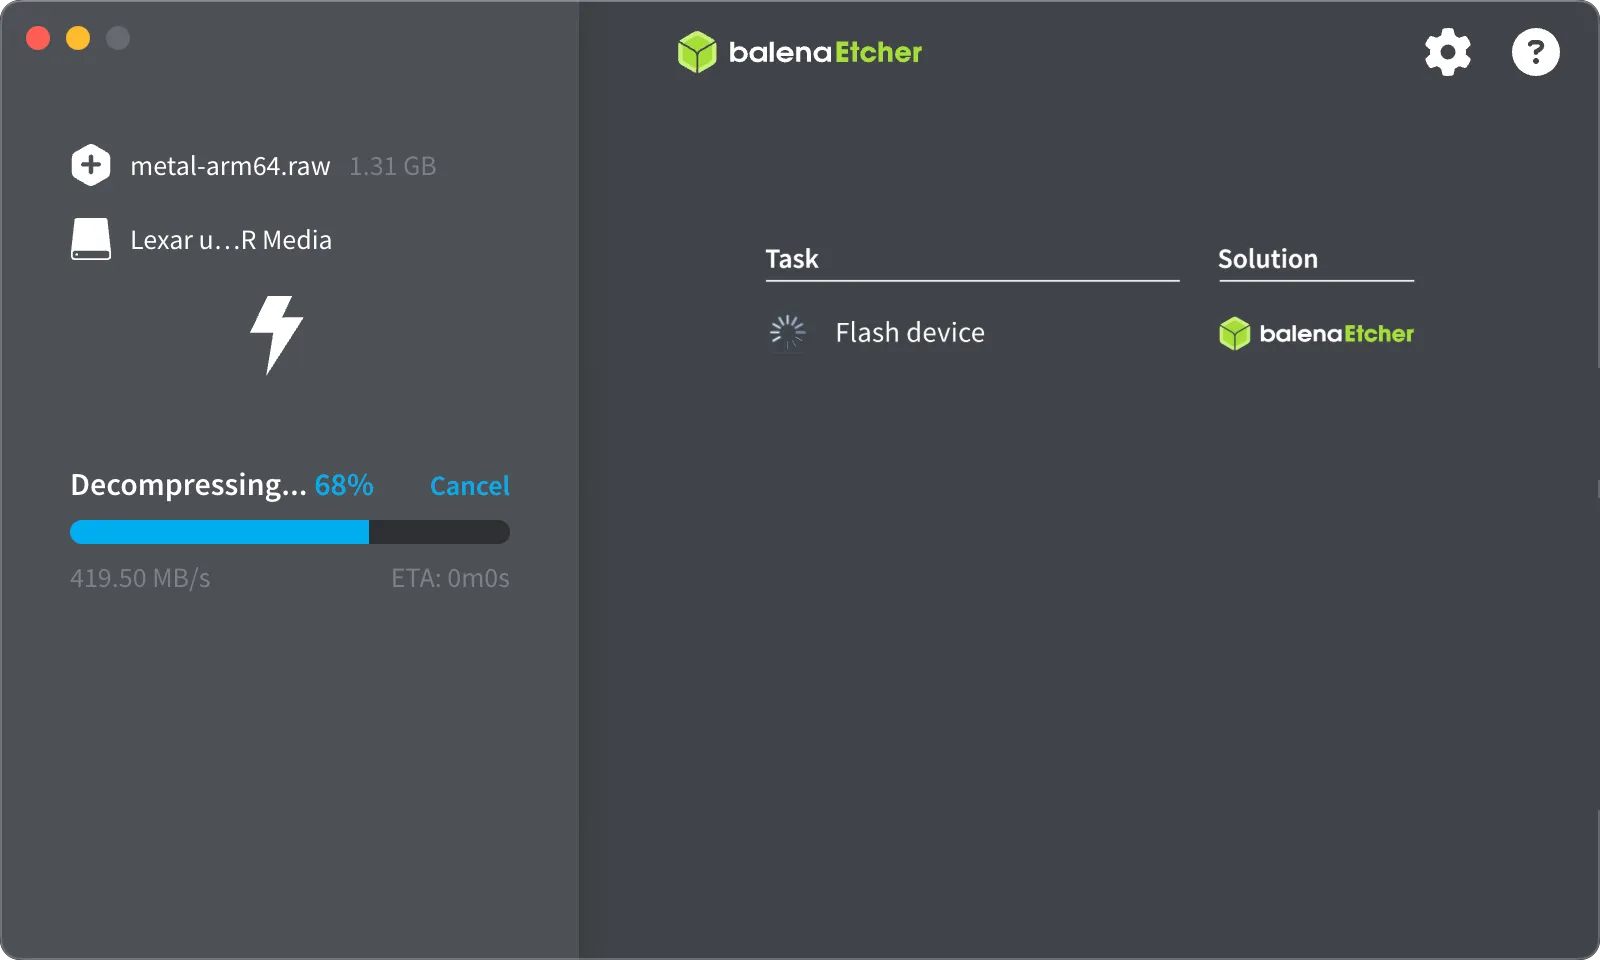
The downloaded image is delivered as a raw disk image (
img), compressed usingxz. The first step is to decompress the image.Some tools like the Raspberry Pi Imager or Balena Etcher may do this automatically for you, so all you have to do is select the downloaded image as well as the target medium (e.g. MicroSD card). In this example we’re using Balena Etcher but the process with Raspberry Pi Imager is very similar.
-
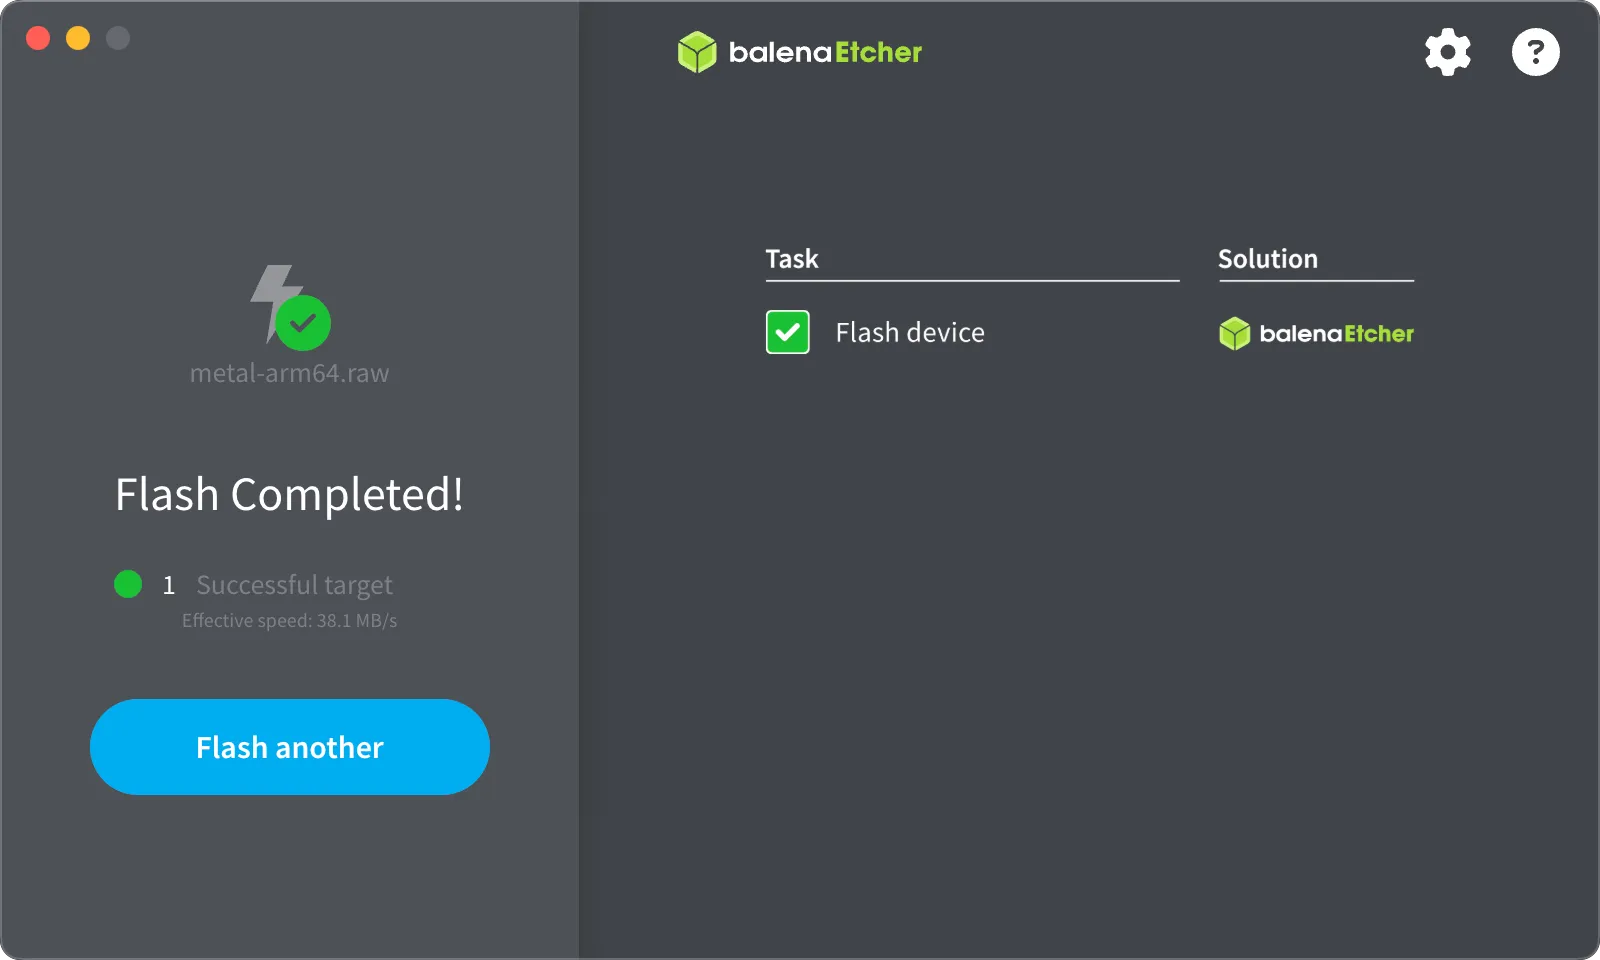
Click “flash” to start the process of writing the downloaded image to your storage device.
-
Once the flashing is done you can remove your boot medium.
Prerequisites
Before you begin, you need the following:
- A STACKIT Edge Cloud installation image (obtained by following the previous steps—
metalforarm64in this example). - A matching overlay applied to the image.
- A storage medium, e.g. a MicroSD Card, is attached to your computer.
- Tools: A generic Linux bash terminal,
xz, GNUddand (optionally) Homebrew.
Steps
-
Find out the correct path of the storage medium (e.g. MicroSD card) to use and clean it.
Terminal window ## In this example /dev/disk4 is the MicroSD card target device. Warning: this may be different in your setup.> diskutil list/dev/disk0 (internal, physical):[...]/dev/disk3 (synthesized):[...]/dev/disk4 (external, physical):#: TYPE NAME SIZE IDENTIFIER0: GUID_partition_scheme *64.0 GB disk41: EFI EFI 104.9 MB disk4s12: Bios Boot Partition 1.0 MB disk4s23: Linux Filesystem 1.0 GB disk4s34: Linux Filesystem 1.0 MB disk4s4(free space) 62.9 GB -### Delete all content on /dev/disk4> diskutil eraseDisk ExFat SD /dev/disk4### Unmount /dev/disk4> diskutil unmountDisk /dev/disk4 -
Write the image to the storage medium, e.g. your MicroSD card. Make sure that the device has at least 32 GB in capacity (see common issues).
Terminal window ## Install GNU dd for better compatibility with Linux dd. Homebrew is used for this in this example.> brew install coreutils[...]### Decompress and stream the image to /dev/disk4 (/dev/rdisk4 provides raw disk access for better performance)> sudo xz --decompress --stdout metal-arm64.raw.xz | sudo gdd of=/dev/rdisk4 bs=4M conv=fsync status=progress0+19937 records in0+19937 records out1306525696 bytes (1,3 GB, 1,2 GiB) copied, 10,6255 s, 123 MB/s### Eject diskdiskutil eject /dev/disk4
Prerequisites
Before you begin, you need the following:
- A STACKIT Edge Cloud installation image (obtained by following the previous steps—
metalforarm64in this example). - A matching overlay applied to the image.
- A storage medium, e.g. a MicroSD Card, is attached to your computer.
- Tools: A generic Linux bash terminal,
xz, GNU dd.
Steps
-
Find out the correct path of the storage medium (e.g. MicroSD card) to use and clean it.
Terminal window ## In this example /dev/sdb is the MicroSD card target device. Warning: this may be different in your setup.> lsblkNAME MAJ:MIN RM SIZE RO TYPE MOUNTPOINTSsda 8:0 0 1T 1 disksdb 8:32 0 64G 0 disk### Use fdisk or similar tools to clean the target disk, sdb in our example, as needed. -
Write the image to the storage medium, e.g. your MicroSD card. Make sure that the device has at least 32 GB in capacity (see common issues).
Terminal window ## Decompress and stream the image to /dev/disk4 (/dev/rdisk4 provides raw disk access for better performance)> sudo xz --decompress --stdout metal-arm64.raw.xz | sudo dd of=/dev/sdb bs=4M conv=fsync status=progress0+19937 records in0+19937 records out1306525696 bytes (1,3 GB, 1,2 GiB) copied, 10,6255 s, 123 MB/s