Boot customization
Last updated on
About boot customization
Section titled “About boot customization”The boot behaviour of a image can be customized. To do so when creating an image you may specify optional kernel parameters that will be respected at boot time.
Using kernel parameters
Section titled “Using kernel parameters”In this example we’ll demonstrate how to specify kernel parameters for boot customization.
Prerequisites:
- Successfully authenticated in the UI of a STEC instance.
Steps:
-
Follow the generic image creation steps as described in the getting started guide.
-
In the step that allows you to specify kernel parameters, specify one or more supported parameter. The generic syntax is
key=valueand every kv-pair is separated by using space as a delimiter. Click ‘next’ when done.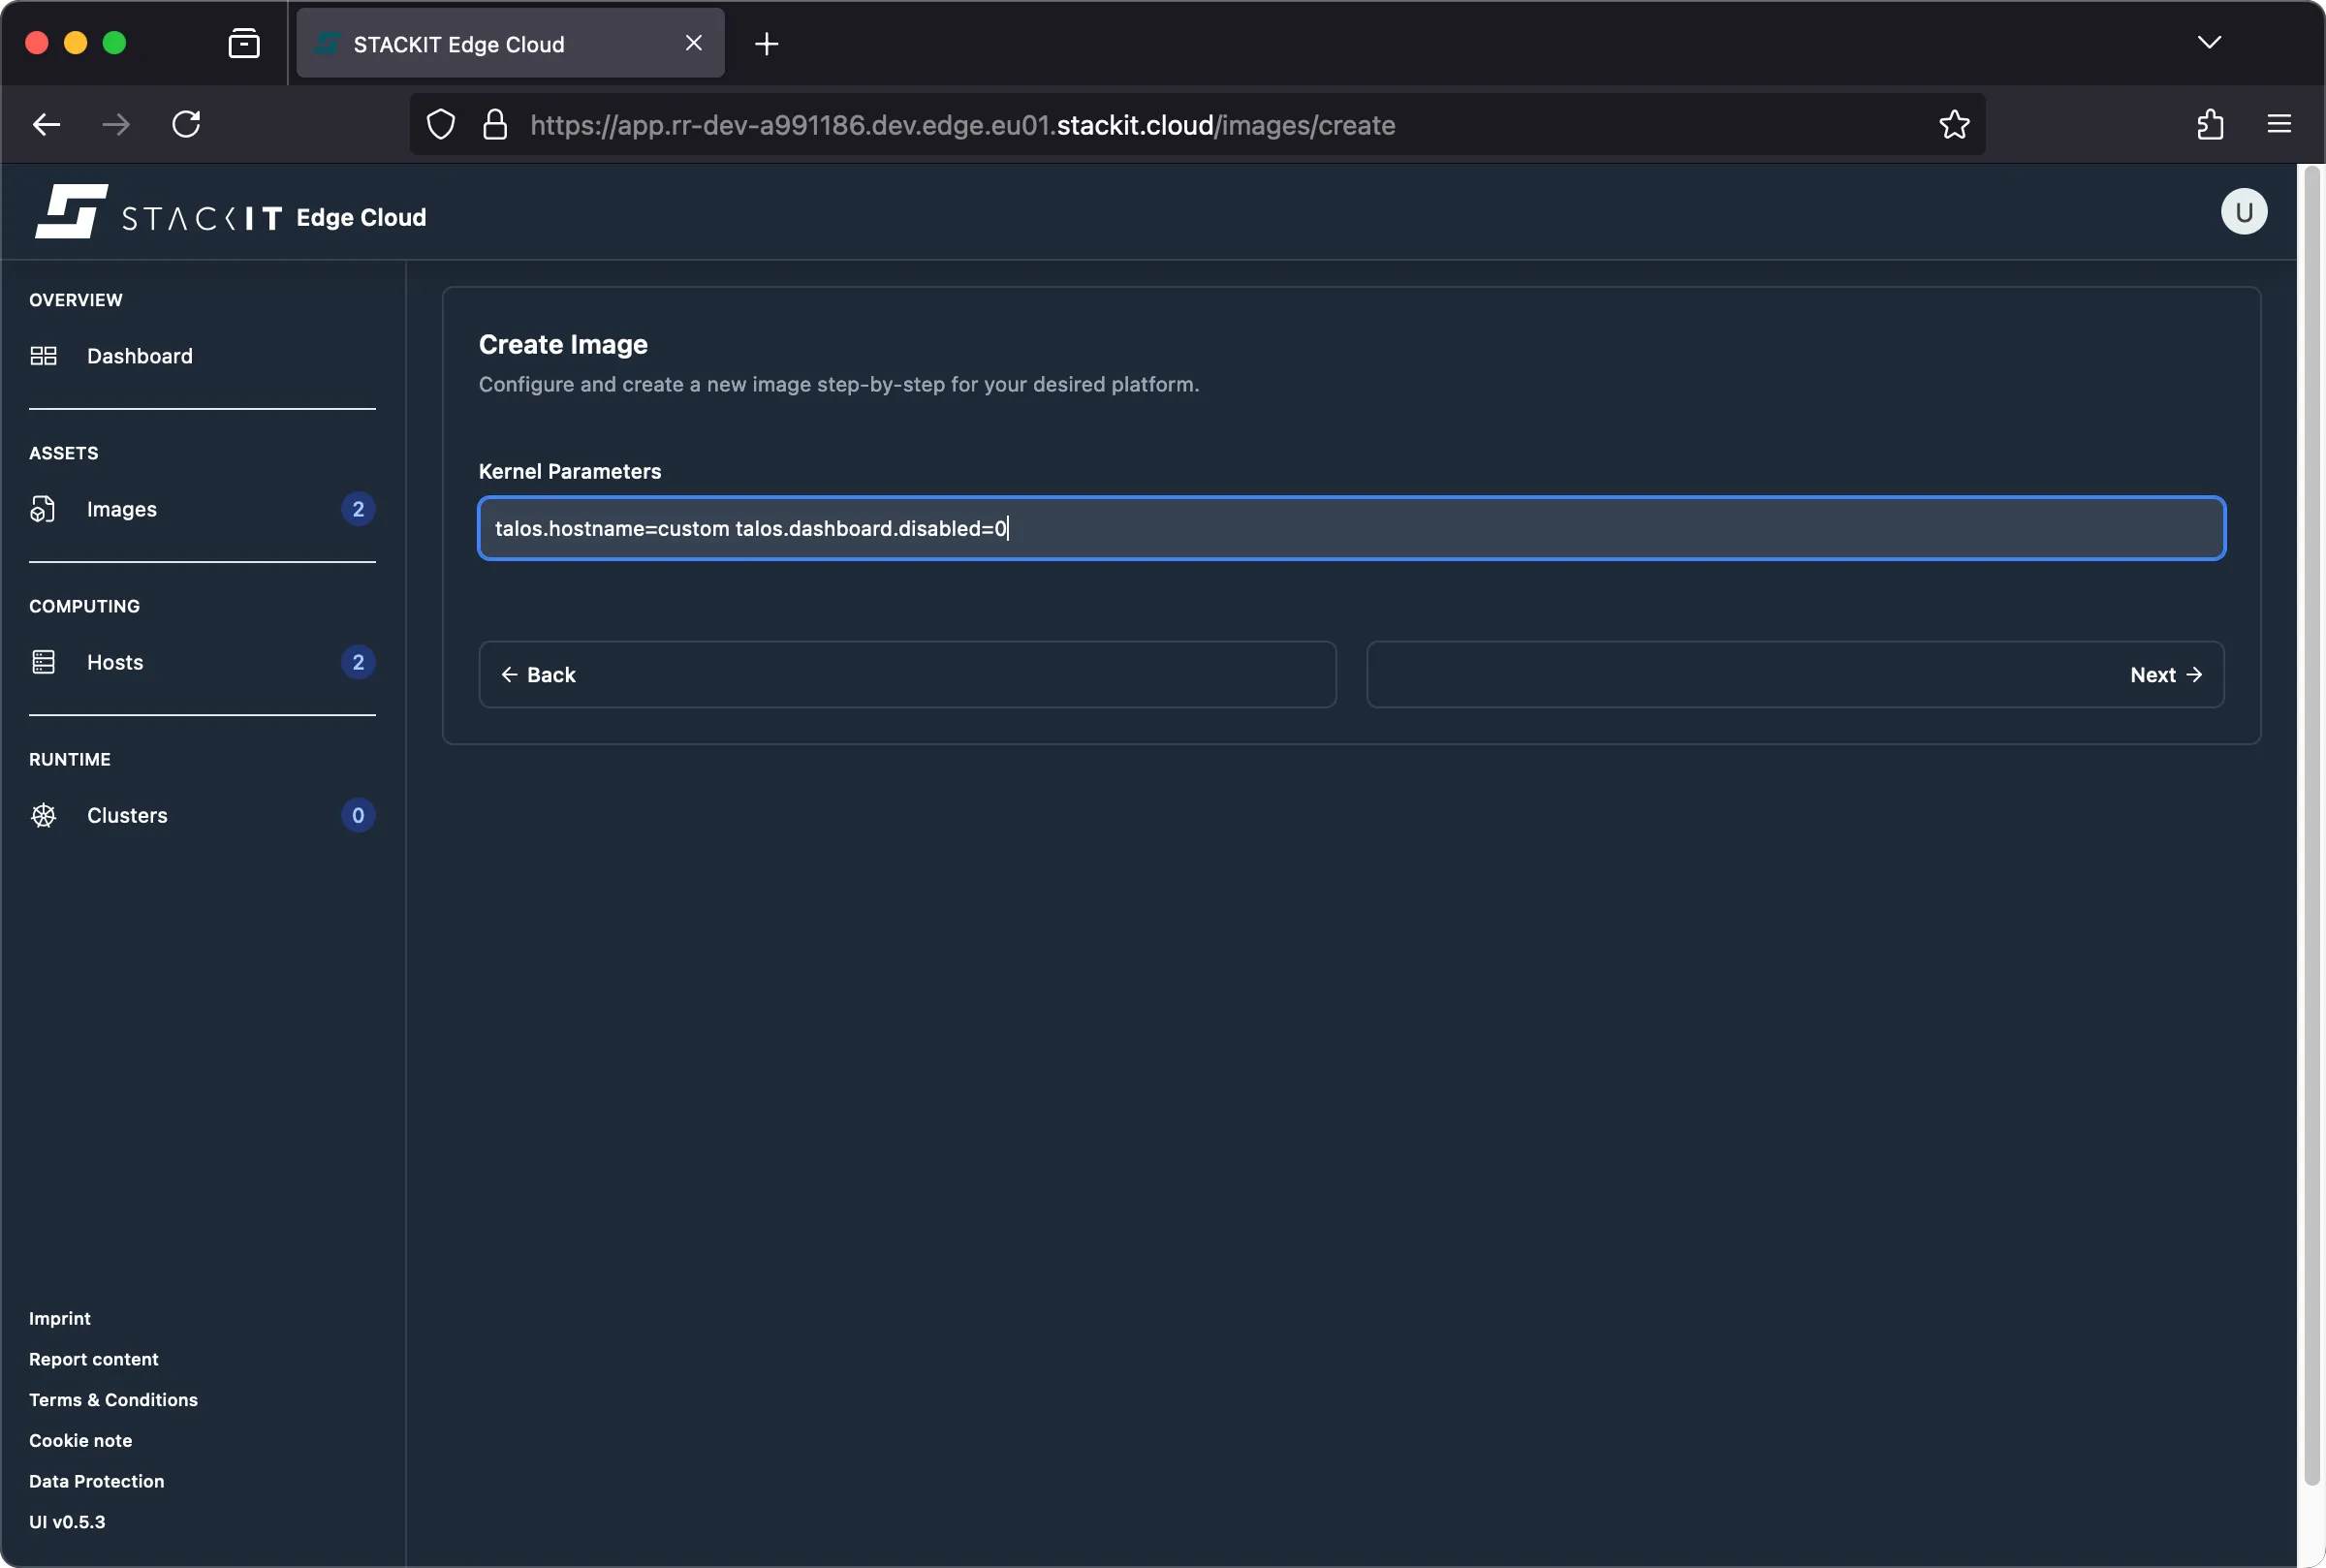
-
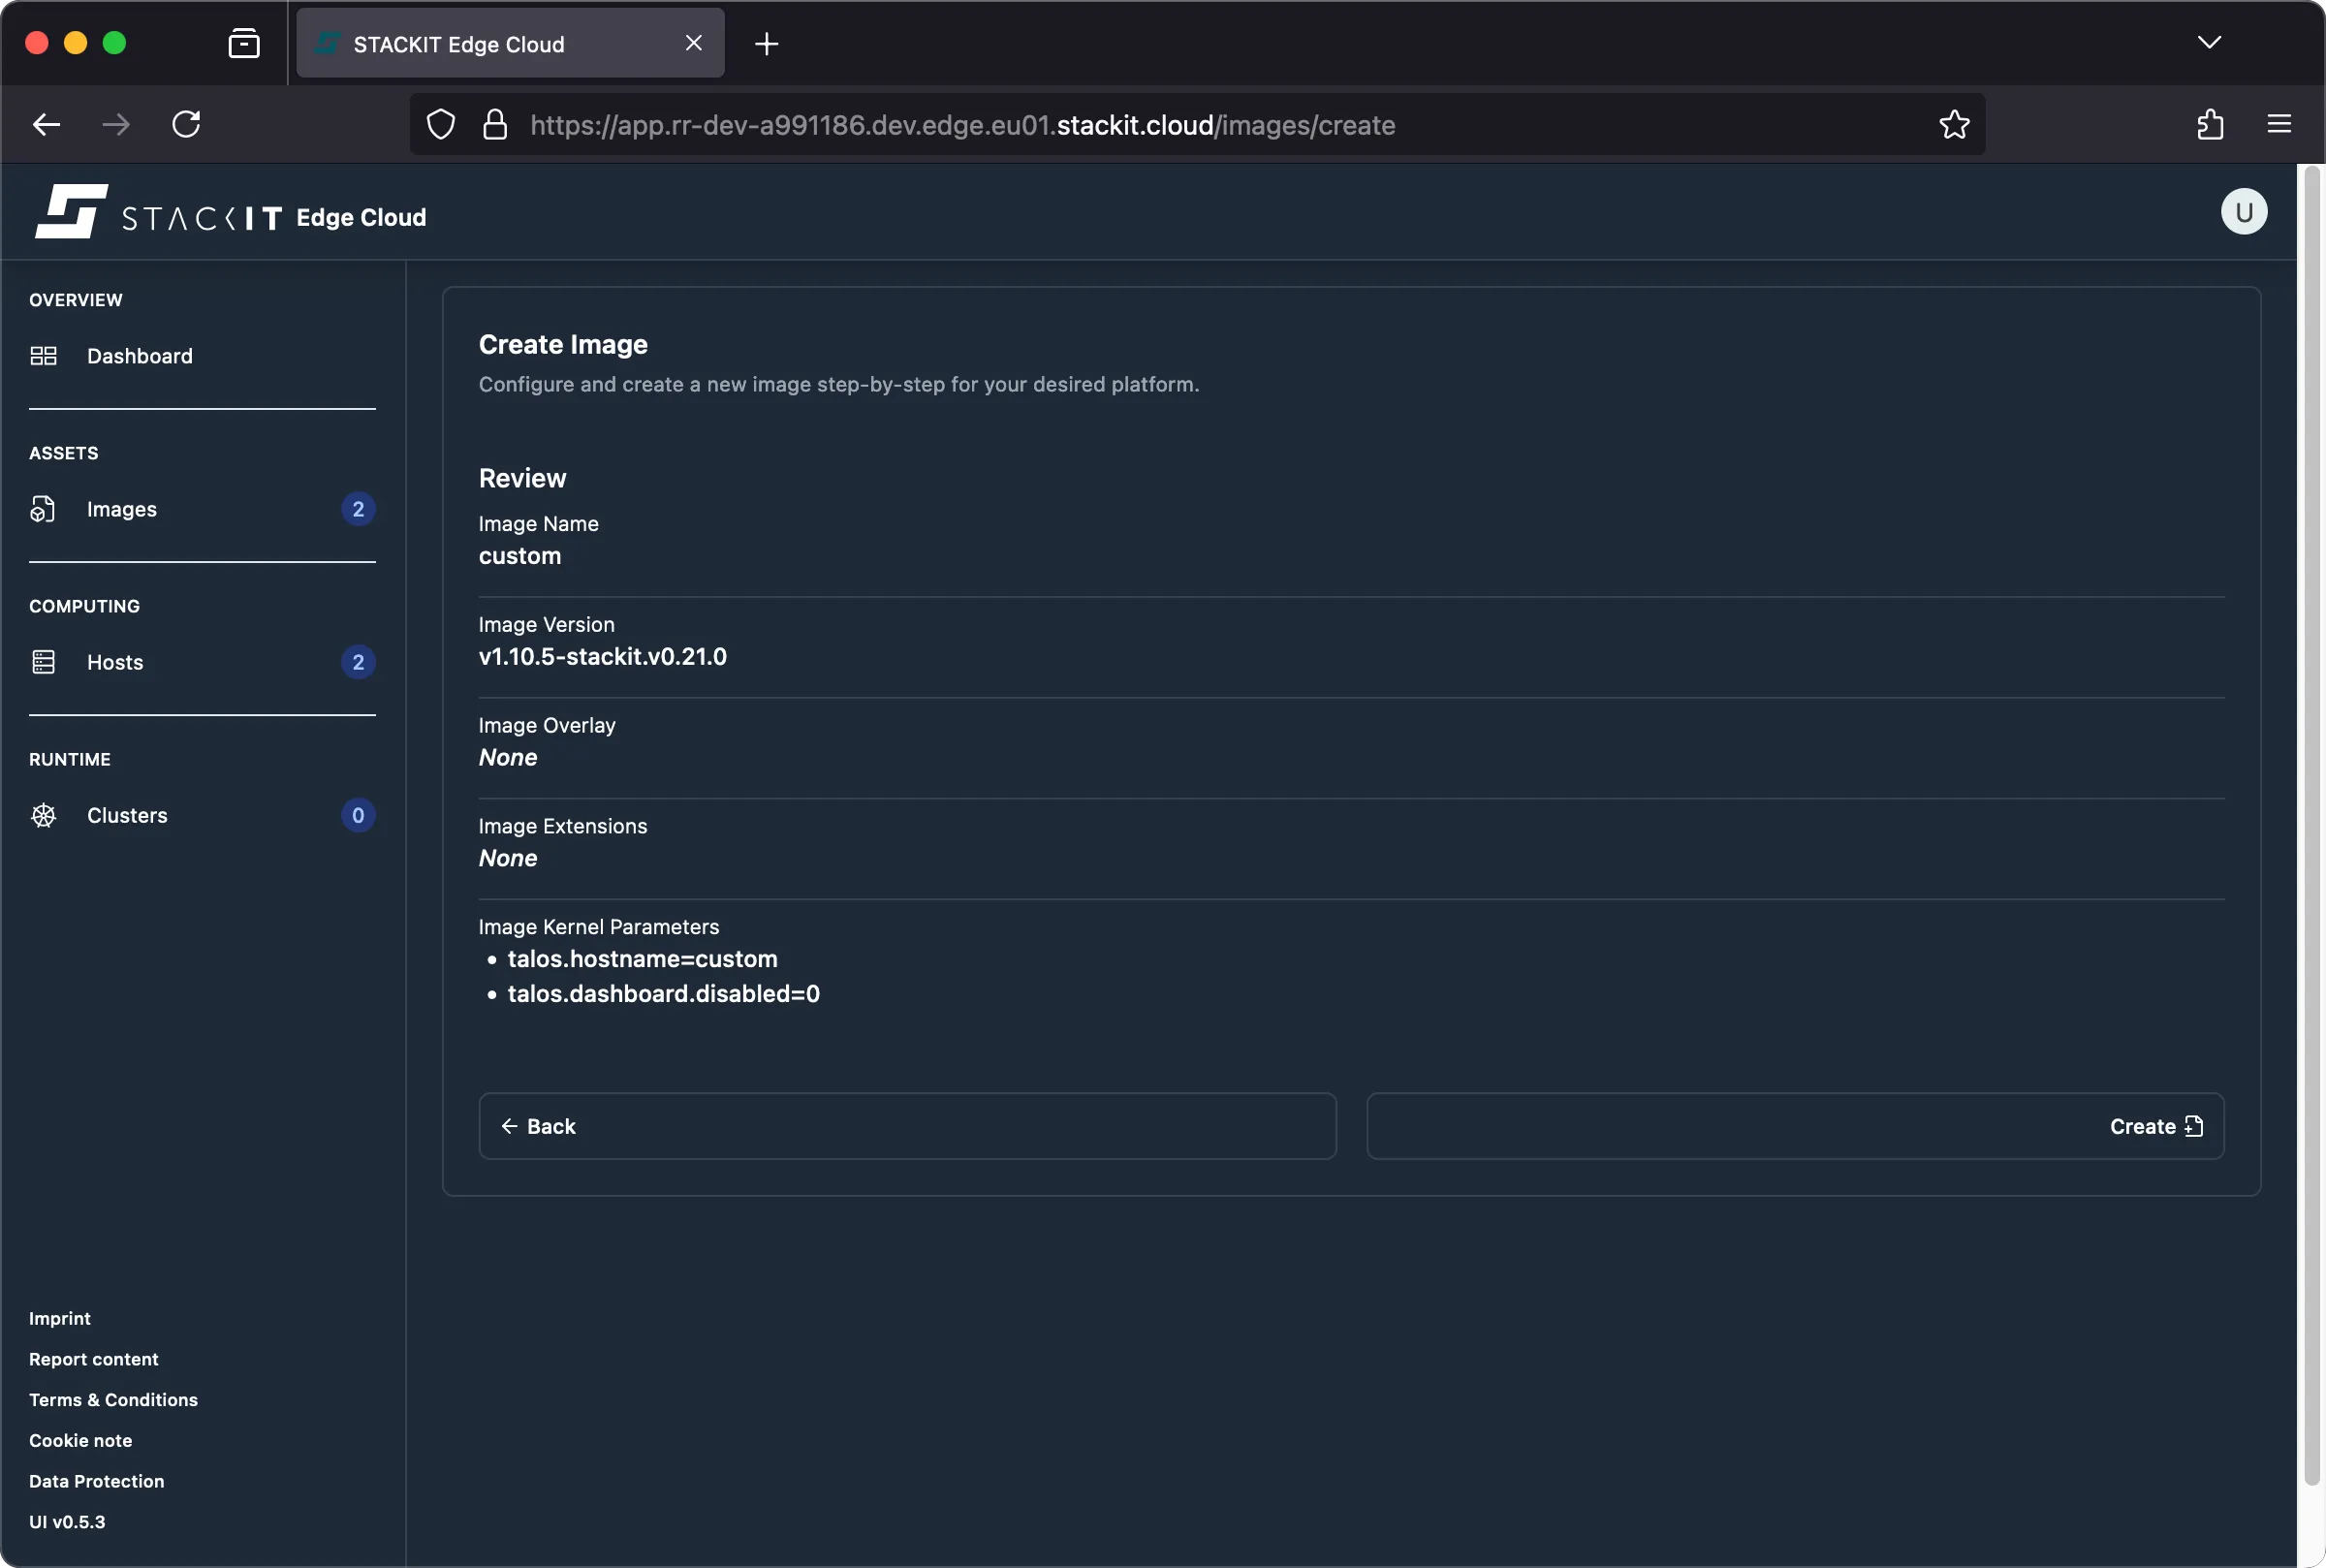
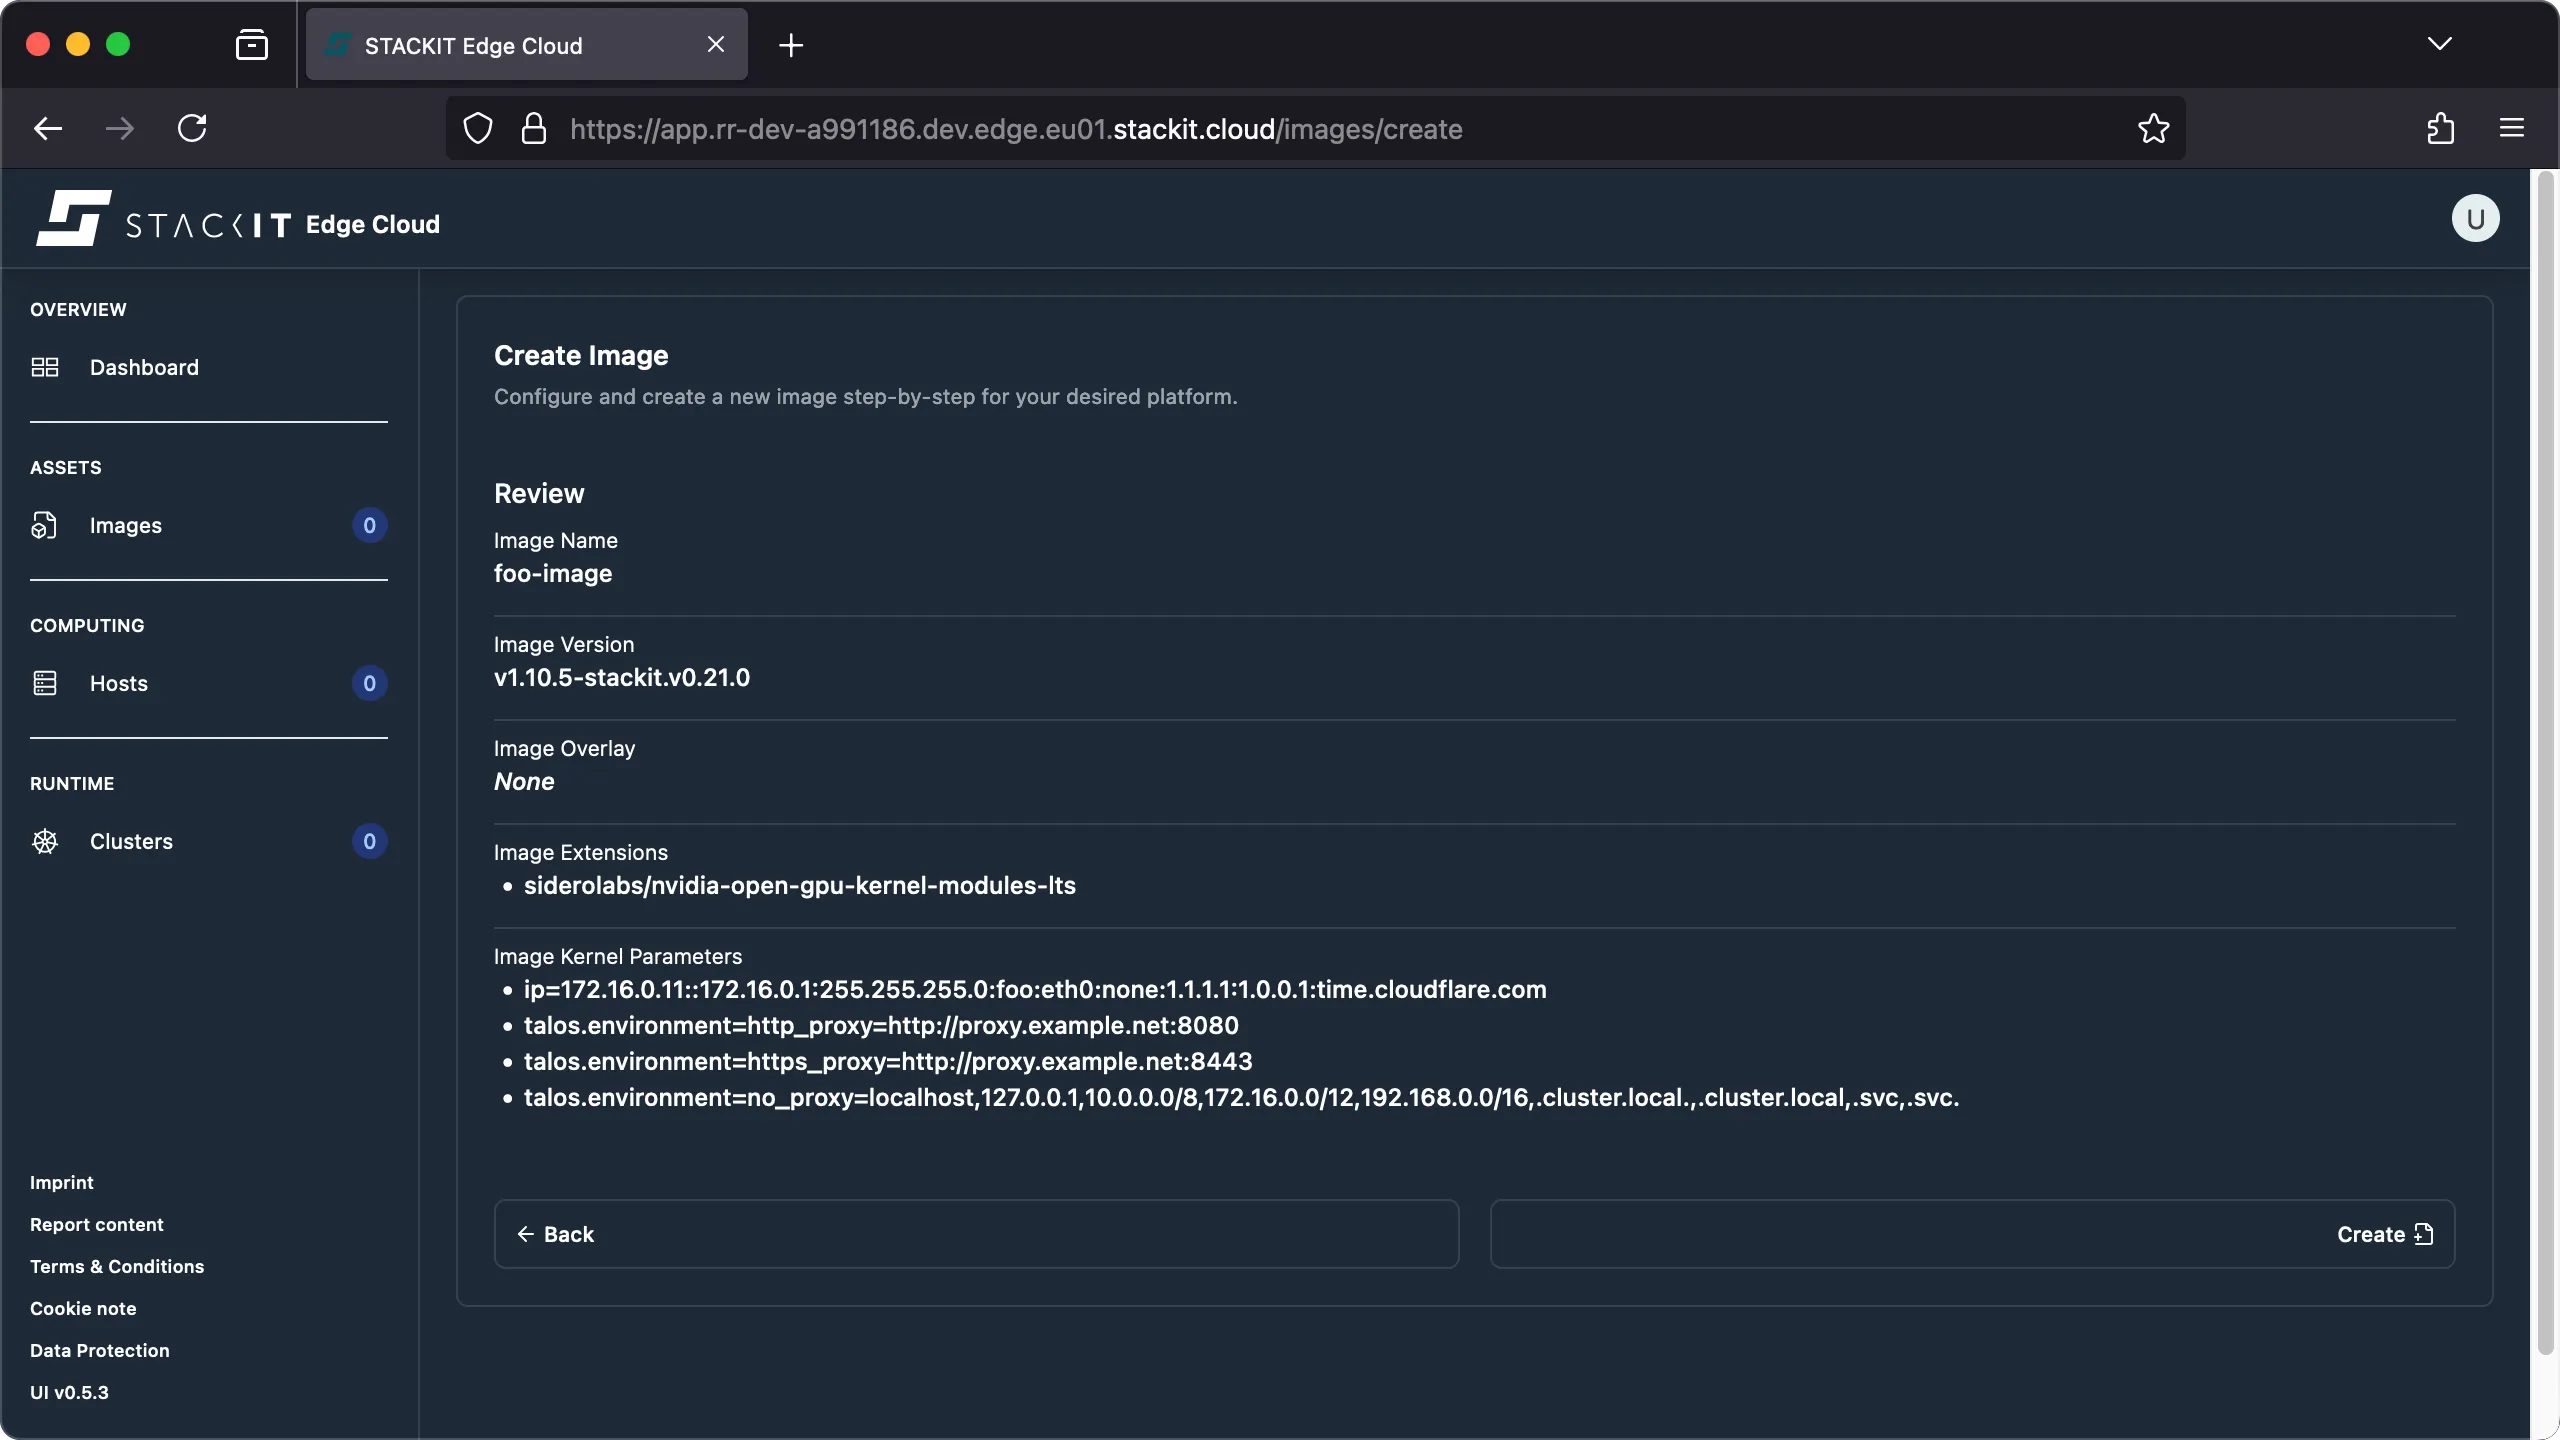
Follow the remaining image creation steps. The resulting review should indicate that your two options are included in the image. They’ll be part of any installation medium generated from this image. Click the “create” button to create the image.
-
The rest of the process is identical to the one outlined in the regular image creation procedure.
Prerequisites:
- Successfully authenticated with a STEC instance.
- Kubeconfig for the STEC instance is exported in your terminal session.
- Tools: a generic Linux bash terminal,
kubectl.
Steps:
-
Follow the generic image creation steps as described in the getting started guide.
-
When creating the manifest file for your new EdgeImage make sure to populate the extraKernelArgs using one or more supported kernel parameters.
Terminal window > cat <<EOF | kubectl apply -f -apiVersion: edge.stackit.cloud/v1alpha1kind: EdgeImagemetadata:name: bootfoonamespace: defaultspec:schematic: |customization:extraKernelArgs:- talos.hostname=custom- talos.dashboard.disabled=0systemExtensions:officialExtensions: []overlay: {} talosVersion: v1.10.5-stackit.v0.21.0EOFedgeimage.edge.stackit.cloud/bootfoo created> kubectl get EdgeImage/bootfooNAME AGEbootfoo 109s -
The rest of the process is identical to the one outlined in the regular image creation procedure.
Common parameters
Section titled “Common parameters”This section guides you through the most common boot parameters by example.
Static network
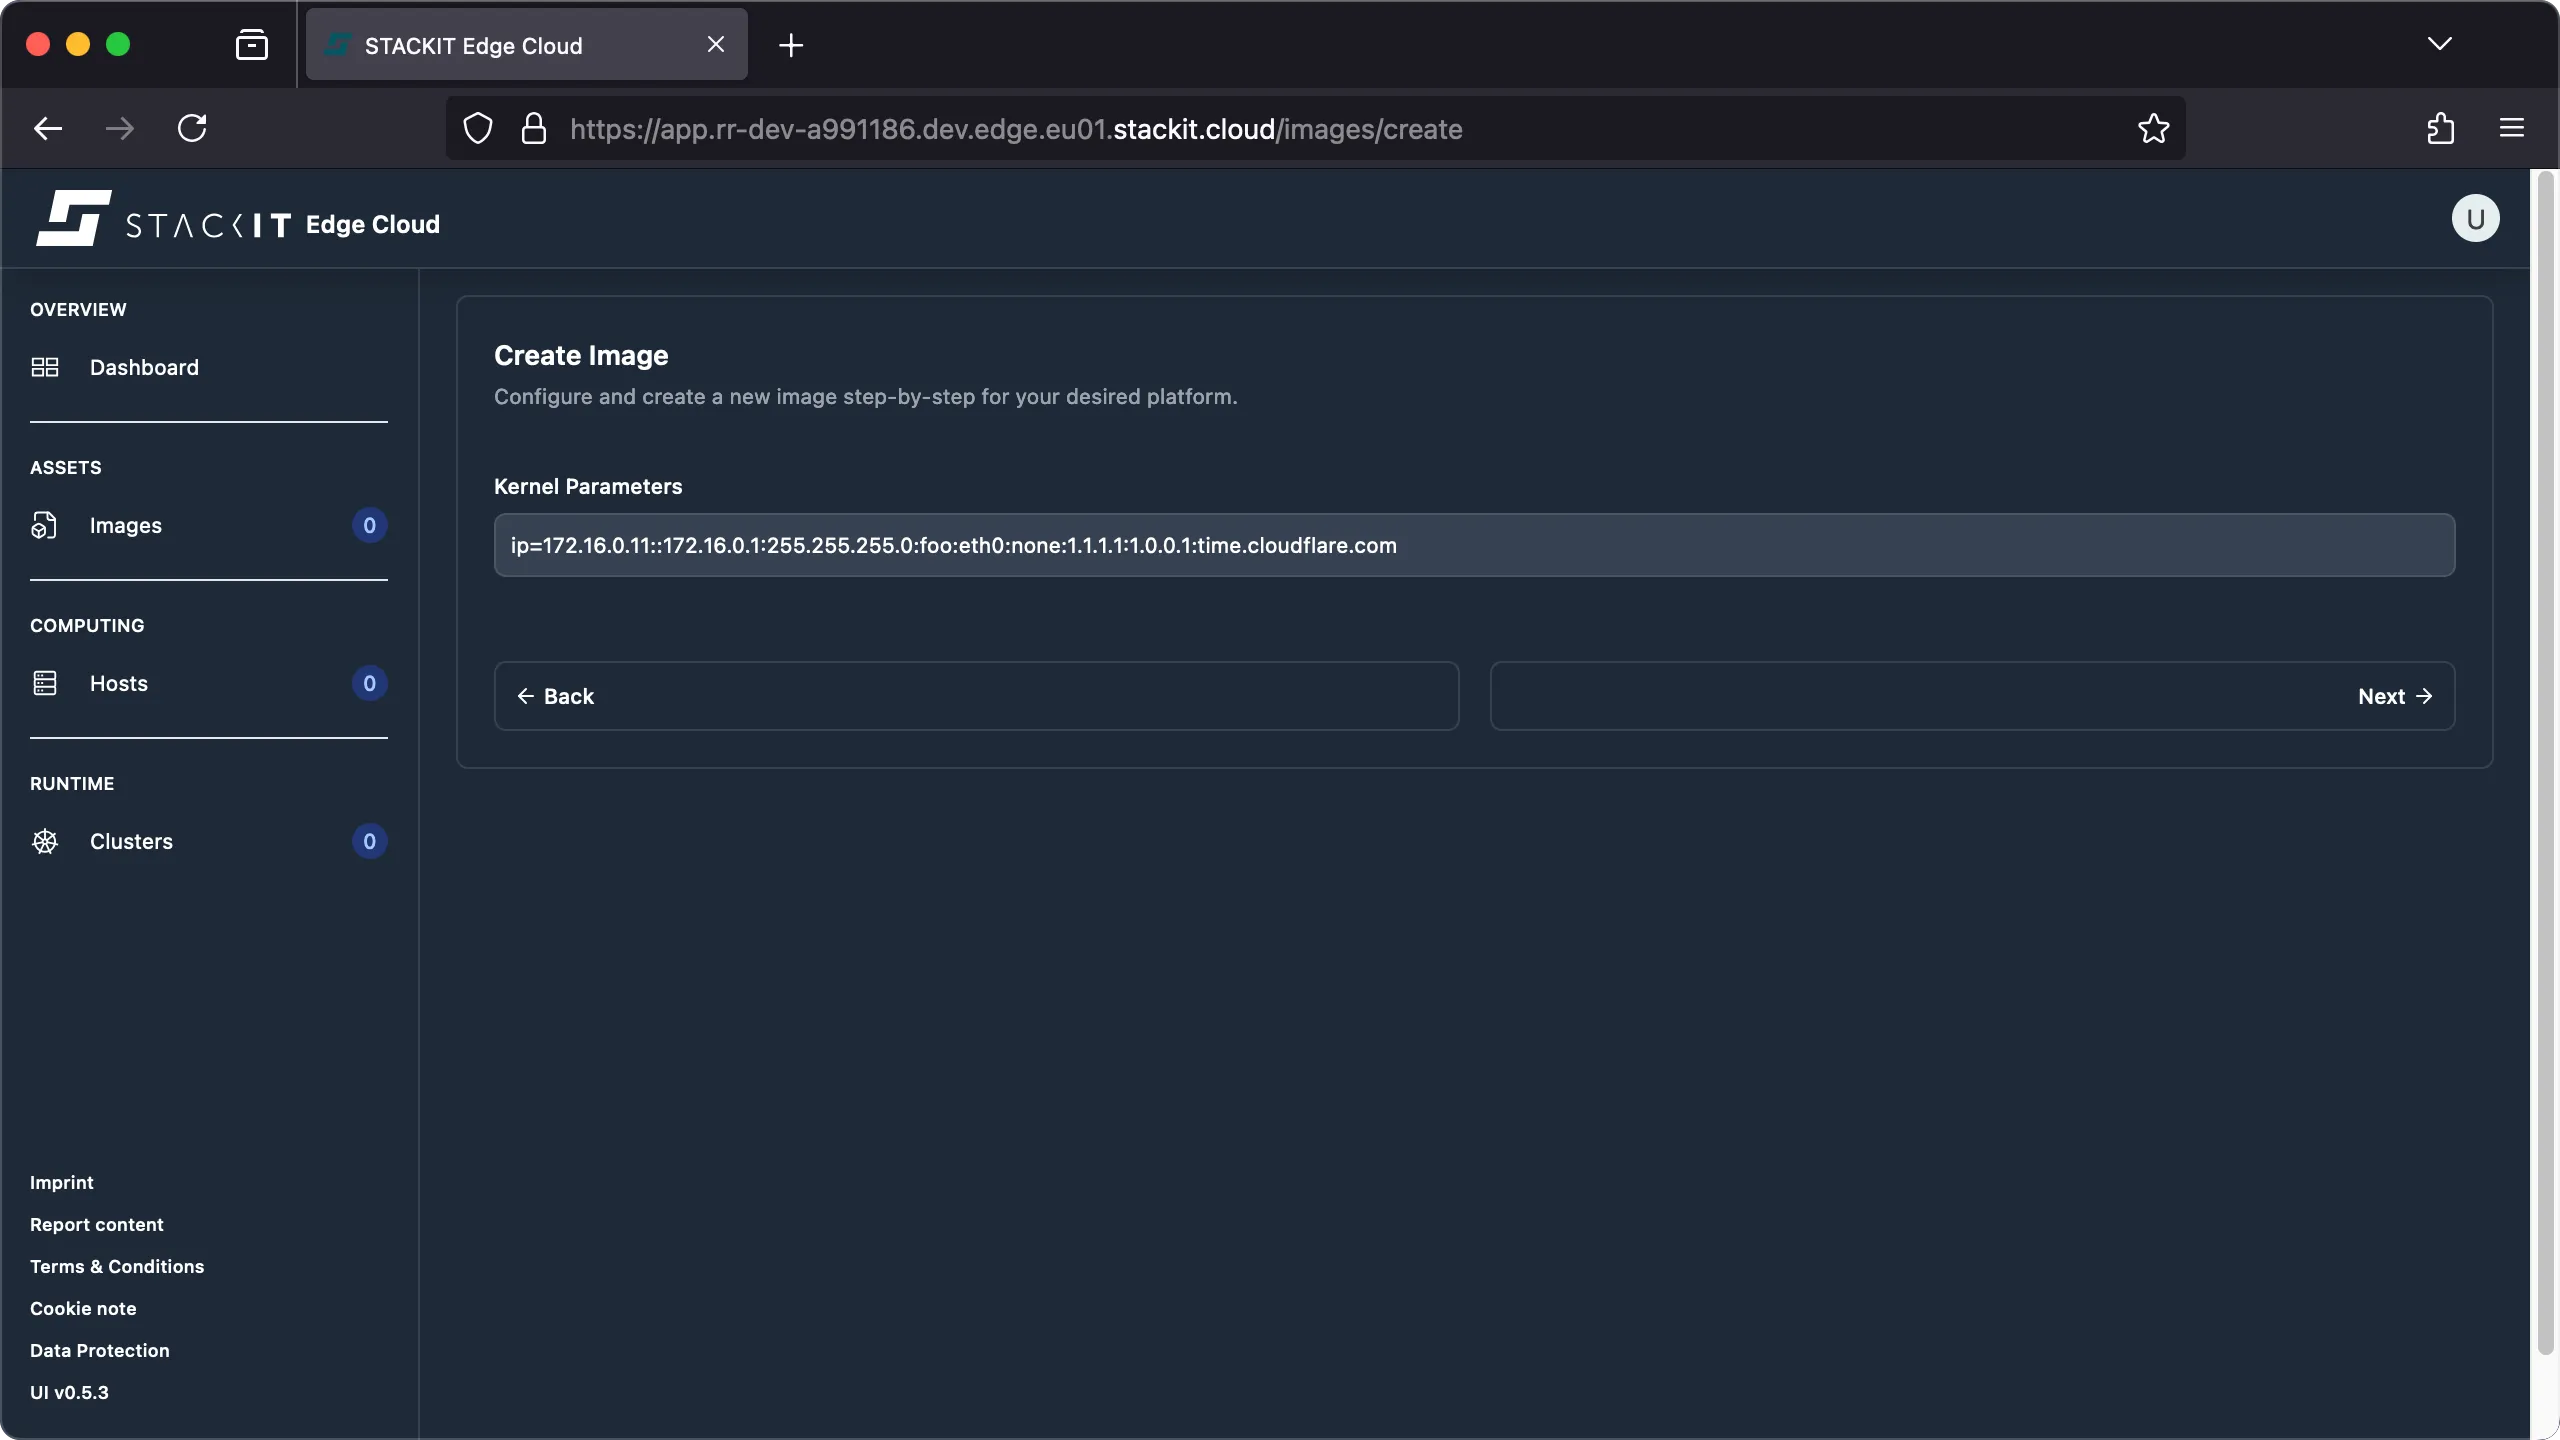
Section titled “Static network”You may have to configure a static IP address so that the STEC node is able to reach your STEC instance. This is done through using the ip kernel parameter.
General syntax
Section titled “General syntax”# kernel argsip=<CLIENT_IP>:<SERVER_IP>:<GATEWAY_IP>:<NETMASK>:<HOSTNAME>:<DEVICE>:<AUTOCONF>:<DNS_SERVER_IP_0>:<DNS_SERVER_IP_1>:<NTP_SERVER_IP>Predictable Interface Names are used for all NICs by default. If you want to use legacy naming you may add net.ifnames=0 to the kernel command line as well or use a dummy device selector as indicated in the article. Cloud Platforms still use the legacy naming scheme as Talos automatically adds net.ifnames=0 to the kernel command for those.
Example usage
Section titled “Example usage”# kernel argsip=172.16.0.11::172.16.0.1:255.255.255.0:foo:eth0:none:1.1.1.1:1.0.0.1:time.cloudflare.com-
From the UI when creating an image you’ll be presented with a input field for the kernel parameters to integrate into the image.
-
Add the kernel parameters as needed. If you have to add multiple parameters use space as a delimiter.
-
When reviewing the image parameters you should find all kernel parameters that will be part of the image listed.
Internet proxy
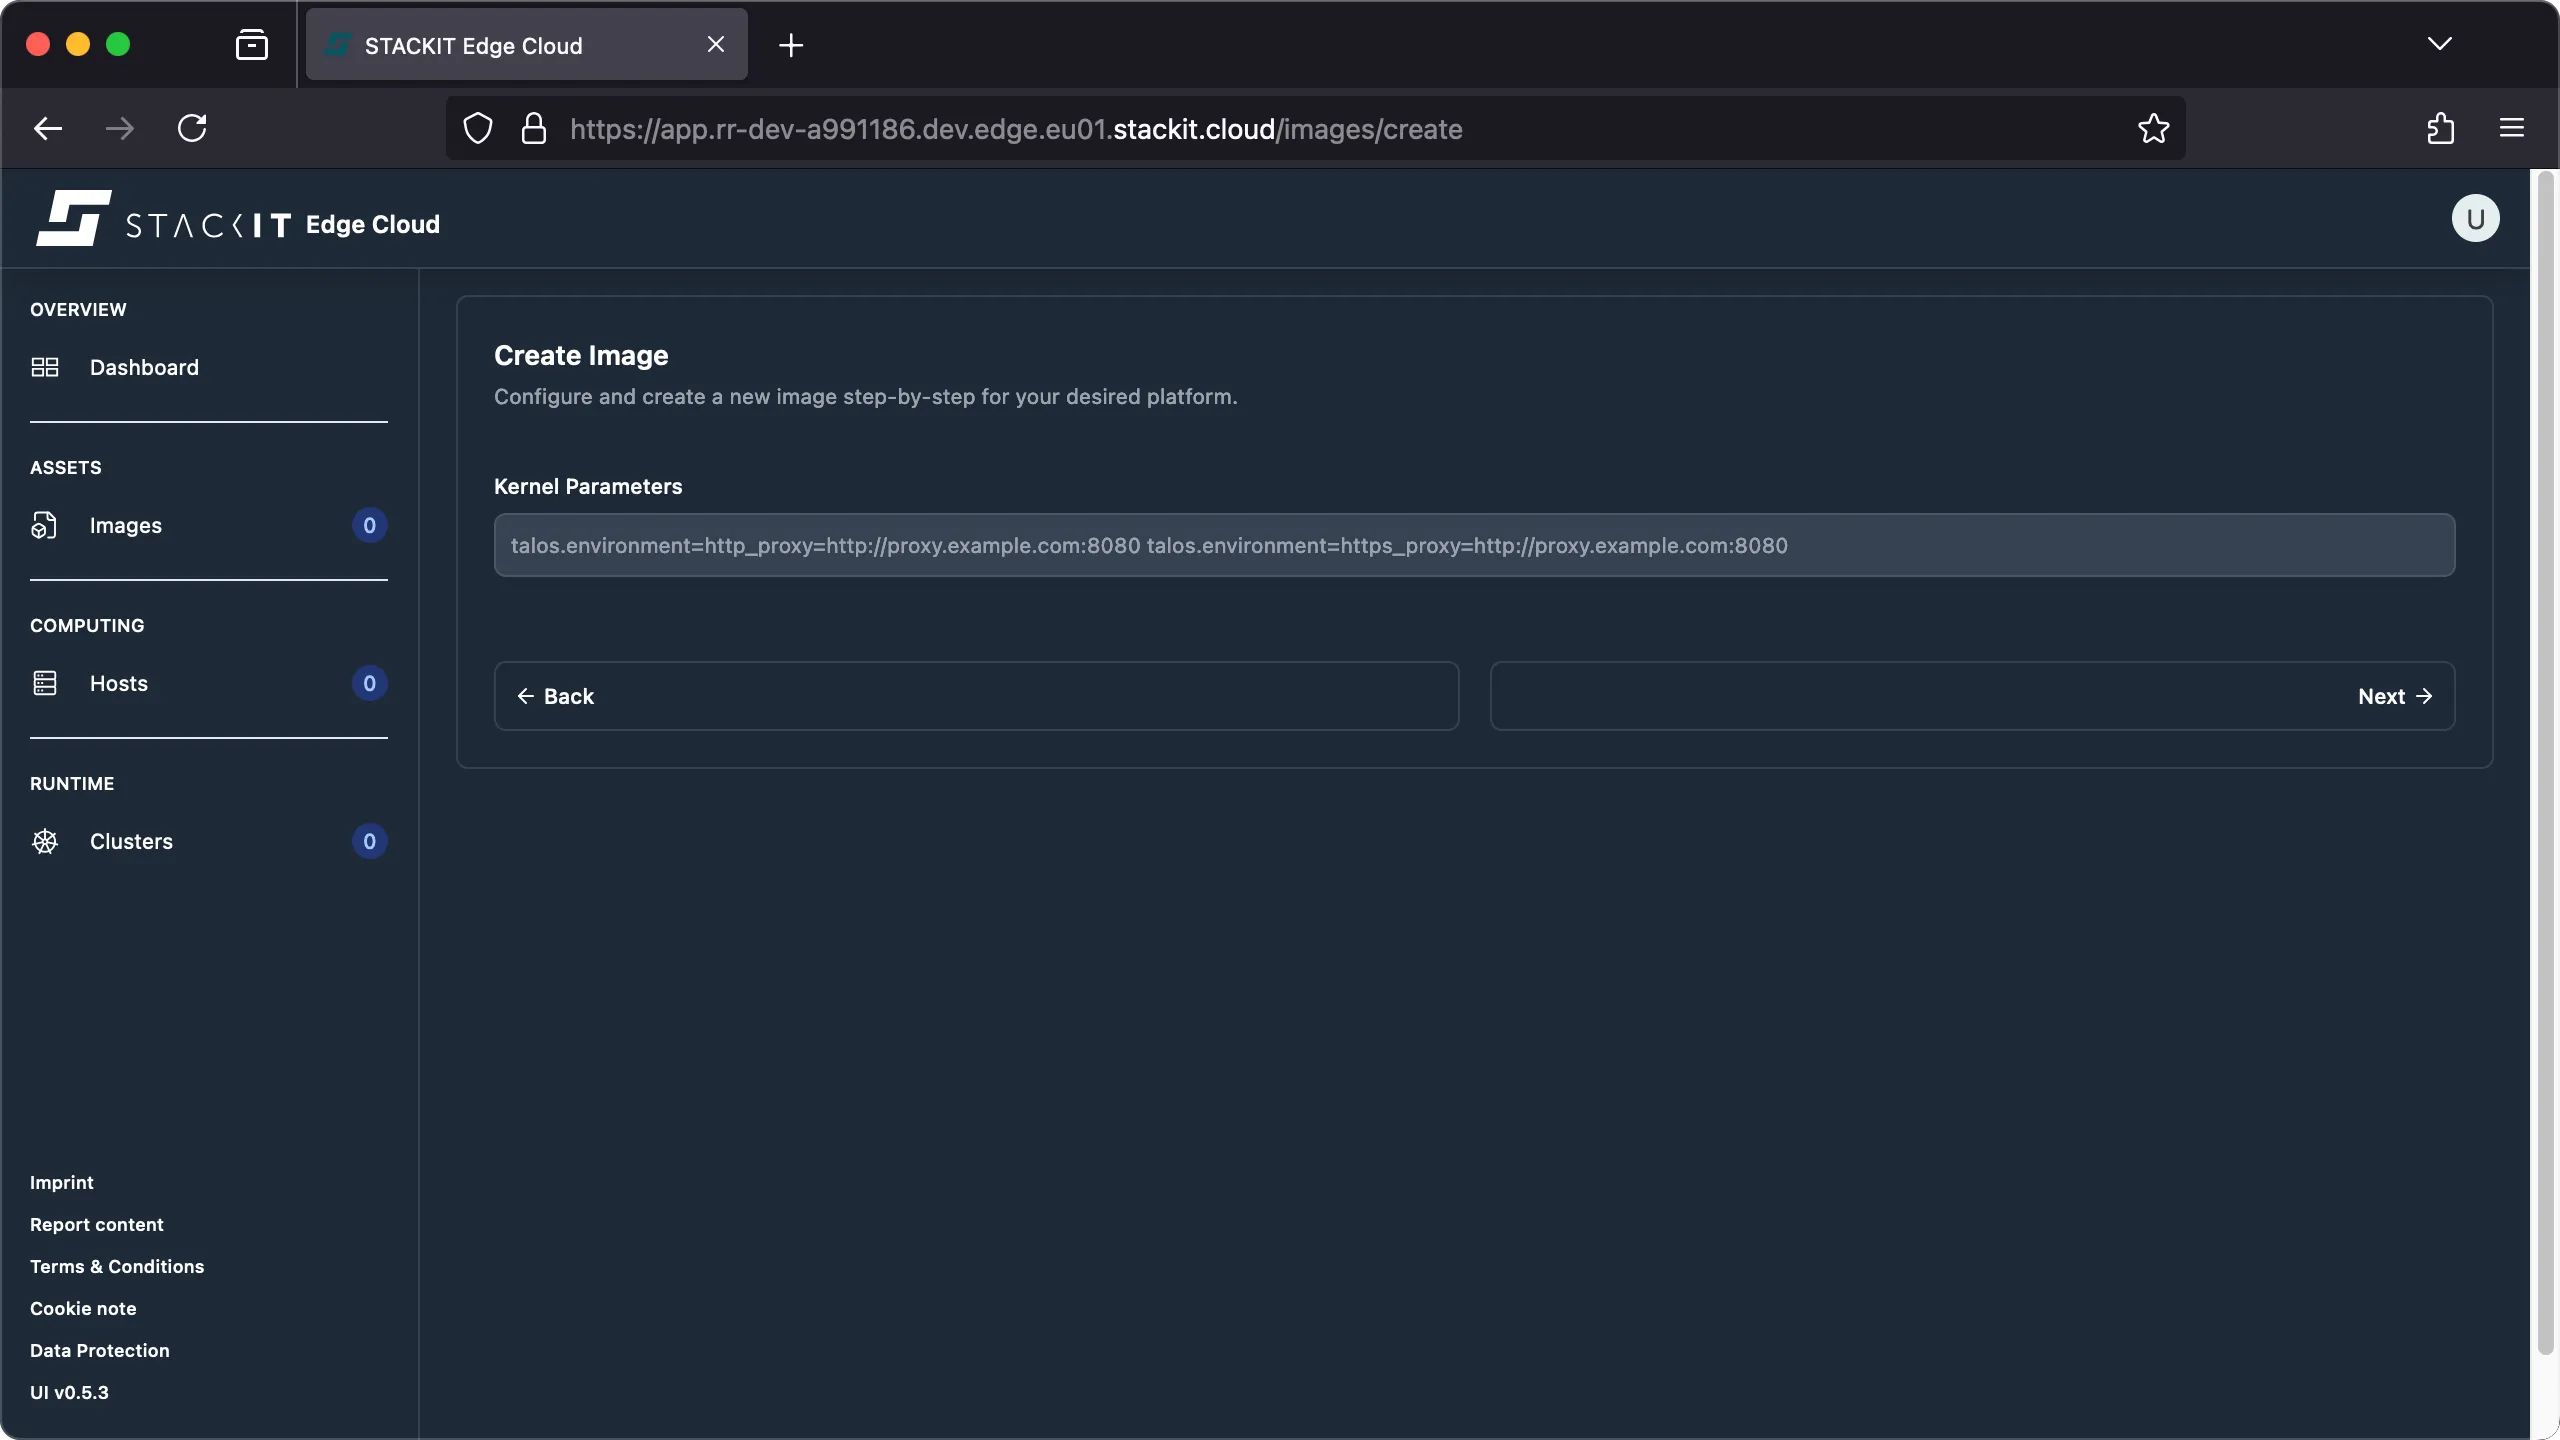
Section titled “Internet proxy”STACKIT Edge Cloud requires an outbound, HTTPS connection in order for the STEC node to register with your STEC instance hosted on stackit.cloud. You may have to configure a internet proxy if there is no direct internet connection from the STEC node you’re trying to install. This is done through using the talos.environment kernel parameter.
General syntax
Section titled “General syntax”# kernel argstalos.environment=KEY=VALUEExample usage
Section titled “Example usage”# kernel argstalos.environment=http_proxy=http://proxy.example.net:8080 talos.environment=https_proxy=http://proxy.example.net:8443 talos.environment=no_proxy=localhost,127.0.0.1,10.0.0.0/8,172.16.0.0/12,192.168.0.0/16,.cluster.local.,.cluster.local,.svc,.svc.-
From the UI when creating an image you’ll be presented with a input field for the kernel parameters to integrate into the image.
-
Add the kernel parameters as needed. If you have to add multiple parameters use space as a delimiter.
-
When reviewing the image parameters you should find all kernel parameters that will be part of the image listed.