CLI & API
Zuletzt aktualisiert am
Voraussetzungen
Abschnitt betitelt „Voraussetzungen“- Erstellen Sie einen Service-Account für Ihr STACKIT Portal-Projekt und notieren Sie sich dessen Email-Adresse.
- Fügen Sie den Service-Account in der Sektion Berechtigungen der Gruppe
project.memberhinzu. - Erstellen Sie einen Zugriffstoken für den Service-Account.
Mit diesem Zugriffstoken können Sie entweder weiterhin die STACKIT CLI oder die API direkt verwenden, um Ihre Instanzen und Benutzer bereitzustellen.
Secrets Manager API
Abschnitt betitelt „Secrets Manager API“Wenn Sie es vorziehen, direkt mit der API zu interagieren, besuchen Sie die OpenAPI-Spezifikation.
Interaktion mit Ihrer Secrets Manager-Instanz
Abschnitt betitelt „Interaktion mit Ihrer Secrets Manager-Instanz“Vault CLI
Abschnitt betitelt „Vault CLI“Installieren Sie die CLI wie in der Vault-Dokumentation beschrieben. Legen Sie die Cluster-Adresse als Umgebungsvariable fest und melden Sie sich mit der userpass-Methode an, um Ihre Zugangsdaten über die CLI zu verwalten:
$ export VAULT_ADDR=https://prod.sm.eu01.stackit.cloudAuthentifizierung
Abschnitt betitelt „Authentifizierung“Um sich gegenüber der Vault CLI zu authentifizieren, verwenden Sie die userpass-Methode. Erstellen Sie hierfür einen neuen Benutzer in Ihrer STACKIT Secrets Manager-Instanz und verwenden Sie anschließend den Benutzernamen und das Passwort, um sich zu authentifizieren:
$ vault login -method=userpass username= password=""Mit dieser Authentifizierungsmethode wird ein Token in Ihrem System hinterlegt, das für zukünftige Authentifizierungen verwendet wird. Dieses Token hat eine Standard-TTL (Time-to-Live) von 15 Minuten. Sie können dieses Token auch verwalten, z. B. die TTL erhöhen, es anzeigen, löschen etc.
Weitere Informationen finden Sie in der HashiCorp token documentation.
Secrets Path @STACKIT
Abschnitt betitelt „Secrets Path @STACKIT“Wie der Name schon sagt, ist dies der Pfad, der den gewünschten Secret-Pfad beschreibt.
- HashiCorp Secrets Path:
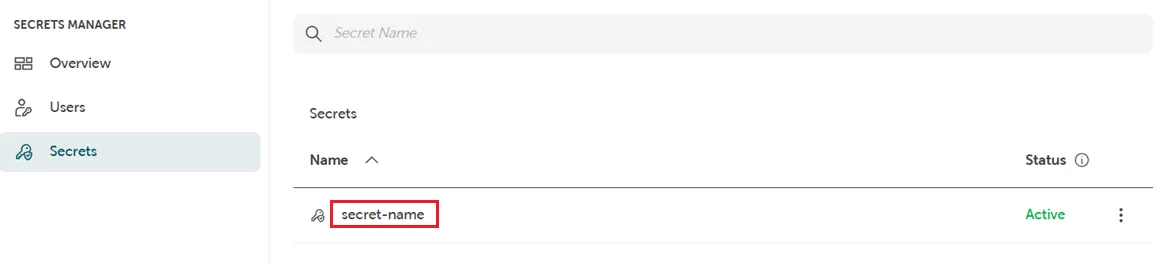
secret/data/creds - STACKIT Secrets Path:
[Secrets-Manager-ID]/data/[Secrets-Name]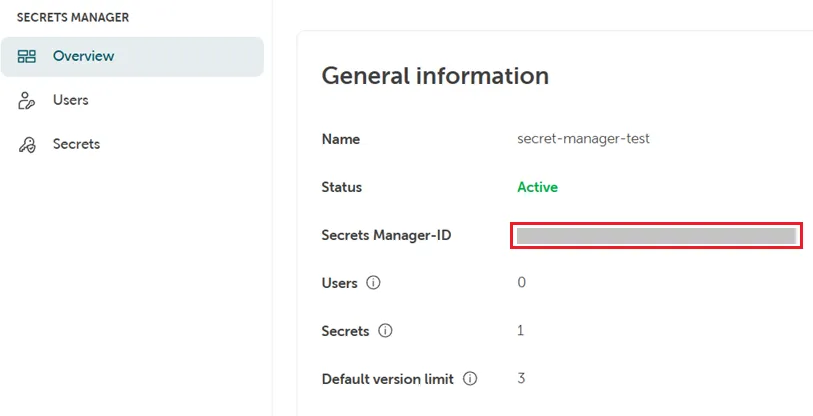
 Sie können Ihre Secrets auch in einer Ordnerstruktur verwalten. Dies könnte wie folgt aussehen:
SecretsFolder/SecretsName
Sie können Ihre Secrets auch in einer Ordnerstruktur verwalten. Dies könnte wie folgt aussehen:
SecretsFolder/SecretsName
Grundlegende Beispiele
$ vault kv put \\ -mount \\ \\ \= \= \======= Secret Path ======= /data/ \======= Metadata ======= Key Value --- ----- created\_time 2024-11-15T01:52:23.434633061Z custom\_metadata deletion\_time n/a destroyed false version 5$ vault kv get -mount \======= Secret Path ======= /data/ \======= Metadata ======= Key Value --- ----- created\_time 2024-11-13T21:58:32.128442898Z custom\_metadata deletion\_time n/a destroyed false version 3 ===== Data ===== Key Value --- -----$ vault token renew --increment=30m ()Weitere Informationen finden Sie in der HashiCorp documentation.
Vault-API
Abschnitt betitelt „Vault-API“Sie können jeden Client verwenden, der mit HashiCorp Vault KV Version 2 kompatibel ist, indem Sie den Authentifizierungs-Endpunkt “UserPass” der API nutzen:
https://prod.sm.eu01.stackit.cloud/ui/vault/auth?with=UserpassAuthentifizierung
Abschnitt betitelt „Authentifizierung“Um sich zu authentifizieren, benötigen Sie einen Benutzernamen und ein Passwort, die Sie in Ihrer STACKIT Secrets Manager-Instanz erstellen können (siehe oben). Damit können Sie den Userpass-Endpunkt verwenden, um ein Zugriffstoken zu generieren, das Sie für weitere API-Anfragen nutzen können.
curl --request POST --data '{password: ""}' /v1/auth/userpass/login/Dieses Token ist 15 Min. gültig und kann über die API oder das CLI verlängert werden. Weitere Informationen finden Sie in der HashiCorp documentation
Grundlegende Beispiele
Abschnitt betitelt „Grundlegende Beispiele“{ "data": { "key": "", "value": "" }, "options": { "max_versions": 5 } }curl \\ --header "X-Vault-Token: " --request POST --data @payload.json /v1//data/curl --header "X-Vault-Token: " --request GET /v1//data/Weitere Informationen finden Sie in der HashiCorp Dokumentation.