Konfigurieren eines bestehenden Windows Servers
Zuletzt aktualisiert am
Service-Konfiguration
Abschnitt betitelt „Service-Konfiguration“Sobald Ihr Server verfügbar ist, ändert sich sein Status von Wird erstellt… zu Aktiv.

An dieser Stelle können Sie zusätzliche Eigenschaften überprüfen oder ändern, wie unten gezeigt.
Übersicht
Abschnitt betitelt „Übersicht“Allgemeine Informationen
Abschnitt betitelt „Allgemeine Informationen“Hier erhalten Sie eine Übersicht über den aktuellen Status des Servers:
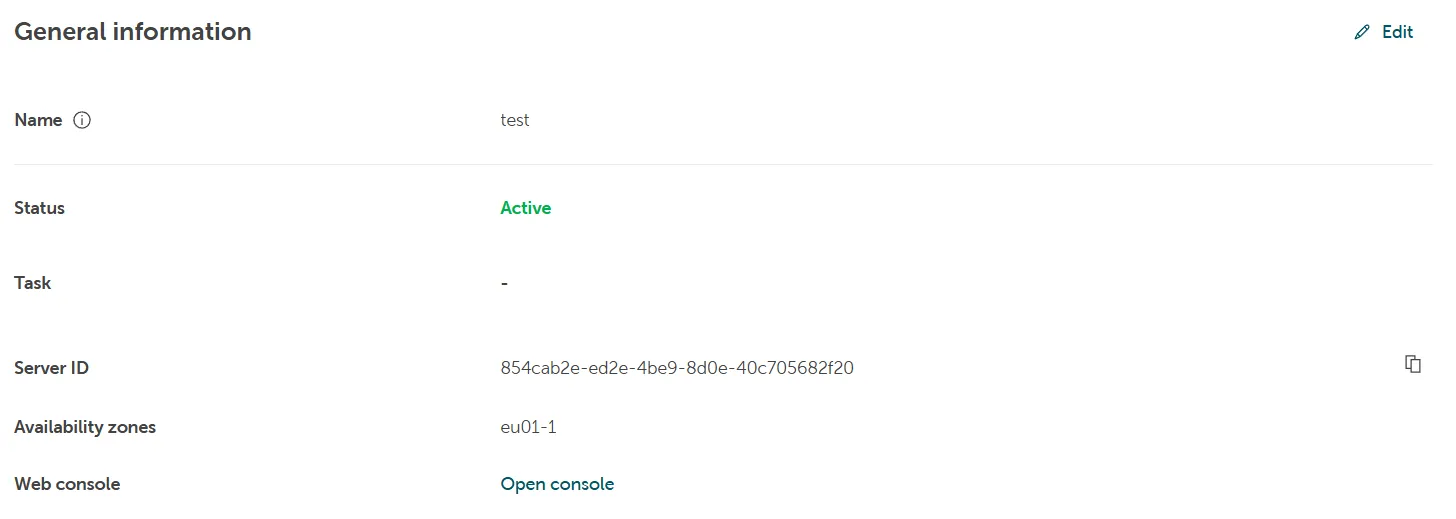
Sie können den Namen des Servers hier ändern.
Server-ID
Abschnitt betitelt „Server-ID“Die ID in OpenStack, die mit diesem Server verknüpft ist.
Verfügbarkeitszonen
Abschnitt betitelt „Verfügbarkeitszonen“Zeigt die Verfügbarkeitszone an, in welcher der Server gehostet wird.
Web-Konsole
Sie können auf den Hyperlink klicken, um die STACKIT Web-Konsole zu öffnen und auf Ihren Server zuzugreifen.
Maschineneinrichtung
Abschnitt betitelt „Maschineneinrichtung“Diese Übersicht zeigt die technische Konfiguration Ihres Servers an.
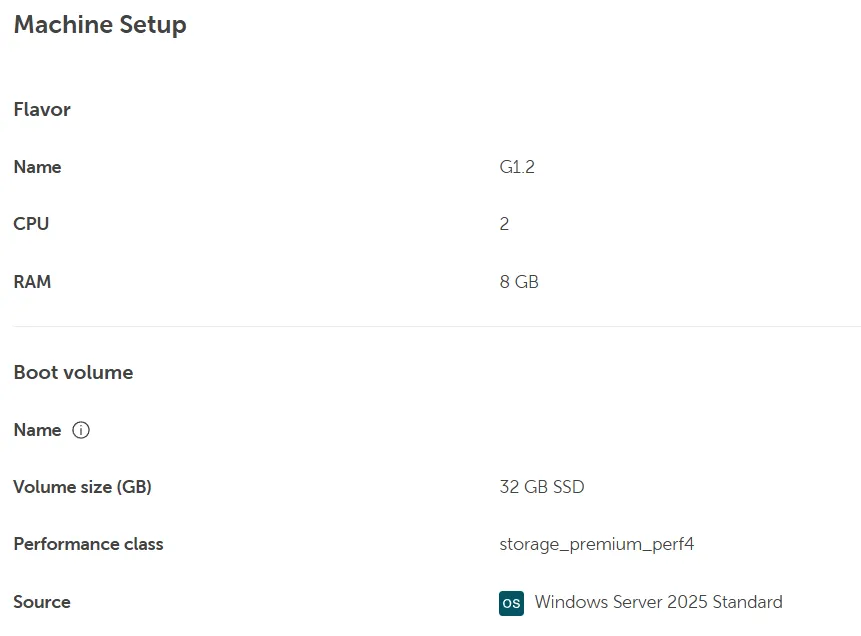
Hier finden Sie den ausgewählten Flavor und die zugrunde liegenden Hardware-Spezifikationen.
Die konfigurierten Leistungswerte können über das STACKIT Portal nicht geändert werden. Sie haben jedoch die Möglichkeit, diese entsprechend anzupassen, indem Sie die Größe des Servers über die STACKIT IaaS-CLI/API auf einen anderen Flavor ändern.
Weitere Informationen finden Sie in der entsprechenden Dokumentation: Erste Schritte mit der IaaS-API
Boot-Volume
Abschnitt betitelt „Boot-Volume“Hier finden Sie detaillierte Informationen zum Boot-Volume, einschließlich der Volume-Größe und der OS-Version.
Disk-Volume
Abschnitt betitelt „Disk-Volume“In diesem Menü können Sie Volumes zu Ihrem Server hinzufügen oder entfernen und erhalten eine Übersicht über die aktuell an Ihren Server angehängten Volumes.
Wenn Sie auf die Schaltfläche Disk-Volume anhängen klicken, haben Sie die Möglichkeit, aus allen nicht angehängten Volumes auszuwählen, die derzeit in Ihrem Projekt verfügbar sind.

In diesem Fall haben wir außer dem Boot-Volume, auf dem das Betriebssystem installiert ist (Standardlaufwerk C:), noch kein zusätzliches Volume erstellt. Daher ist die Schaltfläche ausgegraut.
Zusätzliche Volumes erstellen
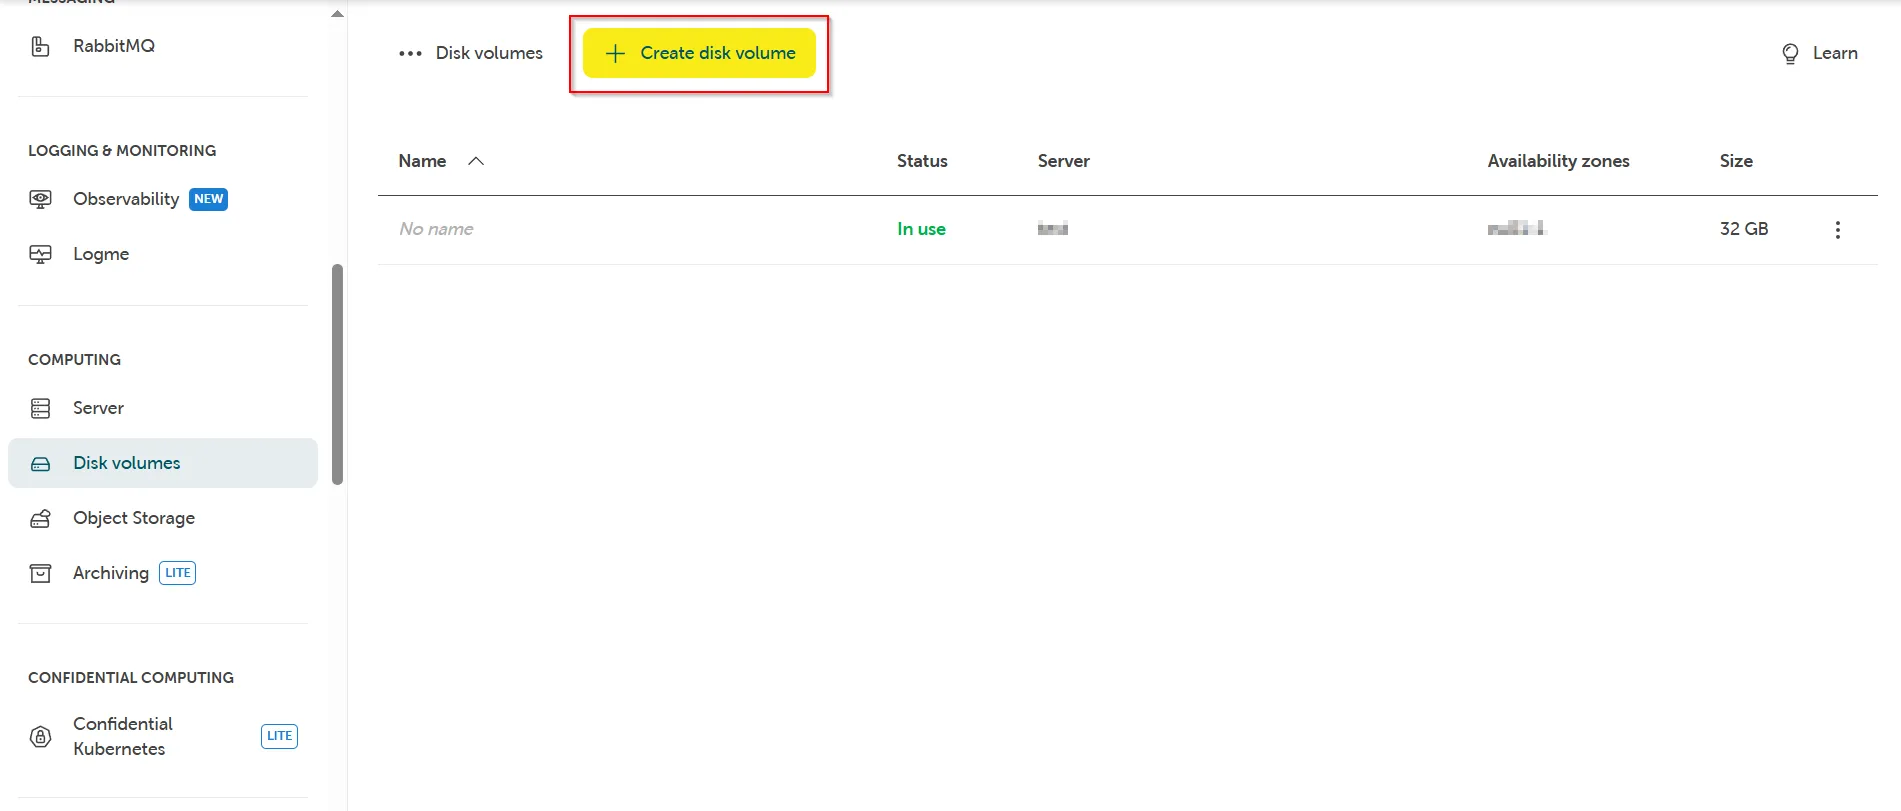
Abschnitt betitelt „Zusätzliche Volumes erstellen“Um ein oder mehrere zusätzliche Volumes in Ihrem Projekt zu erstellen, verlassen Sie die Server-Ansicht und navigieren Sie auf der linken Seite zu Computing. Wählen Sie dann Disk-Volumes und dort oben in der Mitte des Bildschirms Disk-Volume erstellen.
Geben Sie den Namen und die Beschreibung ein und wählen Sie eine Verfügbarkeitszone aus, um den Bereitstellungsort Ihrer Ressource zu definieren und festzulegen, ob diese redundant verfügbar sein soll.
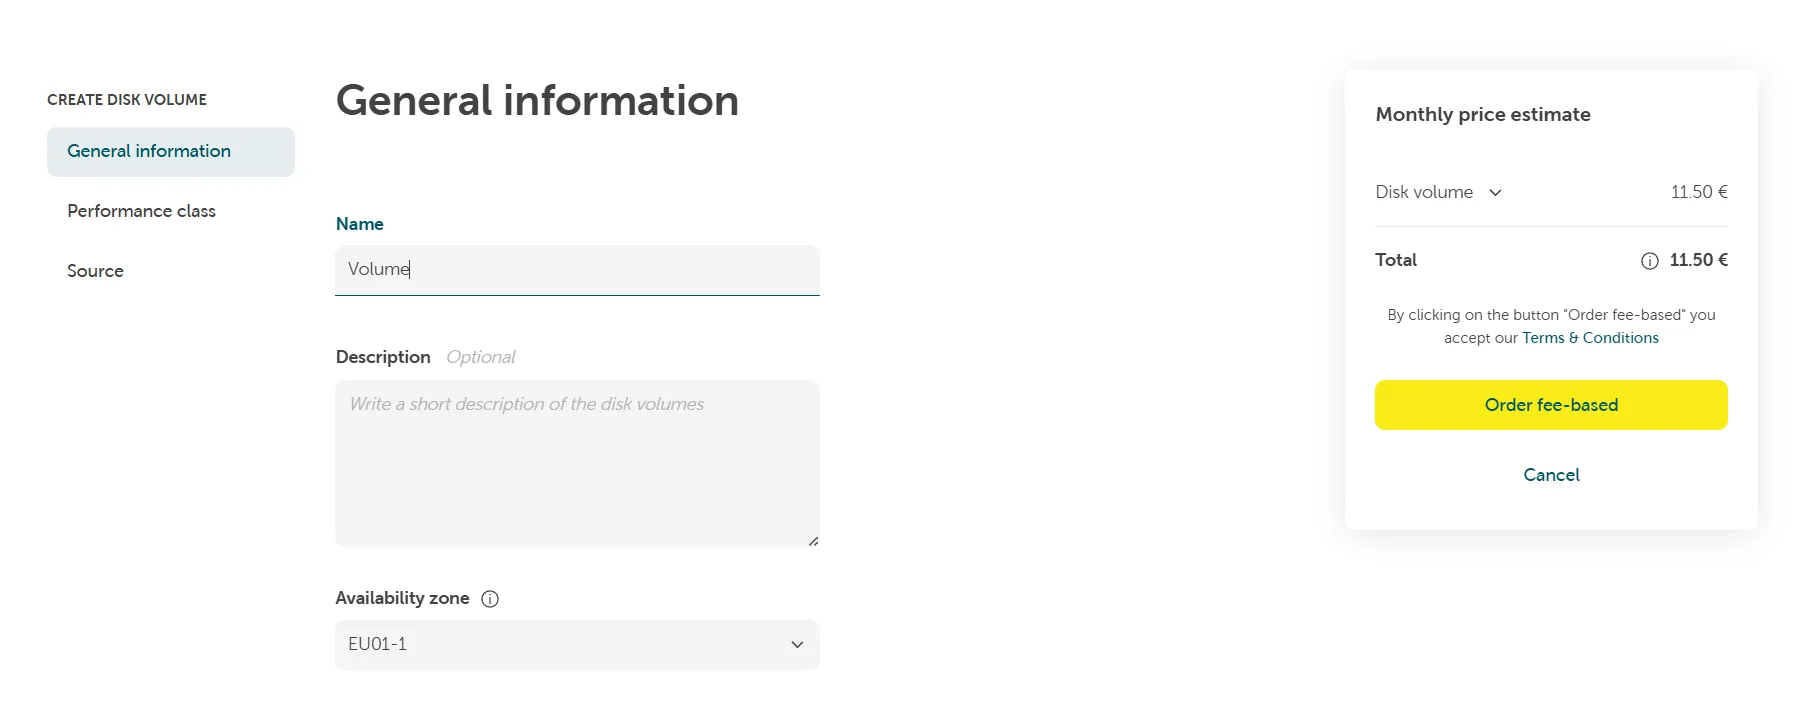
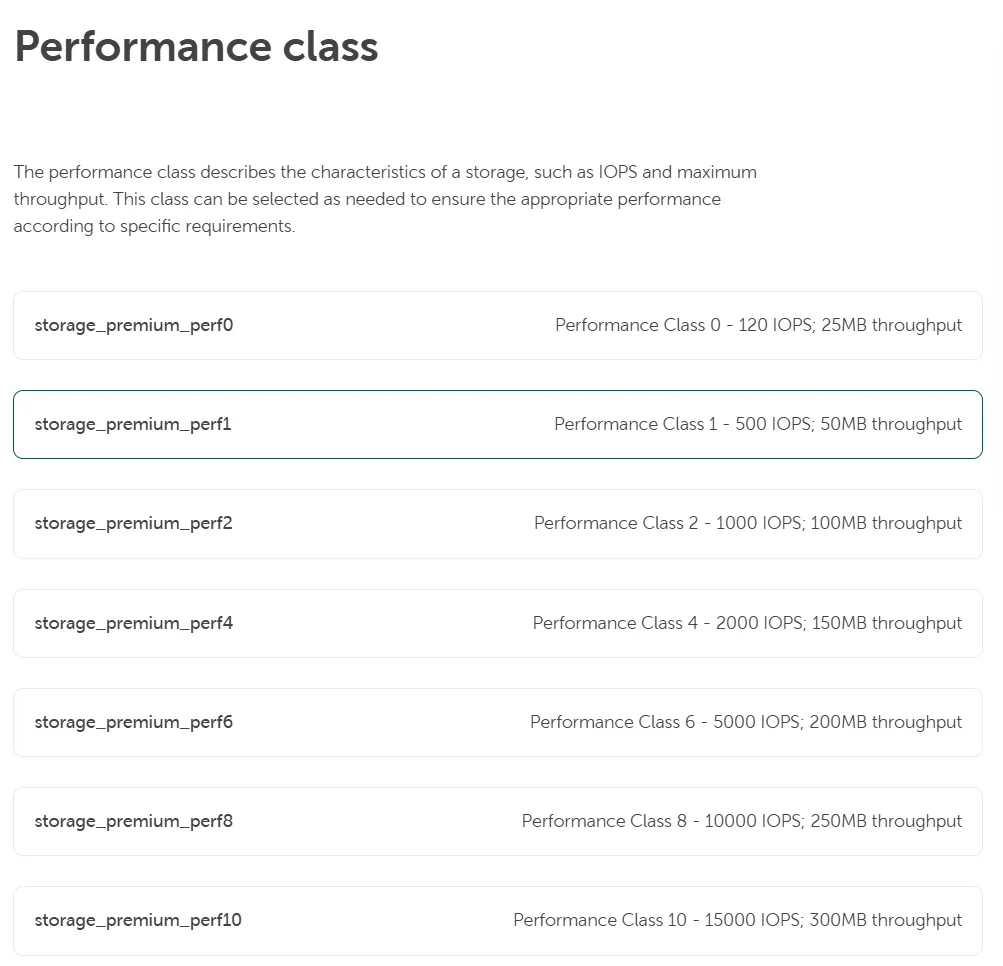
Wählen Sie die bevorzugte Leistungsklasse Ihres Volumes basierend auf Ihren Anforderungen aus.
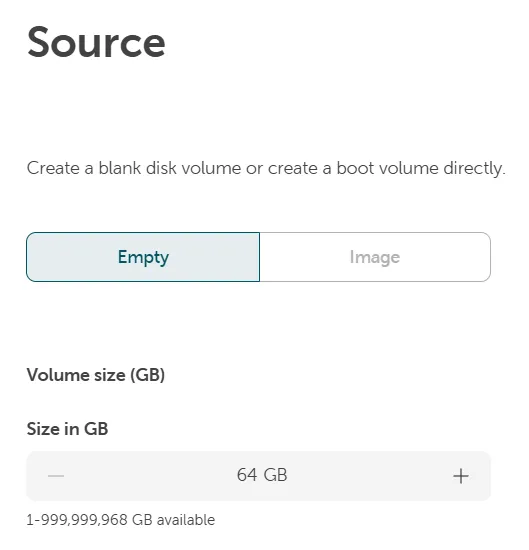
Geben Sie an, ob ein leeres Disk-Volume oder ein Volume aus einem Image bereitgestellt werden soll.
Drücken Sie die Schaltfläche +/-, um die bevorzugte Volume-Größe einzustellen, oder geben Sie den Wert direkt in das entsprechende Feld ein.
Sobald das Volume erstellt wurde, steht es in Ihrer Server-Übersicht zur Auswahl und kann entsprechend an Ihren Server angehängt werden.
Anschließend können Sie dieses Volume wie jeden anderen virtuellen Datenträger in Windows verwalten. Initialisieren, online schalten, partitionieren, formatieren und vieles mehr.
Netzwerk
Abschnitt betitelt „Netzwerk“Übersicht
Abschnitt betitelt „Übersicht“Zeigt die aktuelle Netzwerkkonfiguration Ihrer Maschine an.
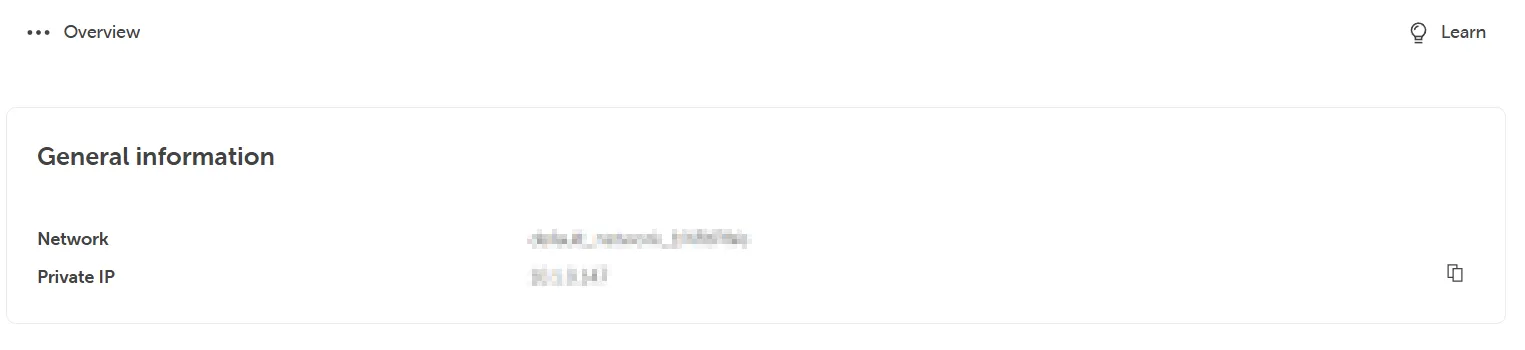
Netzwerk
Abschnitt betitelt „Netzwerk“Das Standardnetzwerk, das Ihrem Server bei der Erstellung zugewiesen wurde.
Private IP
Abschnitt betitelt „Private IP“Wenn der Server erstellt wird, erhält er über DHCP eine dynamische interne Netzwerk-IP-Adresse. Diese Adresse fungiert jedoch als feste IP-Zuweisung, bis der Netzwerkadapter des Servers entfernt, der Server gelöscht oder neu erstellt wird oder Änderungen über die STACKIT IaaS-API/CLI vorgenommen werden.
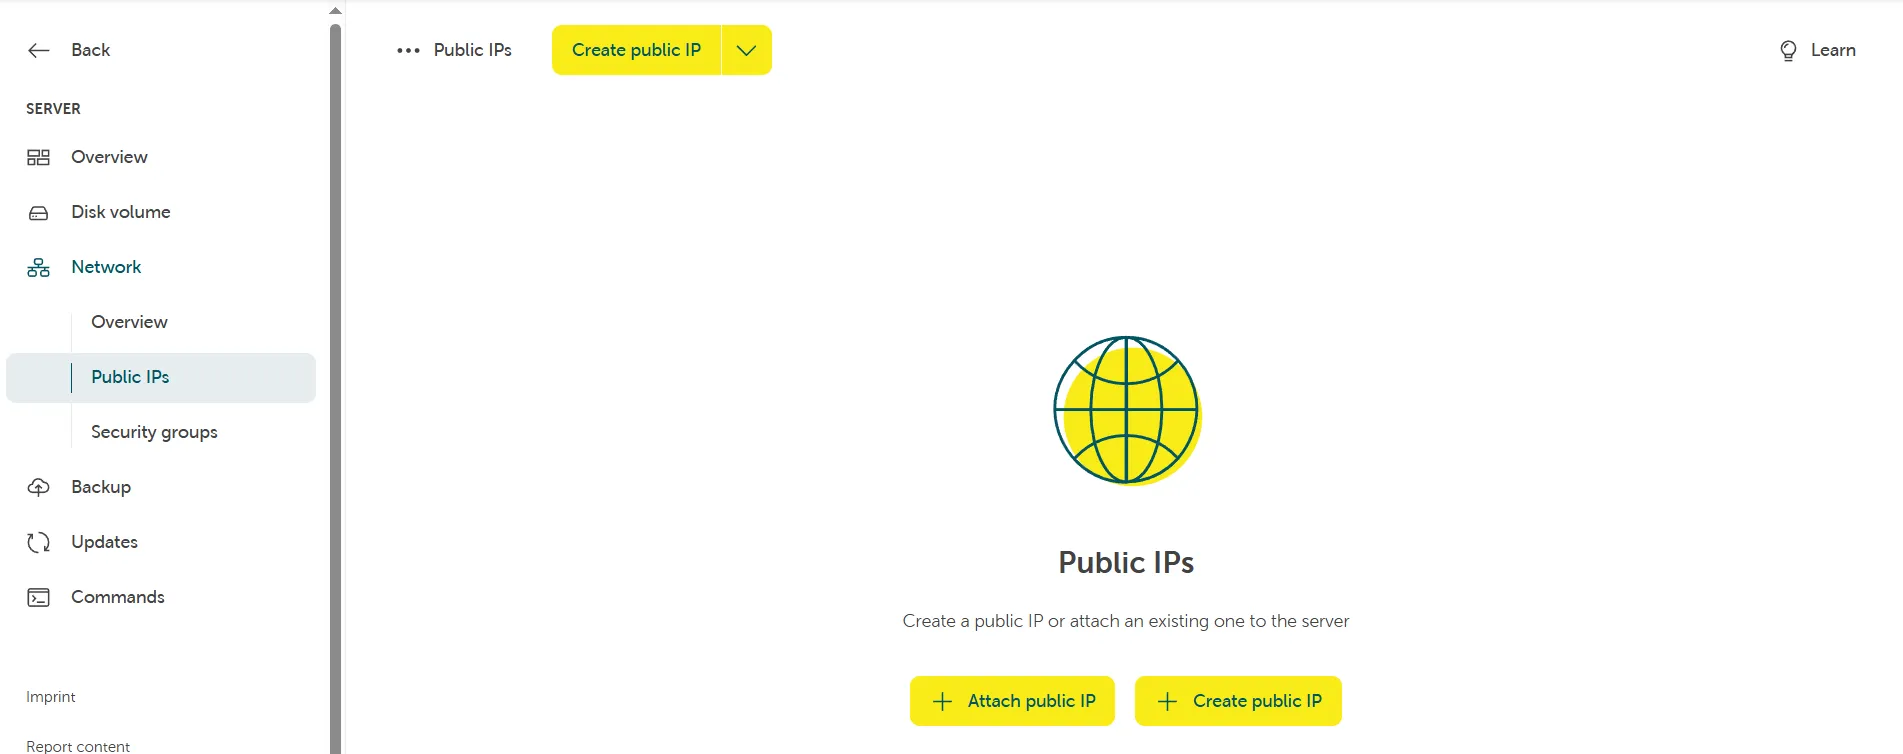
Öffentliche IPs
Abschnitt betitelt „Öffentliche IPs“Sie können Ihrem Server eine öffentliche IP-Adresse hinzufügen und/oder entfernen.
Sicherheitsgruppen
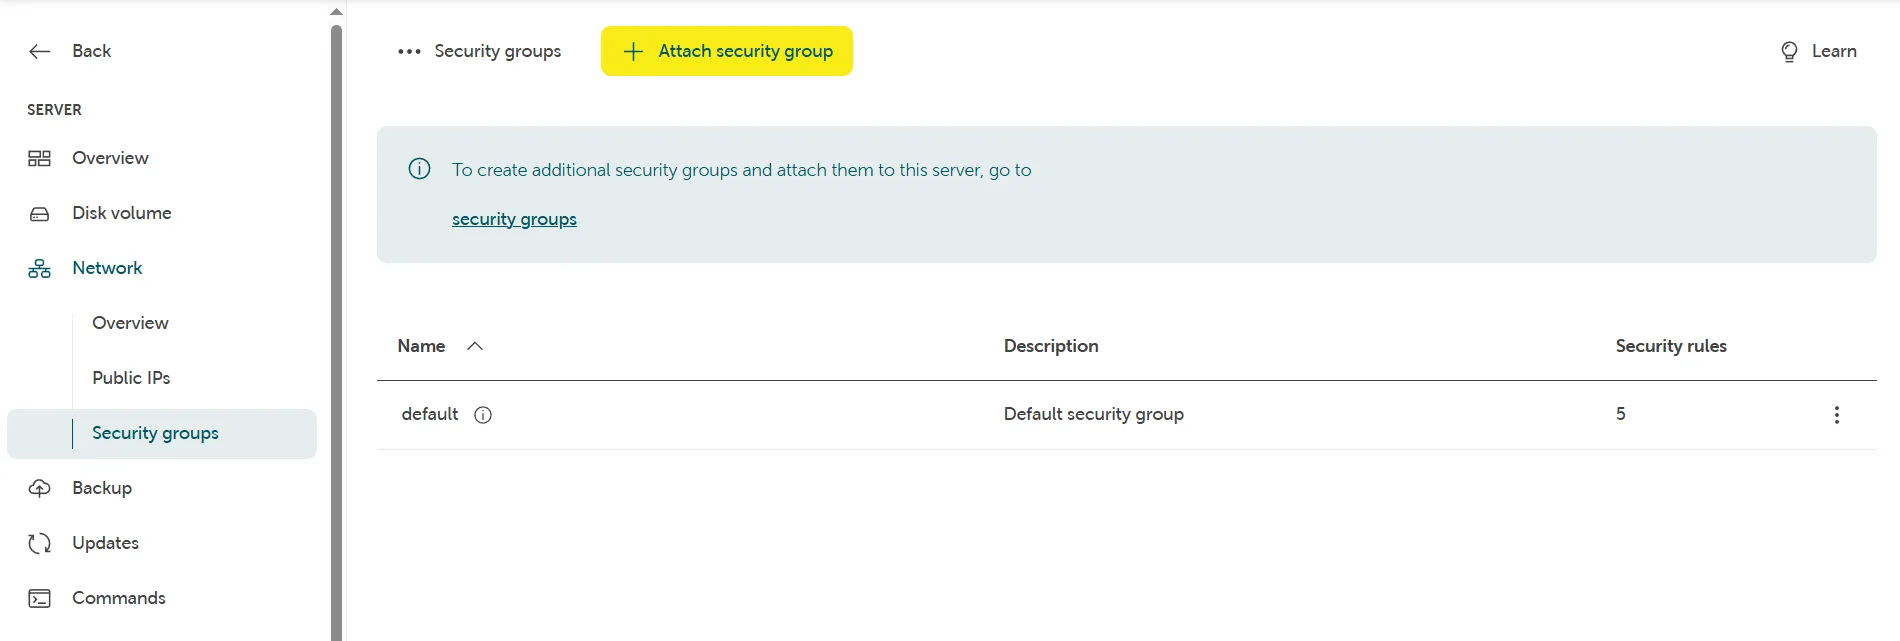
Abschnitt betitelt „Sicherheitsgruppen“Sicherheitsgruppe(n) bearbeiten
Abschnitt betitelt „Sicherheitsgruppe(n) bearbeiten“Sobald der Server erstellt ist, wird eine Standard-Sicherheitsgruppe zugewiesen, die ähnlich wie eine virtuelle Firewall funktioniert.
Um beispielsweise den RDP-Zugriff auf Ihren Server oder einen anderen Server, an den die Sicherheitsgruppe angehängt ist, zu ermöglichen, müssen Sie entweder die Regeln der Sicherheitsgruppe ändern oder zusätzliche Sicherheitsgruppen erstellen.
Achten Sie darauf, diese angemessen zu benennen und sie an die relevanten Server anzuhängen.
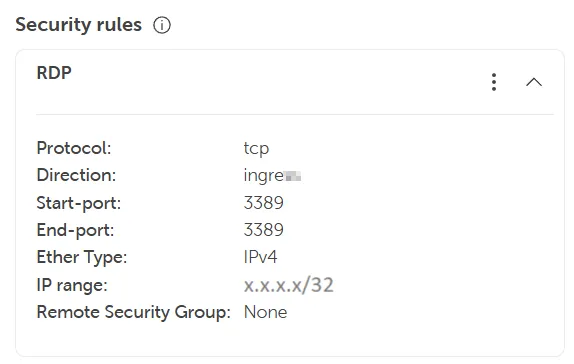
Wann immer möglich, wird empfohlen, die Port-Exposition gegenüber dem Internet zu begrenzen und die CIDR-Notation pro Host mit einer /32-Maske zu verwenden.
Beispiel: Um RDP-Zugriff (Port 3389) für eine einzelne vertrauenswürdige IP-Adresse zu erlauben, verwenden Sie x.x.x.x/32.
Konfigurieren zusätzlicher Verwaltungsdienste für Ihren Server
Abschnitt betitelt „Konfigurieren zusätzlicher Verwaltungsdienste für Ihren Server“Die folgenden Verwaltungsdienste sind optional und können entweder während der Servererstellung oder nachträglich im Server-Konfigurationspanel im STACKIT Portal aktiviert werden.
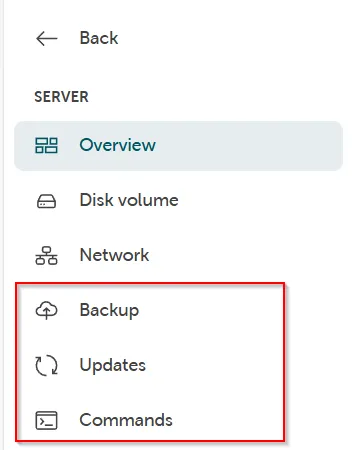
Sicherung
Abschnitt betitelt „Sicherung“Der Server Backup Management-Dienst bietet eine automatische Sicherungsverwaltung für Ihren Server. Weitere Informationen finden Sie in unserer Dokumentation: Server Backup Management
Updates
Abschnitt betitelt „Updates“Der Server Update Management-Dienst ermöglicht die automatische Verwaltung von Windows-Updates auf Ihrem Server und stellt sicher, dass Sie die neuesten Updates von Microsoft erhalten.
Weitere Informationen finden Sie in unserer Dokumentation: Server Update Management
Befehle
Abschnitt betitelt „Befehle“Der Commands-Dienst ermöglicht es Ihnen, die Funktion Run Command zu nutzen, mit der Sie Ihren Server aus der Ferne verwalten können, ohne angemeldet sein zu müssen.
Weitere Informationen finden Sie in unserer Dokumentation: Run Command
Bitte lesen Sie unseren Abschnitt FAQs & Bekannte Probleme bei Windows VMs für weitere Informationen.