Interact with Cloud Foundry
Zuletzt aktualisiert am
In this document we want to show how you can interact with the STACKIT Cloud Foundry, after the creation of your organization. We look at the two main touchpoints and how to get access to your organization.
In this tab you will learn how to use the Cloud Foundry CLI to:
- Identify the Cloud Foundry API-endpoint
- Login with the cf CLI
- Select an organization and space
- View and change the org and space
In the following part we are looking at the approach to interact with the STACKIT Cloud Foundry by using the Cloud Foundry command line interface. For now, this is the recommended approach to harness the full power of the Cloud Foundry API, being the central component of our STACKIT Cloud Foundry offering.
In order to follow this approach you need to have the Cloud Foundry CLI installed.
Identify the Cloud Foundry API-endpoint
Section titled “Identify the Cloud Foundry API-endpoint”In order to login to the Cloud Foundry CLI, you need to get the API-Endpoint the CLI should point to. You can find the API Endpoint in the Cloud Foundry Organisation Overview of your Project in the STACKIT Portal. For this you just need to click on any of your listed orgs and copy the login command with the right API Endpoint from the context menu on the right as seen in the image below.
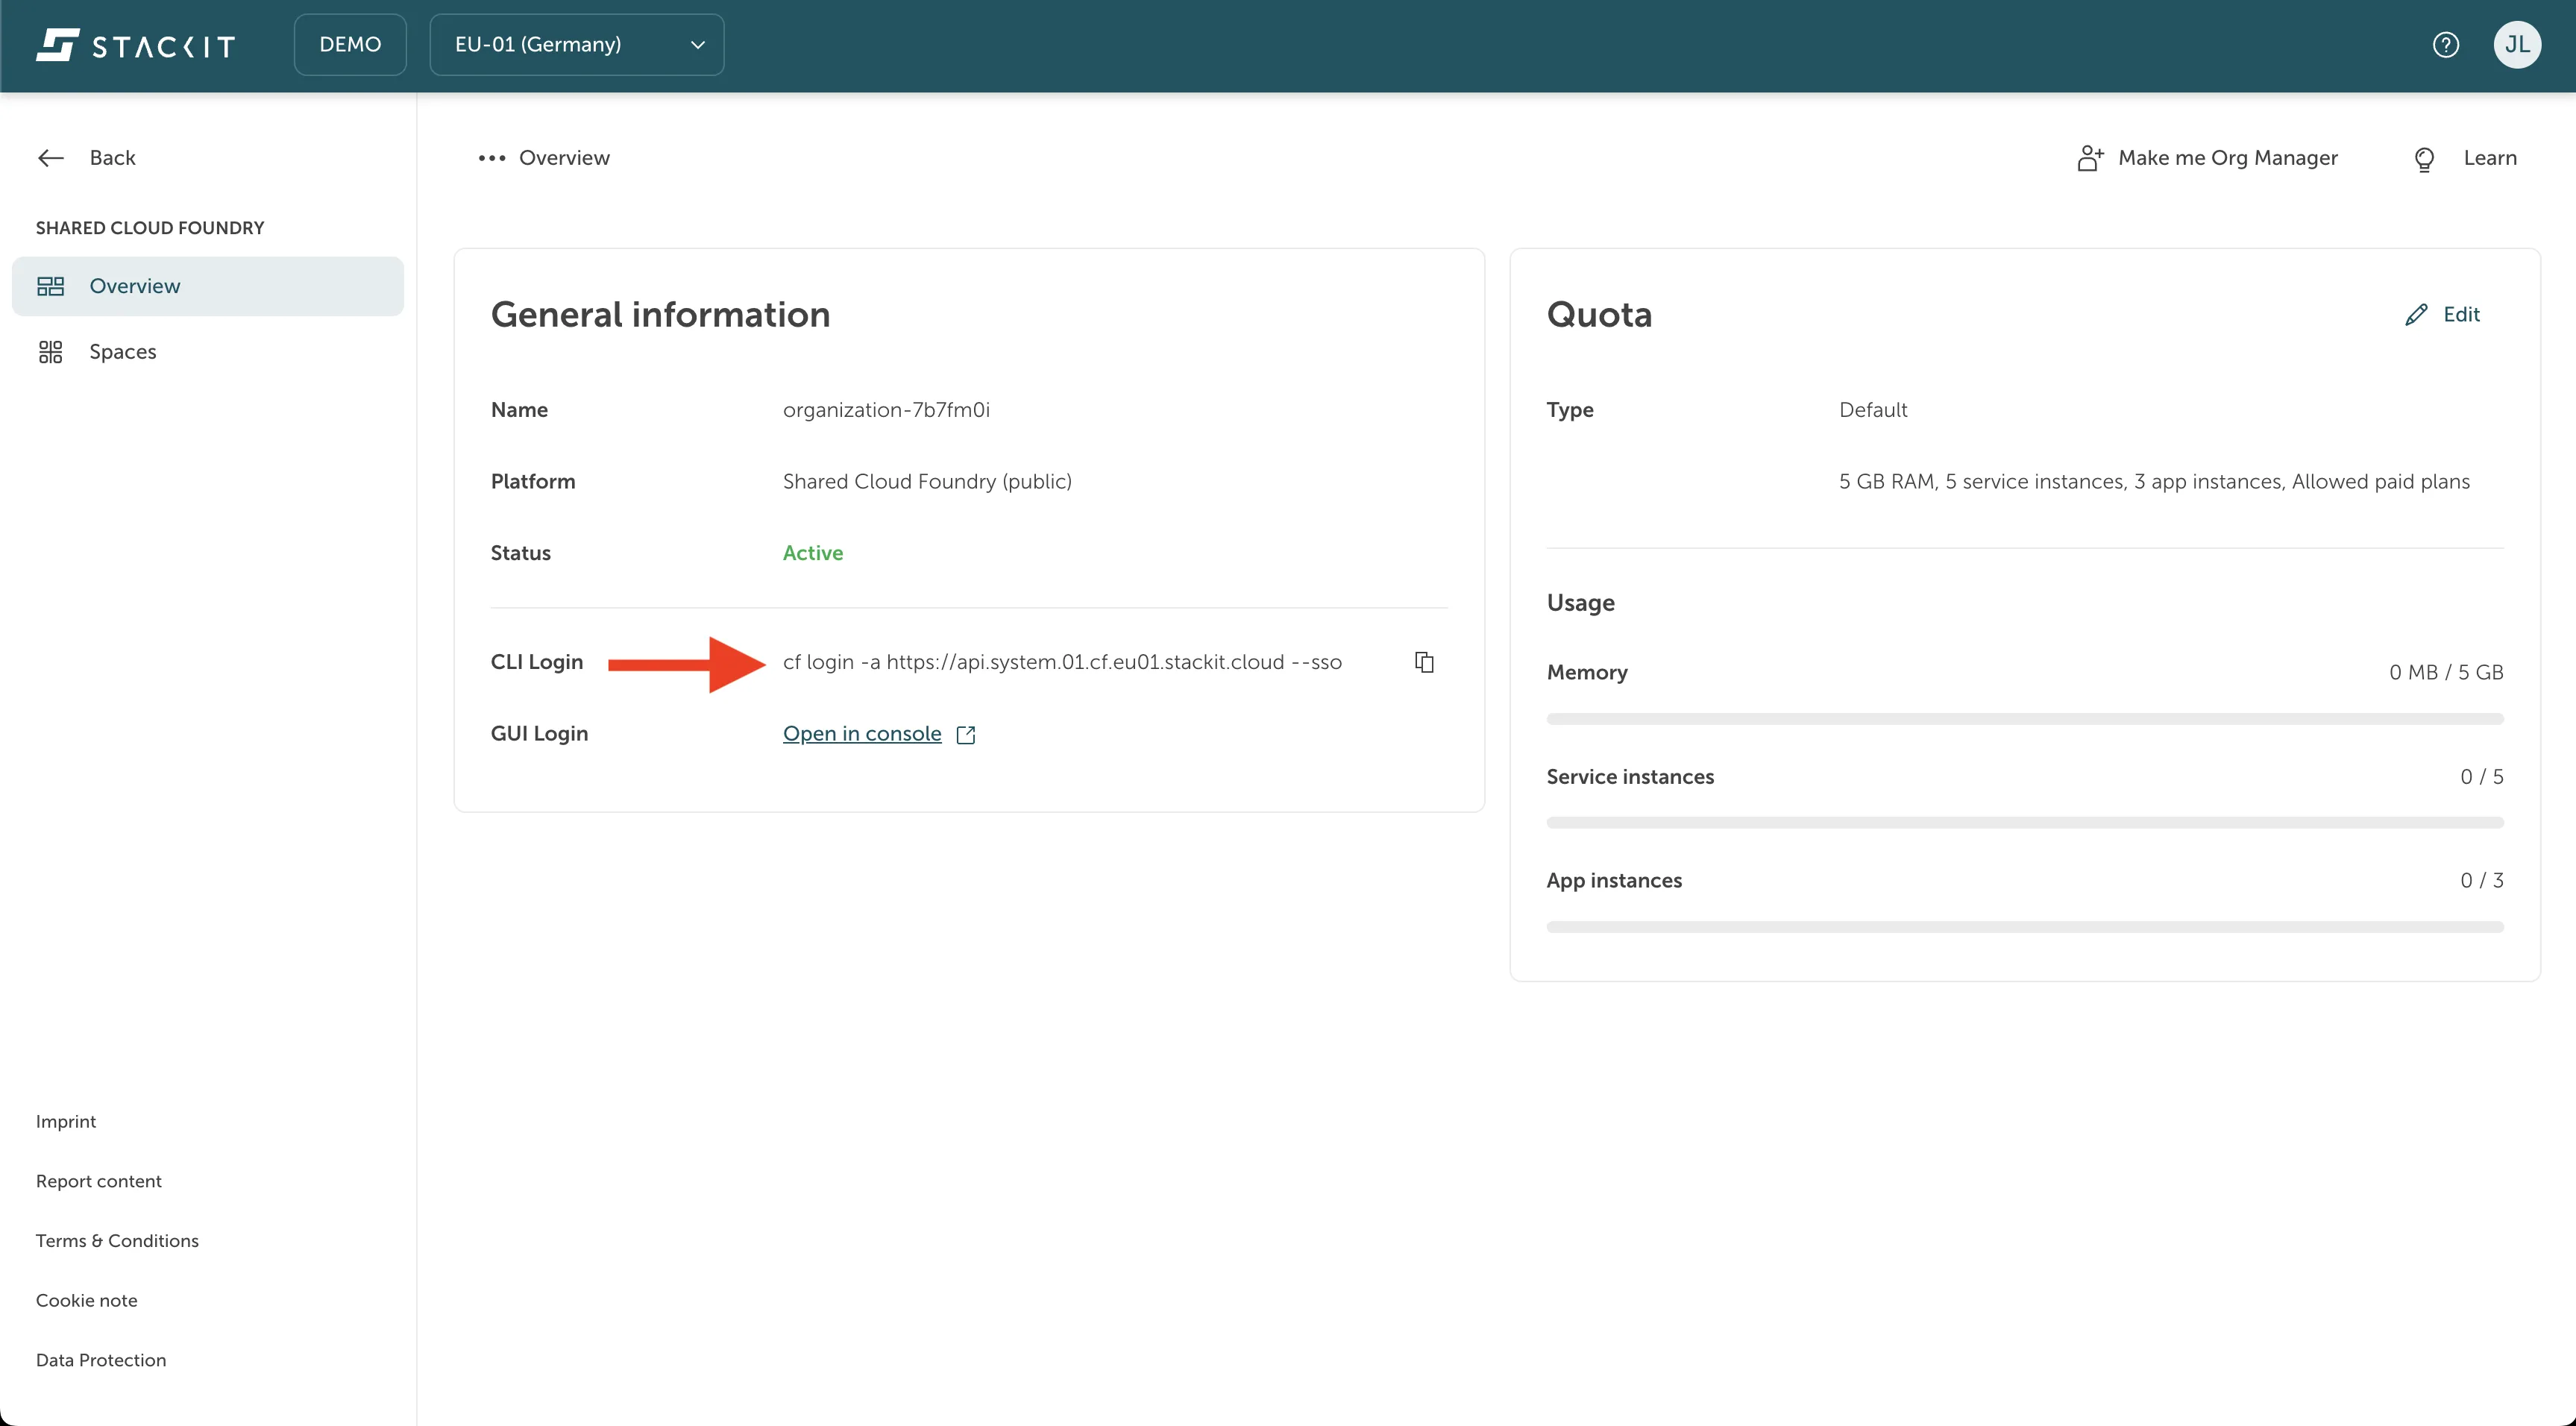
The API Endpoint and with that the login command is the same for every organization within your STACKIT project. But there are different API Endpoints depending on the type of your project: Web Projects have another Endpoint than the internal projects.
Login with the cf CLI
Section titled “Login with the cf CLI”Open up your terminal or other command line input tool and use the cf login command in your clipboard, or type one of the following commands:
For organisations in a public STACKIT project:
cf login -a https://api.system.01.cf.eu01.stackit.cloud --ssoFor organisations in an internal STACKIT project:
cf login -a https://api.system.02.cf.eu01.stackit.schwarz --ssoAfterwards the terminal will output the passcode-URL you can use to login with your STACKIT Account. For example for an organization in a public STACKIT project the output looks like the following:
API-Endpoint: https://api.system.01.cf.eu01.stackit.cloud
Temporary Authentication Code ( Get one at https://login.system.01.cf.eu01.stackit.cloud/passcode ):
Enter the URL given in this output in an internet browser of your choice which should already redirect you to the login screen. Please login there. Alternatively, if you already have an open session with your single sign on credentials in your cookies you will automatically be logged in and can see the following page:
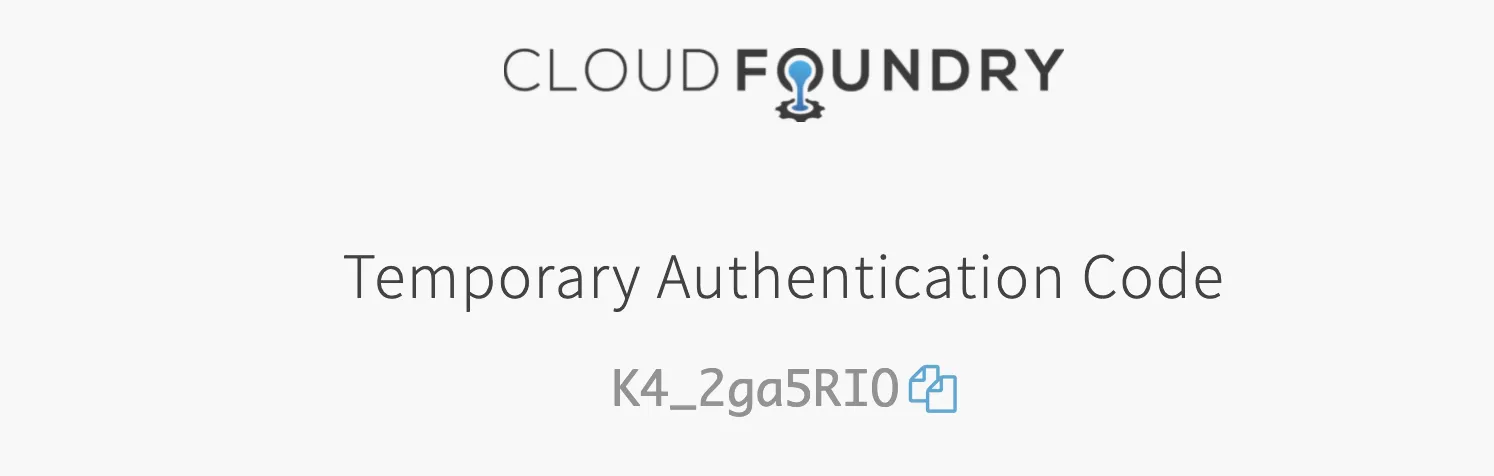
Here you can see an example of the temporary authentication code you get assigned for the login. Copy the code and paste it into the command line interface which should still await your input. Press enter to trigger the authentication. Afterwards you should be authenticated successfully and can select the organization and space you want to work with.
Select an organization and space via CLI
Section titled “Select an organization and space via CLI”After a successful authentication with the single sign on passcode, the command line output is asking you for the selection of an organization. It will list all organizations your account has access-rights to in a dialogue that might look like the following:
Select an org:1. Cloud Foundry Demo2. MyFirstOrg3. playgroundOrganization (enter to skip):Input any of the listed number to select the organization listed with that number or keep it empty to select no organization at all and press enter to continue.
If you selected an organization the command line output will ask you to select a space within that organization to point to. For this it lists all for your account available spaces in a dialogue that might look like the following:
Targeted org Cloud Foundry Demo.Select a space:1. dev2. prod3. qaSpace (enter to skip):Input any of the listed number to select the space listed with that number or keep it empty to select no space at all and press enter to continue.
Afterwards, the command line output presents you with the information about the API-Endpoint you are working with, the account you are logged in with and the org and space your CLI is pointing to. Now you can begin to work.
View and change the org and space via CLI
Section titled “View and change the org and space via CLI”If you later want to know to which org and space you are logged in, you can just use the command cf target with the following parameters:
cf target [-o ORG] [-s SPACE]NAME: target - show or define target org or target spaceUsage: cf target [-o ORG] [-s SPACE]ALIAS: tOptions: -o Organization -s SpaceView current connection information
Section titled “View current connection information”You can get the current connection information via:
cf targetChange the org and space
Section titled “Change the org and space”You can select a new org and space as follows:
cf target -o MyFirstOrg -s mySpaceView the list of available orgs
Section titled “View the list of available orgs”In order to get the list of org names your account can access, use the following command:
cf orgsView the list of available spaces
Section titled “View the list of available spaces”In order to get the list of space names your account can access within an org, just target the org you want this information for and use the following command:
cf spacesIn this tab you will learn how to use the Stratos UI to:
In the following part we are looking at the approach to interact with the STACKIT Cloud Foundry by using the Cloud Foundry console UI. The console UI is based on the Open Source component Stratos and is currently in BETA state. There might be some issues and bugs still by using the console UI, but we are working on fixing them in the future.
Access Stratos
Section titled “Access Stratos”In order to login to the Cloud Foundry console UI, you need to open up the Cloud Foundry organization overview in your STACKIT project in the Portal. There you will find on the bottom right corner the button that will lead you to the console UI as seen in the image below.

After pressing the console button highlighted in the image above, you will be able to login to the console UI.
Log into Stratos
Section titled “Log into Stratos”After opening the console UI, you will be presented with the following login screen:
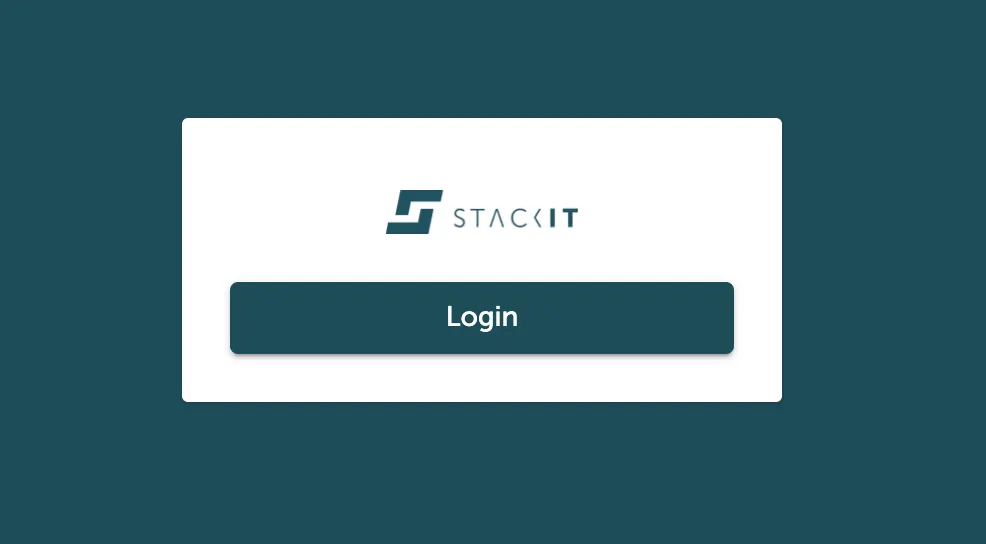
Just press the prominent login button. Since the Cloud Foundry Console UI uses Single Sign On you will encounter one of the following options:
- You will be redirected to a login mask, where you can enter the credentials of the user account you use for STACKIT.
- You will be redirected to a list of user accounts you use in single sign on to select the one you want to use now.
- You will directly be automatically logged in via a redirect chain.
Any of these solutions will lead to the applications overview of the console UI as seen in the image below.
Here you can see the login screen for the Platform UAA within the redirect chain of the Stratos Login. Do not press the SIGN IN button here since that will break the redirect chain and you will end up in the platform UAA touchpoint instead of the Cloud Foundry console UI. Just wait and the redirect chain will continue on its own. The Cloud Foundry team is working on improving this situation.
Select an organization and space via Stratos
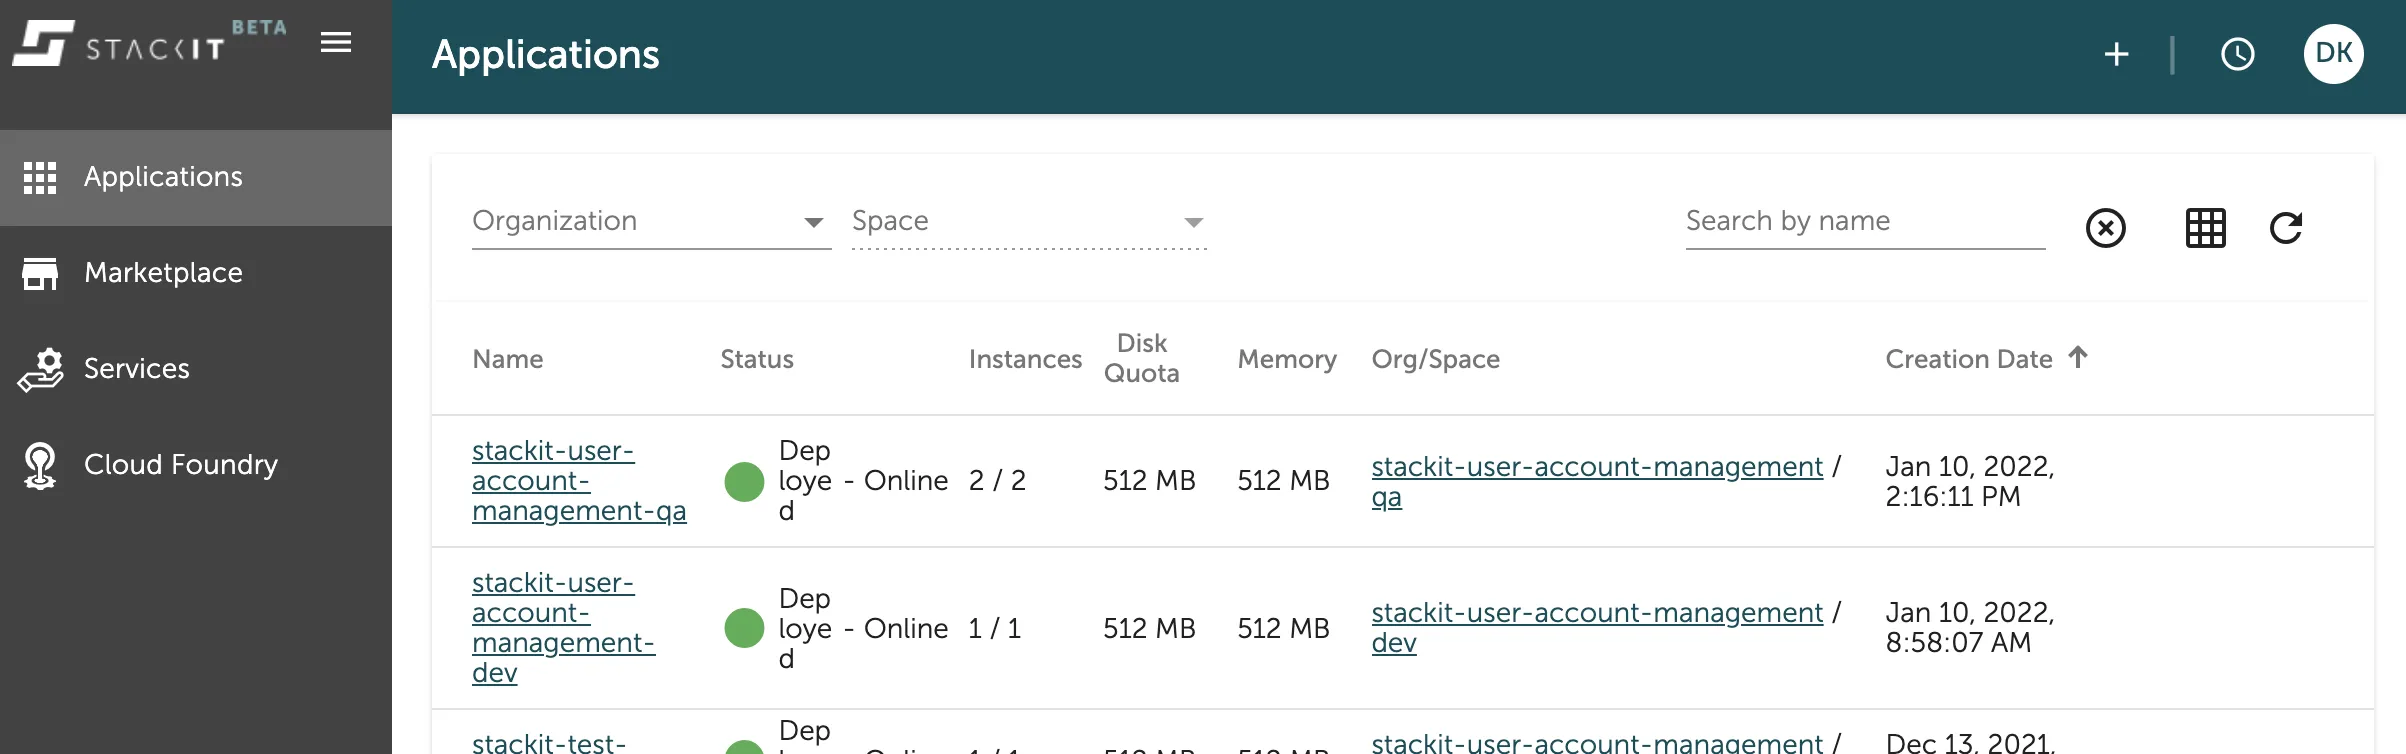
Section titled “Select an organization and space via Stratos”In the application overview of the Cloud Foundry console UI you should already be able to see all the applications in all the orgs and spaces you have access to. If you do not have any applications in your orgs and spaces yet, this overview will be empty.
You can filter the applications for your organization and space with the drop down filter menu in the top of the list as seen marked in the picture below.
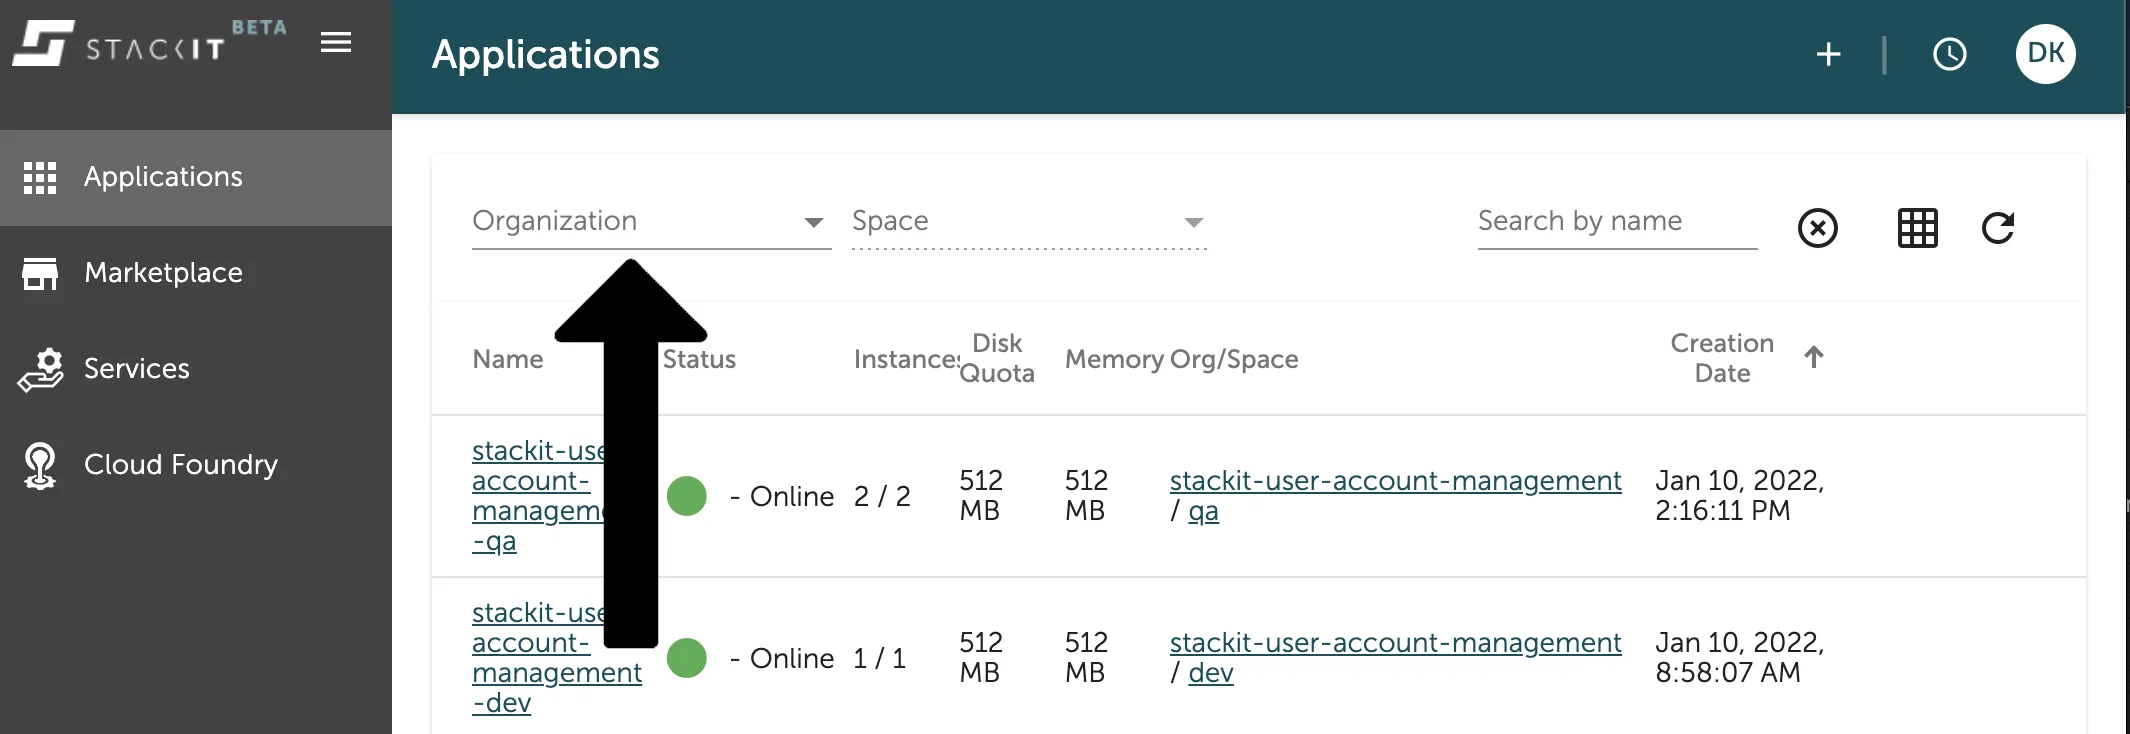
Just press on the organization drop down and select the organization you want to filter for from the list. The same is applicable for the space, once you selected the organization.
If you now create a new application with the plus sign in the top right of the title-bar, your selected org and space will already be the default input for the first input form.
View org and space information via Stratos
Section titled “View org and space information via Stratos”In the Cloud Foundry console UI you can get detailed information about your organizations and spaces in the Organizations overview within the Cloud Foundry tab on the left side navigation bar as seen in the image below.
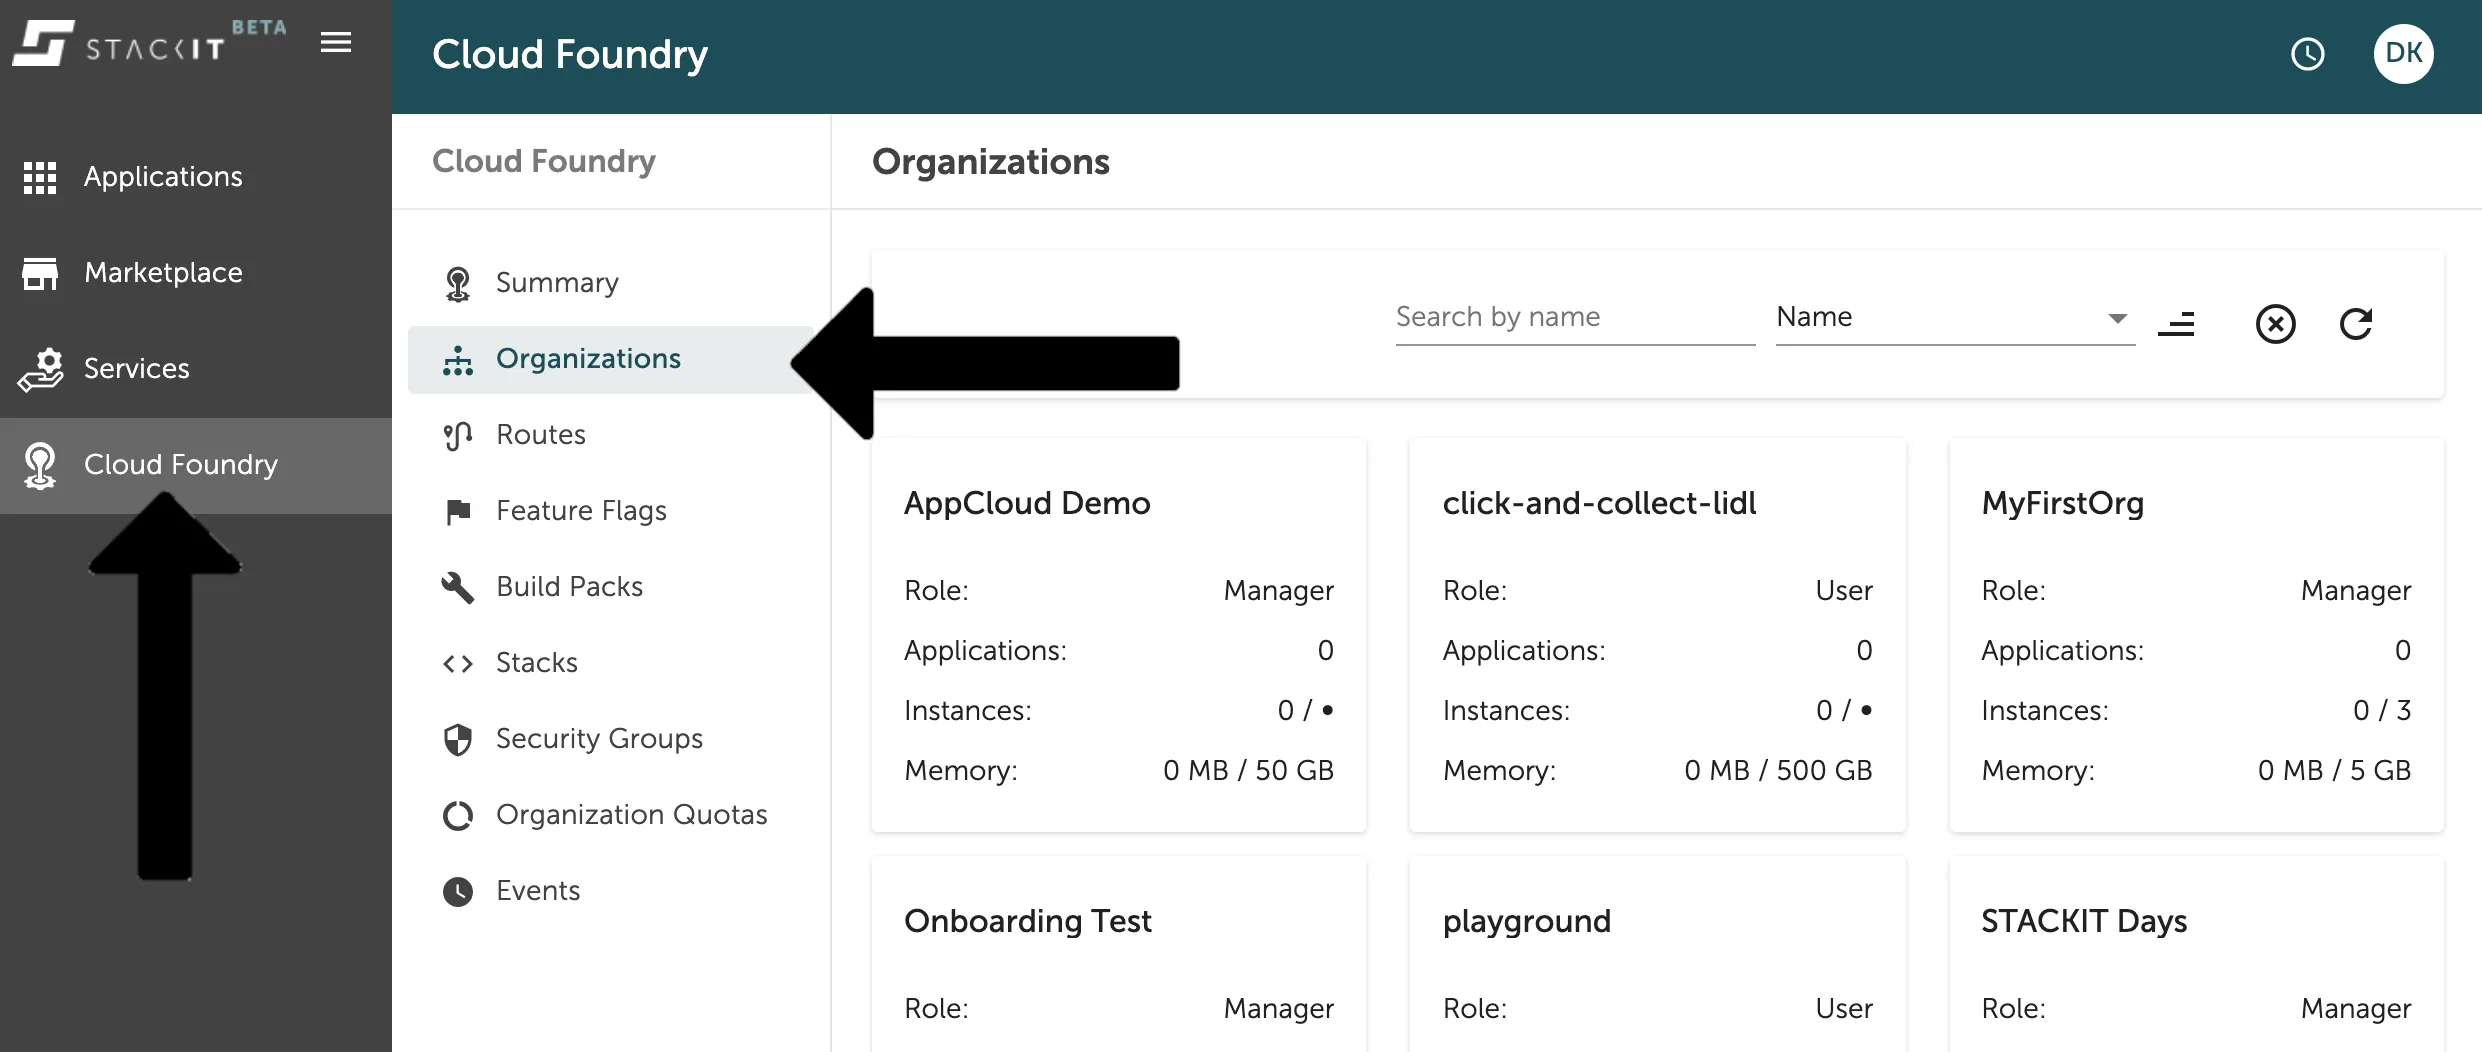
Here you will find a list of all the organizations you have access to and already some information about them in the overview cards. Click on any of those cards to get a more detailed view about the specific organization as seen in the image below.
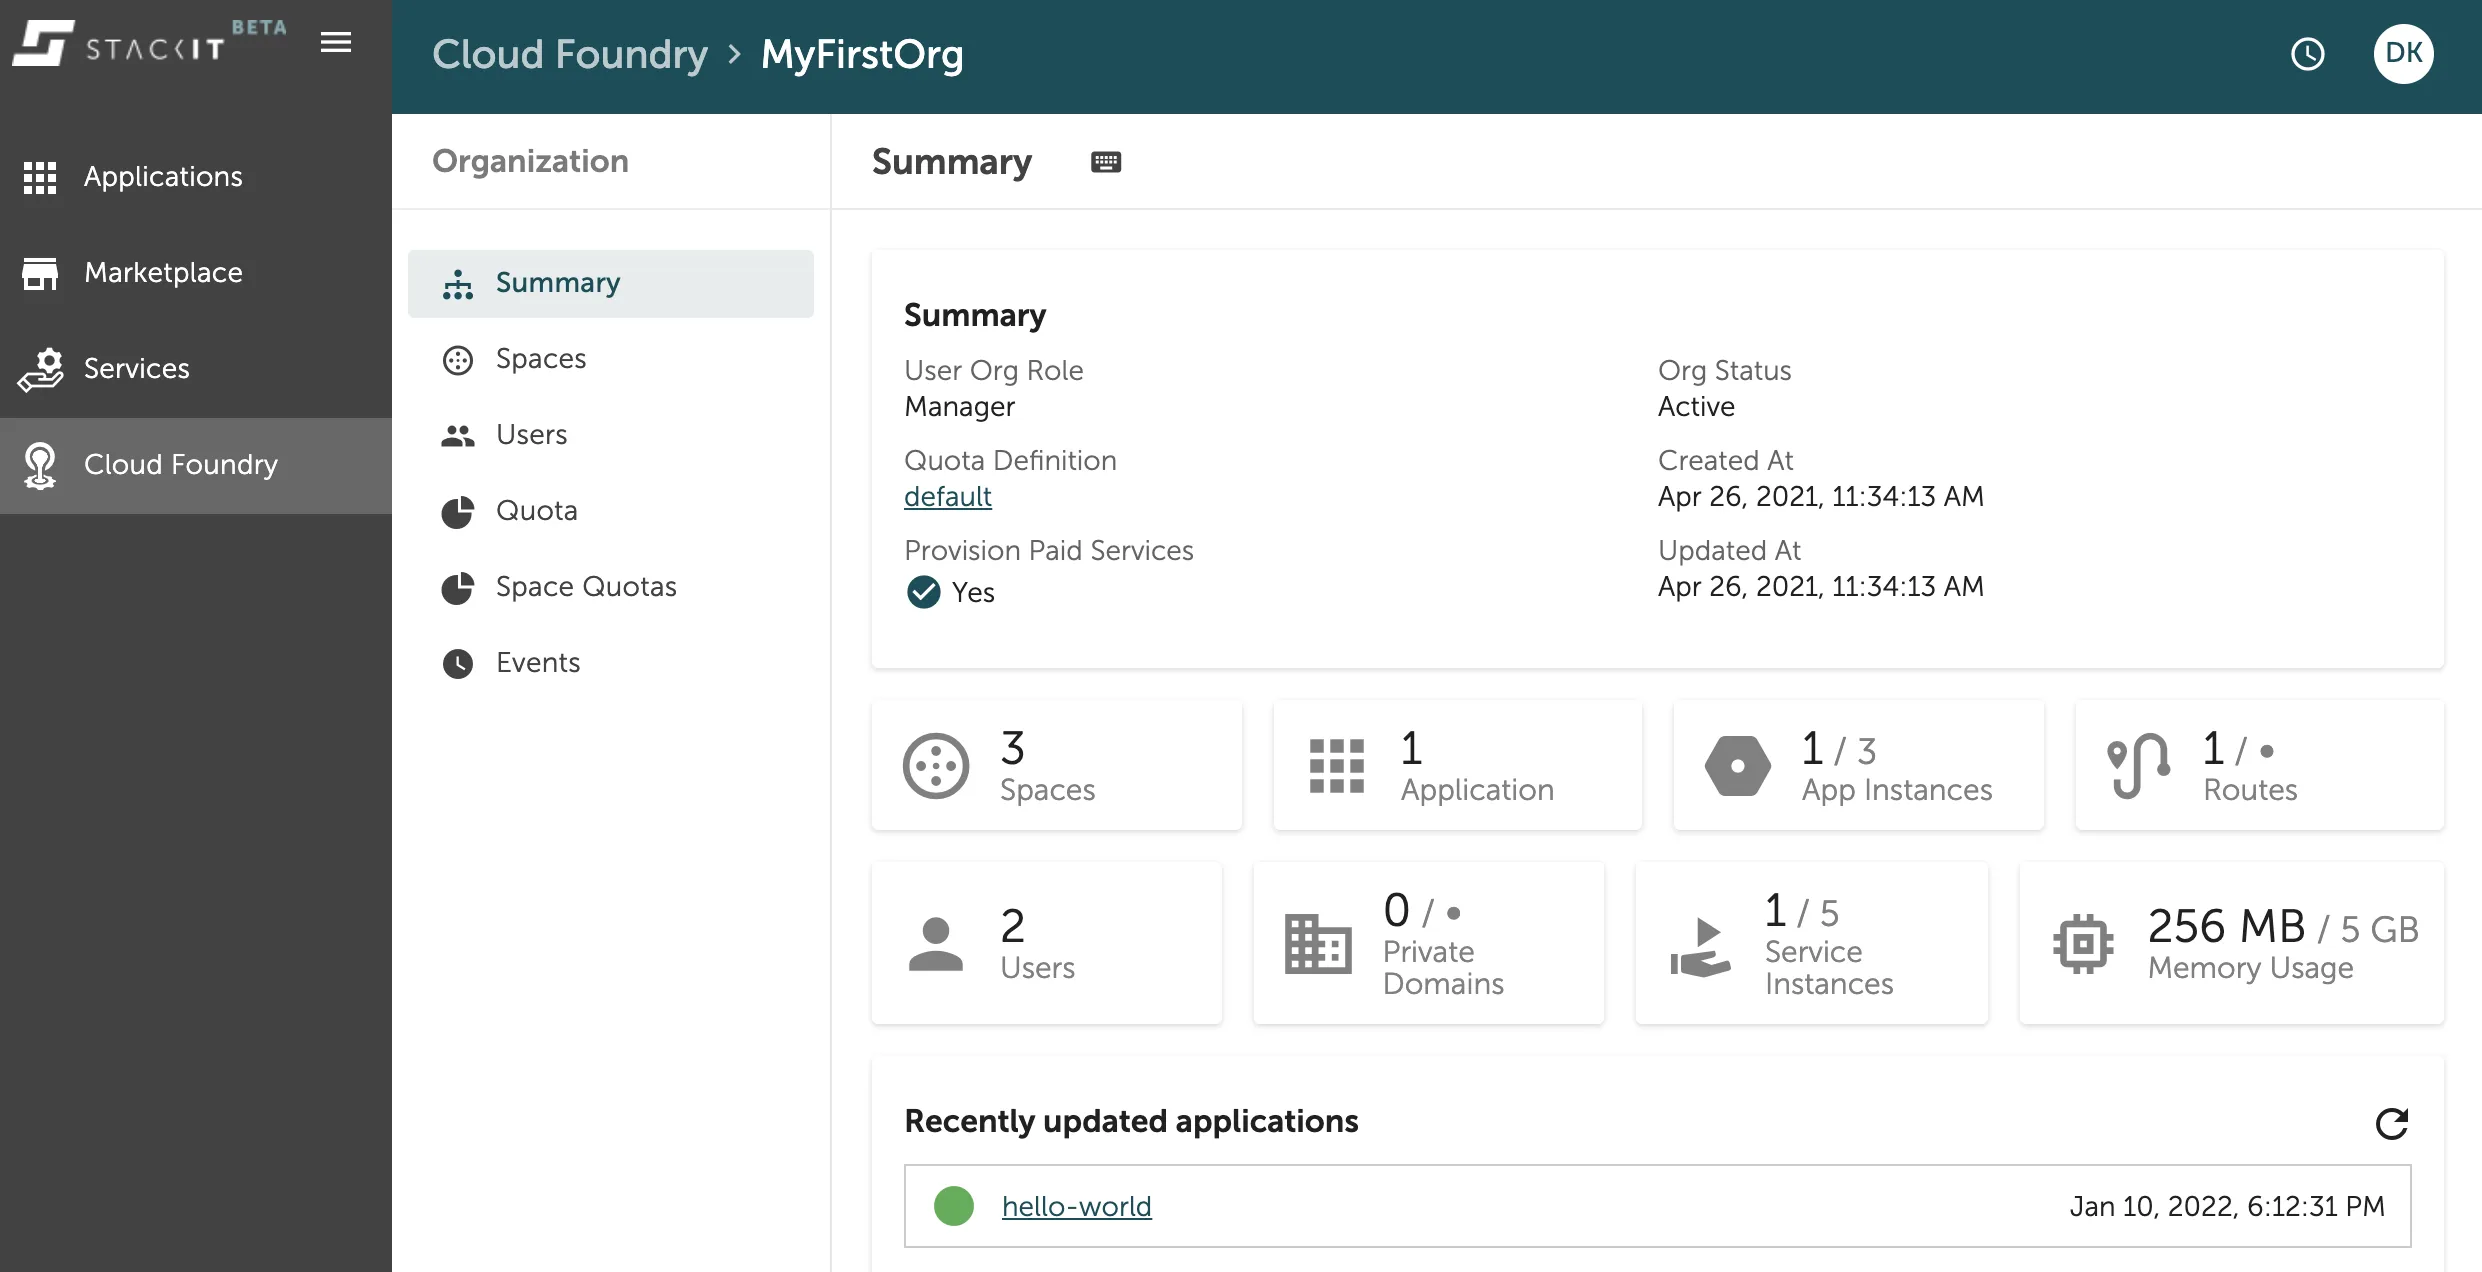
The organization detail view makes a lot of information transparent for you, including spaces, the number of applications running, users with access to the org and other things.