Git - Organizing with Labels
Last updated on
You can use labels to classify issues and pull requests and to improve your overview over them.
Creating Labels
Section titled “Creating Labels”-
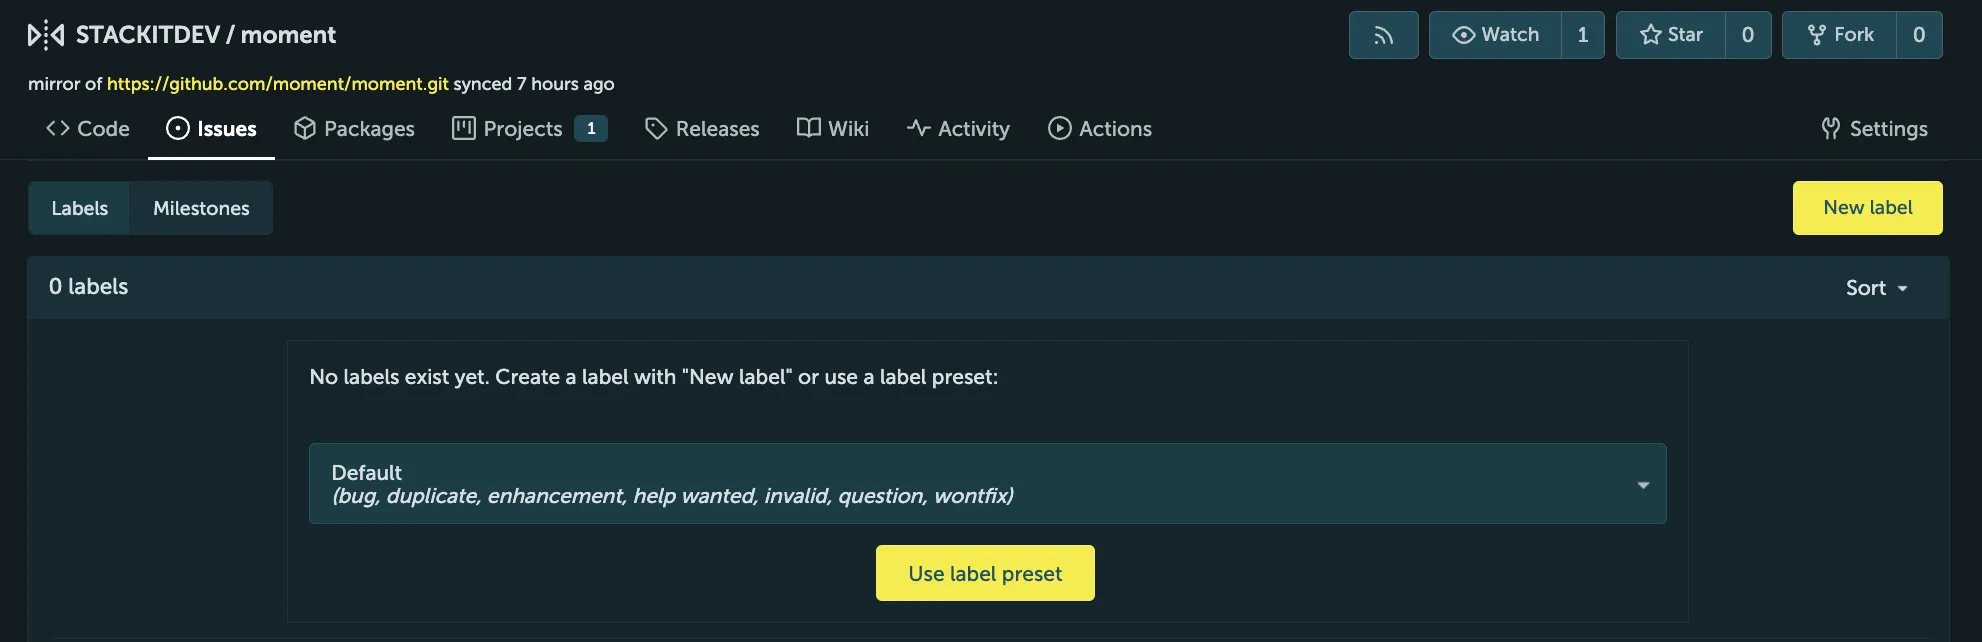
Go to the Issues tab and select Labels to get to the labels management page.
-
Click New label.
-
Enter the name and select the color of the new label.
-
Define if the label should be exclusive or not.
Organization-wide Labels
Section titled “Organization-wide Labels”You can define organization-wide labels that are shared with all organization repositories, including both already-existing repositories as well as newly created ones. Organization-wide labels can be created in the organization Settings.
Label Sets
Section titled “Label Sets”When you create a repository (or an organization), you can ensure certain labels exist by using the Issue Labels option. This option lists a number of available label sets that are configured globally on your instance.